
 Owen Bradley
 Nothing sours a new build faster than opening a box and discovering that the part inside will not physically fit, will not electrically connect, or will not be recognised by the hardware you already own. Checking PC part compatibility before you buy takes about twenty minutes and prevents almost all of it. The good news is that compatibility is not mysterious: it comes down to a short list of relationships between components, each of which can be verified from a specification page. This guide works through those relationships one at a time, in the order you should check them, so that everything you order arrives able to work together on the first attempt.
Start With the Motherboard as the Hub
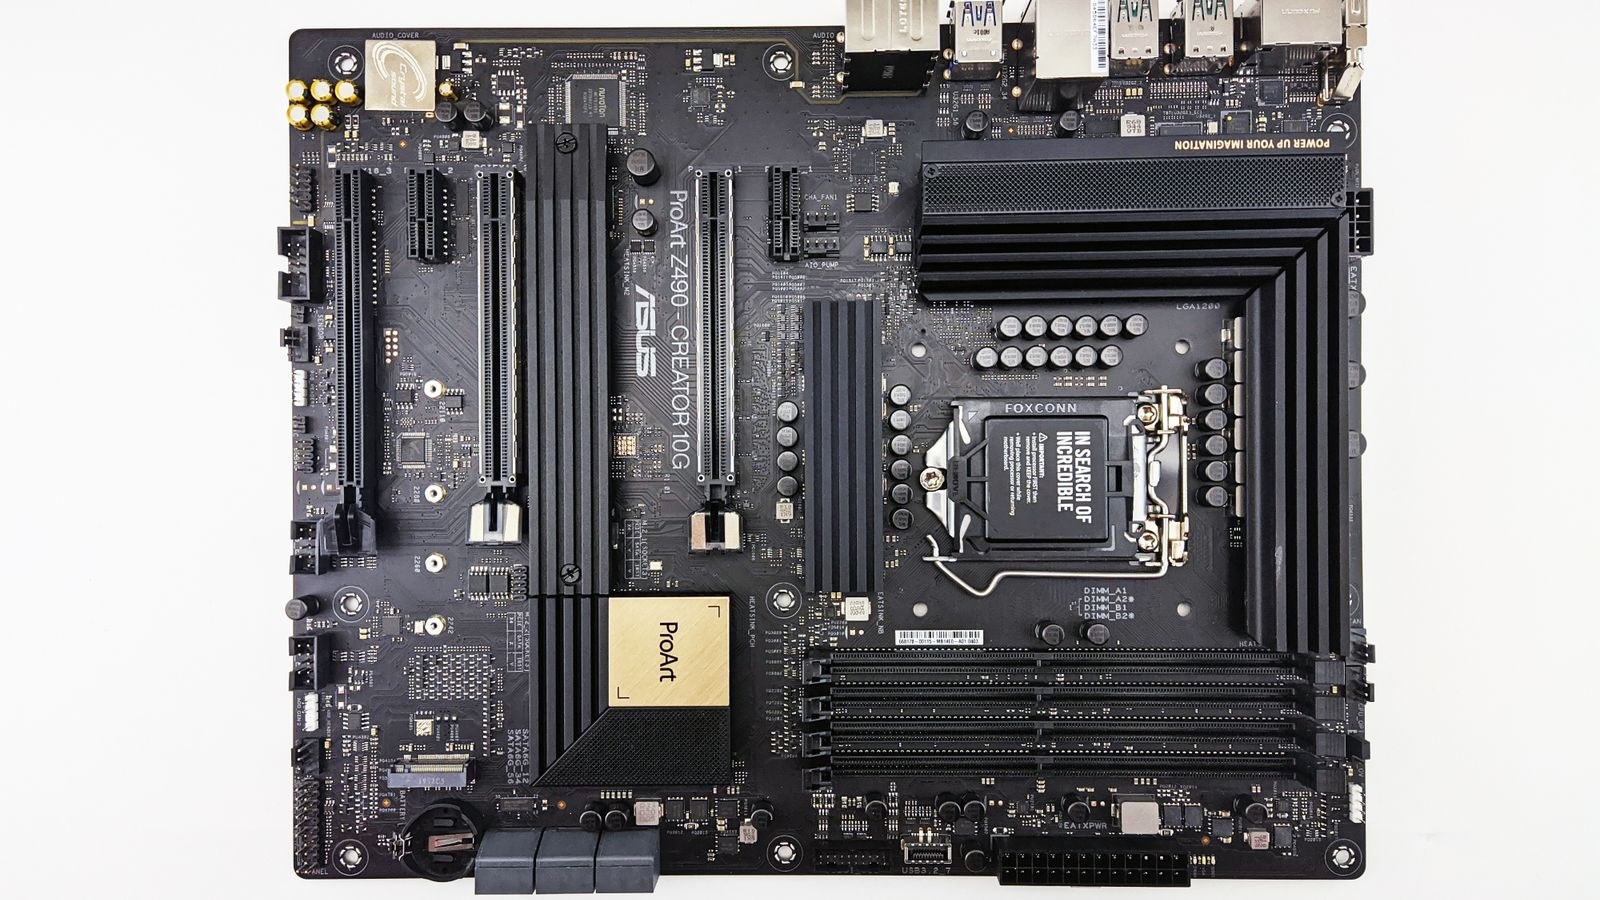
Every compatibility question ultimately routes through the motherboard. It defines which processors you can use, which memory the system accepts, how many drives you can install, how many expansion cards fit, and what size case you need. That makes it the natural anchor: pick the platform first, then check everything else against it.
Two specifications matter most. The socket is the physical and electrical interface for the processor, and it must match exactly. The chipset determines which features are enabled, which connectivity is available, and often whether overclocking and certain memory speeds are supported. Two boards can share a socket but differ substantially in what they allow, so read both figures rather than assuming.
Gather What You Need Before Checking
- The exact model numbers of any parts you already own, taken from the components themselves rather than memory.
- The motherboard manual PDF, which contains the memory support table, slot diagram, and clearance figures.
- The maker’s product page for the case, which lists maximum cooler height and graphics card length.
- The processor’s specification page, showing socket, thermal output, and supported memory type.
- A tape measure if you are reusing an existing case.
Recording model numbers precisely matters more than it sounds. Manufacturers use very similar names for boards that differ in chipset, and a single letter can change what a board supports.
The Compatibility Checklist, Step by Step
- Match the processor socket to the board. Confirm the exact socket designation on both the chip’s specification page and the board’s. They must be identical. A processor will not fit a different socket, and adapters do not exist for this.
- Check the chipset supports your processor generation. Sockets often span multiple generations, and an older chipset may need a firmware update before it recognises a newer chip. Look at the board maker’s CPU support list, find your exact model, and note the minimum firmware version required. If the board ships with older firmware and you have no compatible chip to update with, check whether it supports flashing from USB without a processor installed.
- Verify memory type, speed and capacity. Memory generations are physically keyed so they cannot be cross-installed, so confirm the standard first. Then check the board’s maximum supported capacity, the maximum capacity per slot, and the speeds it officially supports. Check the qualified vendor list for kits validated on that board, and be aware that filling all four slots often reduces the maximum stable speed. The best motherboard compatible RAM guide explains how to read those support tables properly.
- Check cooler socket support and height. The cooler must include a mounting bracket for your socket, and many include several while some require a separate adapter. Then compare the cooler’s height against your case’s maximum clearance figure, leaving a few millimetres of margin. For liquid coolers, confirm the case supports your radiator size in the position you intend to mount it.
- Confirm the cooler can handle the processor’s heat output. A cooler rated well below your chip’s sustained power draw will work but will throttle. Compare the processor’s power figure under sustained load, not just its base rating, against the cooler’s stated capability.
- Check graphics card length, height and slot width. Cases list a maximum card length, often with a caveat about front-mounted radiators or drive cages. Modern cards are also frequently three slots thick and tall enough to foul side panels in compact cases. Measure the actual space if you are reusing an existing chassis.
- Verify the board form factor fits the case. Cases list which board sizes they accept. A smaller board fits a larger case, but never the reverse. Check the standoff positions in the case match your board’s mounting holes.
- Size the power supply and check its connectors. Add up the sustained draw of the processor and graphics card, add headroom for everything else and for transient spikes, and buy above that figure rather than at it. Then check the connectors specifically: the number of PCIe power leads your card needs, whether it uses a newer high-power plug, and whether the board requires one or two processor power connectors. Wattage alone is not enough if the cables are wrong. The best PSUs for gaming roundup covers units with modern connector sets.
- Check the power supply form factor. Standard ATX units do not fit small form factor cases, which use SFX or SFX-L sizes. Confirm depth as well, since longer units can block front-mounted drive cages or interfere with cable routing in shallow chassis.
- Confirm storage interfaces and slot behaviour. Count the M.2 slots and note which generation each supports, then read the manual’s shared-lane notes. Populating certain M.2 slots disables SATA ports or reduces the graphics slot to fewer lanes on many boards. This is one of the most common surprises after a build is finished.
- Check case front panel connectivity. If your case has a front USB Type-C port, the board needs the matching internal header. Older boards frequently lack it, leaving that port permanently unusable.
- Confirm fan and lighting headers. Count how many fans your case includes and how many headers the board provides. If you are short, plan for a splitter or hub. Lighting standards differ in voltage and pin count, and connecting one type to the other damages the components.
Platform Choices and Upgrade Paths
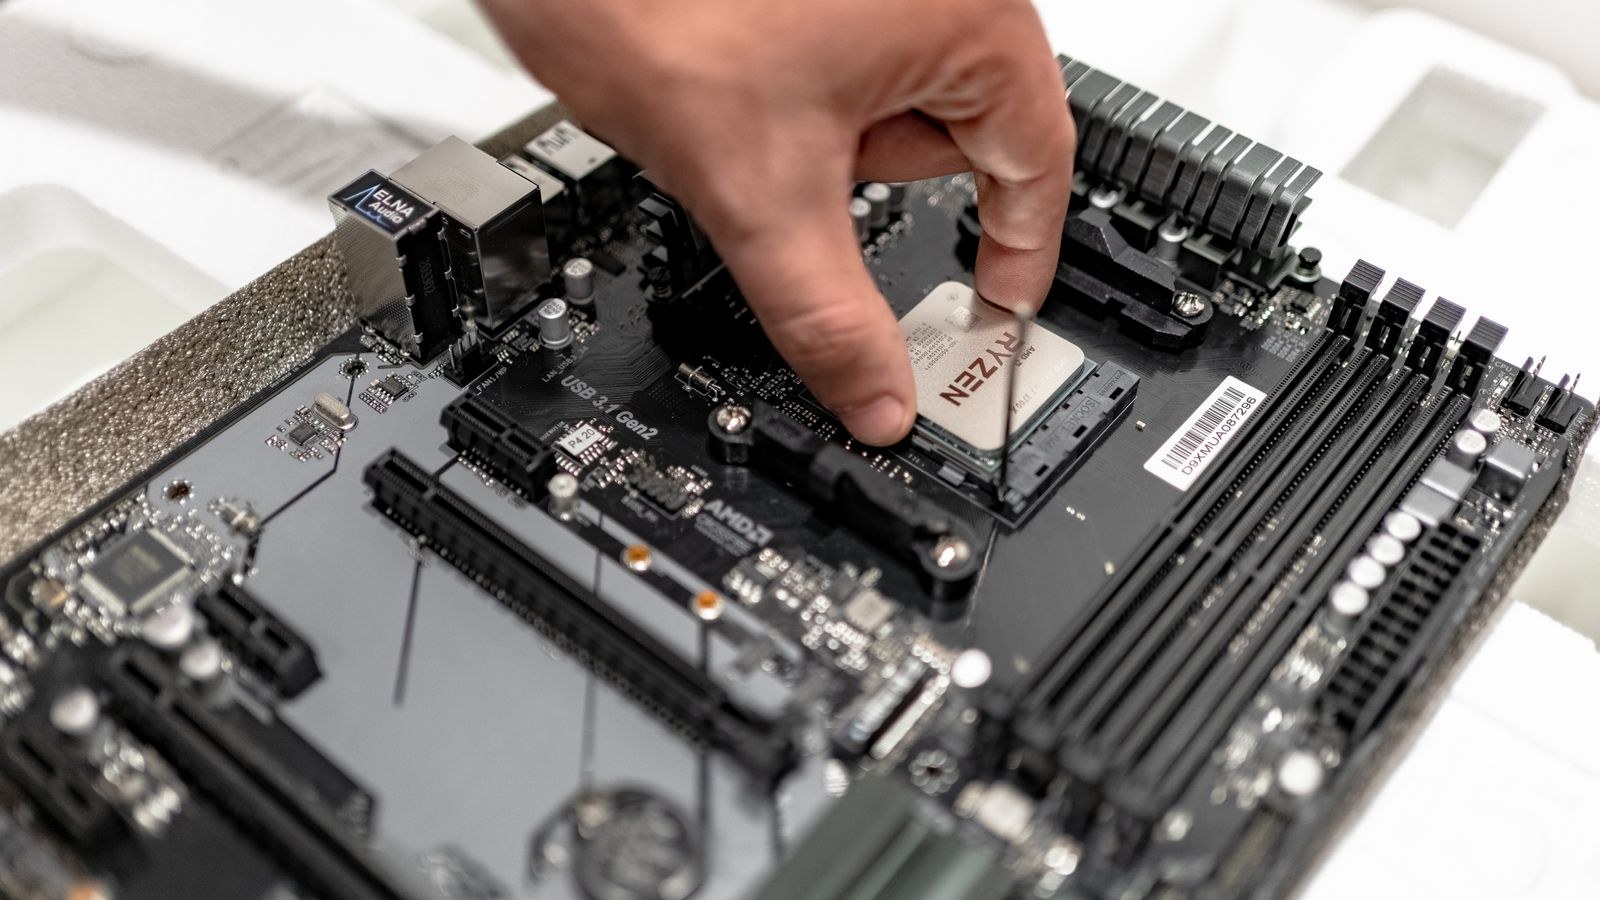
Compatibility is not only about today. A platform that supports several processor generations lets you upgrade the chip later without replacing the board and reinstalling everything, which is a real saving. Before committing, look at how long the socket has been available and whether the maker has signalled continued support.
Memory generation is part of that calculation too, since a board tied to an older standard limits what you can install for the life of the machine. If you are choosing a current platform now, the best AM5 motherboards and matching best AM5 CPUs illustrate how socket and chipset choices shape what you can drop in later.
Physical Clearance Is Where Most Builds Fail
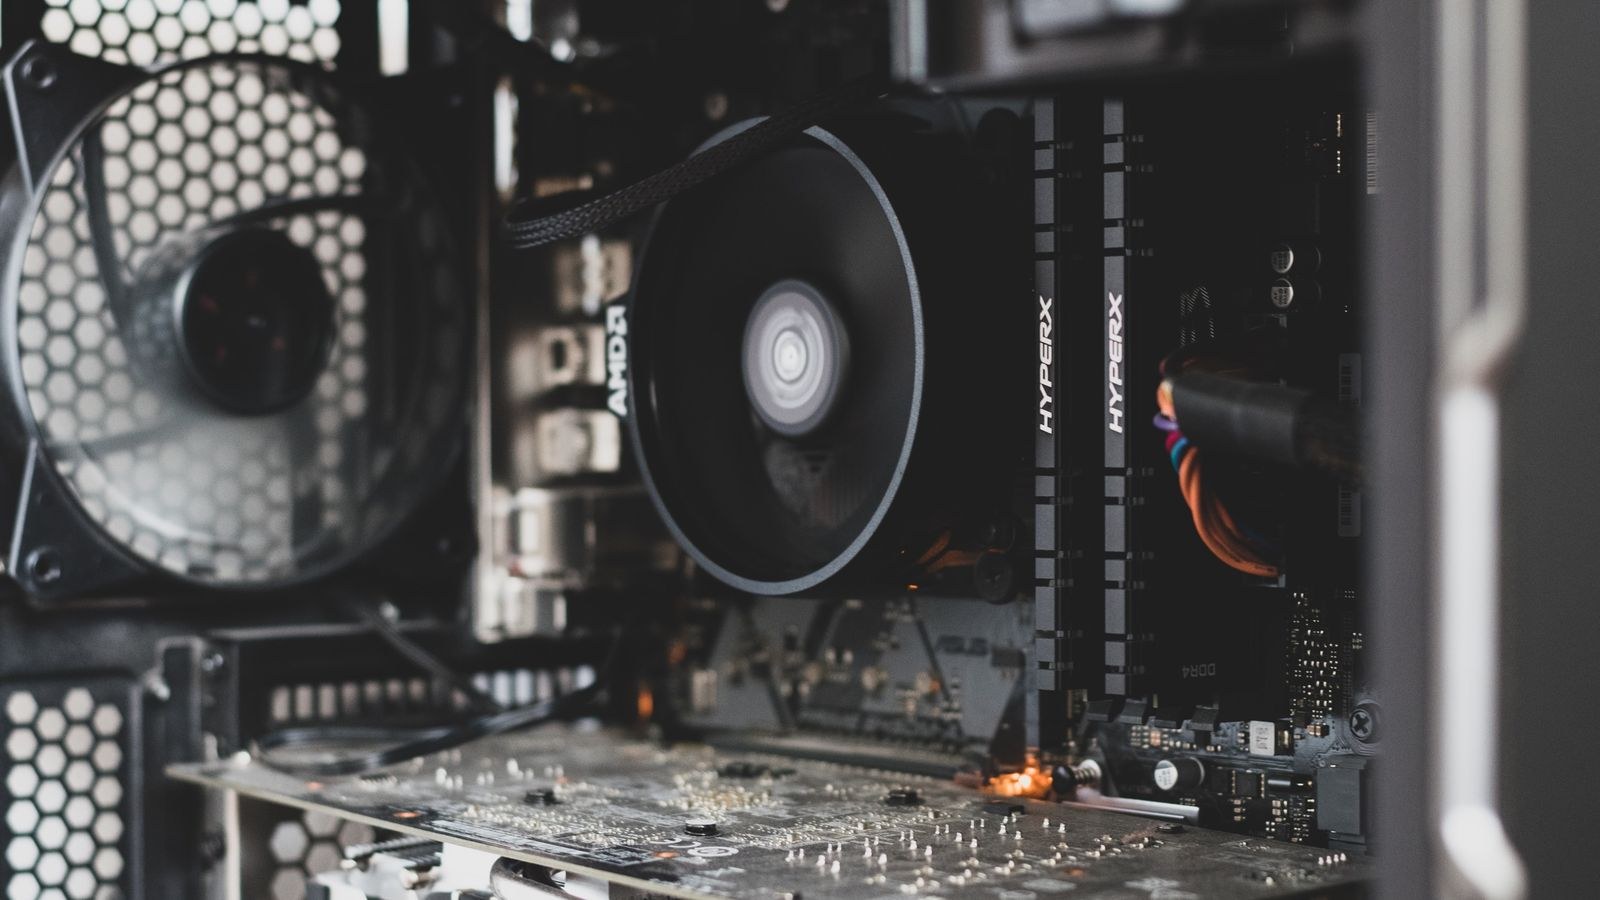
Electrical compatibility gets most of the attention, but physical fit causes more abandoned builds. Common conflicts include a tall memory heat spreader colliding with a wide air cooler, a graphics card blocking the front SATA connectors, a radiator overlapping the top of the board’s power connectors, and a power supply too deep for the cable routing space behind it.
The best defence is to read every clearance figure the case maker publishes and compare it against the corresponding dimension for each part. Where the numbers are close, choose the option with margin. If you plan a large air cooler and tall memory, check the cooler maker’s published memory clearance height specifically, since many list it. Choosing from the best ATX PC cases gives you generous clearance across the board and removes most of these conflicts before they arise.
Using Compatibility Tools Wisely
Online part pickers catch obvious mismatches such as a wrong socket or an oversized card, and they are worth running as a first pass. They are not infallible, though. They often miss firmware requirements, shared lane behaviour, memory clearance under a cooler, and connector-specific power supply issues. Treat a tool’s approval as a starting point and verify the four areas it handles least reliably: firmware support for your exact processor, memory on the qualified vendor list, physical clearances against case figures, and power supply connectors against your card’s requirements.
Common Mistakes
The first is assuming that a matching socket guarantees support, when firmware is the real gatekeeper. The second is buying memory on speed alone without checking the board’s supported list or the penalty for filling all slots. The third is ignoring cooler height and discovering the side panel will not close. The fourth is sizing a power supply by wattage while overlooking whether it has the right cables. The fifth is populating an M.2 slot that silently disables ports you were relying on. And the sixth is reusing an old power supply with a modern high-draw card, which invites instability that looks like a faulty component.
Frequently Asked Questions
Does a matching socket mean the CPU will definitely work?
No. The board also needs firmware that recognises that specific processor. Always check the maker’s CPU support list and the minimum firmware version listed alongside your model.
Can I use memory from an older build?
Only if it is the same generation as the new board supports. The standards are physically keyed differently, so they cannot be interchanged, and mixing kits within a generation can still cause instability.
How much power supply headroom should I leave?
Enough to cover sustained draw plus transient spikes comfortably. Buying meaningfully above the calculated total gives quieter operation, better efficiency, and room for a future graphics card.
Will a smaller motherboard fit a larger case?
Yes. Cases accept their listed size and anything smaller. The reverse is never true, so check before ordering a full-size board for a compact chassis.
Do I need to worry about M.2 slots disabling SATA ports?
On many boards, yes. The manual documents which slots share lanes with which ports. Read that section if you plan to use several drives at once.
Final Thoughts
Compatibility checking is unglamorous work that pays for itself the moment you avoid a single return. Anchor everything to the motherboard, confirm socket and firmware together, read the memory support table rather than guessing, measure physical clearances against published case figures, and check power supply connectors rather than only wattage. Run a parts tool as a sanity check but verify the areas it handles poorly yourself. Twenty minutes of specification reading is the difference between a build that comes together in an afternoon and one that stalls waiting on a replacement part.









