
 Owen Bradley
 Most televisions leave the factory configured for a showroom, not a living room. The default picture mode is tuned to survive harsh fluorescent lighting and to look punchy next to a dozen competing screens, which means blown-out brightness, crushed shadow detail, and a bluish cast that makes skin tones look faintly ill. You do not need a colorimeter to fix that. Learning how to calibrate TV picture settings by eye, using free test patterns and a methodical order of operations, gets you remarkably close to the picture a filmmaker intended.
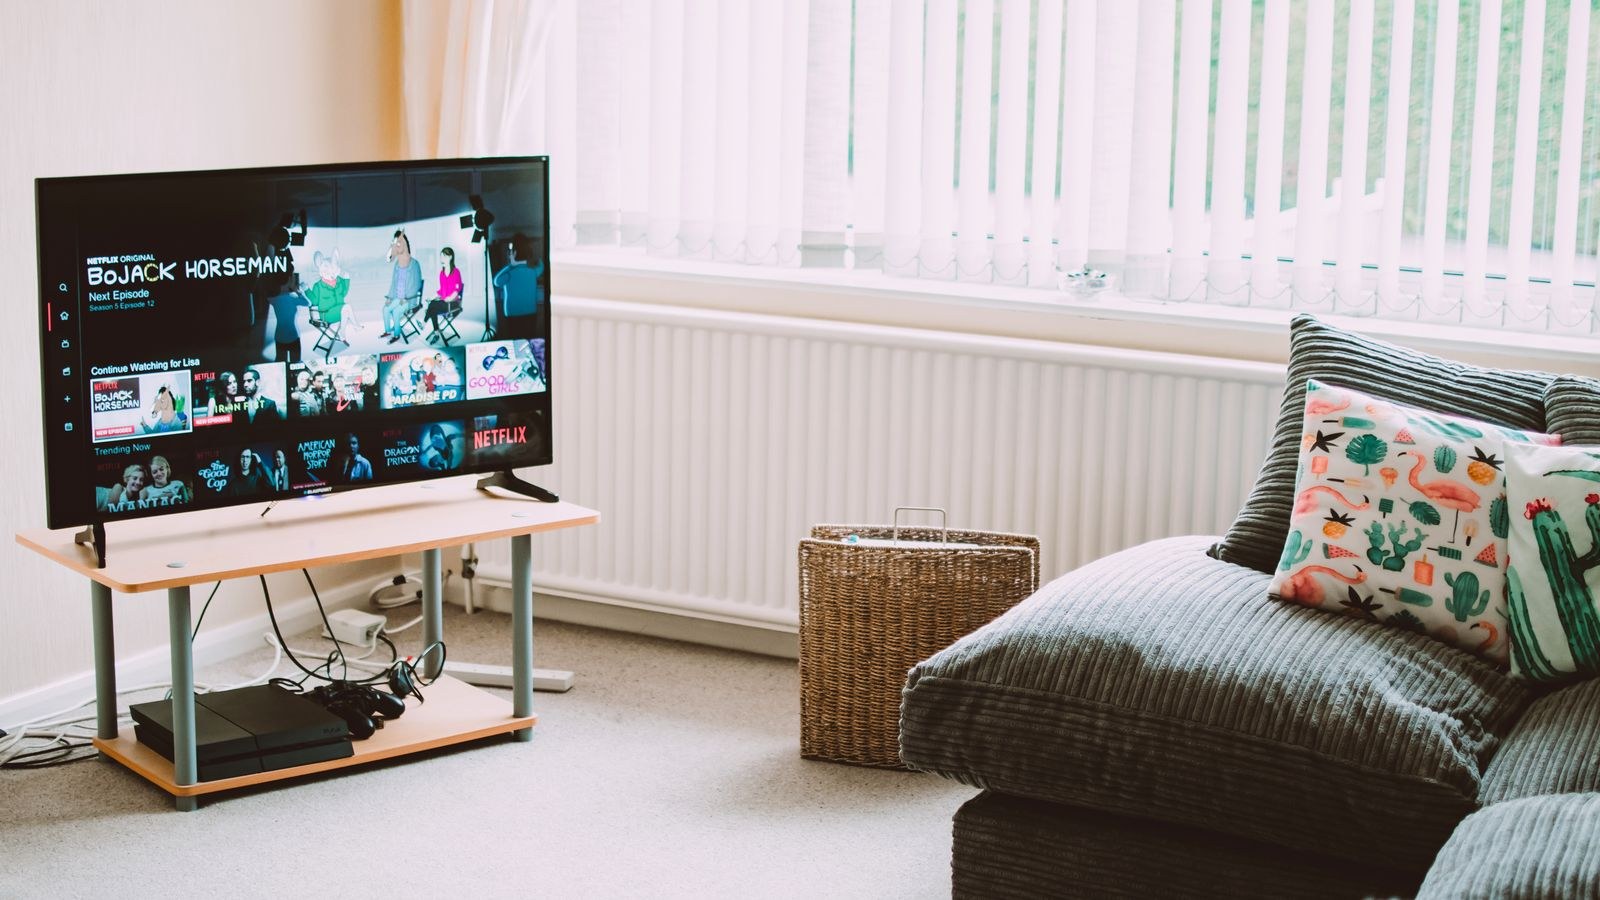
What Calibrating by Eye Can and Cannot Do
An eye calibration is a correction, not a laboratory measurement. With patterns and patience you can reliably set black level, white level, sharpness, and picture mode, and get color temperature into a sensible range. What you cannot do is verify precise grayscale tracking across the full brightness range, because your visual system adapts to whatever it is shown and has no absolute reference. That limitation matters less than people assume: most of the visible improvement comes from choosing the right preset, turning off distorting processing, and setting black and white levels so no detail is lost at either end.
What You Need Before You Start
- Test patterns. Free calibration pattern videos are widely available on streaming platforms and on USB-ready download sites. You need at minimum a black-level (pluge) pattern, a white-clipping pattern, a color bar pattern, and a sharpness or resolution pattern.
- Your normal viewing conditions. Calibrate in the lighting you actually watch in, at the time of day you usually watch. A picture set in a bright afternoon room will look painfully hot at night.
- Your usual seating position. Judge from the couch, not from a foot away. Viewing angle changes how an LCD panel renders black and color.
- Time and a notepad. Let the TV warm up 20 minutes, allow yourself around 45 minutes total, and write down the factory numbers first so you can always return to a known state.
One note about inputs: most TVs store picture settings per input, and sometimes per HDR mode. Calibrate the input you use most, then copy the values across.
Step by Step: Calibrating Your TV Picture by Eye
- Choose the right picture preset first. Open the picture menu and select Filmmaker Mode if your set offers it. If not, choose Movie, Cinema, or Calibrated. These target the industry-standard color and gamma the content was mastered in. Avoid Vivid, Dynamic, Sports, and Standard, which apply aggressive boosting. The picture will look dull and yellowish at first purely because your eyes are adapted to the blue-heavy default.
- Turn off every processing feature. Disable motion smoothing (marketed as Motion Flow, TruMotion, Auto Motion Plus, or Motion Rate), dynamic contrast, black enhancement, noise reduction, edge enhancement, live color, and any energy-saving or ambient light sensor that changes brightness on its own. These features fight your calibration in real time and make consistent settings impossible.
- Set backlight or OLED light for your room. This control sets overall output and does not affect accuracy, only comfort. In a dark room, aim low enough that a bright white scene does not make you squint. In a sunlit room, push it higher. On an LCD this is called Backlight or Brightness Level; on an OLED it is OLED Light or Panel Brightness. Set it before anything else, since it changes how you perceive the rest.
- Set black level using a pluge pattern. Confusingly, the control named Brightness sets black level, not overall brightness. Display a pluge pattern, which shows bars slightly below, at, and slightly above reference black. Raise Brightness until every bar is visible, then lower it one step at a time until the below-black bars disappear into the background while the just-above-black bar remains faintly visible. Too low and shadow detail vanishes; too high and blacks look washed grey.
- Set white level using a clipping pattern. The Contrast control sets peak white. Display a white-clipping pattern with bars near maximum brightness. Raise Contrast until the top bars merge into one flat white block, then back off until you can again distinguish each individual step. On most sets this lands somewhere in the 80 to 90 range on a 100-point scale. Then recheck black level, since the two controls interact slightly.
- Set color and tint. On modern digital sources these rarely need adjusting; leave both at the default centre point unless something is visibly wrong. If your set has a blue-only mode, use it with a color bar pattern: the bars should appear as uniform blue blocks with no visible brightness steps. Otherwise judge skin tones on familiar content and make only small changes.
- Choose color temperature. Pick the Warm or Warm2 preset. This approximates the D65 white point used to master essentially all film and television. It will look yellow at first next to Cool or Standard, which are shifted heavily toward blue to appear brighter in stores. Watch familiar content for a full evening before deciding it is wrong.
- Set sharpness to zero, or near it. Sharpness does not add detail; it adds artificial edge outlines that destroy fine texture. Display a sharpness pattern and lower the control until the halos and white fringes around lines disappear. On most sets zero is correct, though a few need a small positive value to avoid softening.
- Set gamma and local dimming. Leave gamma at the default value for your preset, typically 2.2, or 2.4 if you watch in a fully dark room and want deeper shadows. If your TV has full-array local dimming, medium is usually the safest setting: high can cause visible blooming and crushed shadows, while off gives up meaningful contrast.
- Verify on real content. Watch a film you know well with dark interiors, daylight exteriors, and close-up faces. Look for shadow detail, texture in bright skies and white clothing, and skin tones that read neutral rather than orange or pink.
- Repeat separately for HDR. Play an HDR title to force the TV into HDR mode, set that mode to Filmmaker or Cinema, and disable processing again. HDR uses fixed brightness targets, so leave contrast and brightness at their defaults and adjust only tone mapping.
- Save and copy to other inputs. Use the TV’s copy-settings feature, or enter the numbers manually on each remaining input so console, streaming stick, and cable box all match.
Safety and Panel Care While You Work
Test patterns are static images, and static images held on screen for long stretches are the one genuine risk here, particularly on OLED panels where prolonged identical content can leave temporary image retention. Keep each pattern up only as long as you need it, ideally under a few minutes, and let normal moving video play between steps. Do not clean the screen with household glass cleaner while you are at it, as ammonia damages anti-reflective coatings; a dry microfibre cloth is safer. And if your TV is wall mounted, avoid leaning on the panel while reaching for a rear input.
Where Your TV’s Hardware Sets the Ceiling
Calibration reveals a panel’s character, it does not change it. A set with weak native contrast will still show grey blacks in a dark room no matter how carefully you set the brightness control, and a dim panel will still look washed out under bright windows.
If dark-room performance is your priority, panels that produce true black respond best to careful setup, and our roundup of the best OLED gaming TVs covers sets built around that strength. In a room with heavy daylight, output matters more than contrast ratio, which is where the best QLED gaming TVs and the best bright gaming TVs earn their place. For dedicated home theaters and blacked-out basements, the best dark room gaming TVs prioritize shadow detail and low-light uniformity. And because HDR calibration depends entirely on how much peak brightness a set can actually deliver, the best HDR gaming TVs shortlist explains what tone mapping realistically looks like at each performance tier.
Troubleshooting Common Problems
The Picture Looks Too Yellow
This is almost always adaptation rather than a mistake. Warm is correct, and your eyes have spent years adjusting to an artificially blue default. Live with it a week; if it still bothers you, step from Warm2 to Warm1 rather than jumping back to Standard.
Dark Scenes Look Grey or Crushed
Grey blacks mean the Brightness control is set too high, or a black-enhancement feature is still active. Crushed shadows, where dark areas become featureless black, mean it is too low, or dynamic contrast is clipping the low end. Recheck with a pluge pattern in your normal room lighting, since ambient light strongly affects how you perceive the difference.
Settings Change on Their Own
An ambient light sensor or eco mode is overriding you. These are often buried in general or system settings rather than the picture menu. Disable every automatic brightness, energy-saving, and auto-picture-mode option, then reconfirm your values.
One Input Looks Different
Settings are stored per input on nearly every TV. It can also be a signal-range mismatch: if a console or PC outputs limited range while the TV expects full range, blacks and whites clip. Set both to matching range settings, and label the HDMI input by device type.
Mistakes to Avoid
- Calibrating in the wrong light. Settings dialed in during the day will feel searing at night.
- Copying someone else’s numbers. Panel variation and room lighting make another person’s values a starting point at best.
- Leaving motion smoothing on. It undoes the natural look you just worked for.
- Adjusting controls out of order. Black level and white level interact, so setting contrast first means redoing both.
- Forgetting HDR. Your SDR work does not carry over to HDR mode.
Frequently Asked Questions
Do I need a colorimeter to get a good picture?
No. A meter buys you verified grayscale and color accuracy, which is a genuine refinement, but the largest and most visible improvements come from preset choice, disabling processing, and correct black and white levels. All of those are achievable by eye.
How often should I recalibrate?
Once a year is plenty, plus any time a firmware update resets your settings or your room lighting changes substantially. Panels drift slowly.
Should I use the same settings for gaming?
Use the same accuracy targets but a separate Game picture mode, which bypasses processing to reduce input lag. Set black level, white level, and color temperature there the same way.
Why does Filmmaker Mode look so dim?
It usually is not dim, it is simply not artificially boosted. If it genuinely is too dark for your room, raise the backlight or OLED light control, which changes output without harming accuracy. Do not raise contrast to compensate, as that clips highlight detail.
Final Thoughts
Calibrating by eye is less about chasing perfection than about undoing the distortions a TV ships with. Pick an accurate preset, switch off the processing that fights you, set black and white levels with patterns so nothing is lost at either extreme, then trust real content to confirm the result. The first evening will feel unfamiliar, because accurate is not the same as impressive, but within a week the boosted look you left behind will seem obviously artificial. Note your final numbers, repeat for HDR, and enjoy a picture that finally shows what was in the frame.









