
 Owen Bradley
 Building a PC for video editing on a budget is a different exercise from building a gaming machine at the same price. Games reward a strong graphics card above all else; editing rewards balance. A timeline that scrubs smoothly and an export that finishes in minutes rather than an hour depend on core count, memory capacity, encoder support, and storage layout working together. Spend everything on one part and the other four will hold you back. This guide walks through planning and assembling an editing build in a sensible order, with the reasoning behind each choice so you can adjust the budget without breaking the balance.
Define the Workload Before Buying Anything
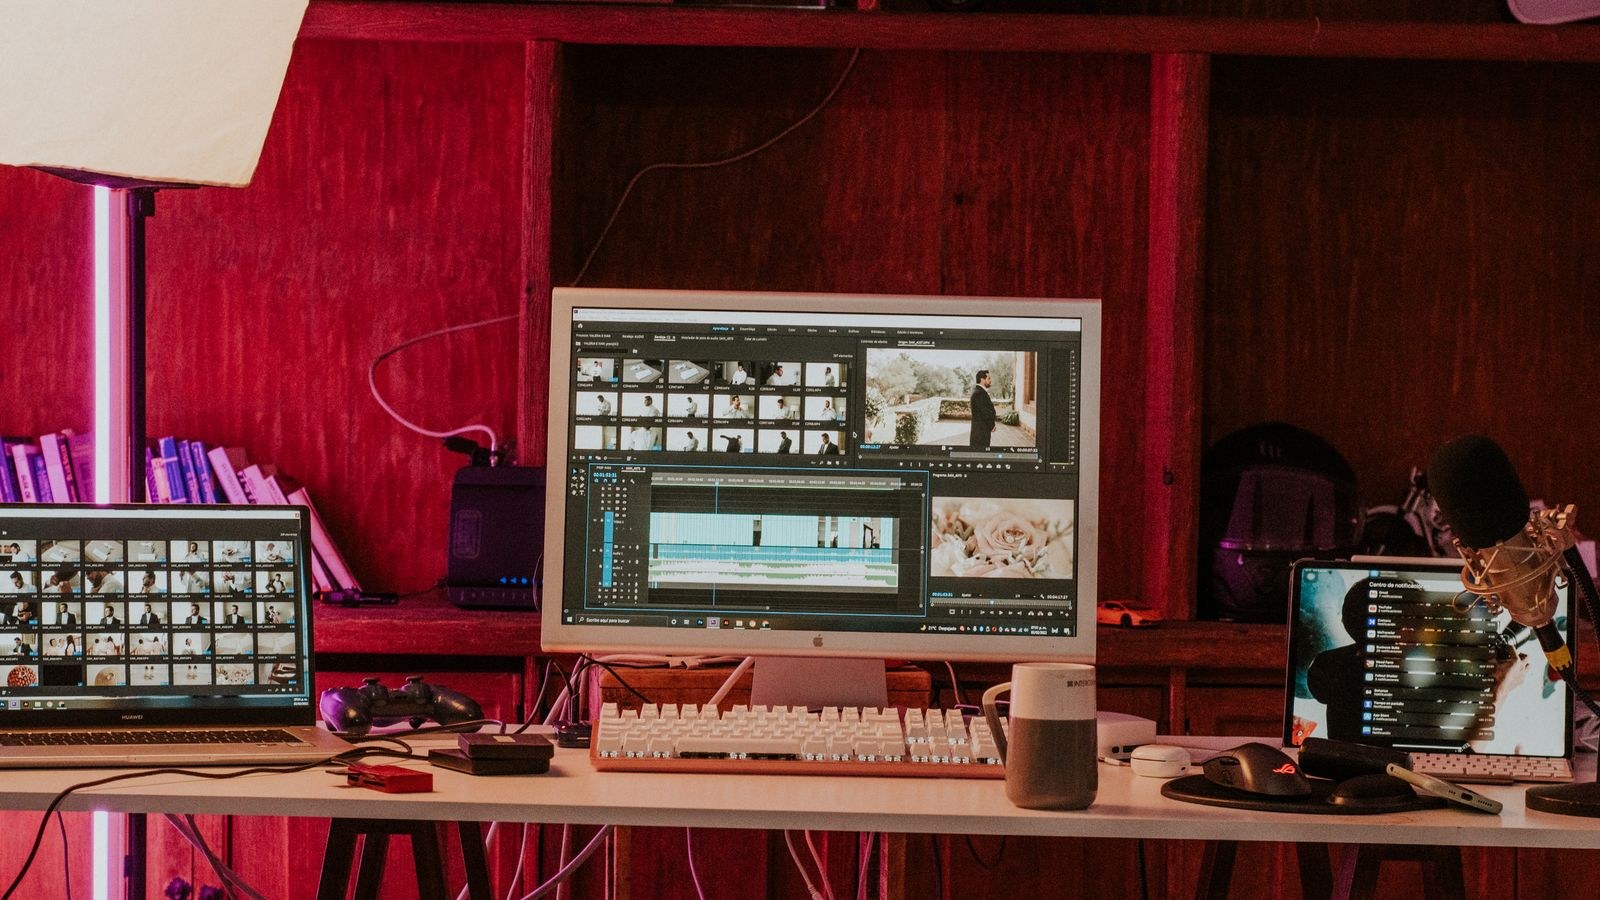
The single most expensive mistake in an editing build is buying for a workload you do not have. Editing 1080p footage from a mirrorless camera in a consumer editor is a modest task that a mid-range machine handles comfortably. Editing multicam 4K in a heavily compressed codec, grading log footage, or working with high-bitrate raw files is dramatically more demanding, and the bottleneck moves depending on which of those you do.
Write down four things: the resolution and frame rate you shoot, the codec your camera produces, the software you edit in, and the typical length of a finished project. Highly compressed codecs like long-GOP files lean heavily on the processor for decoding. Intraframe and raw formats lean on storage bandwidth. Effects, transitions, noise reduction, and grading lean on the graphics card. Knowing which applies keeps you from overspending on the wrong component.
Planning the Budget Split
A workable starting split for a general-purpose editing build puts roughly a third into the processor, a quarter into the graphics card, and the remainder spread across memory, storage, motherboard, power supply and case. That is deliberately more CPU-weighted than a gaming build, because timeline responsiveness, decoding, and many export paths scale with cores.
Where you shift that split depends on your workload. Heavy effects and grading work push money toward the GPU. Long-form multicam projects push it toward memory and fast storage. Very compressed source footage pushes it toward the processor. Decide once, then hold the line, because the temptation to upgrade one part late in the process is what unbalances most builds.
Choosing the Core Components
Processor
Core count and single-core speed both matter, but for different reasons. Single-core performance governs how responsive the interface feels, how quickly a timeline scrubs, and how fast many effects preview. Core count governs export times, background rendering, and how well the machine copes when you are encoding one project while working on another. For most editors, eight cores is the practical entry point and higher counts pay off as project length and codec complexity grow. Integrated graphics on the processor are worth having too, since some editors use the integrated media engine for hardware decoding even when a discrete card is present. Compare options in the roundup of the best CPUs for video editing against the codecs you actually shoot.
Graphics Card
The GPU accelerates effects, grading, scaling, and increasingly the encode and decode stages themselves. What matters most on a budget is not raw gaming performance but the presence of a capable hardware encoder and enough video memory to hold your working resolution comfortably. Treat 8GB as a floor for 4K work and more if you use heavy noise reduction or work at higher resolutions. A mid-range card with a modern encoder frequently outperforms an older high-end card for export times. The list of the best GPUs for video editing highlights cards chosen for encoder capability rather than frame rates.
Memory
Memory is where budget builds most often fall short, and the symptom is unmistakable: the machine feels fine until you open a second application or a long timeline, then everything crawls. For 1080p work, 16GB is workable. For 4K, 32GB should be considered the practical target, and 64GB is genuinely useful for long multicam projects or when running an editor alongside a colour tool and a browser full of references. Buy a matched kit so it runs in dual channel, since memory bandwidth affects preview performance directly. The best RAM for video editing guide covers capacity and speed combinations that editing applications actually reward.
Storage Layout
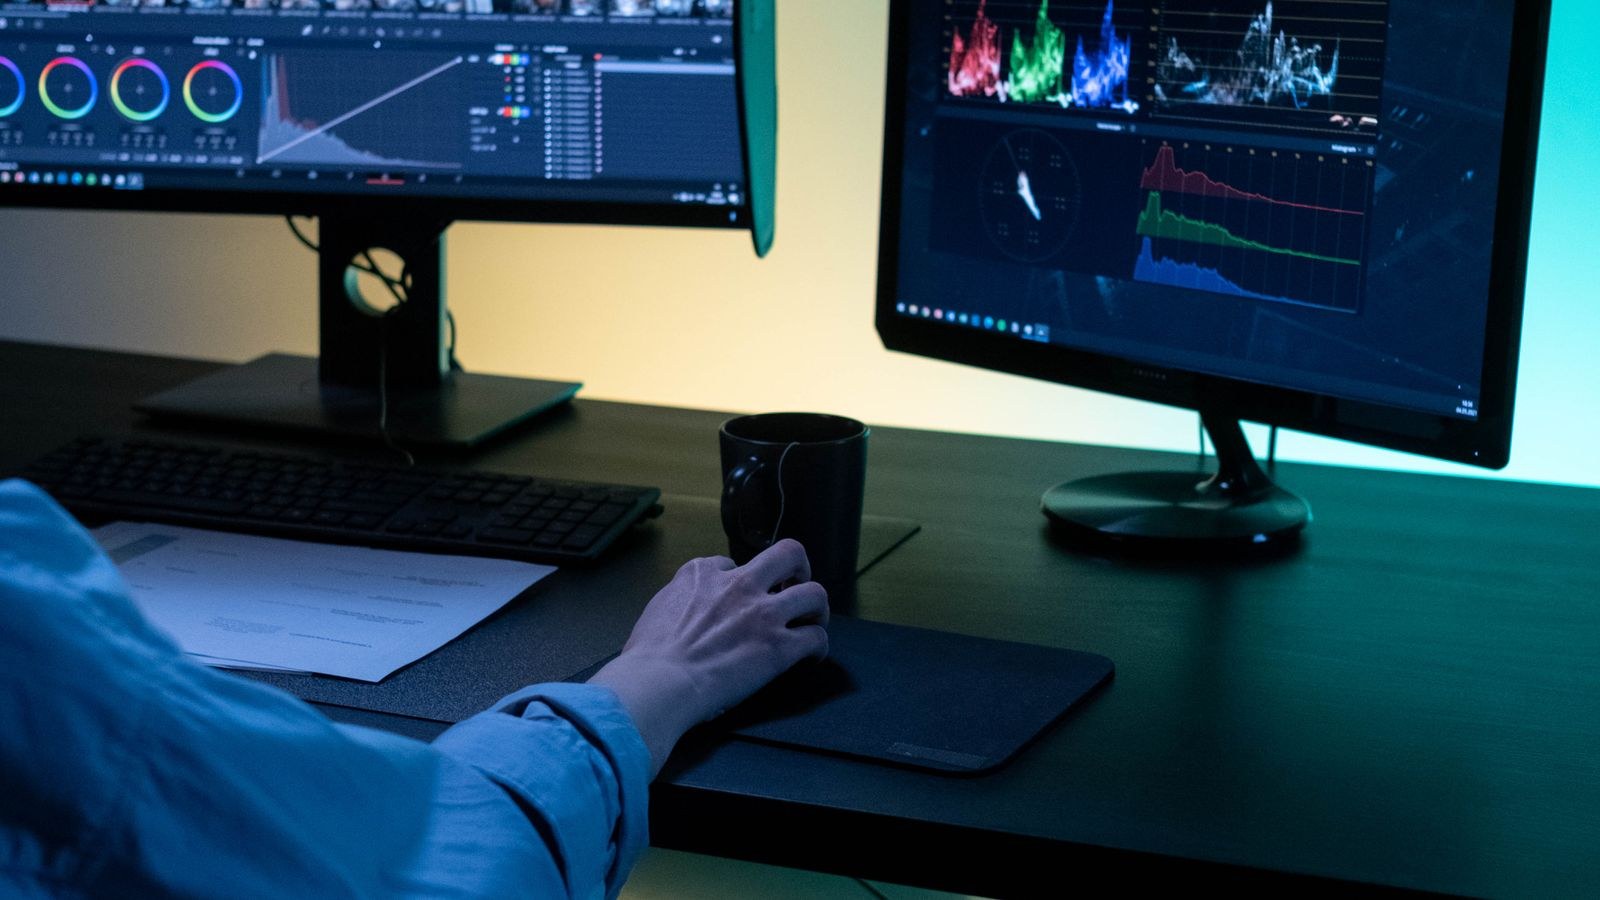
Storage is the cheapest place to buy a large speed improvement and the place budget builders most often cut. Plan three tiers: a fast NVMe drive for the operating system and applications, a second larger NVMe drive for the active project along with cache, previews and scratch files, and bulk mechanical or SATA storage to archive finished projects and footage you are not currently touching.
Keeping the active project and cache off the system drive prevents the two from competing for the same controller and produces noticeably smoother scrubbing. Pay attention to sustained write speed rather than headline peak figures, because editing writes large files continuously and drives with small cache buffers slow dramatically once that buffer fills. The best SSDs for video editing selection focuses on drives that hold their speed under sustained load.
Motherboard, Power and Case
The board does not need to be expensive, but it does need the right connectivity: at least two M.2 slots so you can separate system and scratch drives, enough USB ports for card readers and external drives, and sound power delivery if you plan a higher core count processor. Rear connectivity matters more on an editing machine than a gaming one because of the number of peripherals involved. See the best motherboards for video editing for boards that balance those needs at sensible prices.
For the power supply, size it against the combined draw of your processor and card with meaningful headroom, and buy a reputable unit rather than the cheapest that meets the wattage. A case with good airflow keeps long exports from thermally throttling, which is a real and often overlooked cause of slow render times.
Step-by-Step Assembly
- Prepare a clean workspace. Use a large hard surface, keep the motherboard on its antistatic bag or box, and ground yourself before handling components. Lay out the manuals and screws for each part.
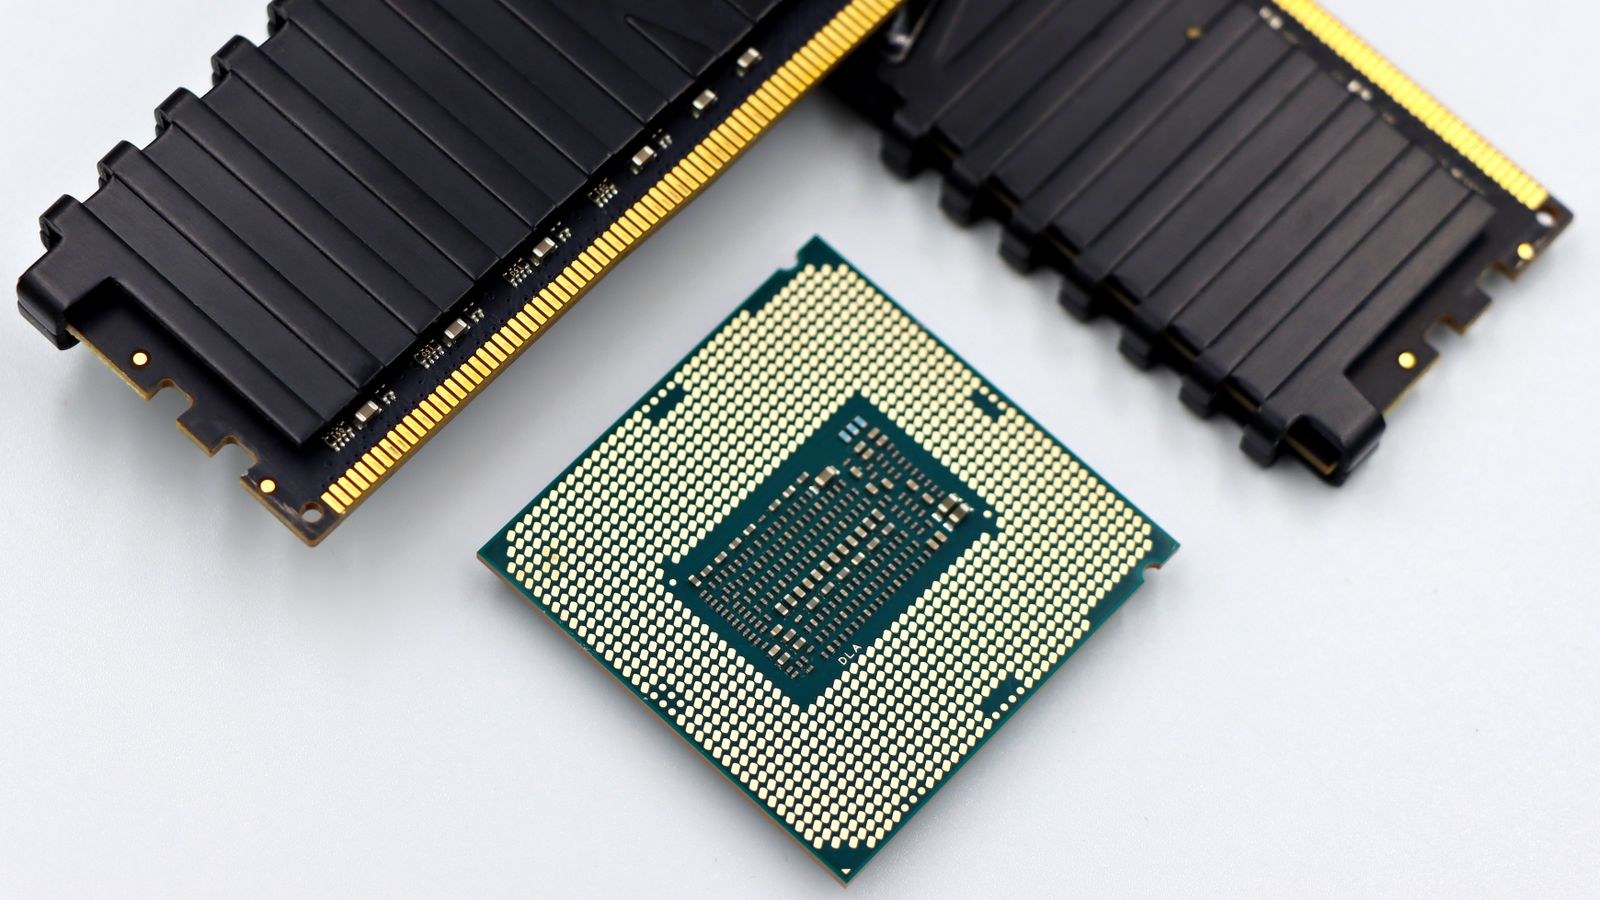
- Install the processor. Open the socket, align the triangle marker on the chip with the one on the socket, and lower it in without force. Close the retention arm firmly. Never touch the pads or pins.
- Fit the memory. Consult the manual for slot order, which is almost always the second and fourth slot from the processor for a pair. Push each stick down evenly until both clips snap upright.
- Install the M.2 drives. Fit them before the cooler and graphics card go in, since access becomes difficult afterwards. Remove any protective film from the heatsink pads and secure each drive with its retention screw or latch.
- Mount the cooler. Apply a pea-sized amount of thermal paste if the cooler does not have a pre-applied pad, then tighten the mounting screws in a diagonal sequence a few turns at a time so pressure stays even.
- Install the board in the case. Fit the rear input panel shield first if it is separate, check that the standoffs match your board size, and drive the screws snugly without over-tightening.
- Fit the power supply and route cables. Install the unit with its fan facing an unobstructed vent, then run the board, processor, and PCIe cables behind the tray before connecting anything. Doing cable routing now is far easier than after the card is installed.
- Install the graphics card. Release the slot latch, seat the card firmly until it clicks, secure the bracket screws, and connect the supplementary power connectors fully.
- Connect front panel and storage. Attach power switch, reset, USB and audio headers per the manual diagram, then connect any SATA drives for archive storage.
- First boot and firmware setup. Enter the board’s setup, confirm all memory and drives are recognised, enable the memory profile, and set a sensible fan curve before installing the operating system.
- Install the OS and drivers. Put the system on the primary NVMe drive, then install chipset and graphics drivers from the manufacturers directly rather than relying on automatic updates.
- Configure the editor. Point cache, preview, and scratch locations at your secondary NVMe drive, enable hardware decoding and encoding in the application preferences, and set the project media location away from the system drive.
Testing and Tuning After the Build
Run a real project rather than a synthetic benchmark. Import a representative clip, scrub the timeline, apply your usual effects, and time a full export while watching resource usage. If the processor sits pinned while the card idles, hardware acceleration is probably disabled in the application. If memory usage is at the ceiling, you have found your next upgrade. If drive activity spikes and preview stutters, your cache is likely still on the system drive.
Safety Notes
Work with the machine unplugged and the power supply switch off. Ground yourself against bare case metal before handling any component. Never force a part into place, since every connector is keyed and resistance means misalignment. Do not open the power supply casing, and support long graphics cards with a bracket if the board flexes.
Common Mistakes
The first is buying the biggest graphics card the budget allows and leaving too little for memory and storage, which produces a machine that renders effects quickly but stutters during ordinary editing. The second is running a single memory stick, halving bandwidth for no saving worth having. The third is putting cache and project files on the same drive as the operating system. The fourth is skipping hardware acceleration settings in the editor, leaving a capable encoder completely unused. And the fifth is under-sizing the power supply, which produces crashes during long exports that look like software faults.
Frequently Asked Questions
Is the CPU or GPU more important for editing?
Both matter, but the processor usually determines timeline responsiveness and decoding of compressed footage, while the card accelerates effects, grading and encoding. A balanced pairing beats a lopsided one.
How much memory do I really need for 4K?
32GB is the practical target for comfortable 4K work. 16GB is workable for short, simple projects but will feel tight as soon as you run other applications alongside.
Do I need more than one SSD?
Two drives make a clear difference. Separating the operating system from active project files and cache removes a common source of stutter during playback.
Can I use integrated graphics only?
For light 1080p editing, sometimes. For anything involving 4K, effects, or grading, a discrete card with a modern encoder saves substantial time.
Should I buy used parts to stretch the budget?
Used memory and storage carry more risk than used cases or coolers. If you buy second-hand, prioritise parts with no wear-limited components and test them thoroughly within any return window.
Final Thoughts
An editing PC on a budget succeeds through balance and sequencing, not through one heroic component. Define the footage you actually work with, split the budget accordingly, give the processor and memory their due, and treat storage layout as a performance feature rather than an afterthought. Assemble methodically, then test with a real project and tune the software settings that so many builders leave untouched. Do that and a modest budget produces a machine that scrubs smoothly, exports predictably, and leaves clear upgrade paths open when your projects grow.









