
 Owen Bradley
 A closet office, sometimes called a cloffice, turns two feet of unused depth into a real workstation that disappears behind a door when the day ends. It is one of the highest-value weekend projects in a small home, because you gain a dedicated work zone without losing floor space from any room. The catch is that a closet was never designed to hold a person, a computer, and several hundred watts of electronics. Depth is tight, power is usually absent, and ventilation is nonexistent. This guide walks through the build in order: measuring and clearing, sizing a shelf desk that actually fits a monitor, adding power safely, lighting a windowless box, and keeping air moving so the space does not turn into an oven by mid-afternoon.
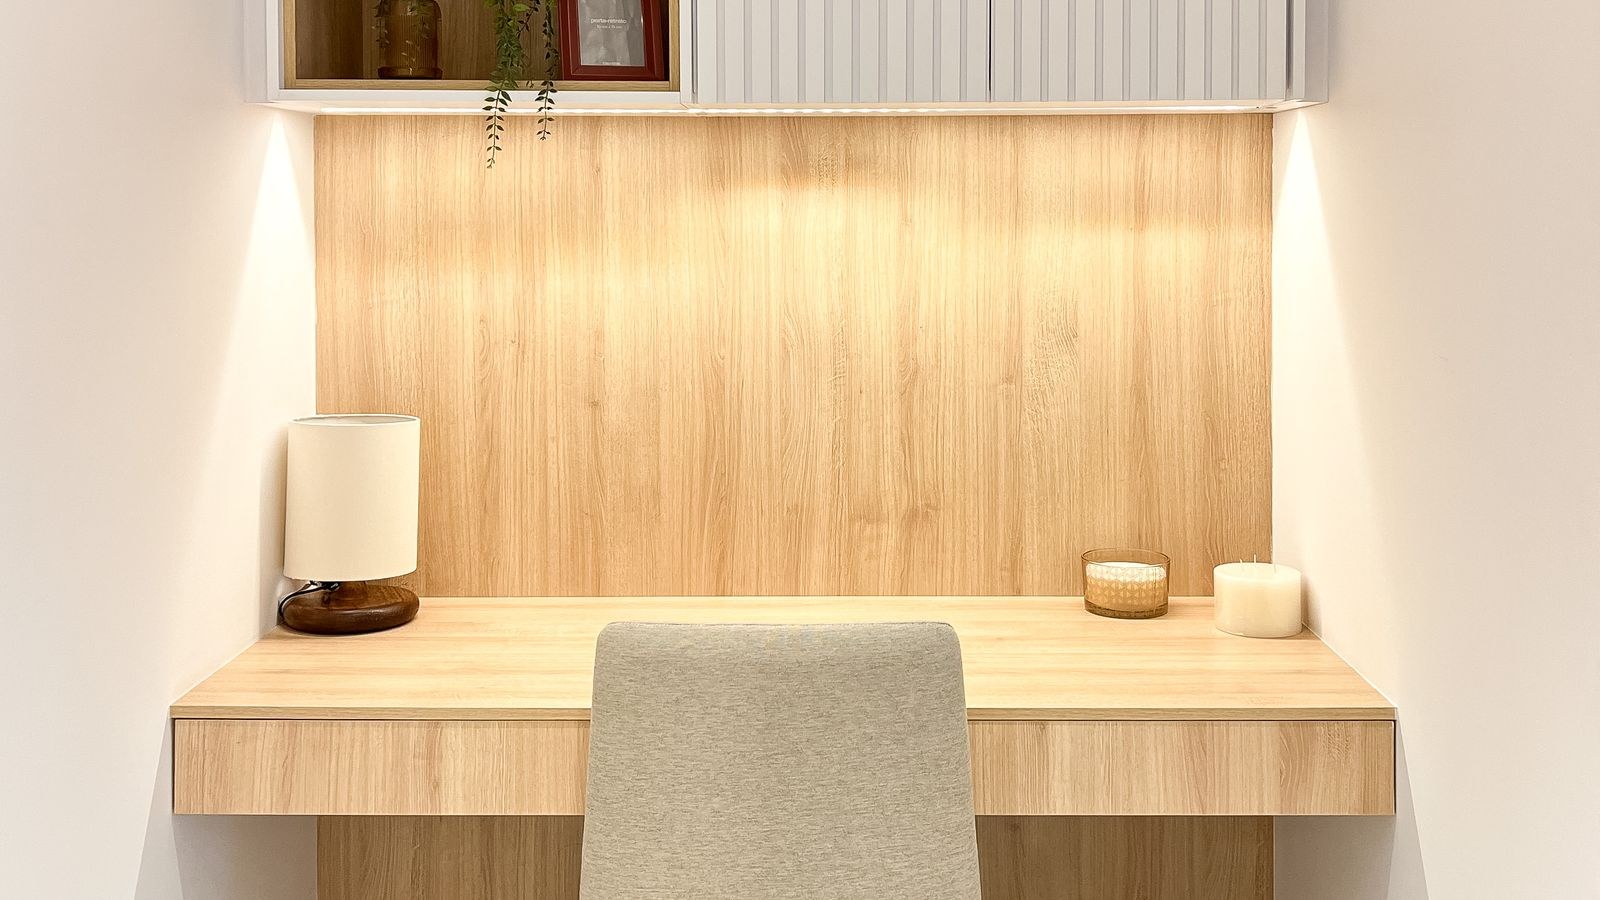
What You Need Before You Start
- Tape measure, pencil, level, and a stud finder. The stud finder is not optional; a shelf desk carries real load.
- Drill/driver with a set of bits, plus wall anchors rated for at least 50 pounds each.
- A shelf board or desktop panel cut to the interior width. Most home centres will cut to size for you.
- Heavy-duty shelf brackets or a French cleat, two minimum, three for spans over 40 inches.
- A surge-protected power strip and adhesive mounting brackets.
- LED strip lighting or a plug-in puck light set with a switch.
- Paint or peel-and-stick wallpaper in a light colour, and a paint roller.
- Optional: a small USB fan, a slimline drawer unit, and a pegboard panel.
Budget one afternoon for demolition and painting, and one for the desk, power, and finishing. The build itself is straightforward; the measuring is where care pays off.
Step-by-Step: Building the Closet Office
- Empty the closet completely and measure the interior. Record width, depth, and height at the top and bottom, since older closets are rarely square. Note the exact position of the door frame, because the frame, not the wall, sets your usable width.
- Check the depth against a person. A standard reach-in closet is 24 inches deep. You need at least 18 inches of desk depth for a monitor and keyboard, plus room for your knees. If depth is under 20 inches, plan on a wall-mounted monitor arm rather than a stand.
- Remove the hanging rail and old shelving. Fill the screw holes and any rail-bracket damage with filler and sand flat once dry.
- Sort out power before anything is fixed in place. If there is no outlet, this is the moment. Running a new circuit or adding an outlet inside the closet is electrician work in almost every jurisdiction; do not splice into a lighting circuit yourself. If a licensed outlet is not in the budget, run a single heavy-gauge extension to a surge-protected strip mounted inside, keep the total load modest, and never run the cable under a rug or through a pinched door.
- Paint or paper the interior. A closet has no daylight, so a light, slightly warm white reflects lamp light and stops the space feeling like a cupboard. Do this before the desk goes in; painting around a fixed shelf is miserable.
- Mark the desk height. Standard is 29 to 30 inches from the floor to the top surface. Measure from the floor at both ends, mark, and connect the marks with a level line. Trust the level, not the floor.
- Locate the studs and fix the brackets. Screw brackets into studs wherever possible. Where a bracket lands between studs, use a toggle or heavy-duty anchor rated well above the expected load. Check the bracket tops are level with each other before mounting the board.
- Fit the desktop. Dry-fit first, scribe any cut needed around the door frame, then fasten the board down through the brackets from underneath. Push on the front edge hard; there should be no flex or creak.
- Add a second shelf above. Mount it at least 16 inches above the desk so a monitor fits underneath, and use it for storage or a light bar. This is where a closet office beats a normal desk, because vertical space is free.
- Install lighting. Fix an LED strip under the upper shelf so it washes the desktop, and add a second light source higher up so your face is lit for video calls rather than shadowed.
- Mount the power strip and route cables. Fix the strip to the underside of the desk or the side wall with adhesive brackets, then sleeve and clip everything so nothing hangs into the leg space.
- Sort ventilation. Details below, but decide now whether you are keeping the door open, fitting a vented door, or adding a small fan.
- Move in and test for a full working day. Sit, work, and note every irritation before you add the finishing touches like pegboard, trays, and a pinboard.
Sizing the Shelf Desk Correctly
Depth is the constraint that decides everything else. At 24 inches of closet depth you can fit a 20-inch desk and still close a bifold door. At 18 inches you are into laptop-and-monitor-arm territory. Whatever the number, keep at least four inches of clear space behind the desk edge for cables, or every plug will fight the back wall.
Board thickness matters more than people expect. A 3/4-inch board on three brackets is solid; a 1/2-inch board over 36 inches will bow under a monitor within a year. If you want a ready-made surface rather than cutting a panel, the models in our best desks for small spaces and best compact desks roundups are sized for exactly this kind of footprint, and several are narrow enough to slide into a reach-in closet without modification. For the smallest builds, the best desks for a small home office list focuses on models under 40 inches wide.
If your closet is a walk-in with more than 30 inches of depth, you have the luxury of an L-shaped return along the side wall. Keep the return shallow, around 14 inches, so it holds a printer or notebook without blocking your chair’s swing.
The Chair Has to Fit Too
A closet office fails at the chair more often than at the desk. Arms are the problem: fixed armrests catch on the door frame every single time you sit down, and after a week you will stop tucking the chair in. Choose an armless or fully retractable-arm task chair with a compact base, and check the base diameter against your closet width before buying. Our roundup of the best armless desk chairs exists largely for tight spaces like this one, where the chair has to slide fully under the desk.

Power and Cable Management Without a Mess
Everything in a closet office is within arm’s reach, which means every cable is also within eye’s reach. Plan the wiring as carefully as the carpentry.
- One entry point. Drill a single 2-inch grommet hole through the desktop near the back corner and pass every cable through it.
- Mount the strip, do not rest it. A strip on the floor collects dust and gets kicked. Adhesive brackets under the desk keep it accessible and invisible.
- Sleeve the bundle. A single fabric sleeve from the grommet to the strip turns eight cables into one.
- Leave service slack. You will move the monitor at some point. Six extra inches on each cable saves you re-running everything.
- Watch the total load. A monitor, laptop, and lamp is fine on a standard circuit. A space heater is not. Never chain one power strip into another.
If you would rather buy the problem away, desks with integrated outlets and routing channels solve most of this out of the box; our best desks with built-in power selection covers models with USB and mains sockets in the surface, which removes the need to drill your own grommet.
Keeping the Space Ventilated
This is the step most closet office builds skip and later regret. A small enclosed box with a person and 200 watts of electronics inside heats up quickly, and stale air makes concentration noticeably worse within an hour.
The simplest solution is to work with the door open and only close it at the end of the day, which is how most people use these spaces anyway. If you need the door shut during the day, replace a solid door with a louvred or slatted one, or fit a vent grille near the top and another near the bottom so air can convect through. A small USB desk fan aimed upward at the opening moves a surprising amount of air for two watts. Keep the top of the closet clear rather than packed with boxes, since trapped hot air at ceiling level is what makes the space feel stuffy. If the closet backs onto an exterior wall in a cold climate, watch for condensation on that wall and leave an air gap behind any storage.

Mistakes to Avoid
- Measuring the wall instead of the door opening. The frame is always narrower, and a desk that will not pass through it is scrap.
- Mounting the shelf level with the floor. Old floors slope. Use a spirit level and accept a small gap at one end.
- Skipping the stud finder. Drywall anchors alone will eventually pull out under a leaning elbow.
- Wiring an outlet yourself. Enclosed spaces and DIY electrics are a bad combination. Get a licensed electrician.
- Forgetting the upper shelf clearance. Fitting it 12 inches above the desk means your monitor will not stand upright.
- Ignoring heat. A closed door plus a laptop plus a person equals an uncomfortable room within an hour.
- Choosing a chair with fixed arms. It will catch the frame every time and you will stop using the space properly.
Frequently Asked Questions
How deep does a closet need to be for an office?
Twenty-four inches is the practical minimum for a monitor and keyboard. At 18 to 20 inches you can still work comfortably using a laptop or a wall-mounted monitor arm to reclaim the depth a stand would use.
Can I add an outlet inside a closet myself?
In most places this requires a licensed electrician and may need a permit. The safe DIY alternative is a single heavy-gauge extension lead to a mounted, surge-protected strip with a modest total load.
Do I need to remove the closet doors?
No, and keeping them is the main benefit of the format. Bifold or sliding doors work well. Just confirm the desk depth and your chair both clear the track before you build.
How much weight can a shelf desk hold?
A 3/4-inch board on brackets fixed into studs will comfortably support a monitor, laptop, and leaning weight. Add a third bracket for any span over 40 inches to prevent bowing over time.
Final Thoughts
A closet office rewards planning far more than skill. Measure the door opening rather than the wall, set the desk height with a level rather than the floor, fix your brackets into studs, and solve power and airflow before you install anything permanent. Choose a shallow surface and an armless chair so the space works every day rather than just looking good in a photo. Done in that order, the whole build fits comfortably into a weekend, and you end up with a dedicated workstation that closes behind a door the moment you stop working, which is something a desk in the corner of a living room can never quite manage.









