Owen Bradley
 A single router often can’t cover every corner of a larger home, leaving frustrating dead zones in bedrooms, basements, garages, and back patios. Adding multiple access points extends your Wi-Fi signal throughout the house while keeping everything on one unified network, so your devices roam seamlessly from room to room instead of dropping connections as you move. This guide covers planning, wiring, mounting, and configuring a multi-access-point setup that actually delivers reliable whole-home coverage rather than a patchwork of competing networks.
Access Points vs. Range Extenders
Before you buy anything, understand why access points beat cheap range extenders. A range extender rebroadcasts your existing Wi-Fi wirelessly, which cuts bandwidth roughly in half because it has to talk to both your router and your devices on the same radio. A properly wired access point, by contrast, connects back to your router over Ethernet and broadcasts a fresh, full-speed signal. The result is faster speeds, lower latency, and none of the dead-zone bounce that plagues extenders in larger homes.
Planning Your Access Point Layout
Start by mapping your home and identifying the weak-signal areas you actually care about. As a rule of thumb, one access point comfortably covers 1,000-1,500 square feet depending on wall materials and floor plan, so a 2,500 square foot home typically needs two to three access points spaced evenly. Avoid placing them too close together, which wastes coverage, or too far apart, which reopens the gaps you were trying to close. Sketch the layout on paper first, marking where you can realistically run cable.
Step-by-Step Setup Process
- Choose your access point hardware. Dedicated access points or a mesh system both work well; if you want standalone units you can mix with existing gear, review the best access point routers to match your coverage and speed needs.
- Plan wired backhaul if at all possible. Running Ethernet cable to each access point location delivers the most reliable performance, though wireless mesh backhaul is a solid fallback where cabling isn’t practical.
- Install your main router or controller. Set up your primary router as usual, connected directly to your modem, and confirm it has internet before adding anything else.
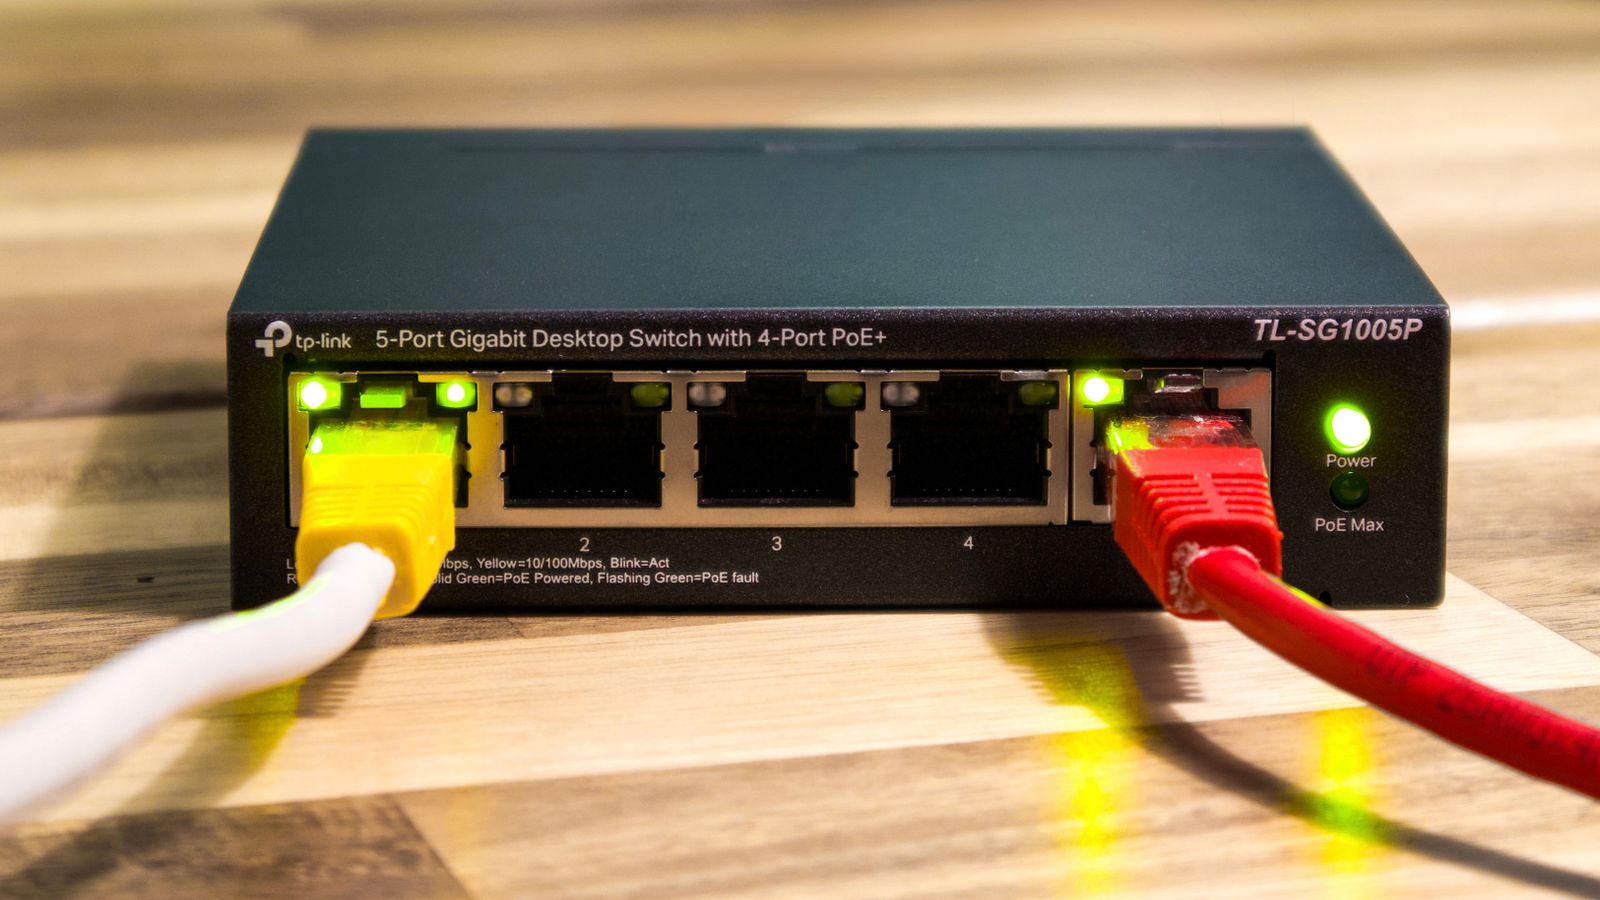
- Run cabling to each access point location. With wired backhaul, run Ethernet from a switch near your router out to each planned access point spot, leaving a little slack at each end.
- Mount access points centrally in each zone. Place units at ceiling height or on a high shelf in the center of the area they will serve, away from thick walls, ductwork, and large metal objects.
- Use the same network name and password everywhere. Set every access point to broadcast an identical SSID and password so devices roam automatically without any manual reconnection.
- Assign non-overlapping channels. On the 2.4GHz band, use channels 1, 6, or 11 for neighboring access points to minimize interference; most 5GHz channels can be left on automatic selection.
- Enable band steering and fast roaming. Where supported, these features nudge devices onto the strongest nearby access point and the best available band automatically.
- Walk-test coverage room by room. Move through the house with a phone or laptop, checking signal strength and confirming a smooth handoff between access points as you go.

Wired vs. Wireless Backhaul
Backhaul is the link that carries traffic between each access point and your main router, and it is the single biggest factor in whole-home Wi-Fi performance.
Wired Backhaul
Wired backhaul, where each access point connects to your router via Ethernet, delivers the most consistent speed and lowest latency because it does not share airtime with your client devices. If you can run even one or two Ethernet drops to strategic central locations, the improvement is dramatic and well worth the effort.
Wireless Backhaul
Wireless mesh backhaul is far easier to install since it needs no cabling, but it can reduce throughput, especially with multiple hops between nodes in a large or multi-story home. Use it only where running cable truly isn’t an option, and try to keep each node within strong signal range of the one before it.
Mounting and Placement Tips
Placement makes or breaks coverage. Mount access points high and out in the open rather than tucking them inside cabinets or closets, since every wall and door between the unit and your devices weakens the signal. In multi-story homes, remember that Wi-Fi radiates outward and downward, so a ceiling-mounted access point on an upper floor can serve the room below it. Keep units away from microwaves, cordless phone bases, and large mirrors, all of which cause interference or reflection.
Understanding Channels and Interference
When several access points broadcast in the same home, channel planning keeps them from stepping on each other. The 2.4GHz band has only three non-overlapping channels, 1, 6, and 11, so alternate these among nearby access points to avoid interference. The 5GHz band offers many more non-overlapping channels, which is why it is preferable for dense setups, though its shorter range is exactly why you need multiple access points in the first place. Most modern systems handle this automatically, but if you configure it manually, sketch out which channel each unit uses so no two neighbors share one.
Testing and Fine-Tuning Coverage
Once everything is installed, a proper walk-test reveals whether your plan worked. Load a Wi-Fi analyzer app on your phone and walk slowly through every room, watching the signal strength reading and noting where it drops below a comfortable level. Pay special attention to the transition zones between access points, since a good setup hands your device off smoothly without a noticeable pause. If you find a weak spot, you can often fix it by nudging an access point a few feet, raising it higher, or adjusting its transmit power rather than adding another unit entirely.
Common Mistakes to Avoid
- Using different network names for each access point, forcing devices to switch manually and cling to a weak signal.
- Placing access points too close together, creating wasteful overlap and leaving other areas uncovered.
- Mounting units inside cabinets or closets, where extra walls block the signal.
- Setting all access points to the same fixed 2.4GHz channel, causing them to interfere with each other.
- Relying entirely on wireless backhaul when Ethernet could have been run.
- Skipping a coverage walk-test and discovering dead zones only when you actually need Wi-Fi there.
Frequently Asked Questions
How many access points do I actually need?
Most homes need one access point per 1,000-1,500 square feet, though homes built with concrete or brick may need points spaced more closely because dense walls absorb so much signal.
Can I mix access points from different brands?
It’s possible but not ideal. Mixing brands can prevent seamless roaming features from working correctly, so staying within one ecosystem or using compatible access points from the same manufacturer gives the smoothest experience.
Do I need a separate controller to manage multiple access points?
Many consumer mesh systems manage everything through a single app with no dedicated controller, while more advanced business-grade setups may use a central controller for finer configuration across many access points.
Will more access points slow down my network?
No, when configured correctly with non-overlapping channels and wired backhaul, additional access points increase total capacity and coverage rather than slowing things down, since each serves fewer devices in a smaller area.
Final Thoughts
Multiple access points are the most reliable way to eliminate Wi-Fi dead zones in a larger home. By planning your layout carefully, using wired backhaul wherever you can, mounting units in open central spots, and keeping network names consistent, you’ll get seamless whole-home coverage that feels like one continuous network rather than a collection of separate Wi-Fi islands.