Owen Bradley
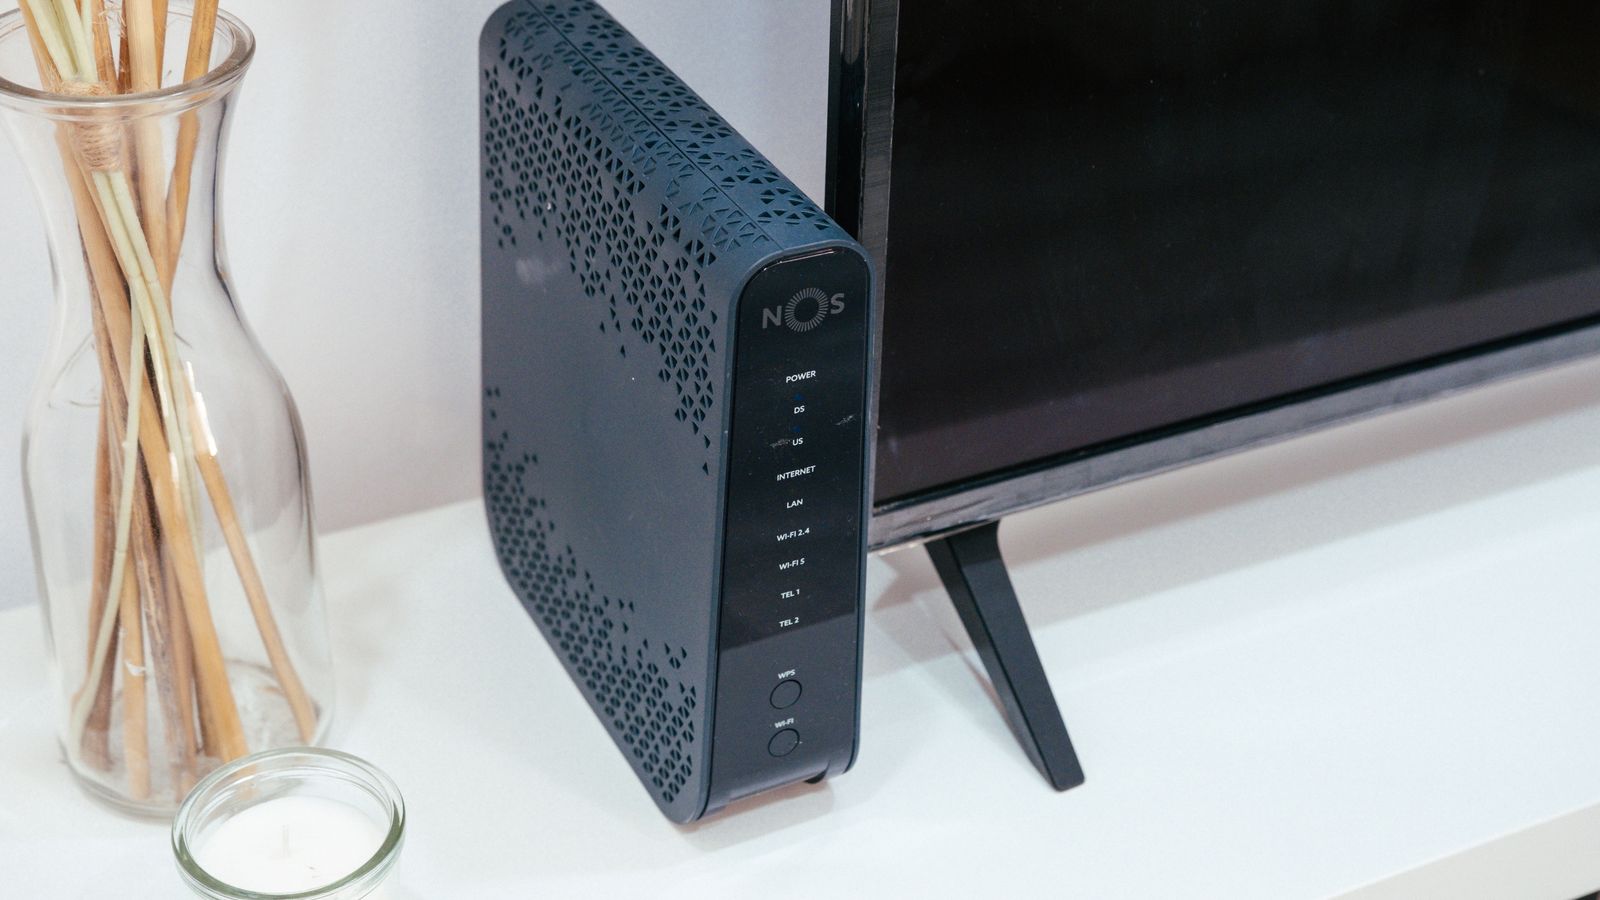
 Many internet providers charge a monthly rental fee for the router or gateway they hand you at installation, often $10-15 a month that quietly adds up to hundreds of dollars over a few years. Swapping in your own router eliminates that recurring fee for good and usually delivers better performance, stronger Wi-Fi coverage, and far more control over your network settings. The process is more approachable than most people expect once you understand what information your provider requires and how modem-and-router setups actually fit together.
Why Replace Your Rental Router
Beyond the obvious savings, owning your router gives you access to modern features that ISP-supplied gateways often lack or lock down: guest networks, robust parental controls, quality-of-service prioritization, and regular security updates. Rental gateways are frequently underpowered, aging models chosen to minimize the provider’s cost, not to maximize your speed. Buying your own hardware means you choose exactly the coverage, throughput, and features your household needs, and you keep the equipment for as long as it serves you.
Understand Your Current Setup First
Before buying anything, determine whether your rental device is a standalone router, a standalone modem, or a combo modem-router, commonly called a gateway. Check the label on the unit or your provider’s online account portal. If it is a combo unit, you will likely need a separate modem plus a router, or a compatible all-in-one replacement, since most ISPs still require their own certified modem hardware to interface with their network. Knowing your connection type, whether cable, fiber, or DSL, is essential because each requires a different kind of modem.
Step-by-Step Replacement Process
- Check ISP compatibility. Visit your provider’s approved device list to confirm which modems and routers are certified to work on their network at your subscribed speed.
- Buy the right hardware. If your ISP provided a combo gateway, purchase a separate modem and router, or a modem-router combo if you prefer simplicity. Reviewing the best ISP routers helps you find models known to play well with major providers.
- Record your current settings. Log into the rental gateway and note the Wi-Fi network name, password, and any custom port forwarding or static IP rules you rely on.
- Call your ISP to authorize the new modem. Most providers need to register the new device’s MAC address on their network before it will connect and pass traffic.
- Power down and disconnect the old unit. Unplug the rental gateway from power and disconnect the coax, fiber, or DSL line.
- Connect the new modem. Attach the incoming line to your new modem and power it on, then wait several minutes for it to fully sync with the ISP.
- Connect your new router. Run an Ethernet cable from the modem’s LAN port to your router’s WAN or internet port, then power on the router.
- Configure Wi-Fi and settings. Log into the router’s admin panel and set your network name, password, security type, and any advanced features you need.
- Reconnect and test every device. Rejoin your phones, laptops, smart-home gear, and consoles to the new network, confirming each gets internet access.
- Return the rental and cancel the fee. Contact your ISP to arrange return of the old equipment and confirm the monthly rental charge has been removed from your account.
Bridge Mode: The Key to a Smooth Transition
If your provider insists you keep their gateway for account authentication, ask them to enable bridge mode. This disables the gateway’s built-in router functions, including its Wi-Fi and firewall, and passes the raw internet connection straight through to your own router. It is a common middle-ground solution when a full modem swap is not possible or not approved by the ISP. In bridge mode, your own router takes over all networking duties while the ISP gateway simply acts as a modem, giving you most of the benefits of owning your equipment.
Choosing Between a Combo Unit and Separate Devices
A combo modem-router keeps things simple with one box, one power cable, and one point of management, which appeals to people who want a plug-and-play experience. Separate devices, however, offer more flexibility and easier upgrades: when Wi-Fi standards advance, you can replace just the router without buying a new modem, and if one component fails you only replace that piece. For anyone who wants long-term control and the best possible Wi-Fi, separate devices are usually the smarter investment.
Modem and Router Speed Considerations
When choosing your own equipment, match the modem to your internet plan’s speed tier, not just to your provider. A modem rated for a lower tier will cap your throughput no matter how fast your plan is, so check the modem’s maximum supported download and upload speeds against what you pay for. On the router side, make sure it supports a current Wi-Fi standard so it can actually deliver the speeds your modem passes through. If you have gigabit internet, confirm the router’s WAN port and LAN ports are rated for gigabit or faster, since an older router may bottleneck a fast connection at the port level even when everything else is capable.
Testing Your New Setup
After everything reconnects, run a wired speed test with a laptop plugged directly into the router, then a wireless test from a few rooms away. The wired result confirms your modem and plan are performing correctly, while the wireless results tell you whether the new router’s coverage meets your needs. If wired speeds match your plan but Wi-Fi lags in distant rooms, the modem swap succeeded and any remaining issue is about router placement or coverage rather than the ISP connection itself.
Common Mistakes to Avoid
- Buying a router or modem that isn’t compatible with your ISP’s network technology, whether cable, fiber, or DSL.
- Skipping the ISP registration call, which can leave the new modem unable to connect at all.
- Forgetting to cancel the rental fee after switching, continuing to pay for equipment you no longer use.
- Leaving the old gateway’s Wi-Fi broadcasting alongside your new router, creating confusing duplicate networks.
- Buying a modem rated for a lower speed tier than your internet plan, capping your throughput.
- Not backing up custom settings like port forwarding before disconnecting the old unit.
What to Do With the Old Equipment
Once your new setup is confirmed working, return the rental promptly and keep the return receipt or tracking number. Providers frequently charge a hefty unreturned-equipment fee if the gateway does not make it back on time, which can erase your savings. Photograph the equipment and any serial numbers before shipping so you have proof it was returned in good condition.
Frequently Asked Questions
Will replacing the rental router actually save me money?
Yes. Most rental fees run $10-15 monthly, so a one-time router purchase typically pays for itself within a year, and you keep the equipment afterward with no further charges.
Do I still need my ISP’s modem?
In most cases yes, since ISPs require a modem certified for their specific network type. However, you can pair that modem, or your own certified one, with your own router instead of using the provider’s combo gateway.
Can I do this without calling my ISP?
Sometimes, but many providers require the new modem’s MAC address to be registered before it will authenticate, so a quick call or online chat usually saves you a lot of troubleshooting.
Will my internet speed improve after switching?
Your plan’s speed stays the same, but a better router often improves real-world Wi-Fi performance, range, and the number of devices you can run smoothly at once, especially if the rental gateway was an older model.
Final Thoughts
Replacing your ISP’s rental router is one of the easiest ways to cut a recurring bill while upgrading your home network’s performance. With the right compatible hardware and a short call to your provider, you can complete the swap in under an hour and immediately start enjoying faster, more customizable Wi-Fi that you actually own.