
 Owen Bradley
 RGB lighting has become one of the most popular ways to personalize a gaming PC, transforming a plain case into a vibrant centerpiece for any desk setup. Installing RGB lighting strips is a beginner-friendly project that requires no soldering or advanced technical skills, just careful planning of cable routing and connector compatibility. This guide covers everything from choosing the right strips to syncing them with your motherboard software for a clean, custom look.

Choosing the Right RGB Strips
Before buying, check whether your motherboard supports a 12V RGB header or a 5V addressable ARGB header, since these use different connectors and are not interchangeable. Connecting the wrong type can permanently damage the strip. Most modern motherboards include at least one ARGB header, which allows individually addressable colors and effects rather than a single uniform color across the whole strip. Browsing the best RGB lights for PCs or the best LED strips for PCs can help you find strips with the connector type and length that match your motherboard and case.
Understanding RGB vs. ARGB
The difference between these two standards is important enough to repeat. Standard RGB (12V, usually a 4-pin connector) displays one color across the entire strip at a time. Addressable RGB, or ARGB (5V, usually a 3-pin connector), can control each individual LED, enabling rainbow waves, chasing effects, and reactive lighting. Decide which experience you want before purchasing, and match your strips to the headers your motherboard actually provides.
Tools and Materials Needed
- RGB or ARGB LED strips compatible with your motherboard
- Adhesive backing or magnetic mounts (often included with the strips)
- A screwdriver for removing side panels
- Zip ties or cable clips for tidy routing
- An RGB splitter or hub if you plan to connect multiple strips
Step-by-Step: Installing RGB Lighting Strips
- Power down your PC, unplug it, and open both side panels of the case.
- Plan the layout of your strips before sticking anything down. Common spots include along the top of the case, down the front edge, and behind the motherboard tray for a subtle glow.
- Clean the mounting surface with a microfiber cloth to remove dust or oils that could weaken the adhesive.
- Peel back the adhesive backing on the strip a section at a time, pressing firmly as you apply it to avoid air bubbles or uneven adhesion.
- Route the strip’s connector cable toward the motherboard, keeping it away from fan blades and moving parts.
- Connect the strip to the appropriate RGB or ARGB header on your motherboard, matching the pin orientation exactly, since reversing it can damage the strip.
- If you have more strips than headers, use an included splitter cable or hub to connect multiple strips to a single header.
- Secure any loose cable with zip ties, close the case, and power on the system.
- Open your motherboard’s RGB control software to choose colors, effects, and syncing options across all connected components.
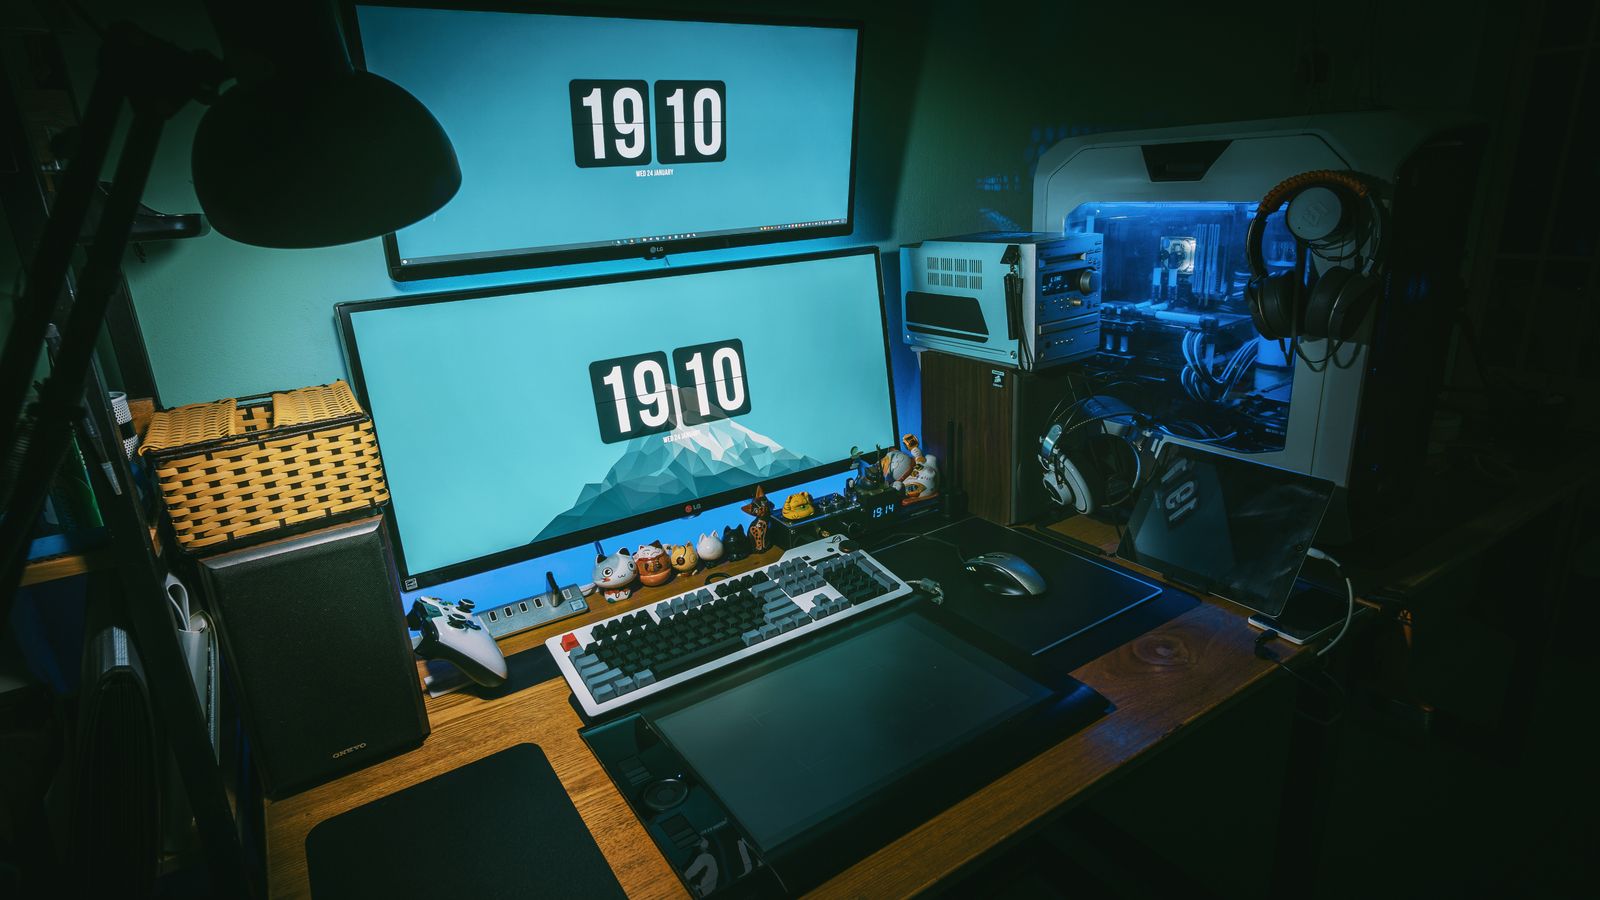
Syncing Your Lighting
The real magic of RGB comes from syncing all your lit components, such as fans, RAM, and strips, so they animate together. Each major motherboard brand offers its own lighting software, and sticking to a single ecosystem avoids the frustration of conflicting effects. Once everything is connected, you can create scenes that react to temperature, music, or in-game events, depending on your software’s capabilities.
Tips for a Clean, Professional Look
- Hide cables behind the motherboard tray whenever possible for a cleaner interior
- Use magnetic mounts instead of adhesive if you plan to reposition strips later
- Stick to one RGB software ecosystem to avoid conflicting lighting effects between components
- Test the strip’s lighting before fully securing it in case a section needs repositioning
- Position strips to bounce light off surfaces rather than shining directly into your eyes
Planning Your Lighting Zones
Thinking in terms of lighting zones helps you achieve a balanced, intentional look rather than a scattered glow. A common approach is to place one strip along the top interior edge to wash light down over your components, another behind the motherboard tray for indirect ambient lighting, and a shorter accent strip near the front to highlight your graphics card. Avoid pointing strips directly at the tempered-glass panel, since that often creates harsh hotspots and glare. Diffused, bounced light almost always looks more premium than raw exposed LEDs.
Powering Multiple Strips Safely
Each motherboard RGB header can only supply so much power, and daisy-chaining too many strips onto one header can cause dimming, flickering, or even damage. If you plan an elaborate setup, use a dedicated RGB controller or hub that draws power directly from the power supply rather than the motherboard header. This keeps your lighting bright and stable while protecting the motherboard, and many hubs also offer their own software or remote for finer control.
Troubleshooting Common Issues
If a strip doesn’t light up, first confirm the connector is seated in the correct header with the arrow or pin-one marker aligned properly. Flickering usually points to a loose connection or an overloaded header, while wrong colors displaying often mean the strip type doesn’t match the header standard, such as ARGB software controlling a plain RGB strip. Re-checking your software’s device configuration resolves most color and effect mismatches quickly.
Common Mistakes to Avoid
- Connecting a 5V ARGB strip to a 12V RGB header, which can permanently damage it
- Applying adhesive strips to a dusty or oily surface, causing them to fall off later
- Overloading a single header with too many strips without using a proper splitter or hub
- Routing cables near spinning fan blades
- Cutting a strip anywhere other than the marked cut lines, which can break the whole segment
Frequently Asked Questions
What’s the difference between RGB and ARGB lighting?
RGB strips display a single uniform color across the entire strip and use a 12V header. ARGB strips are individually addressable, meaning each LED can display a different color, and they use a 5V header.
Can I install RGB strips without a compatible motherboard header?
Yes, many RGB strips include a separate controller with a remote or USB connection, allowing you to skip the motherboard header entirely if needed.
Will RGB lighting affect my PC’s performance?
No, RGB lighting strips draw minimal power and have no meaningful impact on system performance.
Can I cut RGB strips to fit my case?
Many strips can be trimmed, but only along the clearly marked cut lines. Cutting elsewhere can disable the remaining LEDs, so always measure and cut carefully.
How many strips can I connect to one header?
It depends on the header’s power limit and the strips’ total LED count, but connecting more than a couple of long strips to a single motherboard header risks dimming or instability. A powered RGB hub or controller is the safer solution for larger setups.
Will RGB strips work with my case’s tempered glass panel?
Yes, and glass panels are ideal for showing off lighting. Just position strips so they wash light across your components rather than shining straight at the glass, which prevents harsh reflections and hotspots.
Final Thoughts
Installing RGB lighting strips is an easy, affordable way to give your gaming PC a custom look without any advanced technical skills. With the right strips from a resource like the best LED strips for PCs, you can create a lighting setup that matches your personal style and syncs seamlessly with the rest of your build.









