
 Owen Bradley
 Hardwood, engineered wood, and luxury vinyl floors all share the same weakness: they are softer than the furniture standing on them. A dining chair dragged back from the table concentrates the entire weight of a seated adult onto four small contact points, and the result is a fine scratch today and a grey worn track a year from now. Learning how to protect floors from furniture legs is not complicated, but it does require matching the right glide to the right leg and the right floor, then keeping up with a maintenance habit that takes minutes a month. This guide walks through the tools, the fitting steps, and the repairs that undo damage already done.
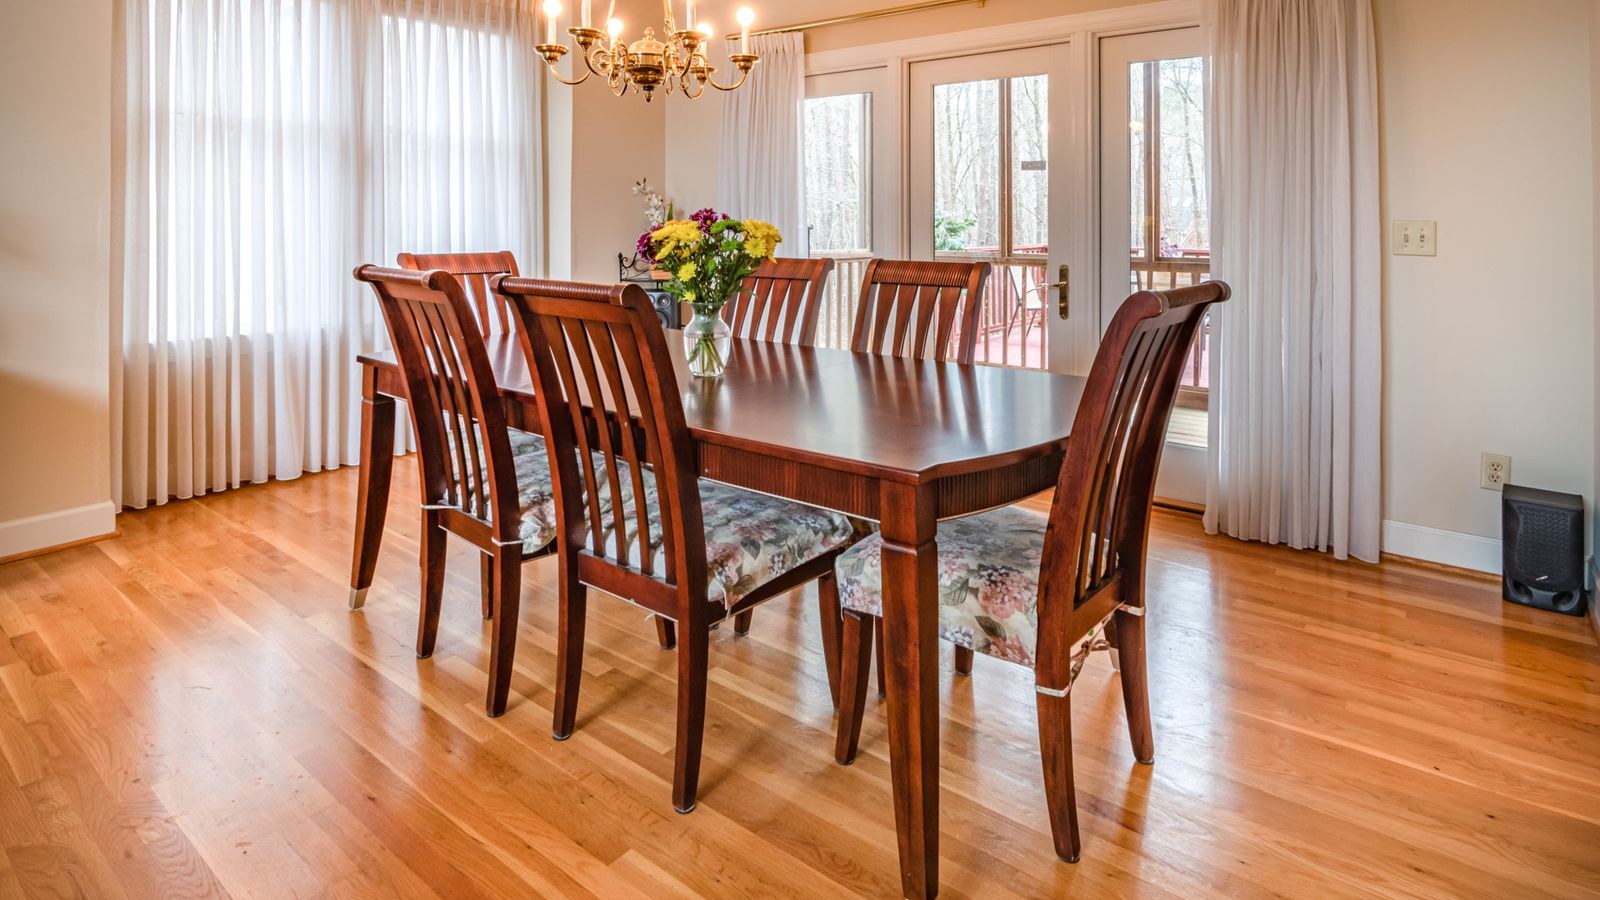
Why Furniture Legs Damage Floors So Quickly
Three separate mechanisms are at work, and each needs a different defence. The first is abrasion: a bare wood or metal leg sliding across a finish acts like fine sandpaper, wearing the protective topcoat until the raw wood beneath is exposed. The second is point loading, where a narrow leg concentrates hundreds of pounds onto a contact patch the size of a coin, denting the board fibres permanently. The third is grit embedment, which is the sneakiest of all: a felt pad that has picked up sand or crumbs stops being a cushion and becomes a sanding block that grinds a groove into your floor every time the chair moves.
Understanding this matters because it explains why simply adding pads is not enough. A pad that is never inspected can do more damage than a bare leg would, and a pad that is too small for a heavy piece will dent the floor anyway. Protection is a system, not a single accessory.
Tools and Materials You Will Need
- Heavy-duty felt pads in several diameters, ideally 3mm or thicker rather than the thin stick-on discs sold in bulk packs.
- Nail-in or screw-in glides for solid wood legs that see daily movement, such as dining chairs.
- Rubber or silicone leg caps for metal tube legs and anything that needs to stay put rather than slide.
- Furniture cups or coasters for very heavy static items like sofas, pianos, and bookcases.
- Isopropyl alcohol and a lint-free cloth to clean the leg bottoms before any adhesive pad goes on.
- Fine sandpaper (180 to 220 grit) to flatten rough or splintered leg bottoms.
- A tack hammer, a small screwdriver, and a tape measure.
- Rugs or runners with a felt, not rubber-backed, underlay for high-traffic paths.
Step by Step: Fitting Protection to Every Leg
- Clear and clean the floor first. Vacuum thoroughly, paying attention to the areas around chair legs where grit collects. Loose grit trapped under a new pad will start scratching immediately. A machine suited to bare boards makes this far easier, and our roundup of the best vacuum cleaners for hardwood floors covers models with soft rollers that lift debris without flinging it.
- Tip each piece of furniture and inspect the leg bottoms. Look for old adhesive residue, embedded grit, split wood, protruding staples, or metal glides that have worn through. Anything sharp must be dealt with before a pad goes on.
- Sand rough leg bottoms flat. A quick pass with 180 grit removes splinters and gives adhesive pads a flat, even surface to grip. Wipe the dust away afterwards.
- Degrease with isopropyl alcohol. This is the single most skipped step and the main reason stick-on pads fall off within weeks. Wipe each leg bottom, then let it dry completely for a minute or two.
- Measure the leg and choose a pad that covers it fully. The pad should match or slightly exceed the leg diameter. An undersized pad leaves a bare edge that scratches, and it also fails to spread the load, so dents still form.
- Press each pad on firmly for around thirty seconds. Pressure and time, not just contact, are what activate pressure-sensitive adhesive. Then leave the furniture tipped or unloaded for an hour before setting it down if you can.
- Use nail-in glides on frequently moved chairs. Dining and kitchen chairs move dozens of times a day, and adhesive alone rarely survives that. Pre-drill a small pilot hole in solid wood legs, then tap the glide in until the flange sits flush. Never hammer a nail-in glide into engineered board without a pilot hole, as it will split.
- Fit rubber caps to metal tube legs. Slide them on squarely and check they do not rock. If the cap is loose, a wrap of cloth tape inside will tighten the fit. Choose non-marking rubber or silicone, because cheap black rubber can leave permanent dark scuffs on light floors.
- Place heavy static furniture on cups or wide coasters. Sofas, wardrobes, and loaded bookcases sit still but press hard. A wide cup spreads that load across many more square inches and prevents the permanent dimples that appear when a sofa is finally moved.
- Set everything down and check for rocking. An uneven pad thickness turns a stable chair into a wobbly one that pivots on a single leg, doubling the pressure on that point. Add a shim or swap to a thinner pad until all four legs sit level.
Choosing the Right Protector for the Job
Felt Pads
Felt is the default for wood floors because it lets furniture slide with almost no friction. It suits chairs, small tables, and anything you reposition often. Its weakness is grit: felt is porous and grabs debris, so it demands regular inspection. Thicker industrial-grade felt lasts several times longer than the thin discs sold in mixed bags.
Rubber and Silicone
Rubber grips rather than slides, which makes it right for anything that must not creep across the room, such as a bed frame or a bookcase. Always confirm the compound is labelled non-marking. Rubber is also the better choice on textured luxury vinyl, where felt tends to shred quickly.
Nail-In and Screw-In Glides
These are the long-term answer for hard-working seating. Because they are mechanically fixed, they cannot peel off mid-meal. Many are sold with a replaceable felt or nylon face, so refreshing them later is a one-minute job. If you are shopping for new seating anyway, it is worth checking how the legs are finished before you buy. Roundups of the best dining chairs and the best kitchen chairs note which models arrive with proper glides fitted from the factory rather than bare wood ends.
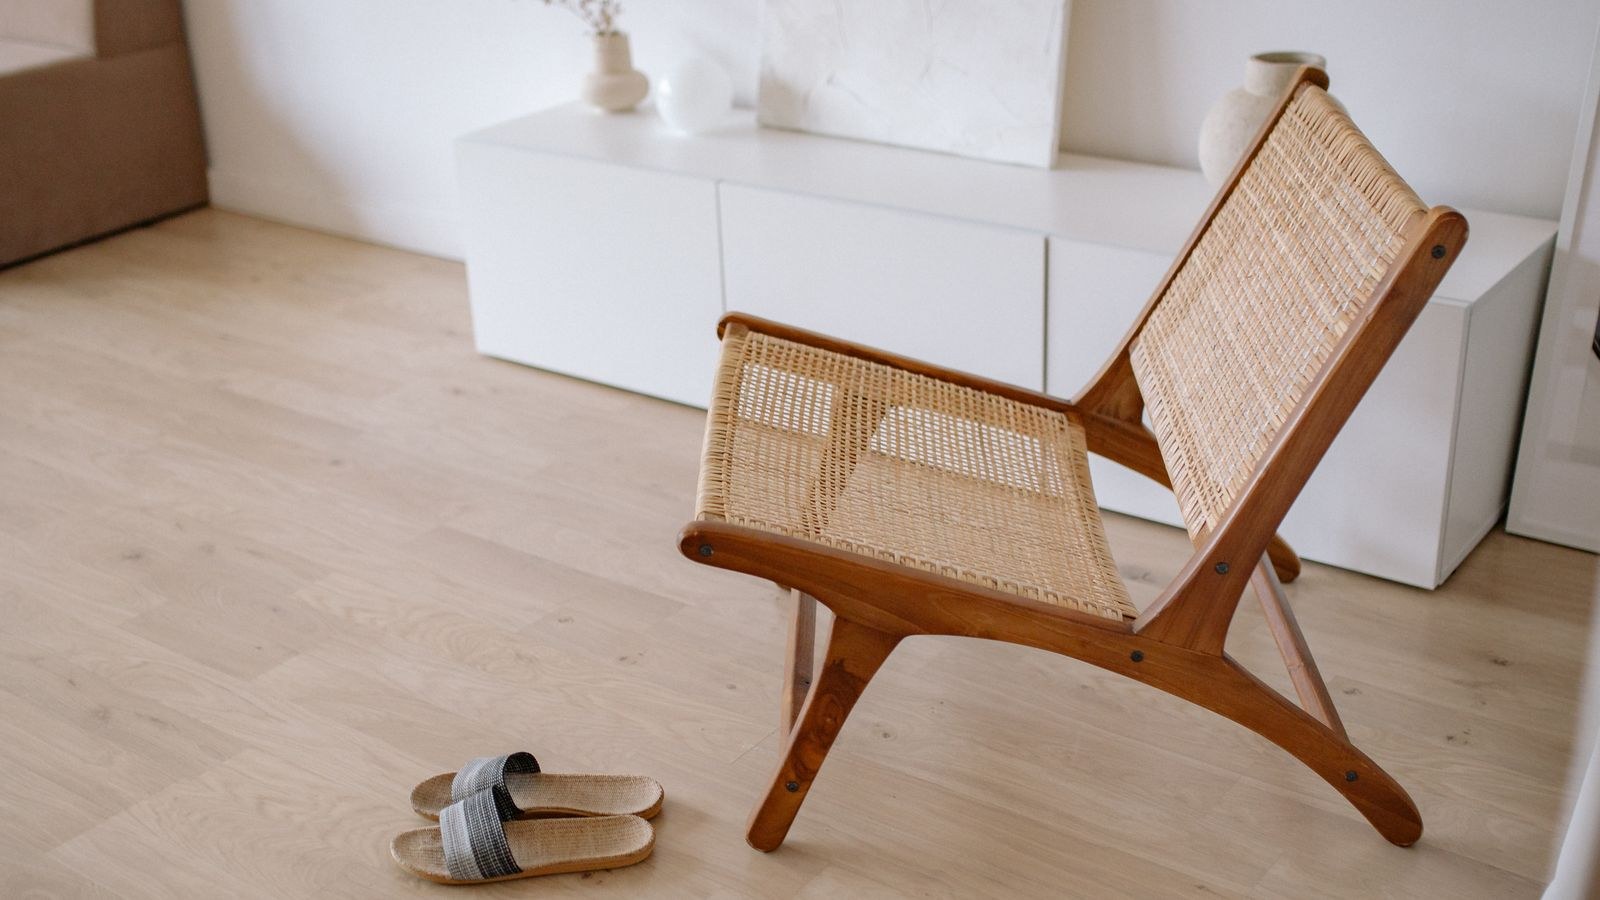
The Special Case of Rolling Office Chairs
A desk chair on casters is the most destructive item most homes own, because it moves constantly and its small hard wheels concentrate load on a rolling line rather than a static point. Hard nylon casters, which are designed for carpet, will grind a visible halo into a wood floor within a single year of daily use.
There are two fixes. The first is swapping to soft polyurethane or rubber-tyred casters rated for hard floors, which most chairs accept as a straight push-fit replacement. The second, and more complete, solution is a proper mat sized to your working zone. Comparing options among the best desk chair mats helps you find one thick enough not to crack under a caster, since a cracked mat edge becomes its own scratching hazard. Use both together in a busy home office and the floor beneath simply stops wearing.
Maintenance: The Habit That Actually Saves Your Floor
- Inspect pads monthly on dining chairs and every three to six months on everything else. Tip the chair, run a thumb across the felt, and pick out any embedded grit.
- Replace pads at the first sign of compression. Once felt has flattened to a hard disc it no longer cushions and starts to abrade.
- Vacuum floors weekly so there is less grit available to embed in the first place. This single habit extends pad life dramatically, and a machine tuned for bare boards is the right tool for it. Many of the models in our guide to the best vacuums for hardwood floors use suction-led heads that avoid scattering grit into corners.
- Add a runner or rug on the busiest path, typically the route from door to sofa or around the dining table. Choose a felt underlay rather than a rubber-backed rug, as some rubber backings react with floor finishes and leave a permanent stain.
- Lift, never drag. Two people and ten seconds beat a repair that takes an afternoon.
Repairing Damage That Has Already Happened
Surface scratches that catch a fingernail only lightly are usually confined to the finish. Clean the area, then work a small amount of a matching wax stick or a wood repair marker into the line, buffing off the excess with a soft cloth along the grain. Several light applications look better than one heavy one.
Dents, where the wood fibres have been crushed rather than cut, sometimes respond to steam. Lay a damp cloth over the dent and touch it briefly with a warm iron, letting the moisture swell the compressed fibres back up. This works on unfinished or oiled wood but risks clouding a polyurethane finish, so test in a hidden spot first. Deep gouges that reach bare wood, or grey worn tracks where the finish has gone entirely, need a filler and spot-refinish, and a large affected area is a job for a professional screen-and-recoat rather than a patch.
Common Mistakes to Avoid
- Sticking pads onto a dirty or waxed leg. They will fall off, and you will not notice until the damage is done.
- Using pads smaller than the leg. The uncovered rim scratches and the load is never properly spread.
- Leaving grit in felt. A contaminated pad is worse than no pad at all.
- Fitting hard plastic glides on wood floors. Plastic is harder than most floor finishes and will scratch.
- Using cheap black rubber on light floors. Look specifically for non-marking compounds.
- Mixing pad thicknesses on one chair, which creates a rock and concentrates weight on one leg.
Frequently Asked Questions
Do felt pads work on luxury vinyl and laminate?
Yes, and they are still the best option for sliding furniture. Textured vinyl wears felt faster than smooth wood does, so inspect more often. For heavy static pieces on vinyl, a wide non-marking cup is better because vinyl indents under sustained point loads.
How often should I replace felt pads?
Dining chairs typically need fresh pads every six to twelve months. Rarely moved furniture can go for years, but check annually. Replace immediately if the felt has compressed flat, thinned unevenly, or feels gritty.
Are nail-in glides safe for engineered or hollow legs?
Only with a pilot hole, and never in hollow or particleboard legs, which will split or crumble. Use adhesive pads or slip-on caps for those instead.
Final Thoughts
Protecting floors from furniture legs comes down to three habits: fit a correctly sized protector to every single leg, choose the type to match the leg material and how often the piece moves, and inspect those protectors on a schedule so grit never gets the chance to embed. Nail-in glides for the chairs that move daily, felt for occasional furniture, wide cups for the heavy static pieces, and a mat under any rolling office chair will cover almost every situation in a normal home. Spend one afternoon working through the house this 2026 and the floor you save will look the same in a decade as it does today.









