
 Owen Bradley
 Replacing a light switch is one of the few electrical jobs genuinely suited to a careful homeowner. The wiring is simple, the part costs a few dollars, and the whole task takes about twenty minutes once the breaker is off. What separates a clean job from a dangerous one is discipline: confirming the circuit is dead, labelling wires before anything comes loose, and matching the new switch to the same terminal configuration. This tutorial covers a standard single-pole replacement in detail, then explains the differences you will meet with three-way and smart switches so you are not caught out halfway through.
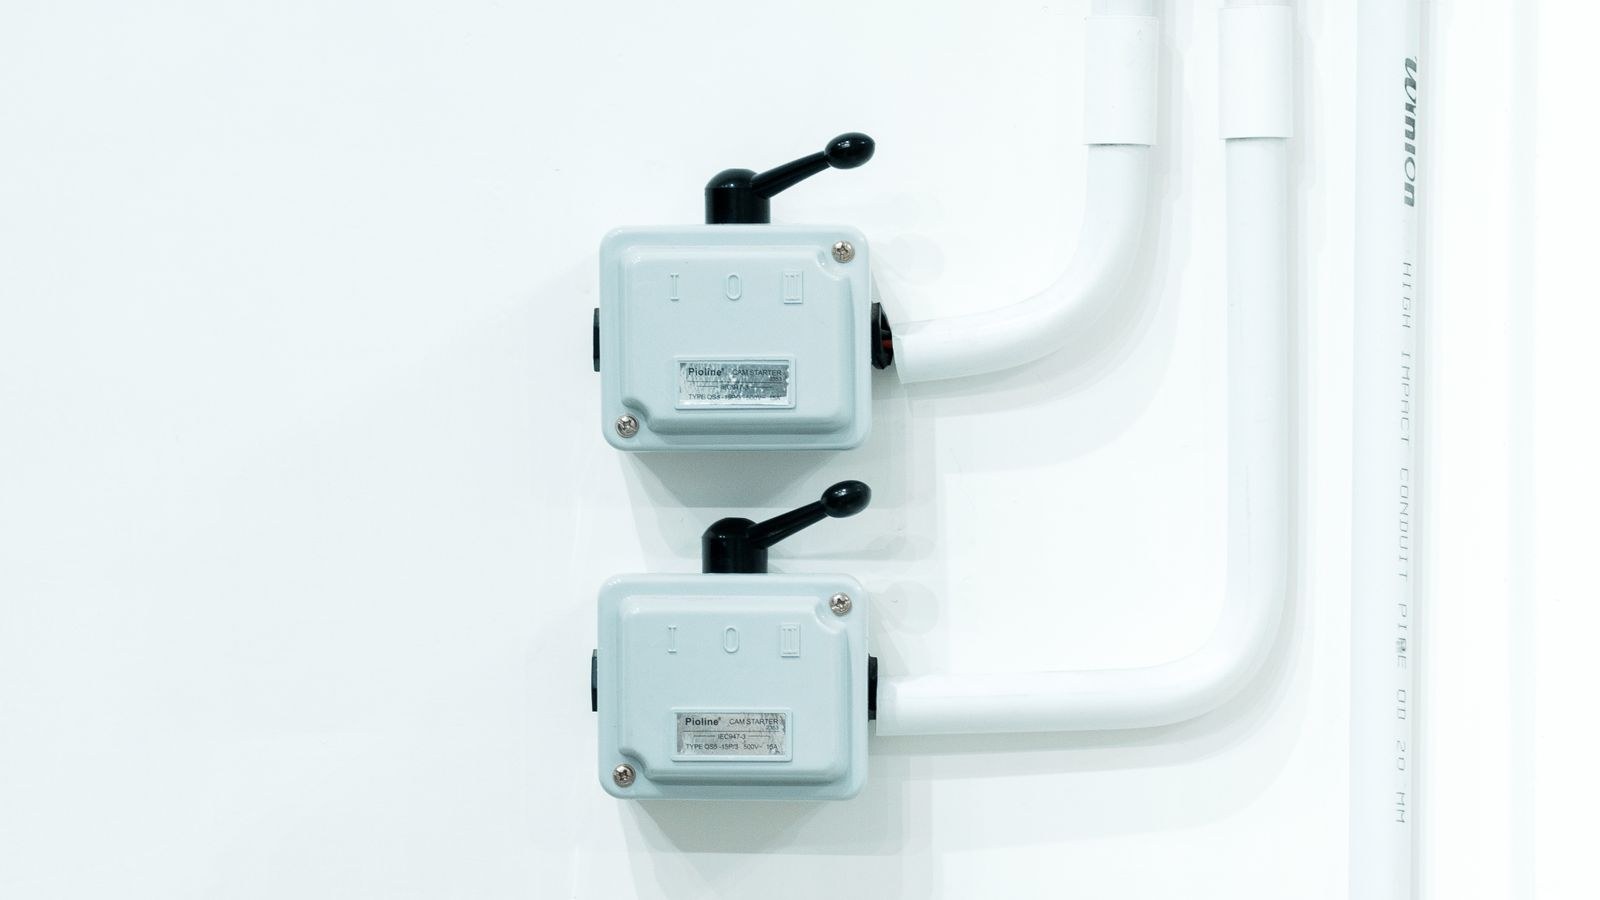
Tools and Materials
- A replacement switch of the correct type and rating, normally 15 amps for lighting circuits.
- A non-contact voltage tester, which is not optional on this job.
- Insulated flat and Phillips screwdrivers.
- Wire strippers and long-nose pliers for forming hooks.
- Masking tape and a marker for labelling conductors.
- Wire nuts in the appropriate size, plus electrical tape.
- A torch, since the room lighting will be off.
- Your phone for photographing the existing wiring.
Identify What You Are Replacing First
Before buying anything, take the cover plate off and count the wires. A single-pole switch controls a light from one location and has two brass terminals plus a green ground. A three-way switch controls one light from two locations and has three terminals: one darker common screw and two brass travellers. A four-way, used in the middle of a three-location arrangement, has four terminals. Buying the wrong type is the most common reason this job stalls.
Also check whether a neutral conductor is present in the box, usually a bundle of white wires joined with a nut and not connected to the switch. Traditional switches do not need it, but almost every smart switch does. Establish this now rather than after you have removed the old device.
Step-by-Step: Replacing the Switch
- Turn off the correct breaker. Switch the light on, then work through the panel until it goes out. Switch that breaker off and tape a note over it. If several people share the house, tell them what you are doing.
- Remove the cover plate and verify the circuit is dead. Undo the plate screws, then hold a non-contact tester against every conductor in the box, not just the ones on the switch. Boxes frequently carry more than one circuit. Do not proceed until every wire reads dead.
- Unscrew and pull out the old switch. Remove the two mounting screws at the top and bottom of the yoke and ease the switch forward out of the box, keeping the conductors attached for now.
- Photograph and label everything. Take a clear, well-lit photo showing which wire is on which screw. Then apply tape labels: hot in, load out, or common and traveller one and traveller two for a three-way. On a three-way in particular, the common screw is the only terminal that must be reproduced exactly, and it is usually painted black or marked COM.
- Disconnect the conductors. Loosen the terminal screws and unhook each wire. If the old switch used backstab holes rather than screws, insert a small screwdriver into the release slot beside each hole to free the conductor. Backstab connections are a frequent source of intermittent faults and should not be reused on the new device.
- Inspect and prepare the wire ends. Look for nicked, blackened, or brittle insulation and for copper that has been overheated. Snip off any damaged section and strip about three quarters of an inch of fresh insulation. Straighten each conductor, then form a clean clockwise hook with your pliers.
- Connect the ground first. Attach the bare copper or green conductor to the green screw on the new switch. If the box is metal and has its own ground, ensure that connection remains intact. Grounding the switch yoke is required by modern practice and is the connection most often skipped.
- Wire the new switch to match the old. For a single-pole, hook the incoming hot onto one brass terminal and the load onto the other; the order does not matter. For a three-way, place the labelled common wire on the dark common screw and the two travellers on the brass screws in either order. Hook each wire clockwise so tightening the screw pulls it closed, and tighten firmly until the conductor cannot be pulled free.
- Manage the neutral bundle. If a neutral group is present and your new switch does not use it, leave the bundle capped and undisturbed. If you are fitting a smart switch that requires a neutral, remove the nut, add the switch’s neutral lead to the bundle, and re-cap with a correctly sized wire nut, giving each conductor a firm tug to confirm it is captured.
- Fold the wires and mount the switch. Accordion-fold the conductors gently into the back of the box so nothing is pinched against a screw or a sharp edge. Push the switch in square, start both mounting screws, and level the device before tightening fully. A crooked switch is the giveaway of a rushed job.
- Restore power and test properly. Fit the cover plate, turn the breaker back on, and test the light. For a three-way, test from both locations in every combination: the light must toggle correctly from either switch regardless of the other switch’s position. If it only works when one switch is in a particular position, the common wire is on the wrong terminal.
- Check for heat after a few hours. Come back and feel the plate. It should be at room temperature. Any warmth, buzzing, or burning smell means a loose connection, so kill the breaker and redo the terminations.
Choosing the Right Replacement
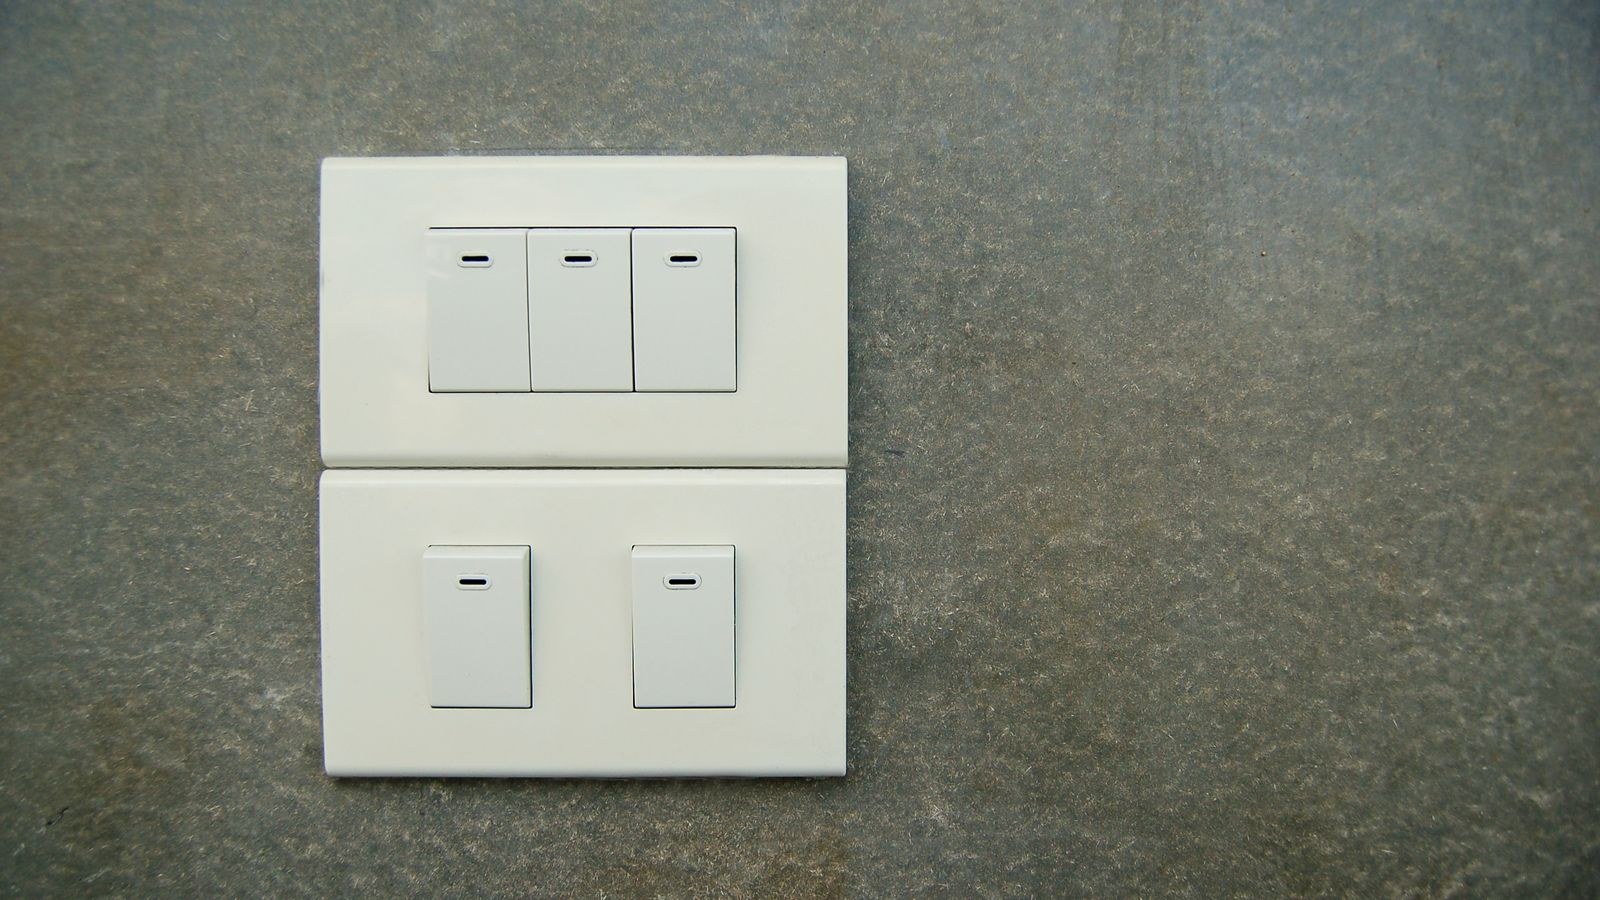
Since the labour is identical regardless of what you install, this is the moment to upgrade rather than fit the cheapest device on the shelf. Contact quality is what decides whether the switch lasts five years or twenty-five, and a comparison of the best light switches lays out the differences between decorator rockers, traditional toggles, and quiet-action mechanisms. If you are working through the whole house and want a consistent look, a roundup of the best light switches for home use covers matching plates, colours, and multi-gang arrangements.
If the box has a neutral, a connected device is worth considering while the wall is already open. A guide to the best smart light switches explains which models keep working during a network outage and which need a hub, both of which matter more than the app design. For rooms where running new wiring is impractical, such as a bedroom that needs a second control point, a look at the best remote light switches covers battery-powered wireless controls that stick to a wall without any cabling at all.
Safety Notes
Never work on a live switch box, and never trust the wall switch as an isolation method. Confirm dead with a tester on every conductor present. Do not overfill a box; if the conductors will not fold in without force, the box is too small and needs replacing or extending. Do not reuse backstab connections. Never connect a switch to the neutral conductor, which must remain continuous. If you encounter aluminium wiring, cloth-insulated conductors, no ground present, or a box with signs of scorching, stop and call a licensed electrician. In many jurisdictions a simple like-for-like switch replacement is permitted without a permit, but new circuits are not, so check local rules if you are doing anything beyond a straight swap.
Common Mistakes
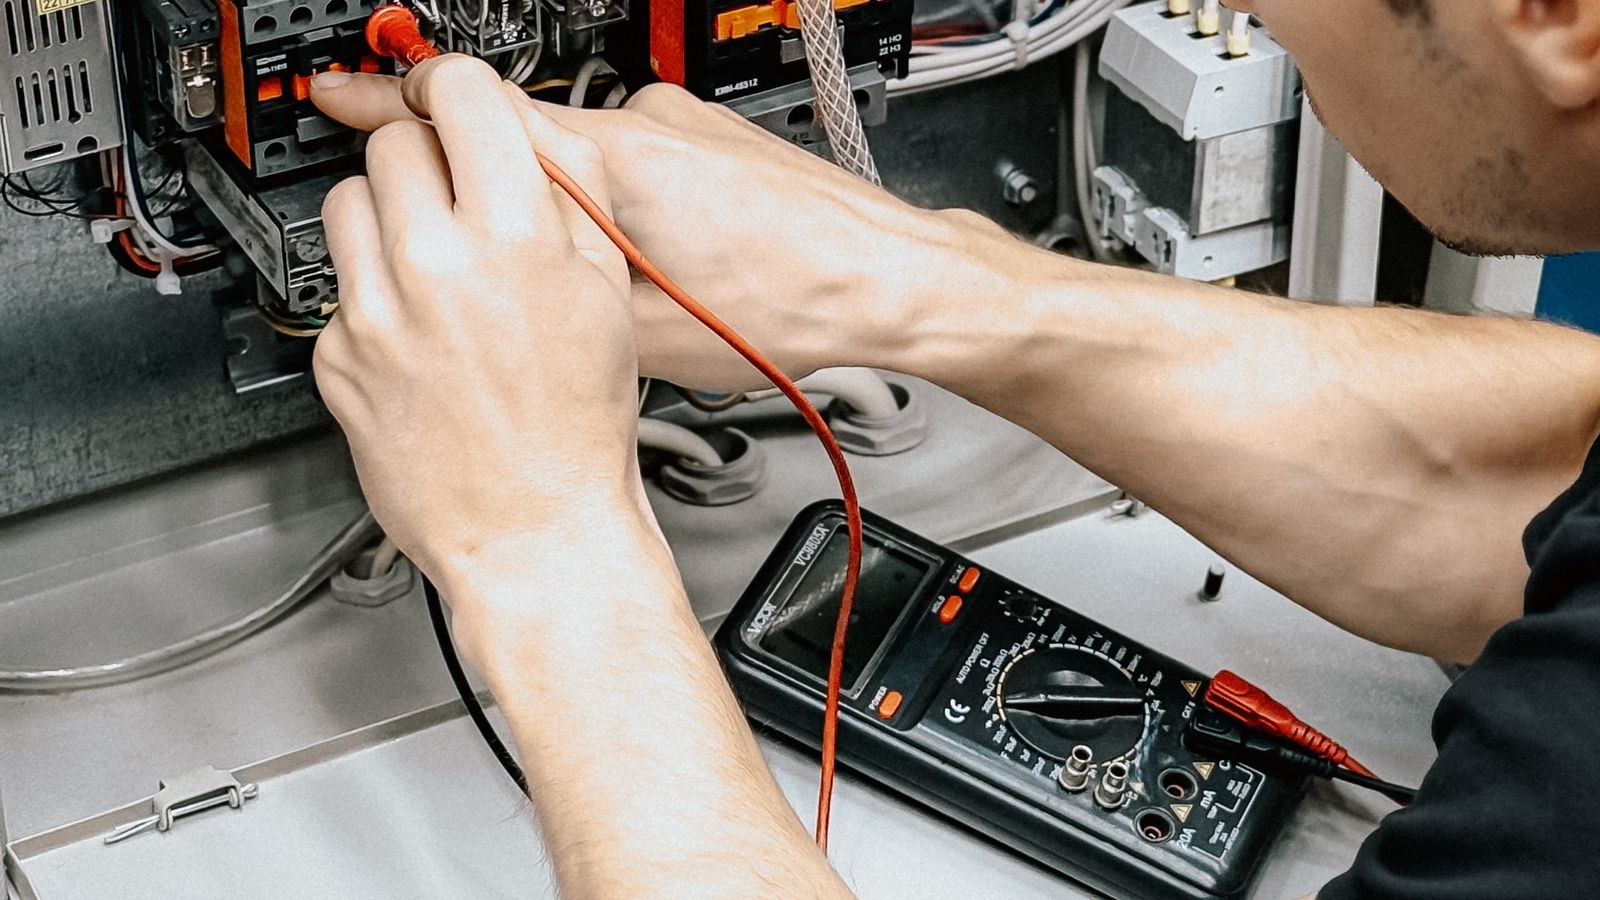
The biggest is failing to label the common terminal on a three-way switch. Without that label the two travellers and the common become indistinguishable, and the resulting trial-and-error rewiring wastes an hour. Photograph and tape before you loosen anything.
The second mistake is forming wire hooks anticlockwise, so tightening the terminal screw pushes the conductor out rather than gripping it. The third is leaving the ground disconnected because the old switch had no green screw. The fourth is cranking the mounting screws down hard on a warped box and cracking the new device. Finally, many people skip the follow-up heat check, which is the simplest way to catch a marginal connection before it becomes a hazard.
Frequently Asked Questions
How do I know if it is the switch or the bulb?
Try a known-good bulb first. If the fixture still fails, and the switch feels loose, buzzes, or works only intermittently, the switch is the likely culprit and a continuity test will confirm it.
Does the orientation of the two wires matter on a single-pole switch?
No. Line and load are interchangeable on the two brass terminals. Only the ground and, on a three-way, the common terminal are position-critical.
Can I fit a dimmer in place of a standard switch?
Usually yes, provided the box has room and the bulbs are dimmable. Check the dimmer’s minimum and maximum load ratings, since many LED fixtures fall below the minimum load an older dimmer expects.
What if there is no neutral in the box?
A conventional switch works fine without one. Most smart switches do not. Your options are a no-neutral smart switch, a smart bulb controlled separately, or having an electrician pull a neutral to the box.
Final Thoughts
A switch replacement rewards preparation far more than skill. Kill the breaker, verify it with a tester, photograph and label before disconnecting, and reproduce the original arrangement exactly on the new device, paying particular attention to the common terminal if it is a three-way. Ground it, fold the wires without pinching, mount it square, and test from every control point before you tidy up. Follow that order and you get a switch that feels solid, works reliably, and stays safe for decades.









