
 Owen Bradley
 Swapping a thermostat is the rare home upgrade that costs little, takes under an hour and pays you back every month. It is also the job homeowners most often hand to a contractor out of nervousness about wires. That nervousness is misplaced: a thermostat runs on a 24-volt control circuit, not household line voltage, and the entire task amounts to labelling five or six conductors, mounting a new base and landing those conductors on matching letters. This guide covers how to replace an old thermostat from start to finish — killing the power correctly, documenting the wiring so nothing can go wrong, mounting the new unit level and testing both heating and cooling before you walk away.
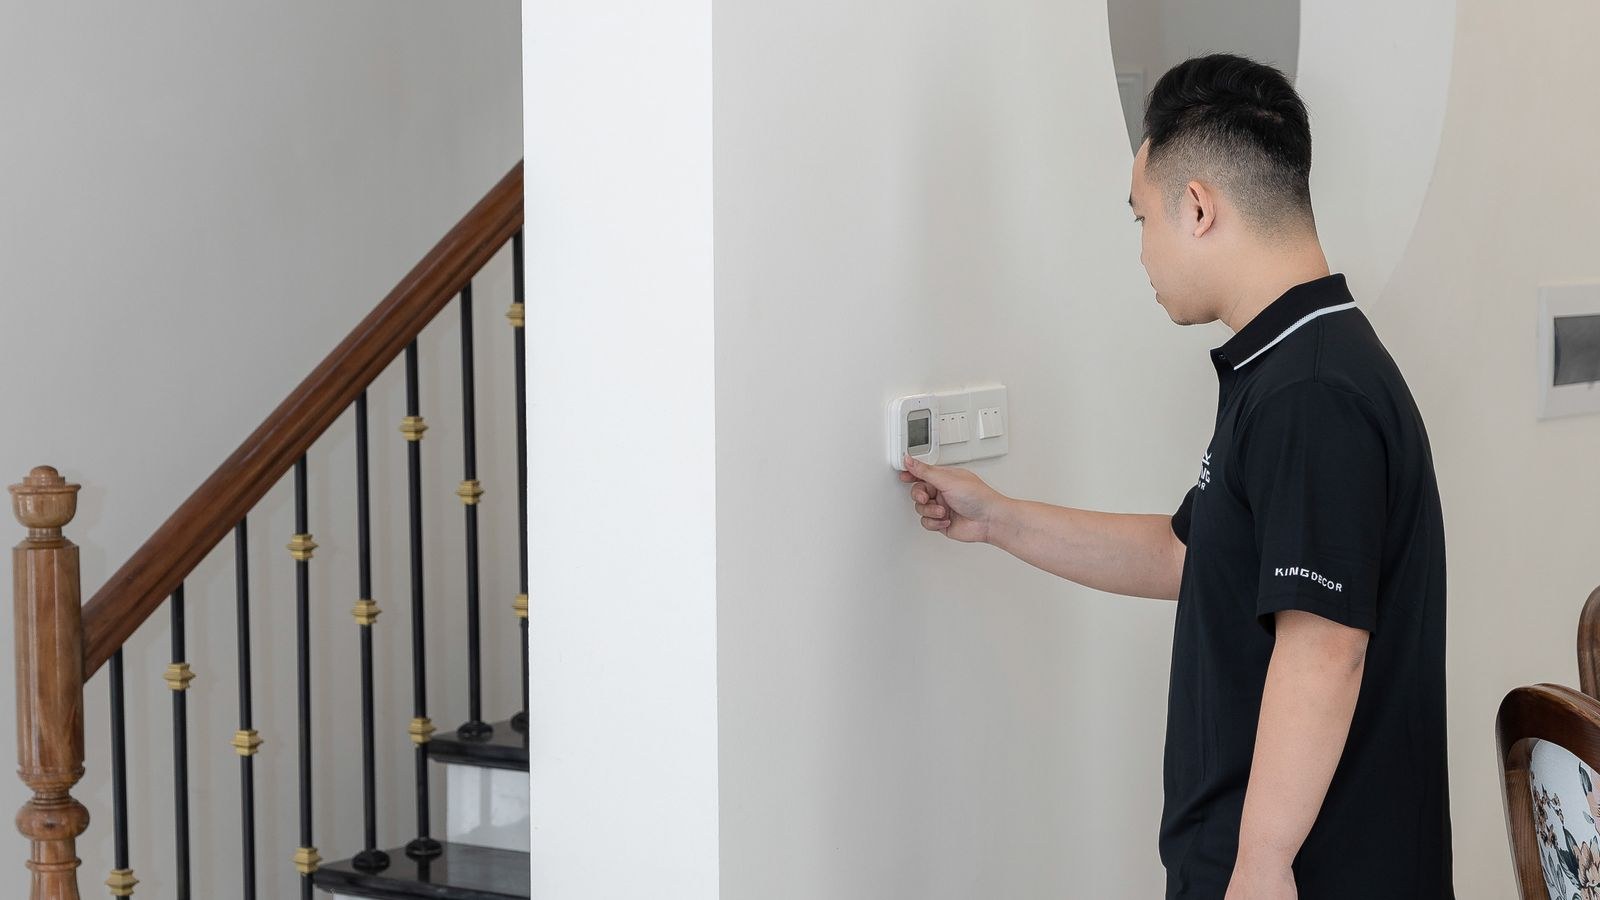
Before You Buy: Confirm Compatibility
Not every thermostat suits every system, and returning one after you have already torn the old one off the wall is a miserable evening. Pull the existing face off and note which terminals are in use. A conventional gas furnace with air conditioning typically uses R, W, Y, G and possibly C. A heat pump adds O or B for the reversing valve and often auxiliary or emergency heat terminals. Multi-stage systems use W2 and Y2. Line-voltage electric baseboard heating uses thick wires and 120 or 240 volts, and requires an entirely different class of thermostat — if you see wire nuts on heavy conductors rather than a slim multi-conductor cable, stop and buy accordingly.
Check also whether a common wire is present, since most connected models require one. If the terminal marked C is empty and there is no spare conductor in the bundle, plan for an adapter kit or choose a battery-powered unit.
Tools and Materials
- Phillips and small flat screwdrivers, and a nut driver if your wall anchors need one.
- Masking tape and a fine pen for labelling every conductor.
- Smartphone camera — take more photos than you think you need.
- Drill with a small bit plus the wall anchors supplied with the new unit.
- Torpedo level so the new plate sits straight.
- Wire strippers and a pencil to keep the cable from falling into the wall.
- Non-contact voltage tester to confirm the circuit is dead.
- Fresh batteries if the model uses them, and a patching compound if the new plate is smaller than the old one.
Step by Step: Replacing Your Old Thermostat
- Turn off power at the breaker panel. Find the breaker serving the furnace or air handler and switch it off. Many systems also have a light-switch-style service disconnect beside the unit; flip that too. Confirm the system is dead by raising the thermostat setpoint and listening for silence, then verify with a voltage tester if you can reach the unit’s wiring. Do not rely on turning the thermostat to Off — that leaves the control circuit energised.
- Remove the old thermostat face. Most faces pull straight off the base or release with a tab at the bottom edge. Some older models have small captive screws along the lower lip. Set the face aside; you are only interested in the base and the conductors landed on it.
- Photograph and label the wiring. Take a straight-on photo with good light so every terminal letter and wire colour is legible, then take a second close-up. Now wrap a strip of masking tape around each conductor and write the terminal letter it currently occupies — W, Y, G, R, C, O and so on. Label by terminal, never by colour, because installers frequently deviate from convention. This single step prevents almost every problem people encounter later.
- Release the conductors and secure the cable. Loosen the terminal screws or press the release tabs and free each wire. Immediately clip a clothespin or wrap the bundle around a pencil laid across the opening so the cable cannot retract into the wall cavity. Retrieving a dropped cable from inside a stud bay is the worst part of this job and entirely avoidable.
- Unscrew and remove the old base. Take out the mounting screws and lift the base away. Check the wall behind it. If the old plate covered a large cut-out or old paint shadow, decide now whether you will patch and touch up or use a decorative trim plate, which many new thermostats include.
- Seal the wall opening. Stuff a small piece of insulation or a dab of non-expanding foam into the hole around the cable. Air drawn from the wall cavity or attic blows across the thermostat’s sensor and makes it read several degrees off, which is a leading cause of complaints after a swap.
- Mount the new base and level it. Feed the conductors through the opening in the new base, hold it against the wall and check it with a torpedo level. Level matters cosmetically on every model and functionally on older mechanical ones. Mark the screw positions, drill for the supplied anchors if you are into drywall rather than a stud, and fasten the base firmly without over-tightening.
- Land each conductor on its matching terminal. Working from your labels, connect each wire to the terminal bearing the same letter on the new base. Strip about a quarter inch of fresh insulation if the ends look oxidised. Check whether the new unit ships with a jumper between Rc and Rh — single-transformer systems need it installed, dual-transformer systems need it removed. Tug each wire lightly to confirm it is seated, and make sure no bare copper bridges two terminals.
- Attach the face and restore power. Snap or screw the display onto its base, insert batteries if required, and turn the breaker and service switch back on. The unit will boot and usually walk you through an initial setup asking about your system type, fuel and equipment stages. Answer using what you saw on the old base, not what you assume.
- Test heating, cooling and fan separately. Set the mode to Heat and raise the setpoint five degrees above room temperature. The system should fire within a minute or two. Return it to normal, switch to Cool, and lower the setpoint — the compressor may wait up to five minutes because of a built-in protection delay, which is normal and not a fault. Finally, set the fan to On and confirm the blower runs alone. Only once all three calls work should you consider the job finished.
- Program your schedule and check the reading. Compare the displayed temperature against a separate thermometer placed nearby for an hour. A difference of more than about two degrees means the thermostat needs an offset adjustment or is sitting in a poor location.
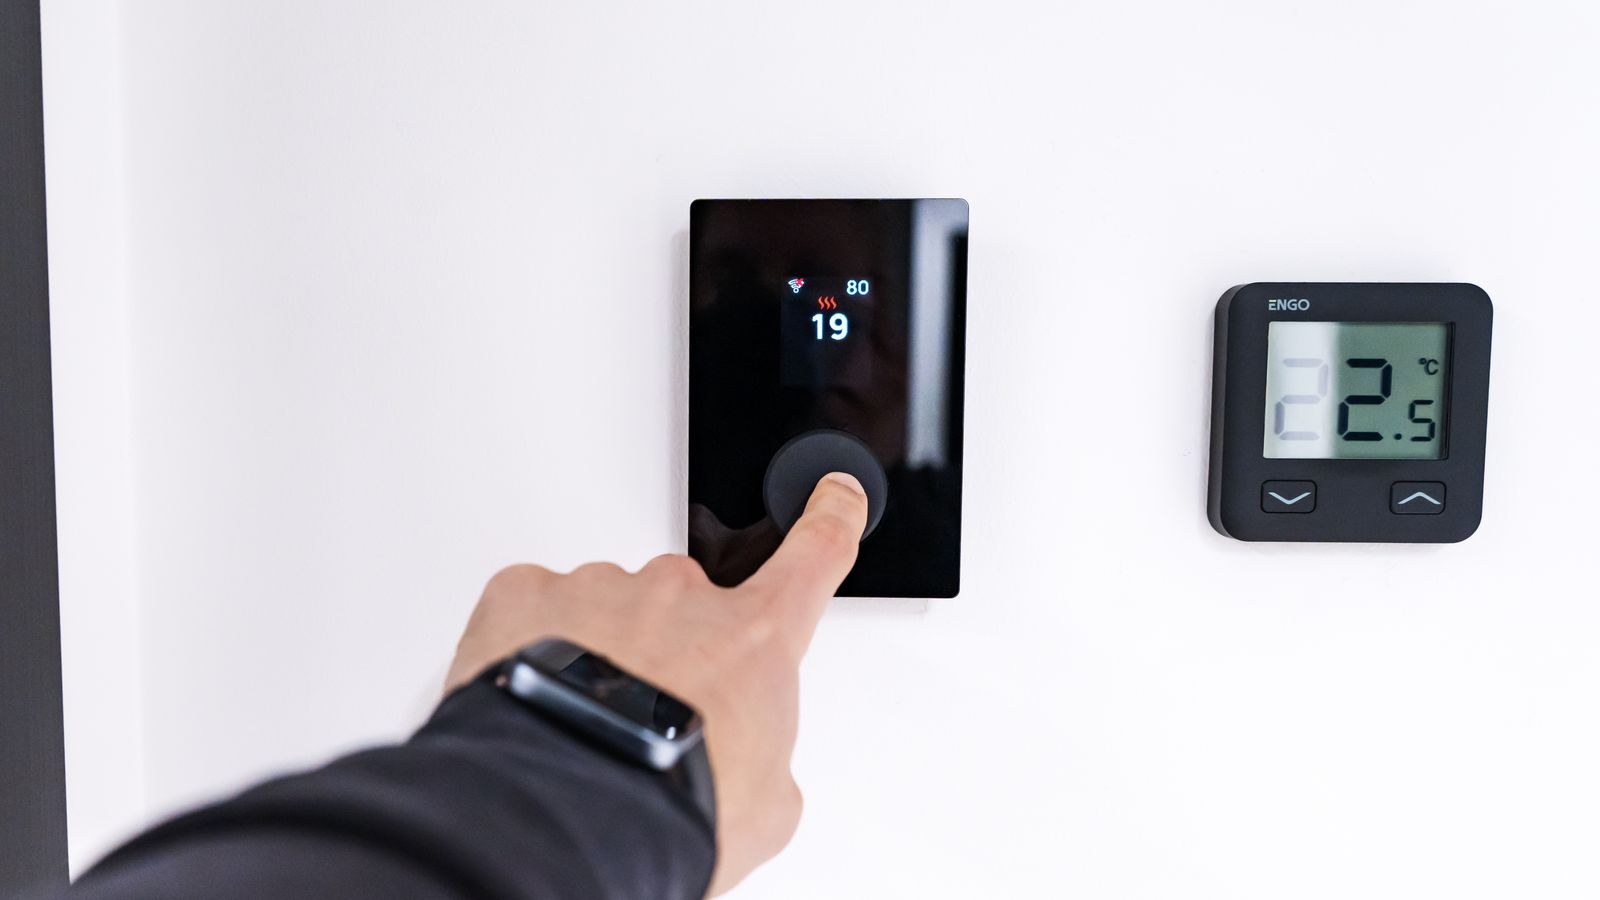
Picking the Right Replacement
The upgrade you choose should reflect how your household actually behaves. If people come and go unpredictably and nobody wants to fiddle with menus, a straightforward digital display beats anything clever. Our roundup of the best digital home thermostats covers clear, reliable units that do one job well, while the best house thermostats comparison spans the full range from basic to fully connected.
Households with a steady routine — out by eight, back by six — save the most from scheduling, and the best programmable thermostats pay for themselves through setbacks alone without needing an internet connection. If your wiring has no common conductor, or you simply do not want another device on your network, the best non-smart thermostats deliver most of the benefit on battery power. Should you go the connected route, our walkthrough on how to set up a smart thermostat covers the pairing and geofencing steps that follow the physical install.
Safety Notes
Always kill the breaker rather than assuming 24 volts is harmless to the equipment. Shorting the R terminal against the common or the metal mounting plate blows the control board fuse and can damage the transformer, which converts a free upgrade into a repair bill. Keep stripped ends short and separated.
If your old thermostat is a round or rectangular mechanical model, check for a sealed glass vial containing mercury. Do not bin it. Mercury thermostats are hazardous waste and most municipalities, and many HVAC suppliers, accept them for free recycling. Handle the unit gently and keep it upright until you drop it off.
Troubleshooting After the Swap
A blank display almost always means either dead batteries, a missing common on a model that needs one, or a blown control board fuse from a momentary short. Check the small blade fuse near the furnace terminal strip before anything else.
If heating works but cooling does not, look at the Rc and Rh jumper configuration first, then confirm Y and G landed correctly. If the system runs constantly or short cycles, verify you selected the correct system type during setup — telling a conventional gas furnace it is a heat pump produces exactly this behaviour. A thermostat that reads several degrees warm is usually mounted near a lamp, a supply register, an exterior wall or an unsealed cable opening.
Common Mistakes to Avoid
- Labelling wires by colour instead of terminal. Colour conventions are broken more often than they are honoured.
- Letting the cable slip into the wall. Clamp it the second the last wire comes off.
- Forgetting the Rc/Rh jumper. The single most common reason cooling fails after a swap.
- Leaving the wall hole unsealed. Draft across the sensor causes permanently inaccurate readings.
- Mounting in a bad location. Avoid direct sun, kitchens, hallway drafts and exterior walls.
- Skipping the cooling test in winter. Find the problem now, not in July.
Frequently Asked Questions
Do I need an electrician to replace a thermostat?
For a standard low-voltage thermostat, no. The work involves a 24-volt control circuit and matching labelled terminals. Line-voltage baseboard thermostats and systems with proprietary communicating controls are the exceptions worth handing over.
How long does replacing a thermostat take?
Around 30 to 45 minutes for a like-for-like swap, plus setup time if the new unit needs configuring or connecting to a network.
What if my new thermostat has more terminals than wires?
That is normal. Extra terminals cover features your system does not have, such as second-stage heat or a humidifier. Leave them empty and answer the setup questions accordingly.
Can I replace a thermostat myself if I have a heat pump?
Yes, but be careful to record the O or B reversing valve terminal and any auxiliary or emergency heat conductors, and buy a thermostat rated for heat pumps rather than a conventional model.
Final Thoughts
Replacing an old thermostat rewards patience rather than skill. Kill the breaker, photograph the terminals, label every conductor by letter, and secure the cable before it disappears into the wall. From there it is simply matching letters, levelling a plate and sealing the hole behind it. Finish by testing heat, cooling and fan independently and comparing the displayed temperature against a separate thermometer. Spend the extra ten minutes on those checks and the thermostat you install in 2026 will control your system accurately for a decade, with an energy saving that starts the first evening the setback kicks in.









