
 Owen Bradley
 Moving a working build into a new chassis is one of the most satisfying upgrades you can do, because everything that made the machine slow or loud usually improves at once. Better airflow drops temperatures, a modern layout hides the cabling, and the whole system feels new without a single new component in the parts list. It is also the job most likely to end in a machine that will not post, purely because of the order people work in. This guide covers a PC case swap end to end: what to check before you buy, the teardown sequence that keeps you out of trouble, standoff and clearance checks, and the parts worth replacing while the build is already apart.
Check Compatibility Before You Buy the Case
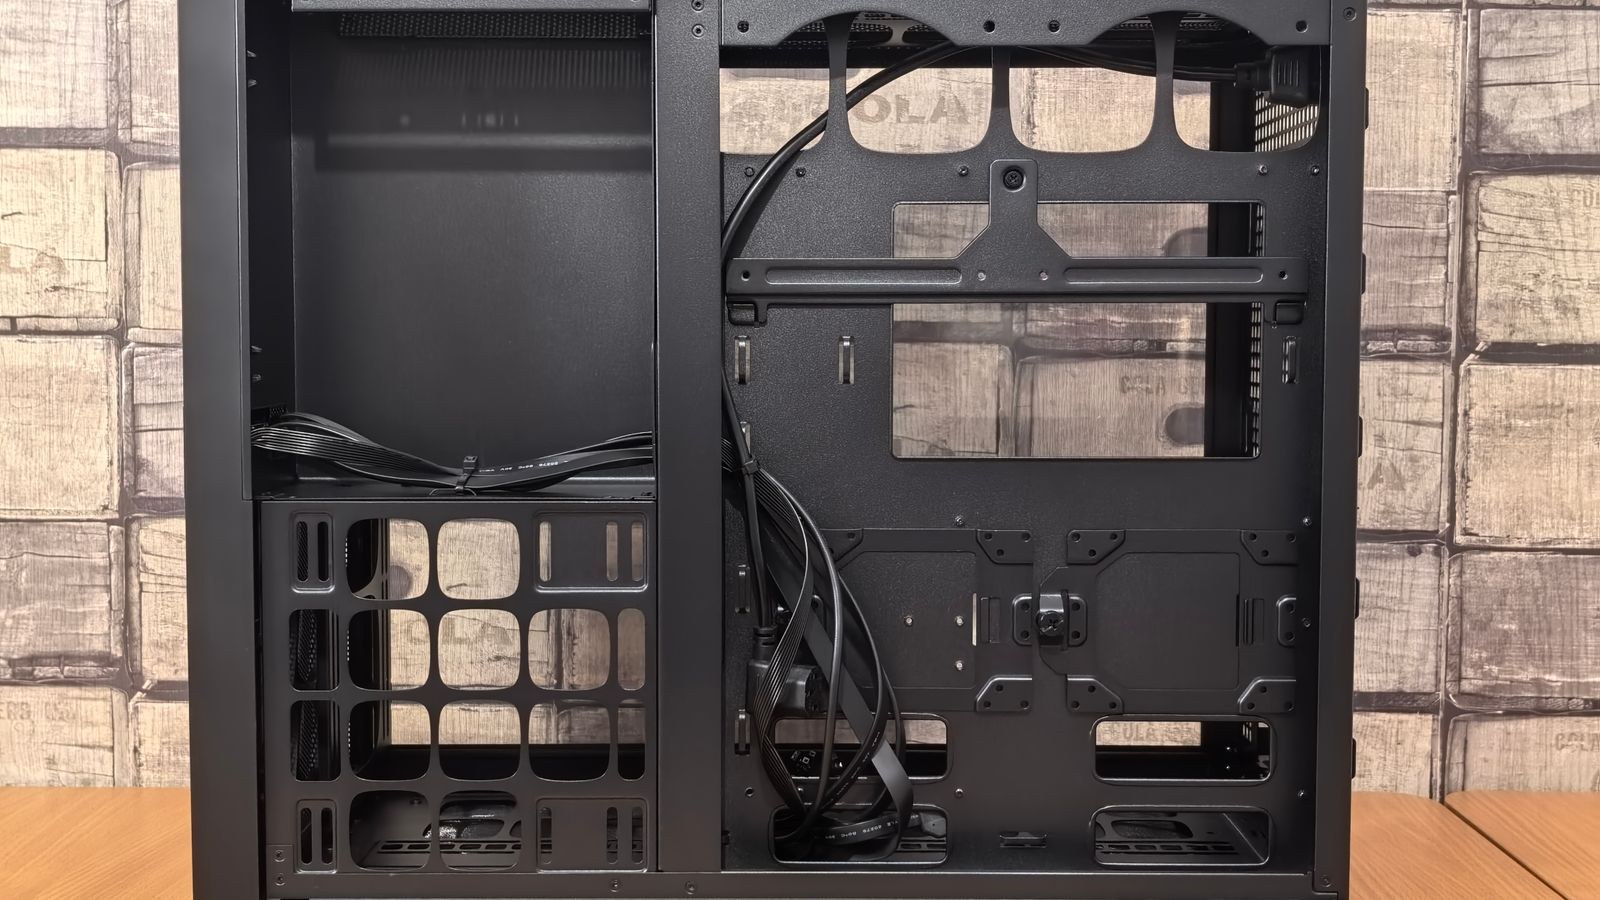
Four measurements decide whether a chassis will take your build, and all four are published in the case’s specification sheet.
- Motherboard form factor. ATX, micro-ATX and mini-ITX. A larger case takes smaller boards, never the reverse.
- Graphics card length. Measure your card from the I/O bracket to the far end of the shroud, then add 20mm for the power connectors. Compare against the case’s stated GPU clearance, which is usually quoted without a front radiator installed.
- CPU cooler height. Air coolers are the usual casualty of a move to a slimmer chassis. Check the tower height against the case’s stated limit.
- Radiator support. If you run an all-in-one cooler, confirm the new case takes that radiator size in the position you want, with enough clearance above the motherboard’s memory slots.
Also count your drives and front panel needs. Many modern cases have dropped optical bays and reduced 3.5-inch cages, so a build with four mechanical drives may need a larger chassis than the one you had in mind. For most transfers, our roundup of the best mid-tower PC cases covers the sweet spot of space and desk footprint, while the best ATX PC cases list suits full-size boards with plenty of expansion. If you want to shrink the build, the best compact PC cases show what fits without forcing a component downgrade.
Tools and Preparation
Gather a magnetised #2 Phillips screwdriver, a small parts tray or magnetic dish, zip ties or velcro straps, an anti-static wrist strap, a torch, and compressed air or a soft brush for cleaning. Clear a large flat surface, ideally a table rather than carpet, and put both cases side by side.
Before touching anything, back up your data. A case swap should not endanger your storage, but drives get knocked and cables get pulled, and a current backup turns a disaster into an inconvenience. Then photograph the inside of the old case from several angles, with close-ups of the front panel header, the fan connections and the drive cabling. You will refer to these more than you expect.
How to Move a PC Build Into a New Case
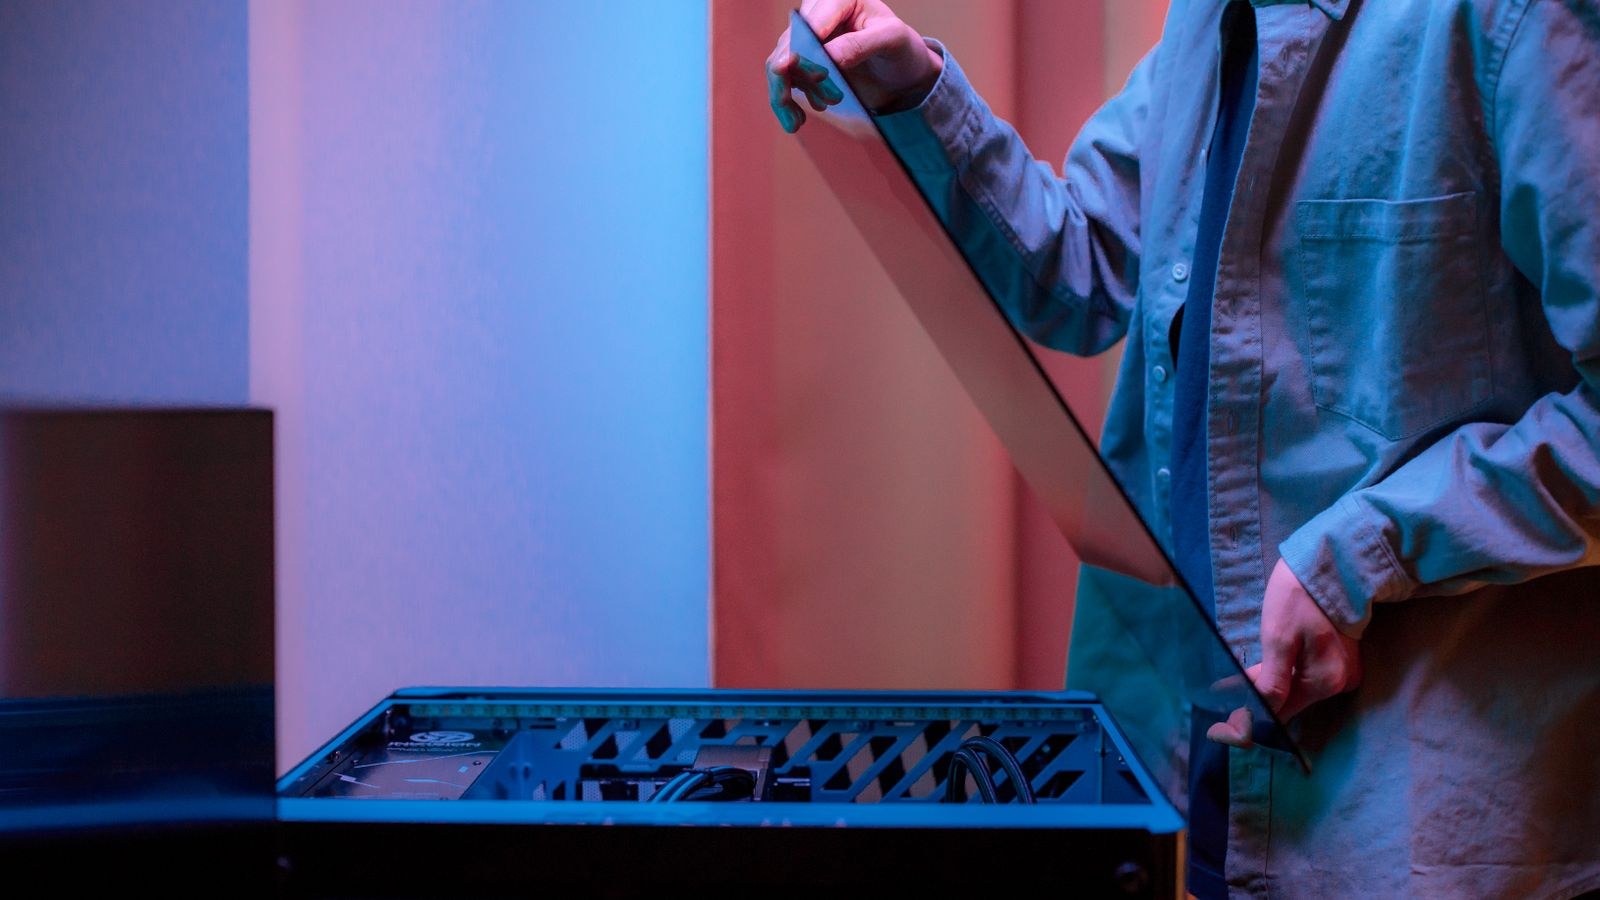
- Shut down and cut mains power. Shut the operating system down normally, switch the power supply off at the rear, unplug the mains lead, then hold the case power button for ten seconds to drain the capacitors.
- Prepare the new case first. Open it, remove all panels, take out the accessory box, and unwrap any protective film. Read the manual’s diagram of standoff positions and the front panel pinout. Doing this before the old build is in pieces means you are never rushing with parts loose on the desk.
- Fit the standoffs in the new case. Install brass standoffs only in the positions matching your board’s form factor, and remove any that do not correspond to a mounting hole. A stray standoff under the board shorts it against the tray and is the classic cause of a swap that will not post. Some cases have a central alignment pin, which is fine.
- Strip the old case in load order. Disconnect the graphics card power leads and remove the card. Remove any all-in-one radiator and its fans. Unplug SATA data and power from the drives and remove them. Then unplug the front panel header, the fan cables, the CPU power connector and finally the 24-pin.
- Remove the power supply and the motherboard. Unscrew the PSU from the rear and slide it out. Then undo the motherboard screws in a loose cross pattern, support the board by its edges, and lift it out with the cooler still attached unless the cooler is too heavy or the new case needs a different backplate.
- Clean everything while it is accessible. This is the one moment when every surface is reachable. Brush the dust off the cooler fins, clear the fan blades, wipe the board with a soft dry brush, and clean the drive cages. Hold fan blades still when using compressed air so they do not spin up and generate current.
- Install the power supply in the new case. Fit it before the motherboard where the case allows, since a bottom-mounted unit is far easier to slide in without the board in the way. Orient the fan toward the floor vent if the case has a filtered intake there, otherwise face it upward.
- Mount the motherboard. Fit the I/O shield first if your board uses a separate one, pressing it into the rear cutout until all four edges click. Lower the board in at a slight angle so the ports meet the shield, align the holes to the standoffs, then start every screw by hand before tightening any of them in a cross pattern. Snug, never forced.
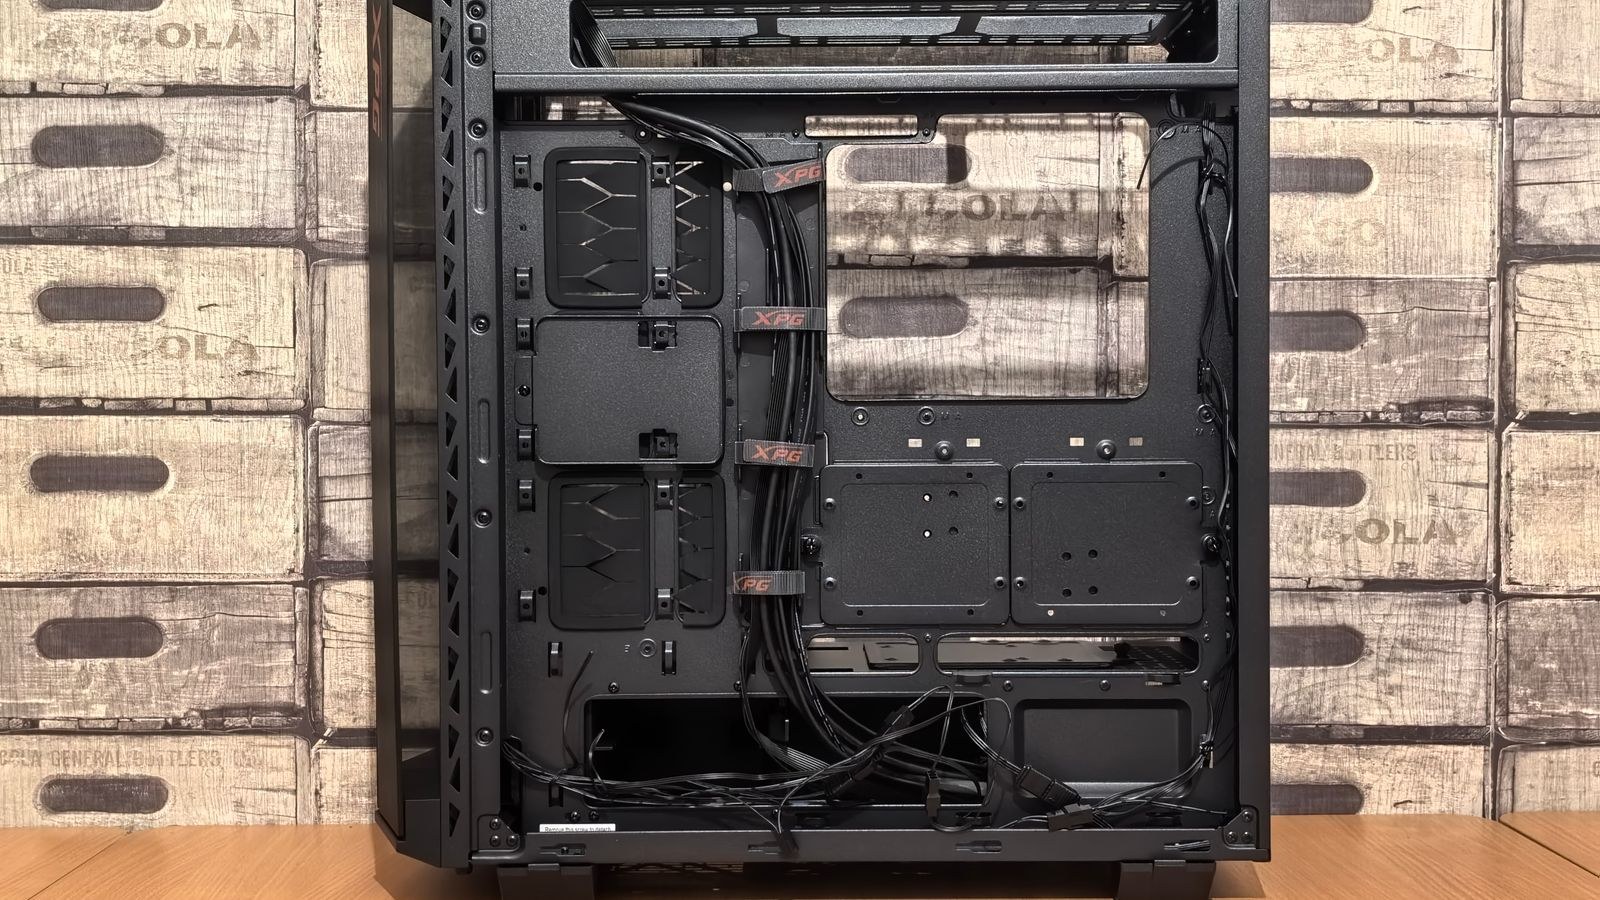
- Route the cables before connecting them. Feed the 24-pin, the CPU power lead, the front panel header cables, the SATA runs and the fan leads through the case’s grommets and behind the tray first. Connecting first and routing afterwards is how builds end up with cable spaghetti across the middle.
- Connect the front panel header. Use the case manual and the board manual together. Power switch, reset switch, power LED and drive LED each go to specific pins, and the LEDs are polarity-sensitive while the switches are not. Take your time here; it is fiddly and easy to get wrong.
- Fit drives, fans and the cooler. Install storage in the cages or brackets, connect data and power, then mount the case fans and the radiator if you have one. Plan your intake and exhaust so more air comes in the front and bottom than leaves the rear and top, giving slight positive pressure that keeps dust out of the unfiltered gaps.
- Install the graphics card last. Remove the relevant expansion slot covers, seat the card until the retention latch clicks, screw the bracket down, and connect its power leads using separate cables where the card requires them.
- Do a bench test before closing up. Leave the panels off, connect the display, keyboard and mains, and power on. Confirm the fans spin, the machine posts, and the firmware sees the processor, all your memory and every drive. Only then tidy the cabling and fit the panels.
Safety Notes Worth Following
Ground yourself on bare chassis metal before handling the motherboard, memory or graphics card, and work off carpet wherever possible. Never open the power supply casing. Support the motherboard by its edges rather than pressing on the middle, and lay it on its anti-static bag. If you remove the CPU cooler at any point, clean off the old thermal paste and apply fresh compound before refitting it.
Parts Worth Replacing While the Build Is Apart
A case swap is the cheapest possible moment to fix things that would otherwise mean a second teardown. Thermal paste is the obvious one if the cooler comes off or the build is more than a few years old. Case fans are the next, since worn bearings are usually the real source of the noise people blame on the old chassis. If your existing power supply has fixed cables, this is the moment to move to a modular unit, because clean routing in a new case is exactly what those cables prevent; the best fully modular PSUs let you install only the leads your build actually uses.
It is also worth reconsidering your airflow strategy rather than simply copying the old fan layout. Modern mesh-fronted designs move dramatically more air than the closed panels of a few years ago, and matching the case to that goal makes far more difference than any single fan swap. The best PC cases for airflow are the ones that make the rest of the build quieter by letting the fans work at lower speeds.
Troubleshooting After the Swap
If nothing happens on the power button, suspect the front panel header first. A reversed or mispinned power switch connection is the most common outcome of a swap, and swapping the two power switch wires costs nothing to test. Next, check the CPU power connector at the top of the board, which is easy to leave unplugged behind a routed cable.
If fans spin but the screen stays dark, reseat the graphics card and the memory modules until the clips click. If the machine posts intermittently, check for a standoff sitting where the board has no hole. If drives are missing, confirm both SATA data and power connections.
Common Mistakes to Avoid
- Leaving an extra standoff under the board. The cause of countless dead-on-arrival swaps, and invisible once the board is in.
- Forgetting the I/O shield. You will discover it after the board is mounted and cabled, every time.
- Overtightening motherboard screws. Snug only. Forcing them flexes the board around the socket.
- Connecting cables before routing them. Guarantees a rebuild of the cable management later.
- Skipping the bench test. Closing the panels before confirming a post means undoing all the tidy work.
- Reusing thermal paste. If the cooler came off, the paste is finished. Clean and reapply.
Frequently Asked Questions
How long does a PC case swap take?
Plan on two to four hours for a first attempt, including cleaning and cable management. The transfer itself is quick; routing and the front panel header take the time.
Do I need to reinstall Windows after moving cases?
No. Nothing about the operating system changes, because the components and their identifiers are identical. Simply boot as normal.
Should I remove the CPU cooler during the move?
Only if you must. Leaving it attached avoids reapplying paste, though very heavy air coolers are safer removed so the board is not stressed during handling.
What if my new case has fewer drive bays?
Prioritise the drives you actually use, consolidate mechanical storage onto a larger disk, or move the archive to an external enclosure. Consolidating before the move is easier than improvising afterwards.
Final Thoughts
A successful case swap comes down to sequence and patience. Verify the four clearance figures before buying, prepare the new chassis and its standoffs first, strip the old build from the load side inward, and clean everything while it is accessible. Route cables before you plug them in, connect the front panel header slowly with both manuals open, and bench test with the panels off before you tidy a single cable. Take the opportunity to refresh thermal paste, replace tired fans and move to modular power while the build is open. Approach it that way in 2026 and you end up with a machine that runs cooler and quieter than the one you took apart, for the cost of an afternoon.









