
 Owen Bradley
 That dusty router in the cupboard still has working hardware inside it. Even when a unit is too slow to serve as your main gateway, its switch chip, radios and Ethernet ports are usually fine, and a few configuration changes can turn it into a useful piece of network gear rather than landfill. Learning how to repurpose an old router as a switch, a wireless bridge or a dedicated guest access point saves money, extends coverage into rooms that never had a strong signal, and gives you wired ports exactly where you need them. The catch is that a router left in its factory state will fight your main router for control of the network, so the order of operations matters. This guide walks through the exact settings to disable first, the wiring for each role, and how to confirm everything works before you screw the cover back on.
What an Old Router Can and Cannot Do
Inside almost every consumer router are three separate functions bundled into one box: a router that hands out addresses and connects your home to the internet, a multi-port Ethernet switch, and one or more wireless radios. Repurposing means switching off the routing function and using the other two. That is why the same hardware can become several different things.
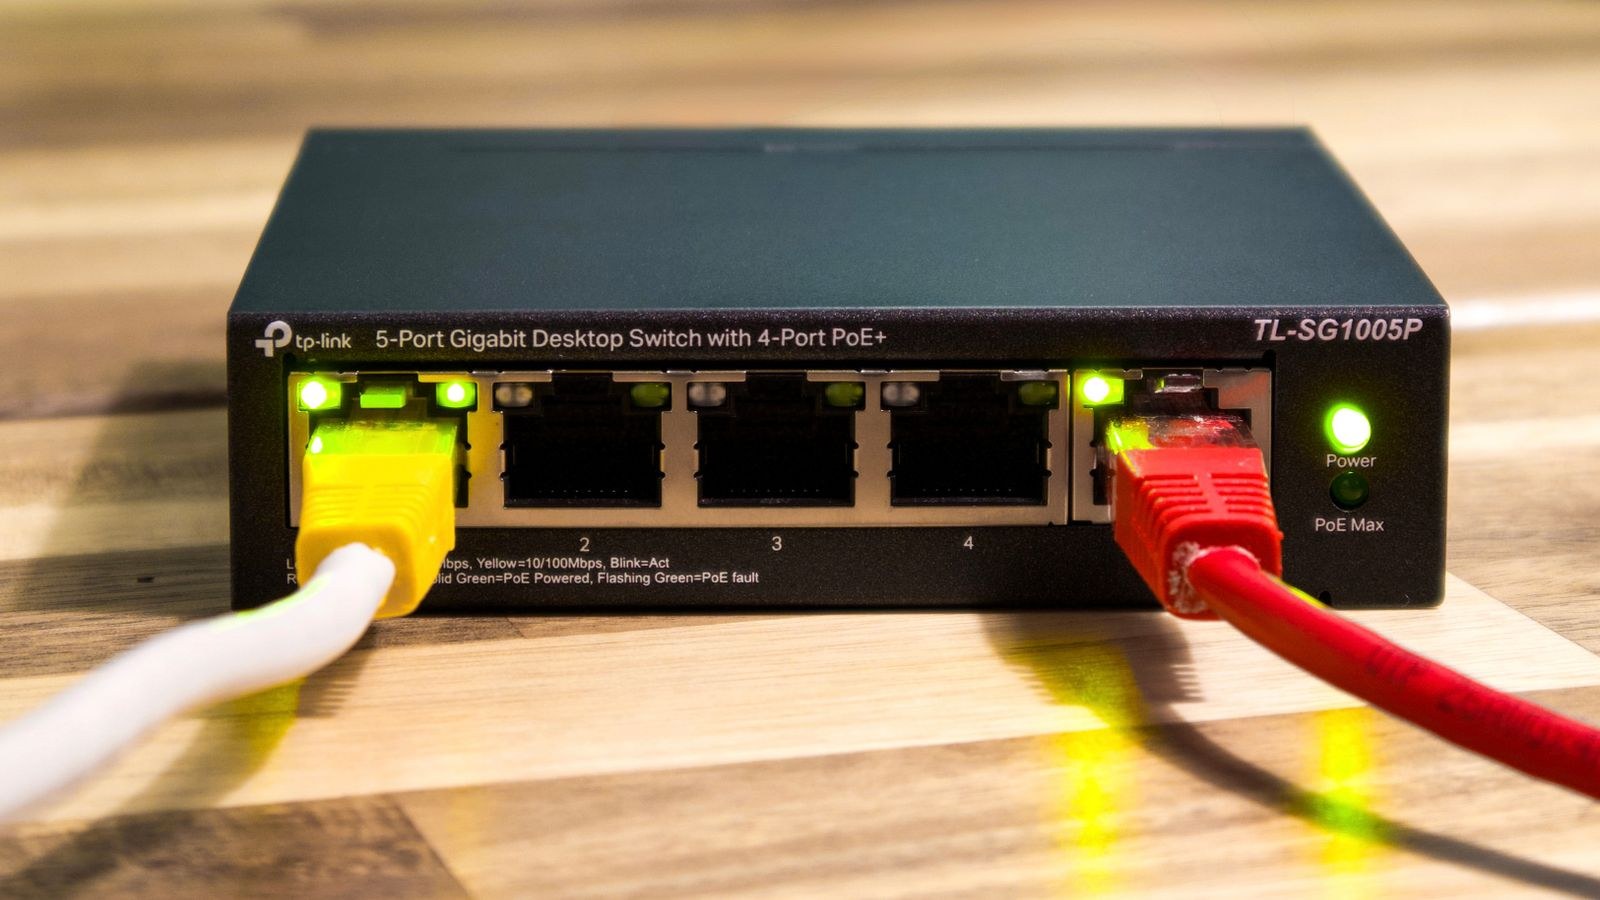
As a switch, the old unit simply adds three or four wired ports wherever you run a cable. As an access point, it broadcasts your existing network name in a far corner of the house over a cable back to the main router. As a wireless bridge, it joins your Wi-Fi network wirelessly and feeds wired-only devices such as a printer, console or smart TV. What it cannot do is create bandwidth from nothing. An old unit with 100Mbps ports will cap anything behind it at that speed, and an aging radio will not match a modern mesh node. Know the limit before you build around it.
Check the Hardware Before You Invest Time
Look at the label. If the LAN ports are marked 10/100 rather than gigabit, keep the unit for low-bandwidth duties. Then power it on for an hour and feel the case: a router that runs painfully hot is not worth a permanent role.
Tools and Information You Need First
- The old router’s admin password, or a paperclip to hold the reset button for 30 seconds.
- The main router’s LAN address, subnet mask and DHCP range, all visible on its admin page.
- At least one Ethernet patch cable, ideally Cat 5e or better.
- A laptop or desktop with an Ethernet port, or a USB Ethernet adapter.
- A note of the Wi-Fi name and password you want the repurposed unit to use.
If you are buying cable or extra ports anyway, it is worth comparing the price of a purpose-built unit from our roundup of the best network switches for home use against the hassle of reconfiguring old hardware. A cheap unmanaged switch draws less power, runs silent and needs no setup at all.
Step by Step: Turn an Old Router Into a Switch
- Factory reset the old router. Hold the recessed reset button for around 30 seconds while it is powered on, then wait for it to reboot. Starting clean avoids inherited settings you cannot see.
- Connect directly with a cable. Plug your laptop into any LAN port on the old router and open its admin page, usually printed on the label. Do not connect it to your main network yet.
- Change its LAN IP address. If your main router uses 192.168.1.1, set the old one to something free and outside the DHCP pool, such as 192.168.1.250. This gives you a permanent address to log back in with later.
- Disable the DHCP server. This is the single most important step. Two DHCP servers on one network hand out conflicting addresses and cause random dropouts across every device.
- Disable the wireless radios if you only want wired ports, or leave them on and skip ahead to the access point section.
- Save and reboot, then unplug your laptop.
- Wire it into the network correctly. Run a cable from a LAN port on the main router to a LAN port on the old router. Leave the WAN or internet port empty. Using the WAN port keeps the routing function alive and defeats the whole exercise.
- Test. Plug a device into a spare LAN port and confirm it receives an address from the main router and reaches the internet.
Step by Step: Use It as a Guest or Range Access Point
An access point extends your existing network over a cable, which is far more reliable than any wireless repeating. The setup is identical to the switch procedure above, with the wireless section configured rather than disabled.
- Complete steps 1 to 4 of the switch procedure so the unit has a static LAN address and no DHCP server.
- Set the wireless network name. Use the same name and password as your main network for seamless roaming, or a distinct name such as Home-Garage if you prefer to choose manually.
- Pick a non-overlapping channel. On 2.4GHz stick to channel 1, 6 or 11 and choose one your main router is not using. On 5GHz simply pick a channel several steps away.
- Match the security type. Use WPA2 or WPA3 to match your main network, never an open or WEP setting.
- Run the cable to the far room and connect LAN to LAN as before.
- Walk the coverage. Use a phone signal meter to confirm the new area is stronger, and lower the old unit’s transmit power if the two access points fight over devices in the middle of the house.
If the cable run turns out to be impractical, a purpose-built unit is the cleaner answer. Our list of the best access point routers covers models with dedicated AP modes, and the best router repeaters and extenders suit rooms where no cable can reach at all.
Step by Step: Configure a Wireless Bridge
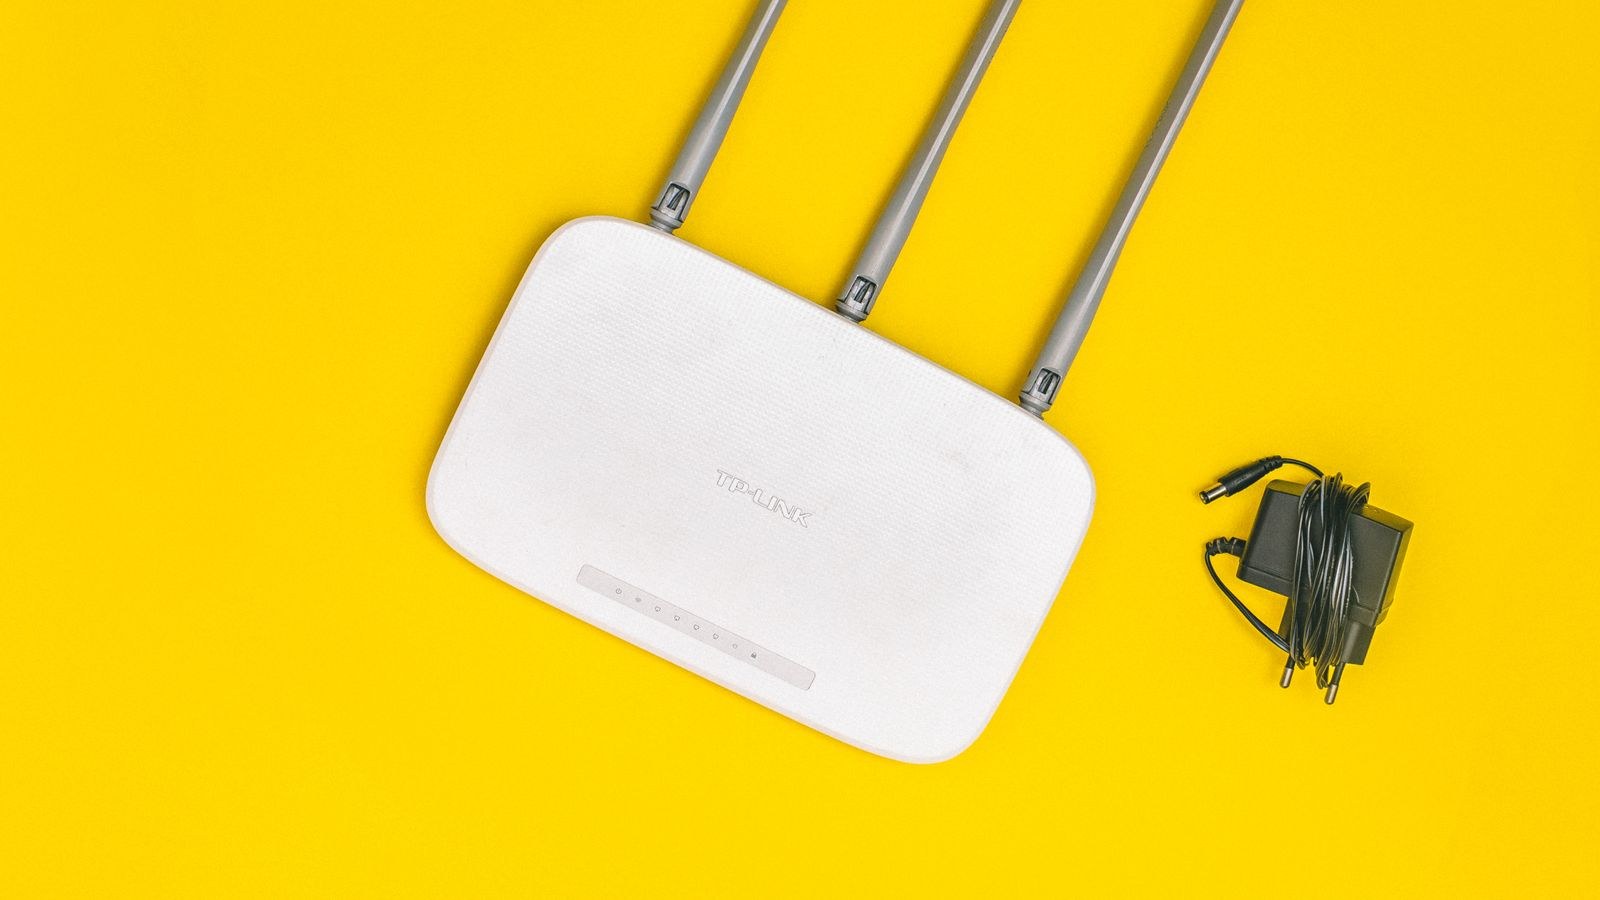
Bridge mode, sometimes labelled client mode or media bridge, lets the old router join your Wi-Fi as a client and share that connection with wired devices behind it. It is the right choice when you have a cluster of Ethernet-only equipment in a room with no cable.
- Check the firmware. Not every stock firmware includes a bridge or client mode, so look under Operation Mode, Wireless Bridge or Repeater in the admin menu before going further.
- Select bridge or media bridge mode and let the unit scan for networks.
- Choose your main network and enter its password. The old router now behaves like a wireless adapter.
- Confirm DHCP is off so devices behind the bridge still get addresses from the main router.
- Plug your wired devices into the LAN ports and test throughput with a speed test on a laptop.
Expect a real speed penalty: a bridge sharing one radio for receiving and forwarding can roughly halve throughput. Where the devices are bandwidth-hungry, running a cable to one of the best Ethernet routers will always beat a wireless hop.
Safety and Security Considerations
Old firmware is the real risk here. Manufacturers stop patching consumer routers after a few years, so treat any unit you keep in service as untrusted. Install the last available firmware update, then lock it down: change the admin password, disable remote management and UPnP, and turn off WPS.
On the electrical side, keep the unit out of enclosed cupboards, use the original power adapter and avoid stacking it on other warm equipment.
Troubleshooting Common Problems
No internet on devices plugged into the old router
Nine times out of ten the cable is in the WAN port. Move it to a LAN port. If that is already correct, confirm DHCP is disabled and that the old unit’s IP is on the same subnet as the main router.
Random dropouts across the whole house
This is the classic double-DHCP symptom. Log into the old unit at its static address and check that its DHCP server is genuinely off, then reboot every client so they release the wrong addresses.
You cannot reach the old router’s admin page anymore
You changed its address and forgot the new one. Either try a range scan from a laptop, or hold the reset button and start again, this time writing the address on a sticker on the case.
Devices cling to the weaker access point
Phones are stubborn about roaming. Reduce transmit power on the repurposed unit, or give it a slightly different network name so you can pick deliberately.
When Repurposing Is Not Worth It
Be honest about the payoff. A 10/100 unit behind a gigabit connection becomes a bottleneck the moment someone downloads a game. A router with a failing power supply will drop your network at random and cost you hours of diagnosis. Old radios also lack modern features such as band steering and WPA3, and they add another device drawing power around the clock. If your goal is whole-home coverage rather than a couple of extra wired ports, replacing the main unit with something from our guide to the best wired and Ethernet routers usually delivers more than propping up old hardware. For the specific case of adding a second unit properly, our walkthrough on how to set up a second router as an access point covers the wiring and settings in more detail.
Frequently Asked Questions
Do I need special firmware to repurpose a router?
Not for switch or access point duty, which only require disabling DHCP and using LAN ports. Bridge and client modes sometimes need third-party firmware if the stock software omits them, and flashing carries a risk of bricking the unit.
Will a repurposed router slow down my network?
Only the devices behind it. Traffic that never passes through the old unit is unaffected. Devices plugged into a 100Mbps unit are capped at that speed regardless of how fast your broadband is.
Can I use two old routers as access points?
Yes, provided each has a unique static IP address, DHCP disabled and a non-overlapping wireless channel. Cable each one back to the main router rather than daisy-chaining them wirelessly.
Is it safe to keep an unsupported router on my network?
It carries some risk. Update to the final firmware, disable remote management and UPnP, and consider using it only for low-value devices. Retire any unit with known unpatched vulnerabilities.
Final Thoughts
Repurposing an old router is one of the most satisfying small networking projects because the payoff is immediate: extra wired ports in the office, a usable signal in the garage, or a printer finally reachable without a cable across the hallway. The whole job comes down to three decisions. Reset the unit so nothing unexpected is left behind, give it a static address outside the DHCP pool and turn its own DHCP server off, then wire it LAN to LAN and never touch the WAN port. Get those right and the rest is just choosing which of the three roles fits the room. Keep an eye on speed limits and firmware age, and retire any unit that runs hot or refuses updates. Done thoughtfully, a router that was heading for the bin can keep earning its place in your setup for several more years.









