
 Owen Bradley
 Rental lighting is usually a compromise nobody chose. You get a builder-grade ceiling dome in one room, nothing at all in another, and a lease that says you may not drill, rewire, or swap fixtures. The result is a home that looks fine in daylight and cave-like after dark. The good news is that the wireless and adhesive lighting available now is genuinely good enough that you never need a drill. Plug-in sconces, rechargeable bars, tension setups, and removable strips can produce a properly layered scheme that comes down in twenty minutes on move-out day and leaves nothing behind. This guide covers renter friendly lighting from planning through installation to the cleanest possible removal.
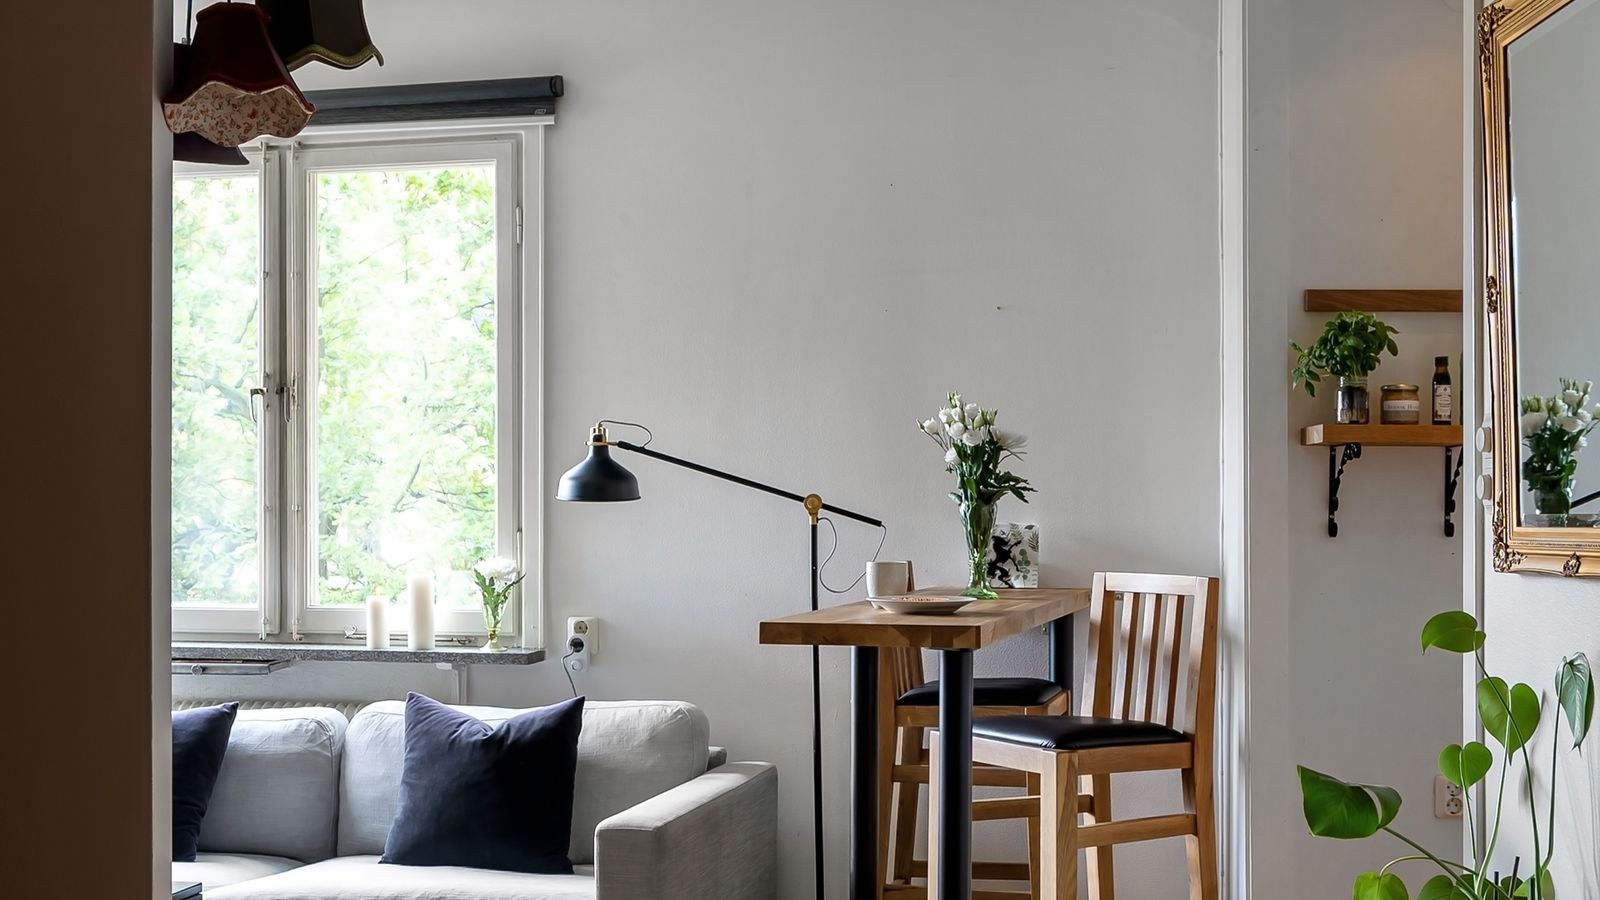
What You Will Need
- Plug-in wall sconces with a cord and an inline switch.
- Rechargeable or battery lamps for spots with no outlet nearby.
- Floor and table lamps to carry the ambient and task layers.
- Removable adhesive strips rated well above the weight of whatever they hold.
- A tension rod or two for hanging light in a window recess or alcove.
- Smart plugs and a wireless wall button for switching.
- Cord clips, flat cord covers, and isopropyl alcohol for surface prep.
Start With What the Lease Actually Allows
Most leases forbid holes, permanent fixtures, and any change to hardwired electrical. Almost none forbid lamps, adhesive, or tension fittings. That leaves you far more room than people assume, and the whole approach here stays inside those lines.
Two things are worth checking before you start. First, whether a wall switch controls an outlet somewhere in the room, since that gives you switch-at-the-door control for free. Flip the switch on and plug a lamp into each half of each receptacle until one responds. Second, whether the wall surface is painted drywall, plaster, or textured, because textured and freshly painted walls hold adhesive poorly and are the most likely to lift on removal.
Build the Scheme in Three Layers
The reason a rental feels badly lit is rarely a lack of brightness. It is that a single ceiling dome or a single lamp is trying to do three different jobs at once.
Ambient is the general fill. Without a good ceiling fixture, produce it by bouncing light off the ceiling with a torchiere or an uplight in a corner. Task is focused light beside a reading chair, a desk, or a kitchen counter. Accent is the low-level light that adds depth: a small lamp on a shelf, a strip under a cabinet, a light behind a plant.
Target roughly 20 lumens per square foot in a living room and 30 to 40 in a workspace, and split that total across three or more sources rather than one bright one. Keep every bulb at the same color temperature, 2700K for living rooms and bedrooms or 3000K to 4000K for a work area. Mixed temperatures are what make a room look accidental.
Step-by-Step: Lighting a Rental With No Holes
- Map the room and its activities. Sketch the furniture and mark where you read, work, cook, and sit. Each activity needs its own light, and that list defines your fixture count.
- Locate every outlet. Note each receptacle and whether any is switched. Outlet positions will shape your layout more than aesthetics will.
- Place the ambient source first. Put an uplight or torchiere in the corner diagonally opposite the door. Bounced off a white ceiling it reads much like a real ceiling fixture and produces almost no glare, all with a plug and no hardware.
- Add plug-in sconces at wall height. These give you the look of hardwired wall lighting with a cord instead. Mount the backplate on removable strips, then hide the cord run behind furniture or in a fabric cord cover down the wall.
- Prep every adhesive surface. Wipe with isopropyl alcohol and let it dry fully. Dust and residue cause most adhesive failures, and a fixture that falls can take a chunk of paint with it.
- Respect the weight rating. Choose strips rated at least double the fixture’s weight and press firmly for 30 seconds. Let the adhesive cure for the stated time, often an hour, before hanging anything on it.
- Use tension rods for hanging light. A tension rod across a window recess or between two walls of an alcove will carry a lightweight pendant or a string of bulbs with zero fasteners.
- Add rechargeable fixtures where no outlet reaches. A magnetic bar light or a puck covers a closet, a bookshelf, or a dark hallway stretch that no cord can reach without crossing a walkway.
- Run LED strips in recesses. Under a kitchen cabinet, along the underside of a shelf, or behind a headboard, adhesive strip light delivers a continuous line with almost no visible hardware. Peel the backing a few inches at a time as you press it down.
- Fill the dark corners. One unlit corner makes a whole room read as dim. A small lamp or an uplight behind a plant fixes it for very little money.
- Solve the switching. Put lamps on smart plugs, group them, and stick a wireless wall button beside the existing switch. You get single-press control at the door, with no wiring and nothing to explain to a landlord.
- Tidy the cords. Clip cords along baseboards, run anything crossing a walkway in a proper flat cord cover, and never tuck a cord under a rug without one. Match extension cord ratings to the load.
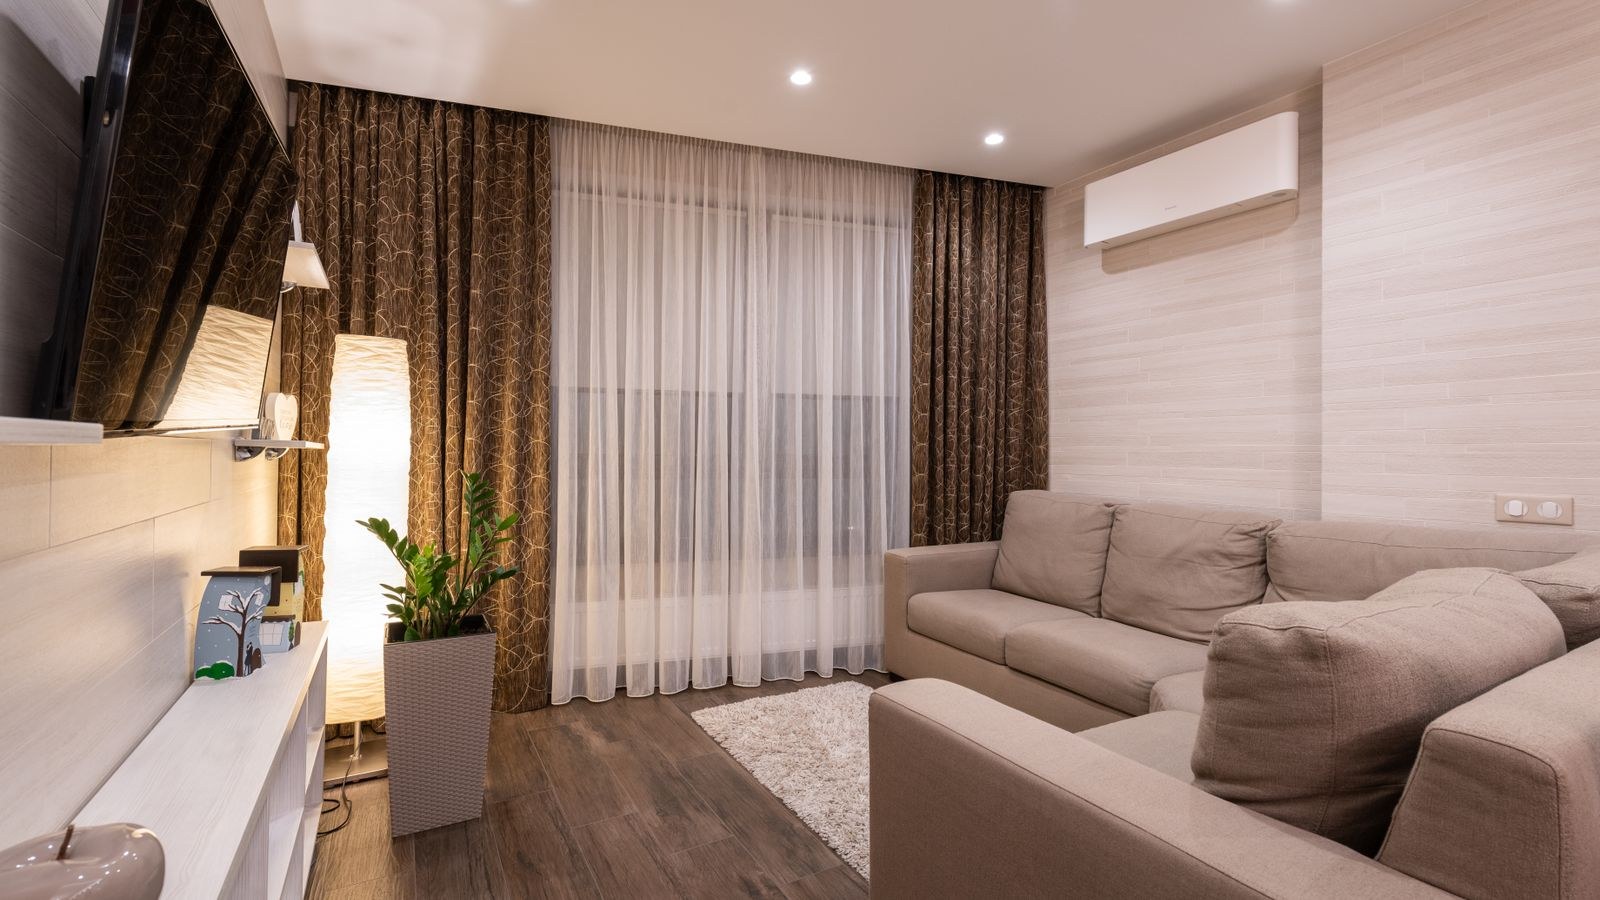
Fixture Types That Work Without Fasteners
Plug-in sconces are the closest thing to a real wall light. They mount on adhesive or a hook and run a cord to the nearest outlet. Choose one with an inline or built-in switch so you are not reaching behind furniture.
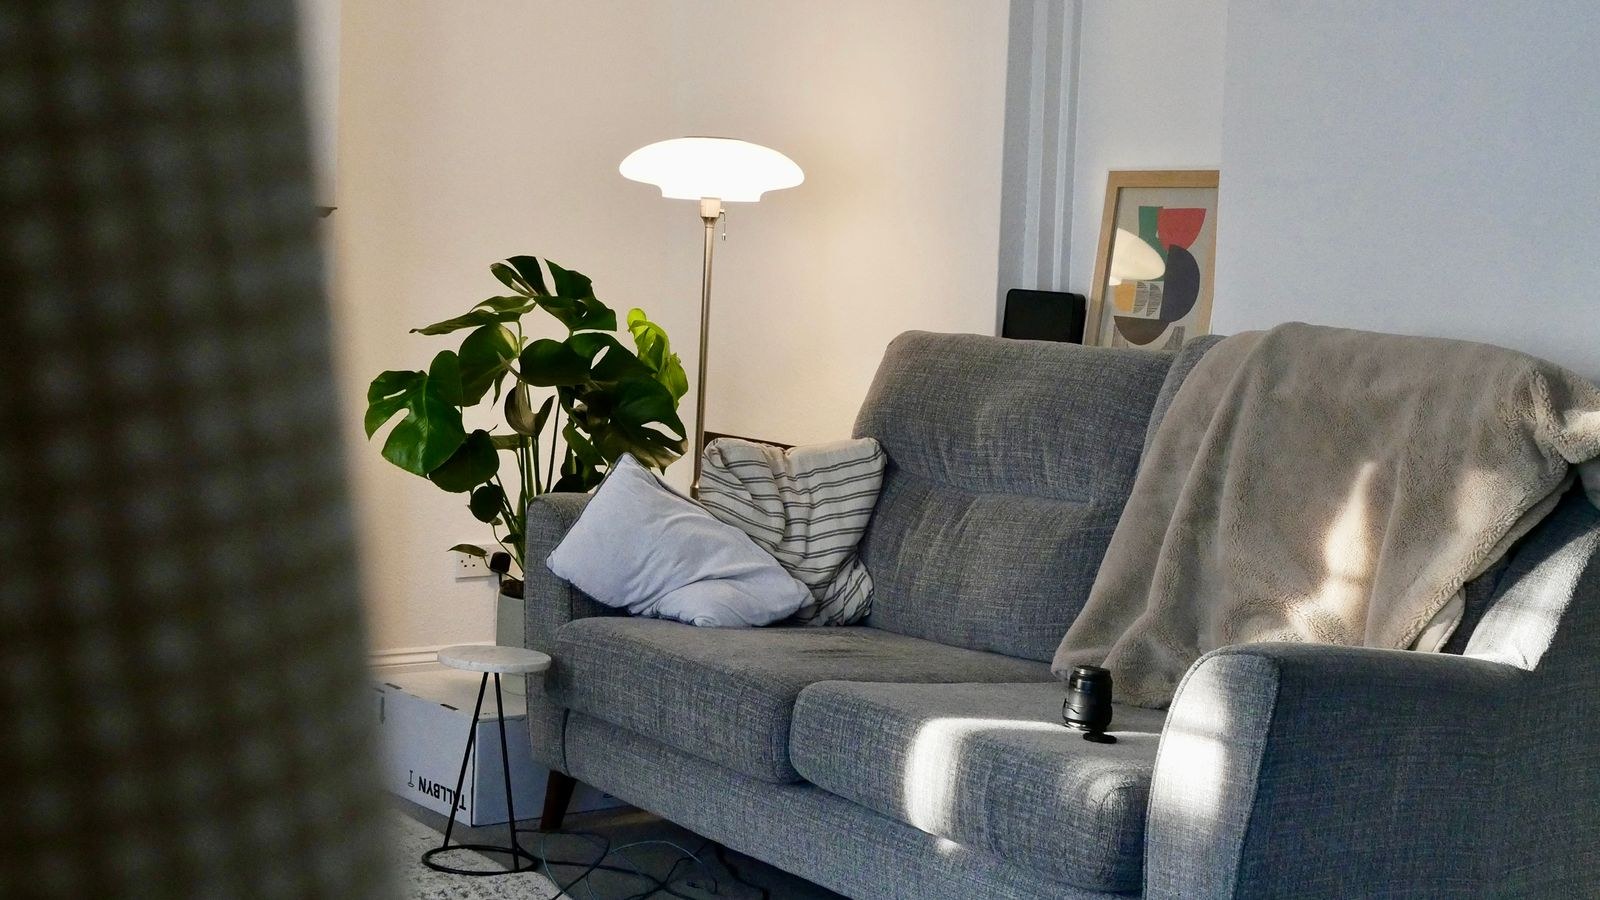
Torchieres and floor lamps do the ambient heavy lifting and require nothing but floor space. A dimmable model lets you shift between bright afternoon and quiet evening from one fixture.
Rechargeable and battery lamps cover the spots that cords cannot reach, and the good ones now run for weeks. The best battery lamps and the wider cordless lights categories cover both the decorative table styles and the utility bars.
Portable and clip-on lamps attach to a shelf edge, a headboard, or a desk without any wall contact at all. If you move furniture around often, models from the portable lamps group travel with the setup.
Adhesive LED strips handle accent light in recesses. Use ones with removable adhesive or mount them to a channel that is itself stuck on with removable strips.
Protecting the Deposit
- Use removable command-style strips rather than permanent foam tape on any painted surface.
- Never exceed the weight rating, since a failed strip tears paint far worse than the strip itself would.
- Avoid adhesive on wallpaper, textured walls, and freshly painted surfaces, all of which fail or lift.
- Remove by stretching, not pulling. Pull the tab straight down slowly and parallel to the wall so it releases instead of tearing.
- Photograph walls before mounting so you have a record of the original condition.
- Keep the original ceiling fixtures if you swap anything, and put them back before you leave.
Troubleshooting
- The room is bright but still feels dim: the corners are dark. Add a small source to each unlit corner before increasing brightness anywhere.
- Adhesive keeps failing: the surface was not cleaned, the wall is textured, or the fixture is too heavy. Clean with alcohol, and switch to a lighter fixture or a floor-standing option.
- Cords look messy: reposition lamps closer to outlets, then use fabric cord covers down the wall and clips along the baseboard.
- Nothing turns on at the door: no switched outlet. Add smart plugs and a wireless wall button beside the existing switch.
- Glare from a sconce or lamp: the bulb is visible from where you sit. Add a shade, raise the fixture, or aim it at the wall.
- Batteries dying too fast: switch the fixture to motion or timer mode instead of always-on, and drop the output level if the space is small.
Mistakes to Avoid
The most common is buying one very bright lamp instead of three moderate ones, which produces a hot spot and leaves the rest of the room dark. Second is trusting cheap adhesive with a heavy fixture, the fastest way to lose both the fixture and a patch of paint. Third is mixing warm and cool bulbs in one room, which reads as careless even to people who cannot articulate why. Fourth is ignoring the control problem, because a scheme that takes four separate switch presses in the dark is a scheme you will stop using. If you want a starting point for fixture selection in small spaces, our roundup of apartment lighting groups options by the coverage they realistically deliver.
Frequently Asked Questions
Can I add a ceiling light to a rental without wiring?
You can get very close. A plug-in pendant hung from an adhesive ceiling hook with the cord run to a wall outlet is one option, and a torchiere bouncing light off a white ceiling produces a similar ambient effect with nothing touching the ceiling at all.
Will adhesive strips damage rental paint?
Removable command-style strips come off cleanly when you stretch the tab slowly downward rather than pulling outward. Damage almost always comes from exceeding the weight rating or using permanent foam tape instead.
How many light sources does one room need?
At least three: an ambient uplight, a task lamp where you actually sit, and an accent light filling a dark corner. Larger rooms usually want four or five.
How do I control all the lamps at once?
Put each on a smart plug, group them in the app, then stick a wireless wall button beside the existing light switch. One press at the door controls the whole room with no wiring.
Are battery lamps bright enough to be a real light source?
For task and accent work, yes. Current rechargeable models are more than adequate beside a chair or on a shelf. For the main ambient layer in a room, a plug-in floor lamp still does the job better.
Final Thoughts
Lighting a rental without drilling is mostly about layering and switching rather than about hardware. Check for a switched outlet, put a torchiere in a corner to bounce ambient light off the ceiling, hang plug-in sconces and adhesive strips on removable mounts, and use rechargeable fixtures wherever a cord cannot reach. Keep every bulb at the same color temperature, fill the dark corners, and put the whole set on smart plugs with a stick-on wall button so it turns on with a single press. When the lease ends, everything peels off in twenty minutes, the walls look untouched, and the entire scheme moves with you.









