
 Owen Bradley
 Most garages ship with a single bare bulb or one weak ceiling fixture, and that is fine for parking a car but hopeless for detail work. The moment you start sanding a panel, setting a torque wrench, matching a paint color, or reading a fine scale on a caliper, that lone light source turns your own body into the biggest shadow in the room. Good garage workshop lighting is about layers: broad ambient light overhead, focused task light exactly where your hands work, and a color temperature that lets you judge surfaces honestly. This guide covers planning the layout, choosing brightness and color, mounting fixtures safely, and tuning the result.
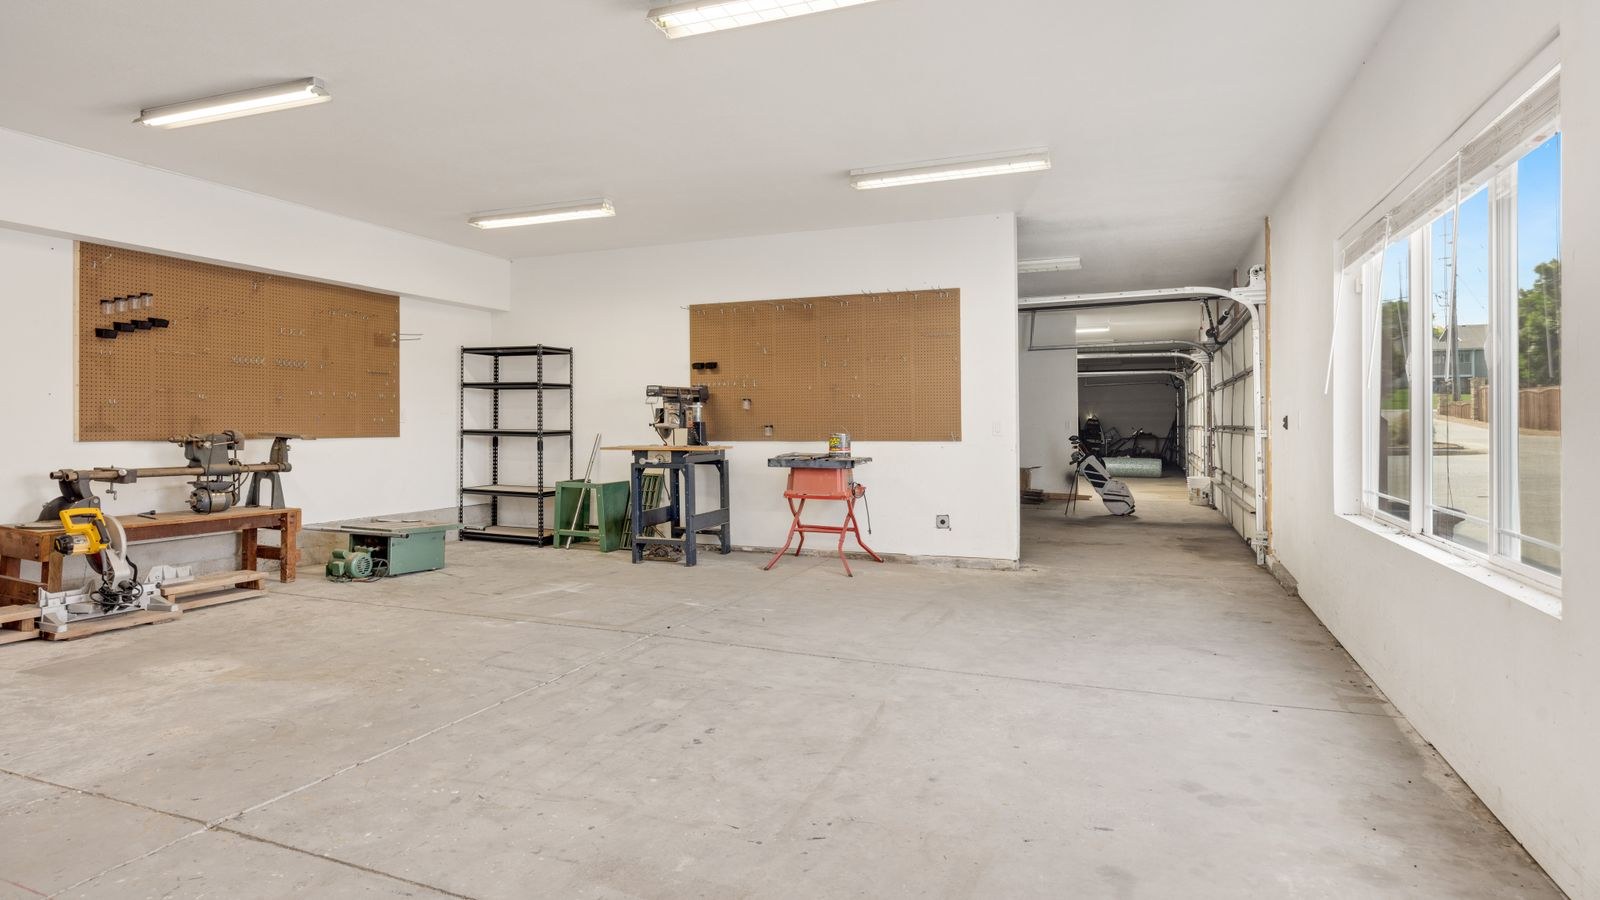
What You Need Before You Start
Gather everything first so you are not climbing down a ladder mid-install to hunt for a part. A typical two-car garage lighting project calls for the following.
- Overhead fixtures: linked LED shop lights or high-bay fixtures, enough to cover the full floor area.
- Task lights: an under-cabinet or bench-mounted bar over the workbench, plus a magnetic or clamp light for close work.
- Mounting hardware: V-hooks, chains, toggle bolts or joist screws rated well above the fixture weight.
- Electrical basics: a non-contact voltage tester, wire nuts or lever connectors, and a proper ceiling box if you are hardwiring.
- Measuring gear: tape measure, chalk line, stud finder, and a step ladder tall enough to work comfortably.
If you are still choosing fixtures, our comparison of the best workshop lighting options breaks down the fixture classes by ceiling height and coverage, which makes the planning step below much faster.
Understand the Three Layers of Shop Light
Every well-lit shop uses the same three layers, and skipping one creates that “bright but still can’t see” feeling.
Ambient light is the general wash from the ceiling, meant to raise the whole room to a comfortable level. Task light is aimed, close-range light at the bench, the vise, or under the hood, and it is what actually lets you see a thread pitch or a scribe line. Utility light covers the leftovers: inside cabinets, along a parts wall, or under a vehicle.
The common mistake is solving everything with the ambient layer by adding ceiling fixtures. That raises glare without fixing the core problem, which is that your own head and hands block ceiling light at the exact spot you are looking.
Calculate How Much Light You Actually Need
Brightness is measured in lumens, and shop planning works best when you target lumens per square foot. For general garage use, aim for roughly 50 lumens per square foot. For a workshop where you do detail work, step that up to 75 to 100 lumens per square foot across the main working zone.
The math is simple. Multiply your floor area by the target. A 20 by 20 foot garage is 400 square feet, so at 75 lumens per square foot you need about 30,000 lumens total. If a typical 4-foot LED shop light delivers around 5,000 lumens, that is six fixtures spread across the ceiling. Round up rather than down, and put the extras where you work most.
Two adjustments matter. Ceiling height reduces effective brightness fast, so a 12-foot ceiling needs noticeably more output than an 8-foot one. Surface color matters too: white walls and a sealed light floor bounce light back and can add the equivalent of an extra fixture, while bare dark concrete swallows it.
Choose the Right Color Temperature and CRI
Warm 2700K to 3000K light looks cozy but muddies fine detail. For a workshop, 4000K to 5000K is the sweet spot: crisp enough to reveal scratches and machining marks without the harsh blue cast some 6500K fixtures produce. If you paint or do finish work, stay near 5000K.
The more overlooked number is CRI, the Color Rendering Index, which describes how accurately a source shows colors compared to daylight on a scale to 100. Cheap fixtures sit around 70 to 80 CRI, enough to see but bad at distinguishing similar shades of wire insulation, paint, or stain. Look for 90 CRI or higher over any bench or paint area. That single spec does more for detail work than another thousand lumens.

Step-by-Step: Laying Out and Installing the Lighting
- Sketch the shop and mark your zones. Draw the floor plan on paper and mark the workbench, any stationary machines, the vehicle bay, and storage walls. These zones drive fixture placement far more than a symmetric grid does.
- Find and mark the joists. Snap chalk lines along the joists. Fixtures must anchor to structure, never drywall alone.
- Plan the fixture rows. Run rows parallel to the length of the garage, spaced roughly equal to the ceiling height, with the outer rows 3 to 4 feet from the side walls so light reaches wall benches.
- Position overhead lights to the sides of your work, not behind you. Put fixtures slightly forward of where you stand at the bench so the light comes over your shoulder rather than from directly behind your head. Two fixtures flanking a work zone cancel each other’s shadows.
- Cut the power and confirm it is off. Switch off the breaker feeding the garage circuit and verify with a non-contact voltage tester at the box.
- Mount the first fixture and check the line. Hang or screw the first fixture, then sight down the row before mounting the rest. Correcting one crooked fixture is easy; correcting six is a weekend.
- Hang or hardwire the remaining fixtures. Chain-and-hook hanging is quick and adjustable; flush mounting keeps fixtures out of the way in low-ceiling garages; hardwiring gives you a single wall switch and no cords.
- Link fixtures in series where supported. Many LED shop lights accept a daisy-chain cable so one outlet powers a whole run. Check the manufacturer’s stated maximum linked fixtures and never exceed it, since most LED shop lights cap a linked run at a set number of units.
- Add the task layer. Mount a bar light under the upper cabinets or on the underside of a shelf, positioned toward the front edge of the bench so it throws light onto your hands rather than the wall. A dedicated bench fixture is where detail work is won or lost.
- Add mobile and utility light. Keep a magnetic or hooked rechargeable light for under-hood, under-car, and inside-cabinet work. This is the layer that removes the last dark pockets no fixed fixture can reach.
- Restore power and test every zone. Stand at each work position and check for glare, hot spots on shiny surfaces, and shadows across your hands. Adjust while the ladder is still out.
Getting the Workbench Right
The bench is where the finest work happens. Mount task lighting forward of the work surface, roughly 15 to 24 inches above the benchtop if you are using an under-shelf bar, angled slightly toward the back so it does not glare into your eyes.
For inspection work, a second light at a low, raking angle is invaluable. Grazing light across a surface reveals dents, sanding scratches, and weld imperfections that flat overhead light hides completely. Purpose-built workbench lights usually combine a wide bar with an adjustable head for exactly this reason.
Lighting a Vehicle Bay
A car blocks light from the engine bay, the wheel wells, and everything underneath, so plan for it directly. Place two overhead rows flanking the parked vehicle rather than one down the centerline, which puts light down both sides and into the door openings. For the engine bay, a slim rechargeable bar that hooks onto the hood latch beats any amount of ceiling output. Our roundup of the best lights for mechanics compares the hook, magnet, and clamp designs that matter here.

Safety Notes You Should Not Skip
- Kill the breaker, not just the switch. A switched-off fixture can still have live wires in the box.
- Use damp-rated fixtures if your garage is unheated or gets wet from vehicles in rain and snow.
- Do not overload a circuit. Add up the wattage of the compressor, heater, and power tools too, and leave headroom.
- Anchor into structure. Drywall anchors are not adequate for a hanging fixture over a work area.
- Keep cords out of traffic paths and call an electrician for new circuits, subpanels, or outlet additions.
Troubleshooting Common Problems
- Still shadowy at the bench: the ambient layer is doing all the work. Add a dedicated task light rather than another ceiling fixture.
- Glare off shiny surfaces: raise the fixture, add a diffuser lens, or shift it off your direct line of sight.
- Flicker or buzz: usually a driver mismatched to your dimmer or a loose connection. Confirm the fixture is dimmable and re-seat the connectors.
- Uneven brightness: fixture spacing is too wide for the ceiling height. Add a row or move the outer rows toward the walls.
- Colors look wrong: low CRI is almost always the culprit. Swap bench fixtures for 90 CRI or higher units.
- Cold startup delay: check the rated operating temperature range if your garage is unheated.
Mistakes to Avoid
The first is buying by wattage instead of lumens, since wattage tells you what a fixture consumes, not what it produces. The second is running a single row down the center of the ceiling, which guarantees every side wall bench sits in your own shadow. The third is choosing the bluest fixture available on the theory that it looks brightest; very high color temperatures cause eye fatigue and do nothing for color accuracy. The last is ignoring the walls, since painting a garage semi-gloss white often improves perceived brightness more than an extra fixture would.
Frequently Asked Questions
How many lumens do I need for a two-car garage workshop?
For a 400 square foot space used for detail work, target roughly 30,000 to 40,000 lumens total across all overhead fixtures, then add task lighting on top of that at the bench. Increase the total if your ceiling is above 10 feet or your walls are dark.
Should shop lights be hung or flush mounted?
Hang them with chains and V-hooks if your ceiling is 9 feet or taller, since dropping the fixture closer to the work increases usable light. Flush mount in garages with 8-foot or lower ceilings so you keep head clearance and avoid hitting fixtures with long stock or a raised tailgate.
What color temperature is best for a garage workshop?
4000K to 5000K suits nearly every shop. Stay closer to 5000K if you do paint matching or finish work, and closer to 4000K if the garage doubles as a hangout space where a softer look is welcome.
Do I really need a separate light at the workbench?
Yes, in almost every shop. No ceiling fixture can put light on the work when your head and hands are between it and the workpiece. A dedicated bench light is the upgrade most people notice immediately.
Final Thoughts
Lighting a garage workshop well comes down to layering rather than raw output. Get the ambient level right with evenly spaced overhead rows sized to your floor area, put real task light where your hands work, and keep a portable light for the places nothing fixed can reach. Choose 4000K to 5000K fixtures with 90 CRI or better, paint the walls light, and mount everything into solid structure with the breaker off. Do that once and every project afterward gets easier because you can finally see what you are doing.









