
 Owen Bradley
 A solar panel for a security camera looks like a set-and-forget accessory, but where and how you mount it decides whether the battery sits comfortably full all year or dies every January. Most disappointing solar setups are not caused by a weak panel; they are caused by a panel bolted flat under an eave, aimed at the wrong compass point, or shaded for three hours every afternoon by a fence the owner never thought about. This guide covers choosing the spot, setting the tilt and direction, mounting the bracket securely, routing the cable so water cannot follow it, and tuning camera settings so the power budget actually balances through winter.
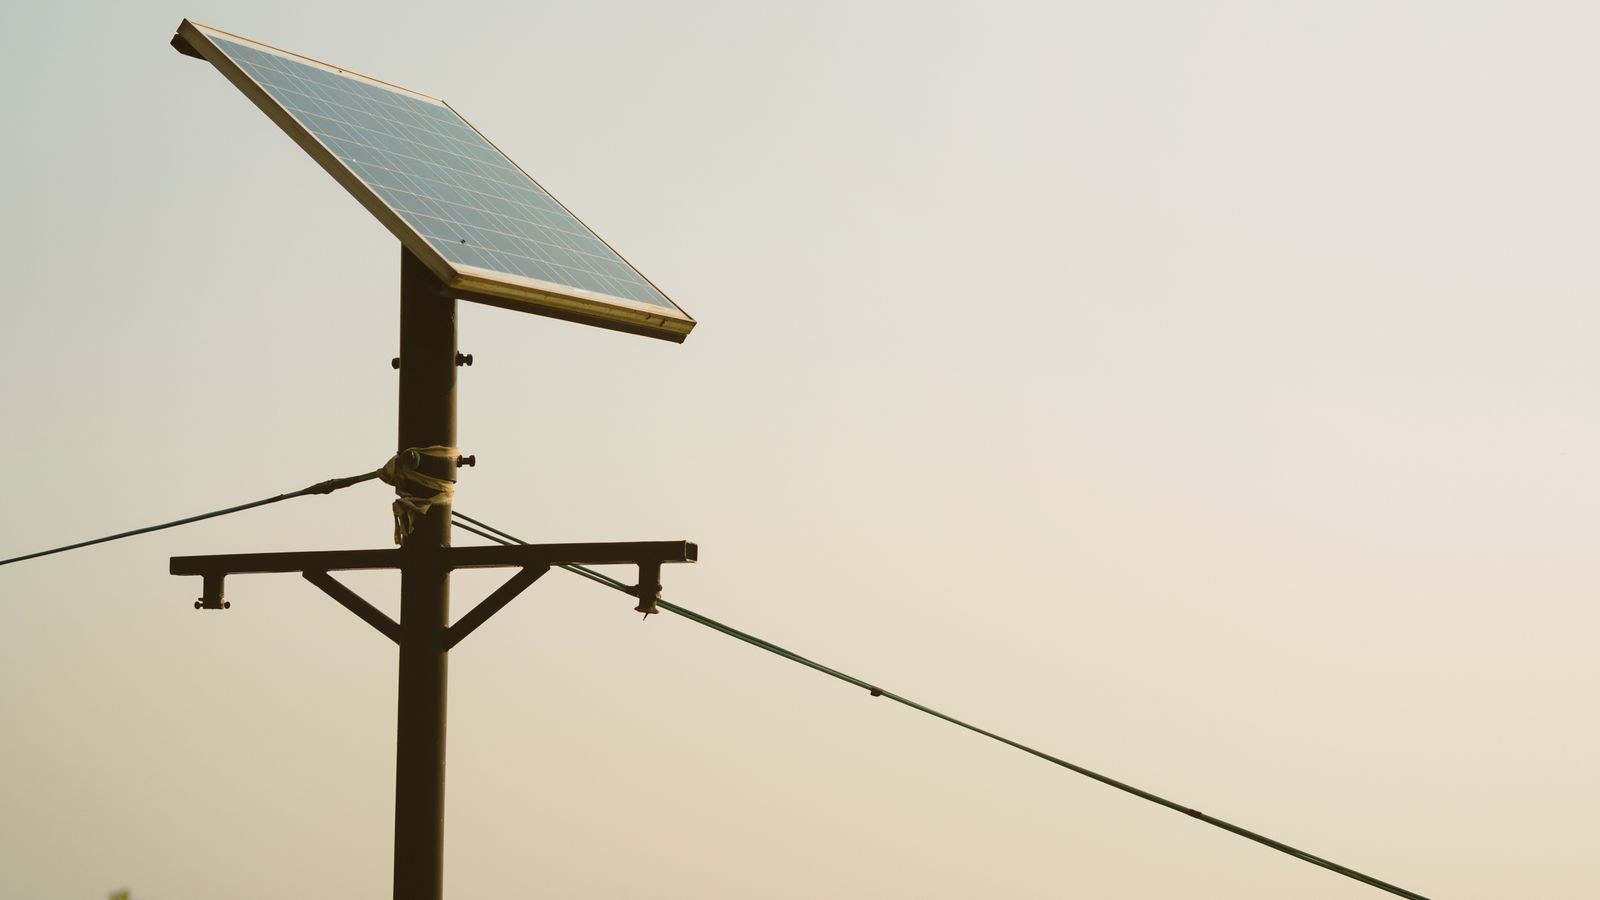
Tools and Materials
- Drill with masonry or wood bits matched to your wall material.
- Appropriate anchors: lag screws into studs or blocking, sleeve anchors for brick or concrete.
- Stud finder if mounting on siding over a framed wall.
- Level and a pencil for marking holes.
- Exterior silicone caulk for sealing every fastener and cable entry.
- UV-resistant cable clips or conduit for the cable run.
- Compass app on your phone to find true south.
- Stable ladder and a helper for anything above head height.
Step 1: Find a Spot That Gets Real Sun
The panel does not need to sit next to the camera. It needs to sit where the sun hits, and the cable covers the gap. Spend one full day watching the intended location, or use a sun-path app, and look specifically for shade at mid-morning, noon and mid-afternoon. The hours around solar noon carry most of the energy, so shade at 1pm costs far more than shade at 7am.
Then think ahead to winter, which is when solar setups actually fail. The sun sits much lower, so a fence, hedge, garage roof or neighbor’s wall that clears the panel in June may shade it completely in December. Bare deciduous branches still cut output noticeably. Aim for a minimum of four to six hours of unobstructed sun on a clear winter day, not a summer one.
Step 2: Set the Direction and Tilt
In the northern hemisphere, face the panel true south; in the southern hemisphere, true north. Use a compass app and remember that magnetic north differs from true north by a few degrees in most locations, which is close enough for a small panel. East or west facing panels still work but lose a meaningful share of daily output, so only accept them if south is genuinely shaded.
Tilt matters as much as direction. A flat panel collects dust, pollen and standing water, and it performs poorly when the winter sun is low. A rough rule is to tilt the panel at an angle close to your latitude, adding ten to fifteen degrees if you want to prioritize winter performance. A steeper angle also lets rain rinse the surface and helps snow slide off instead of sitting there blocking every cell.
Step 3: Choose the Mounting Height
Higher is usually better for two reasons: fewer shade obstructions and less temptation for anyone to unclip an expensive panel. Eight to ten feet is a practical range on a wall. Keep it high enough that a lawnmower, ball or car door cannot reach it, and clear of gutters that overflow onto it.
Avoid mounting directly under an eave, which is the single most common error. Overhangs feel tidy and protected, and they shade the panel for a large part of the day exactly when the sun is highest. If the only sheltered spot is under an eave, move the panel out onto an open wall, a fence post or a dedicated pole and run a longer cable instead.
Step 4: Mount the Bracket Securely
- Locate solid backing. Find a stud, blocking or masonry. Panels catch wind like a sail, so siding alone is not enough.
- Mark the holes. Hold the bracket up, check it with a level, and mark through the mounting holes with a pencil.
- Drill pilot holes. Use the bit size specified for your anchors, and angle any hole slightly downward if it passes through the wall surface.
- Seal before fastening. Put a dab of exterior caulk in each hole so the fastener carries sealant in with it.
- Fasten the bracket. Tighten firmly and evenly, then confirm it does not flex when you push on it.
- Attach the panel and set the angle. Most brackets pivot on a ball joint or hinge. Set the tilt and bearing, then lock the adjustment screws down hard so wind cannot creep it out of position.
- Caulk the top edge. Seal the top and sides where the bracket meets the wall, leaving the bottom open to drain.
Step 5: Route the Cable Properly
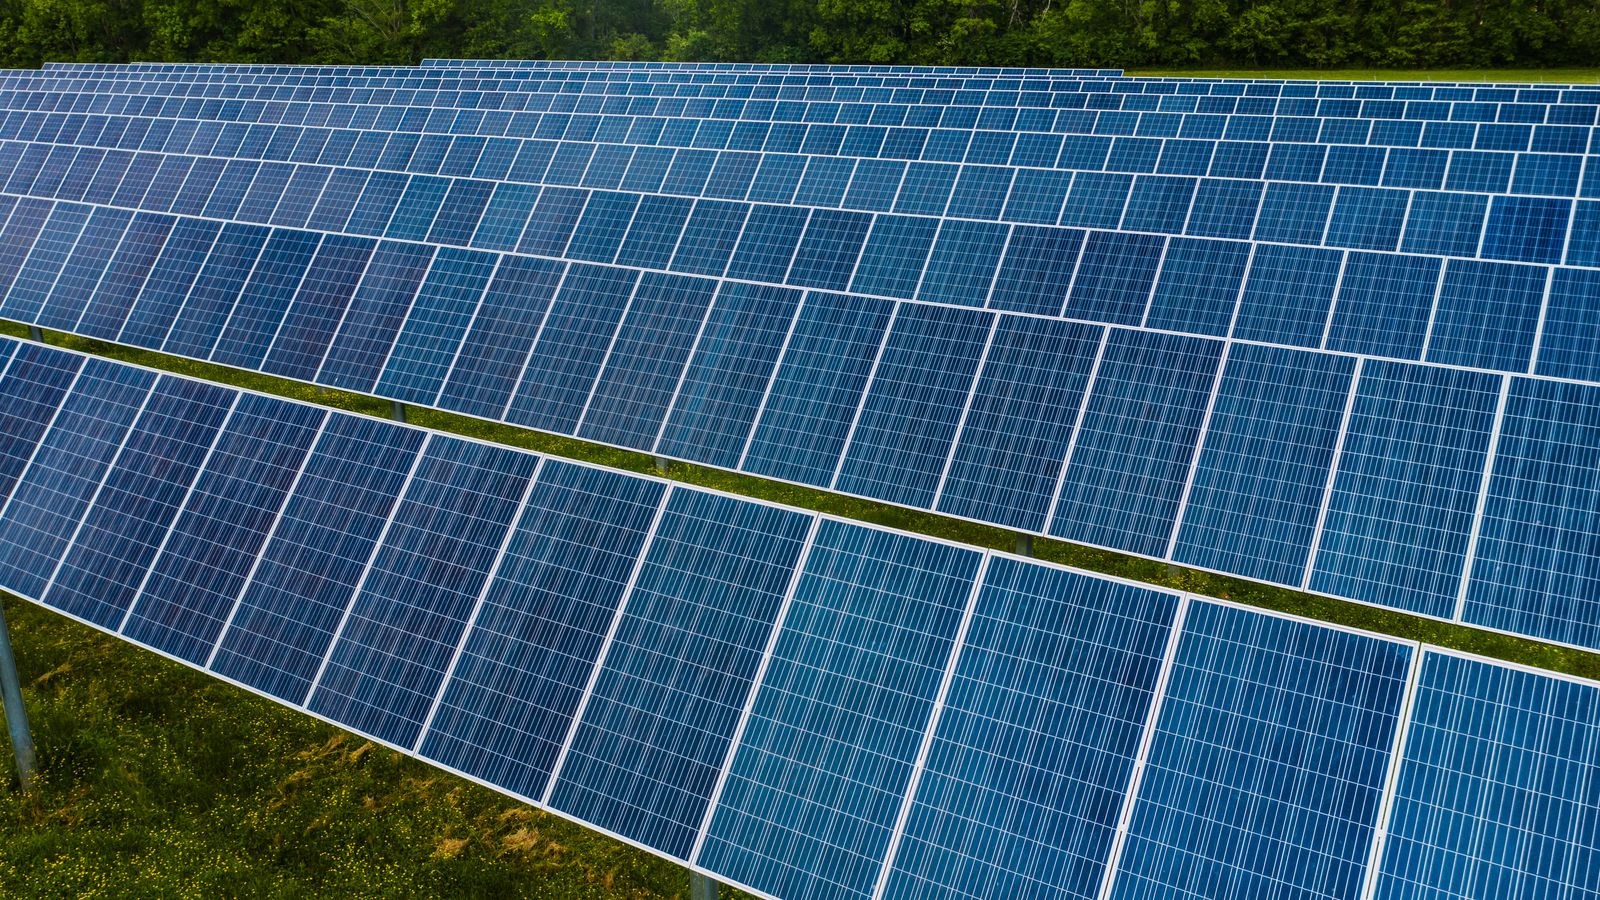
Cable routing separates installs that survive from installs that corrode. Always build a drip loop: let the cable hang below the connector before rising to it, so water runs off the bottom of the loop rather than into the plug. Do this at both the panel end and the camera end.
Secure the cable every foot or two with UV-resistant clips so it cannot flap in wind, which eventually fatigues the conductors and pulls the connector loose. Keep the run out of direct traffic paths, away from anywhere a string trimmer will reach, and out of gutters. If you have slack, coil it neatly under the panel rather than leaving a loop dangling where wind and animals can work on it.
Do not extend the cable with an indoor USB extension. Use the manufacturer’s cable or a rated outdoor equivalent, and keep the run as short as the sun position allows, because voltage drop over long thin cable reduces charging current.
Step 6: Balance the Power Budget
A panel only needs to replace what the camera consumes. If the camera records dozens of clips a night with infrared running, no small panel will keep up in winter. Narrow the motion detection zone so passing cars and swaying branches stop triggering recordings, shorten clip length, and disable continuous live view except when you actually need it.
Watch the battery percentage in the app over a full week after install. A healthy setup returns to 100 percent by mid-afternoon most clear days and never drops below about 70 percent overnight. A steady downward trend across a week means the panel is undersized, shaded or the camera is working too hard. Cameras designed for wire-free operation manage this budget best, and our roundup of the best wireless camera security systems covers models built around solar charging.
Safety Notes
Most of the risk here is the ladder, not the electricity. Set it on firm level ground, keep three points of contact, have someone foot it, and never stretch sideways to reach a bracket. Move the ladder instead. Do not install in wind or on a wet roof.
Panel voltages are low, but still avoid pinching the cable, and never cut and splice it to make a longer run unless you are confident in weatherproof splicing. If mounting near an electrical service entrance, gas meter or satellite mast, keep clear of them entirely.
Troubleshooting
- Battery never reaches full. Check for shade at midday, clean the surface, steepen the tilt and reduce recording volume.
- Charge drops off after a few months. Usually dust, pollen or bird droppings. Wipe the panel with a damp cloth seasonally.
- App shows the panel as not connected. Reseat the connector, inspect for corrosion, and confirm the drip loop is actually below the plug.
- Snow keeps covering it. Increase the tilt so snow slides, and mount above the typical drift line.
- Panel has shifted position. Wind loosened the pivot. Retighten and add a lock washer.
Common Mistakes
Mounting flat, mounting under an eave and mounting facing the wrong way account for nearly every underperforming setup. A fourth is mounting the panel next to the camera purely for tidiness when the camera itself sits in permanent shade. Separate them and run the cable.
The last mistake is skipping the seasonal check. A panel that worked perfectly all summer can quietly fall behind as days shorten, and by the time the app warns you the battery is already low. A quick wipe and a battery-level glance each autumn prevents it; our guide on how to winterize home security cameras covers the rest of the cold-weather checklist.
Frequently Asked Questions
How many hours of sun does the panel need?
Four to six hours of direct winter sun is a safe target for a typical event-recording camera. More is better, and heavy usage raises the requirement.
Can the panel be far from the camera?
Yes, within the cable length supplied or a rated outdoor extension. Prioritize sun exposure over proximity every time.
Will it work behind a window?
Poorly. Glass, especially low-emissivity glazing, blocks a large share of usable energy. Mount outdoors.
Does solar lighting follow the same rules?
Broadly yes: direction, tilt and shade decide everything. If you want lighting that charges on the same principles, compare the best solar motion sensor outdoor lights. For the cameras themselves, see the best outside cameras and the wider best security cameras comparison.
Final Thoughts
Mounting a solar panel for a security camera is mostly an exercise in reading the sky honestly. Pick the spot by watching where winter sun actually lands, face it true south, tilt it steeply enough to shed water and snow, and mount it high on solid backing with every fastener sealed. Build a drip loop at both ends of the cable and clip the run down so wind cannot work it loose. Then trim the camera’s motion zone so the power it consumes matches what the panel can deliver in December rather than June. Do that and the panel becomes exactly what it promises: an accessory you never think about again.









