
 Owen Bradley
 Lubing switches is the single change that transforms how a mechanical keyboard sounds and feels, and it costs less than a set of keycaps. A dry linear switch scratches against its housing on every keystroke, producing a gritty texture and a thin, hollow ping. The same switch with a thin, even film of the right lubricant glides, deepens in pitch and loses almost all of its scratch. The catch is that this is a slow, fiddly job where too much lubricant is far worse than none at all. This guide covers exactly what to use, how much, where it goes on linears versus tactiles, and how to reassemble everything without ruining the feel you just spent hours building.
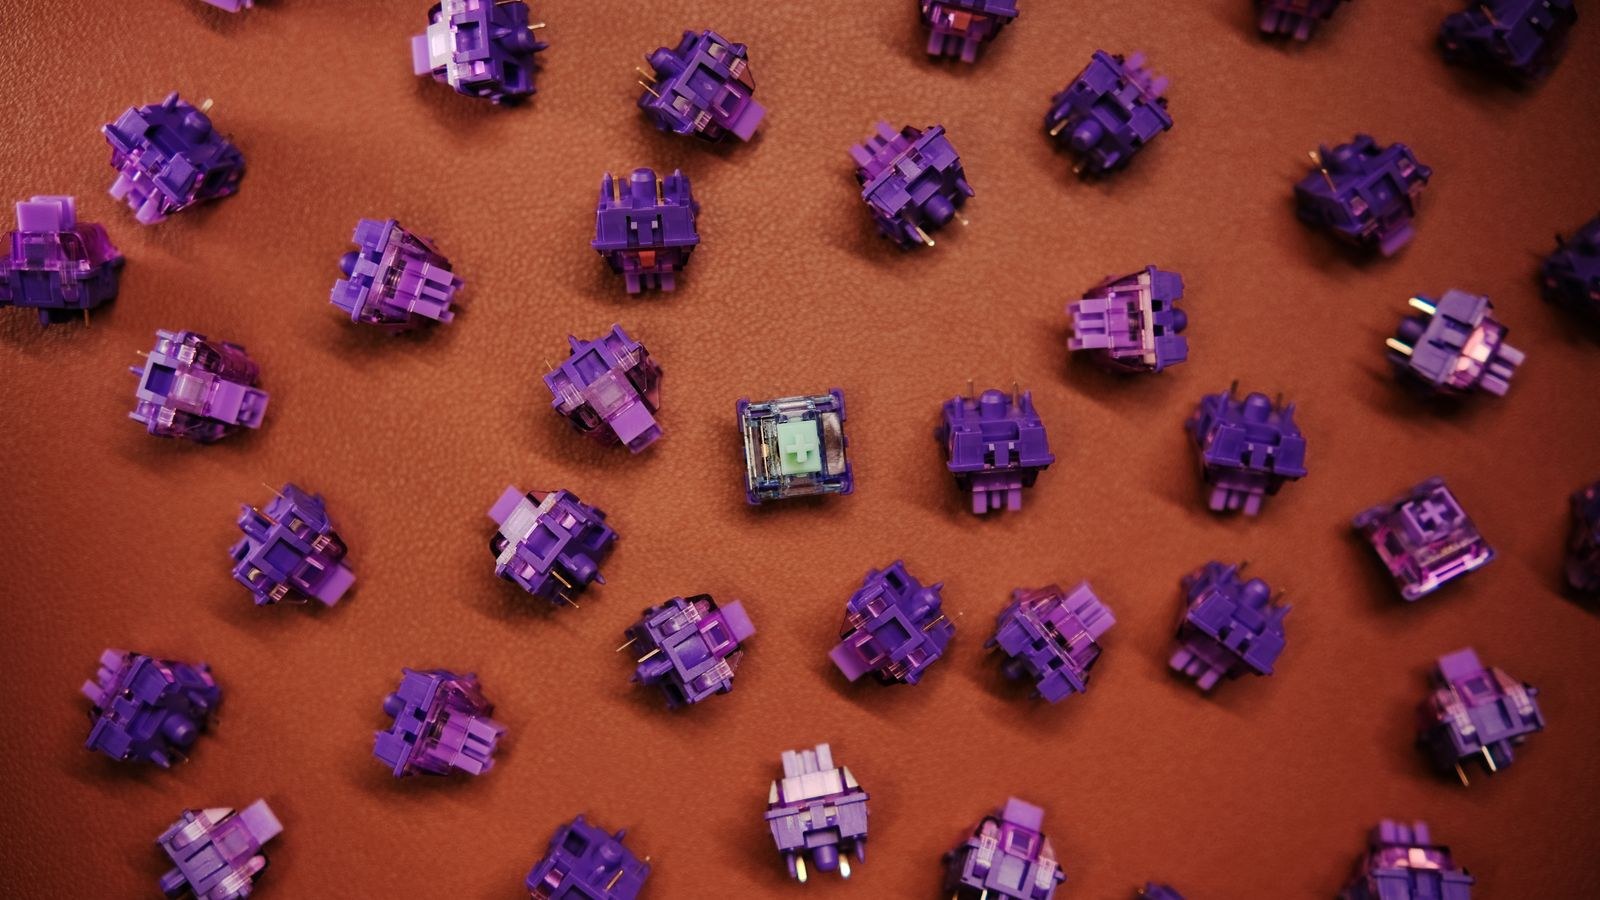
What Lubing Actually Does
A mechanical switch is a stem sliding inside a plastic housing against a spring. Three separate sources of friction create the sound and feel you notice: the stem rails rubbing the housing walls, the spring compressing and rubbing against itself and the stem, and on tactiles, the stem’s bump dragging over the leaf.
Lubricant addresses all three. On the rails it removes the sandpapery scratch that dominates cheap linears. On the spring it kills the metallic ping that rings out after a keypress, especially in an aluminium case. On tactiles it smooths the leading edge of the bump so the tactility feels rounded rather than sharp. It also lowers the pitch of bottom-out and return, which is why lubed boards sound deeper and more muted.
What it does not do is fix a badly designed switch, eliminate wobble, or make a mushy membrane feel premium. It refines what is already there. If your board has no character to begin with, a new switch choice from a roundup of the best switches will do more than any amount of lubricant.
Choosing the Right Lubricant
Lubricants for switches fall into two families, and picking the wrong one is the most consequential mistake in the whole process.
Thick Greases
Grease-type lubricants, typically in the 205 grade family, are viscous and stay where you put them. They are the standard choice for linear switches, where the goal is maximum smoothness and there is no tactile event to soften. They also go on stabiliser wires and housings, where thickness is a virtue.
Thin Oils
Thin oils, often in the 3203 or 105 range, flow easily and apply in a much finer film. These are the choice for tactile switches, because a thick grease will smother the bump and turn a crisp tactile into a vague mush. Thin oil takes the scratch off the rails without erasing the event you bought the switch for.
What Never to Use
Do not use petroleum jelly, WD-40, sewing machine oil, silicone spray, cooking oils or general-purpose lithium grease. Several of these are solvents or contain additives that attack the polycarbonate, nylon and POM plastics switches are made from. A switch housing that has been chemically softened will crack, deform or seize, and the damage is not reversible.
Clicky Switches
Clicky switches use a separate click jacket or bar to make their sound. Lubricant on that mechanism deadens the click, which is the entire point of the switch. Most builders lube only the springs on clickies, or skip the process altogether.
Tools You Need Before Starting
- A switch opener matched to your switch housing, or a small flathead if you are patient and careful.
- Fine tweezers for handling stems and springs without touching the lubed surfaces.
- A small paintbrush, size 00 to 0, with soft bristles. Stiff bristles deposit too much.
- Your chosen lubricant, one grease and optionally one thin oil.
- A lube station or a simple foam tray with holes to hold stems upright. Even an ice cube tray works.
- A keycap puller and switch puller if the board is hot-swappable.
- A clean, well-lit workspace and two to four hours of uninterrupted time.
Hot-swap boards make this dramatically easier, because you can pull switches without desoldering. If you plan to do this regularly and your current board is soldered, a hot-swap platform from a guide to the best hot-swappable keyboards is the upgrade that unlocks the hobby.
How to Lube Keyboard Switches Step by Step
- Remove the switches from the board. On a hot-swap keyboard, pull the keycaps first, then grip each switch by its top and bottom clips with the switch puller and lift straight up. Rocking it sideways bends the pins. On a soldered board you must desolder every switch first, which is a much larger project.
- Open each switch. Seat the switch in the opener with the clips aligned and press firmly. The top housing separates from the bottom, leaving you with four parts: top housing, stem, spring and bottom housing. Work in batches of about twenty so parts never pile up unsorted.
- Lube the springs first. The fast method is the bag method: put all the springs in a small zip bag, add a few drops of thin oil, seal it and shake for thirty seconds. This coats them lightly and evenly. The alternative is brushing each spring individually, which is more controlled but far slower.
- Brush the bottom housing. Load a very small amount of lubricant on the brush and wipe most of it off on the container’s edge. Apply a thin coat to the two vertical rails the stem slides on, and a small amount to the flat floor where the stem bottoms out. On tactiles, apply a light touch to the leaf where the stem contacts it, avoiding the metal contact leaf that carries the signal.
- Lube the stem. This is where restraint matters most. Coat the two long side rails and the front and back faces that touch the housing. Do not put lubricant on the cross-shaped mount at the top, where the keycap sits, and on tactiles use only the thinnest film across the tactile bump. One or two brush passes per surface is enough. If you can see the lubricant as anything more than a sheen, it is too much.
- Lightly coat the top housing. A thin pass on the inner walls where the stem rides reduces wobble noise. Many builders skip this entirely, and the difference is small.
- Reassemble. Drop the spring into the bottom housing, place the stem on top with the correct orientation, and press the top housing down until both clips snap. A snap you can hear and feel on both sides means it is seated. If a switch feels stiff or sticky at this point, open it and check that the spring has not slipped off its post.
- Test before it goes back in. Press each finished switch by hand. It should feel uniformly smooth through the full travel with no catch, and the return should be quick and quiet. Set aside any that feel wrong for a rework.
- Reinstall the switches. Line both pins up perfectly straight with the socket and press down evenly until the switch is flush with the plate. A bent pin will either not register or damage the socket, so check every pin before pressing.
- Lube the stabilisers while you are here. Apply grease to the wire ends where they pivot in the housing and inside the stabiliser stems. This eliminates rattle on the spacebar and enter key, and it often makes a bigger audible difference than the switches did.
How Much Lubricant Is Too Much
The most common beginner failure is over-application, and it is worse than doing nothing. Excess lubricant pools at the bottom of the housing, slows the return stroke, makes the switch feel sluggish and dampens the sound into something dead and flat. On tactiles it erases the bump entirely. Over-lubed switches also attract dust that turns into a gritty paste over months.
The visual test is simple: after brushing, the surface should look faintly wet, not coated. If you can see ridges or beads of lubricant, wipe some back off. Start with less than you think you need on your first ten switches, install them, type on them, and calibrate from there. It is trivial to add more on a second pass and genuinely tedious to remove it.
Do You Need to Lube Everything?
No, and many experienced builders deliberately do not. A pragmatic middle path is to lube only the springs and the stabilisers, which takes under an hour and removes the two most annoying noises, the metallic ping and the rattle, while leaving the switch feel untouched. Another common approach is lubing linears fully and leaving tactiles alone, since tactiles are the ones most easily ruined.
Board style also affects the payoff. On a heavy custom with foam and a gasket mount, careful lubing shows up clearly. On a lightweight plastic case with a hollow cavity, the case resonance dominates and the improvement is smaller. If you mainly want a great typing feel without the labour, plenty of the best mechanical keyboards now ship with factory-lubed switches straight from the box.
Common Mistakes to Avoid
- Using the wrong viscosity. Thick grease on a tactile is the classic error and it flattens the bump permanently until you clean it off.
- Lubing the metal contact leaf. This is the electrical contact. Lubricant here causes missed or doubled keystrokes.
- Getting lubricant on the keycap mount. It makes keycaps loose and transfers grease onto your fingers.
- Rushing the brush loading. Dipping the brush deep and applying straight away deposits far too much. Always wipe off first.
- Mixing switch parts. Housings and stems from different switch models have slightly different tolerances. Keep batches together.
- Bending pins on reinstall. Straighten any pin that is off-axis with tweezers before pressing the switch home.
Frequently Asked Questions
How long does lubing a full keyboard take?
Budget three to five hours for a full-size board on your first attempt, including opening, applying, reassembling and testing. Experienced builders get a 60 percent layout down to around two hours.
Should I lube tactile switches at all?
You can, but use thin oil and a very light hand, focusing on the rails rather than the bump. Many builders who prefer the best tactile keyboards lube only the springs to keep the bump crisp.
Can I lube switches without opening them?
Some people spray or drip lubricant through the top housing slot. It is fast and it does reduce scratch, but coverage is uneven and unpredictable, and you cannot control how much reaches the spring. Opening is worth the time.
Which switches benefit most?
Budget linears benefit most dramatically, because they usually have the roughest tolerances and the most scratch to remove. Boards built around the best linear keyboards are the ones where the improvement is unmistakable on the first keystroke.
Final Thoughts
Lubing switches rewards patience over technique. Choose grease for linears and thin oil for tactiles, load the brush lightly, cover the rails rather than flooding the housing, and test a small batch before committing to a hundred more. Do the springs and the stabilisers even if you skip everything else, because those two jobs deliver most of the audible improvement for a fraction of the effort. Work through it slowly with good light and a tray to keep parts organised, and the board you reassemble will feel like a considerably more expensive one than the board you took apart.









