Owen Bradley
 Window alarm sensors used to mean running wire through walls and drilling frames. They do not anymore. A modern stick-on contact sensor or shock sensor mounts with adhesive in under five minutes per window, runs for a year or two on a coin cell, and covers the openings that most home security setups quietly ignore. The catch is that badly installed sensors are worse than none, because a unit that chirps every time the wind blows gets muted within a week. This guide covers installing window alarm sensors without wiring, and gives particular attention to the alignment gap that separates a sensor you trust from one you disable.

Contact Sensors Versus Shock Sensors
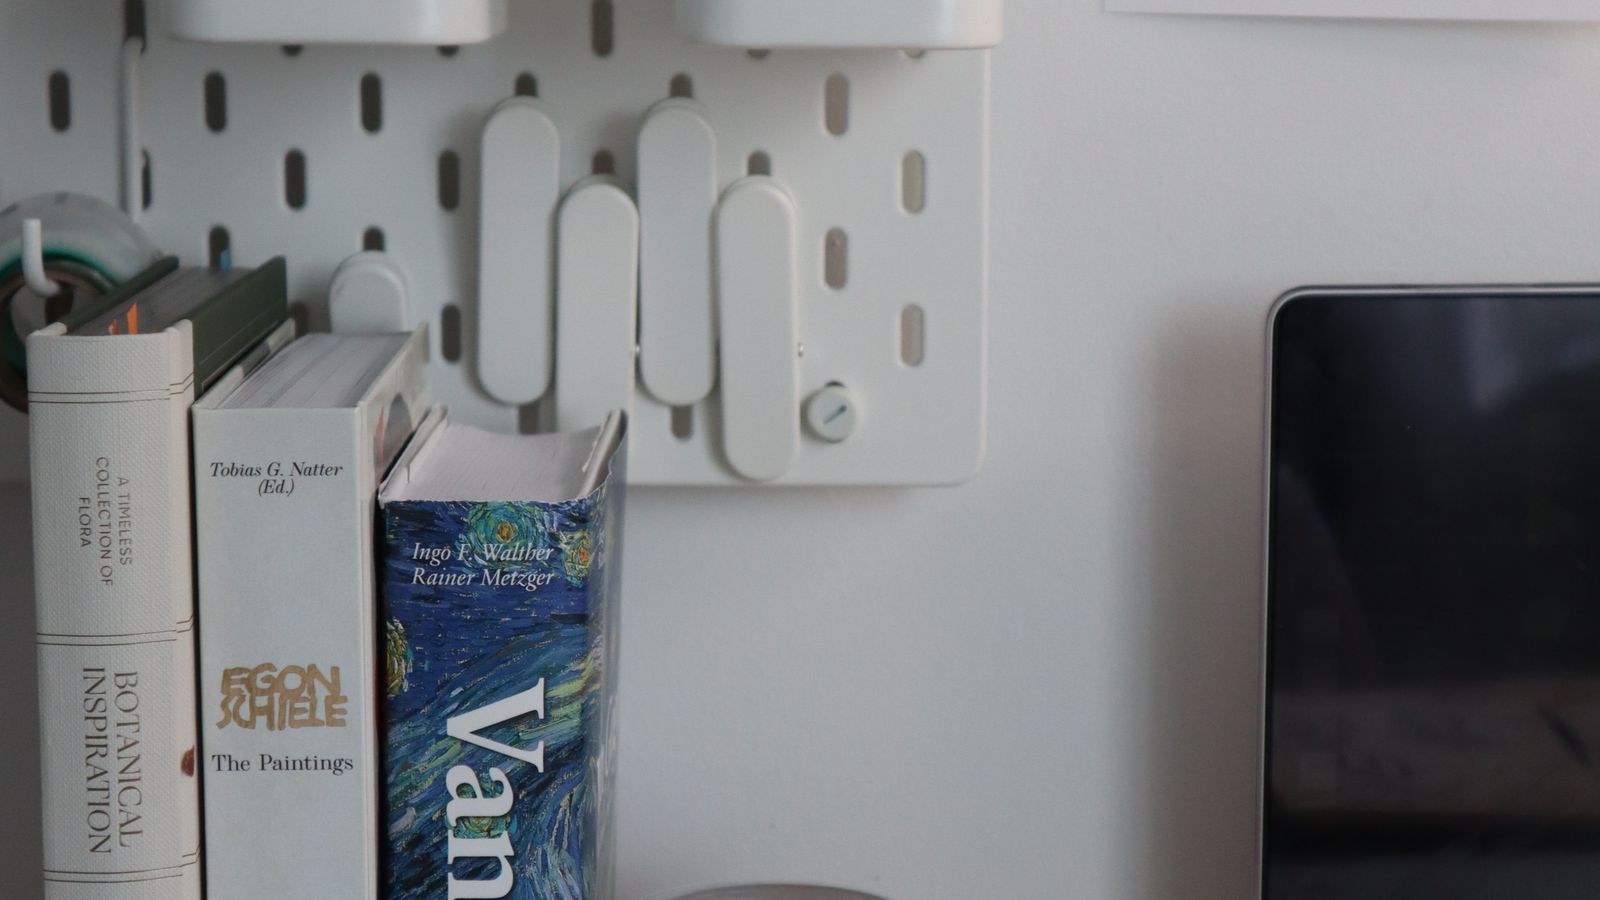
Two device types dominate, and they detect completely different events. A contact sensor is a two-piece magnetic pair: one half on the moving sash, one on the fixed frame. Separate them and the alarm triggers. It catches a window being opened, and nothing else. A shock or vibration sensor is a single piece stuck to the glass or frame that fires when it detects impact. It catches breaking glass, and can also catch a slamming door if the sensitivity is set too high.
Ground-floor windows and anything reachable from a flat roof, fence or air conditioning unit deserve both. Upper-floor windows in low-risk positions usually only need contacts. Comparing options across both categories, our roundup of the best window alarms lays out which units include a local siren versus which report silently to a hub.
Tools and Preparation
- Isopropyl alcohol wipes to clean both mounting surfaces. This is the single biggest factor in whether the adhesive holds.
- A small ruler or feeler gauge to measure the gap between the two contact halves.
- Fresh batteries, usually CR2032 or CR2450, plus one spare set.
- Painter’s tape for dry-fitting a sensor position before committing the adhesive.
- Thin plastic shims or double-sided foam pads to close an oversized gap on uneven frames.
- Your phone with the app installed if the sensors are part of a connected system.
Do the work on a dry day above roughly 60°F. Adhesive pads bond poorly in cold, and a sensor mounted in freezing weather often drops off within a month.
Step-by-Step Installation
- Map the windows before touching anything. Walk the house and list every operable window, noting which are ground floor, which are hidden from the street, and which sit near a climbable surface. Prioritise that list rather than starting with whichever window is closest. Most households find that six to ten windows account for nearly all realistic entry risk.
- Pair each sensor before mounting it. If the sensors report to a hub or app, add them to the system while you are standing next to the hub with the battery tab pulled. Name each one for its room as you enrol it, because “Sensor 4” at three in the morning tells you nothing. Confirm the signal strength at the window itself before you stick anything down; a sensor that pairs on the kitchen table may be marginal at the far end of the house.
- Dry-fit the contact pair with painter’s tape. Place the larger sensor body on the fixed frame and the magnet on the moving sash, both on the interior side, aligned along the same edge with the alignment marks facing each other. Tape them, then open and close the window several times. Check the sash does not strike either half and the trim or blind does not foul them.
- Set the alignment gap correctly. This is the step everyone rushes. Most magnetic contacts want the two halves within about a quarter inch, and almost none tolerate more than half an inch. Too wide and the sensor reads “open” while the window is shut, producing constant faults. Too tight and normal seasonal movement of a wooden sash pushes the pieces together and eventually knocks one off. Measure the gap, and if the frame profile forces it wider than a quarter inch, build up the magnet side with foam pads until it is right.
- Clean both surfaces and mount for real. Wipe each surface with alcohol and let it dry fully. Peel the adhesive backing, press each half firmly in place for thirty seconds, and then leave it alone for a full day before testing repeatedly. Adhesives reach only a fraction of their final strength immediately. For a vinyl or aluminium frame the bond is usually excellent; on old painted wood, sand a small patch smooth first.
- Add shock sensors on the glass where they matter. Mount a vibration sensor near the centre of the pane or on the frame within a few inches of the glass, following the manufacturer’s stated coverage radius. One sensor typically covers a single pane, not a whole bay window. Start on the lowest sensitivity setting that still triggers on a firm tap with a knuckle.
- Test each sensor twice, in both states. Arm the system, open the window, and confirm the alarm or notification fires. Then close it and confirm the sensor reports secure. For shock sensors, tap the glass firmly rather than hitting it, and check the alert arrives within a couple of seconds. Log any sensor that responds slowly, since intermittent latency usually means a weak radio link.
- Set the sensitivity and delay to match the room. A window over a busy street will pick up traffic vibration; a kitchen window near a slamming back door will pick up that. Reduce sensitivity one step at a time, retesting after each change, until normal household activity stops triggering it but a firm strike still does. Resist the urge to solve false alarms by disabling the sensor.
- Extend the same pairing logic to doors. Contact sensors work identically on entry doors, and covering the doors alongside the windows closes the obvious gap. If you are outfitting the whole perimeter, our comparison of the best door alarms covers the mounting quirks of hinged and sliding doors, and the best HomeKit door sensors list is the right reference for Apple households that want the alerts inside the Home app.
- Decide whether the sensors should stand alone or report somewhere. Standalone units chime locally and nothing else, which is fine for deterrence. Connected sensors push to your phone and can trigger cameras or sirens. If you want the second behaviour, tie them into a hub-based setup; guides to the best DIY home security systems and full alarm systems for home explain which platforms accept third-party sensors and which lock you to their own.

Safety and Placement Considerations
Mount everything on the interior. An exterior-mounted sensor is exposed to weather, sunlight degradation, and anyone who wants to peel it off. Keep sensors clear of heat sources like radiators and out of direct summer sun where the adhesive softens and the battery life shortens.
Never install a sensor in a way that obstructs a bedroom egress window. If the placement makes the window harder to open in a hurry, move it. Also keep coin-cell batteries away from small children, since swallowed lithium cells cause severe internal injuries; store spares in a locked drawer, not the kitchen junk drawer.
Troubleshooting the Usual Failures
The single most common complaint is a sensor showing open when the window is closed. Nine times out of ten the gap is too wide. Add a shim under the magnet to close the distance, or reposition both halves onto a flatter section of frame. Check the alignment marks are actually facing each other, since some sensors only work in one orientation.
A sensor that drops offline intermittently is usually a range problem, especially through brick walls or across a floor. Move the hub central, add a repeater, or relocate the sensor a few inches away from metal window frames that detune the antenna. Rapid battery drain almost always points at either extreme cold or a sensor triggering repeatedly, so check its event log before replacing the cell.
If adhesive keeps failing, the surface was contaminated. Remove the residue with alcohol, sand a light patch on painted wood, and use a fresh mounting pad rather than reusing the old one. Persistent failures on a textured vinyl frame may need a small flat plastic plate glued down first as a mounting base.
Common Mistakes to Avoid
Skipping the alcohol wipe is the mistake that causes the most reinstallation work. Second is mounting the sensor body on the sash and the magnet on the frame, which puts the battery and radio on the moving part where every open and close jolts them. The heavier half belongs on the fixed frame.
Others: setting shock sensitivity to maximum on day one, which guarantees a false alarm within days; installing only on ground-floor windows and ignoring anything reachable from a garage roof; and never testing after installation, so the first confirmation that a sensor works comes at the worst possible moment.

Frequently Asked Questions
How long do the batteries last?
Most contact sensors run one to three years on a coin cell; shock sensors and anything reporting frequently sit at the shorter end. Replace all of them at the same time once a year so you never track individual dates.
Will the adhesive damage my window frames?
Standard mounting pads usually release cleanly with gentle heat from a hairdryer and a plastic scraper. On freshly painted or delicate wood there is some risk of lifting paint, so test a small area first.
Do I need a sensor on every window?
No. Cover ground-floor and easily reachable windows first, plus any hidden from street view. Upper-floor windows with no access route are a low priority.
Can these work without Wi-Fi or a subscription?
Yes. Standalone chime-only sensors need no network at all, and many hub-based systems run local automations without a paid plan. Subscriptions typically buy cloud storage and professional monitoring rather than basic function.
Final Thoughts
Installing window alarm sensors without wiring is genuinely a one-afternoon project, and the outcome depends far more on care than on cost. Map the windows that matter, pair each sensor before mounting it, clean the surfaces properly, and above all get the alignment gap inside a quarter inch so the system stops crying wolf. Put the heavy half on the fixed frame, start shock sensitivity low, and test everything twice before you trust it. Do that and you end up with a perimeter that quietly reports the truth, batteries you swap once a year, and an alarm nobody in the house has any reason to mute during 2026.