
 Owen Bradley
 A porch light is the smallest electrical project that pays back the most: it makes your entry safe to walk at night, deters people who would rather not be seen, and lets you actually find the keyhole. Swapping one out is well within reach for a confident DIYer, because the wiring is usually three conductors and the mounting is four screws. What separates a good installation from a leaky, flickering one is not the wiring at all, but the weather sealing and the bulb choice. This guide walks the whole job in order: cutting power, removing the old fixture, checking the box, sealing against water, wiring, and picking a bulb that survives freezing nights and damp mornings.
Before You Start: Is This a DIY Job?
Replacing an existing porch light on an existing box is a straightforward like-for-like swap that most homeowners can handle. Running a brand new circuit, adding a switch leg, or cutting a new hole through siding into an uninsulated cavity is a different scale of work, and in many areas it requires a permit and inspection. If there is no box on the wall today, or if the existing wiring is cloth-insulated, aluminium, or has no ground conductor, bring in a licensed electrician.
Also check what the fixture is rated for. Outdoor fixtures carry a damp-rated or wet-rated label. Damp-rated suits a covered porch where rain never touches the fixture directly. Wet-rated is required anywhere exposed to driving rain, including most side and garage doors. Using a damp-rated fixture in a wet location invites corrosion and a tripped breaker within a season.
Tools and Materials You Will Need
- Non-contact voltage tester — non-negotiable for verifying the circuit is dead.
- Screwdrivers, flat and Phillips, plus a nut driver for mounting screws.
- Wire strippers and side cutters.
- Wire connectors rated for outdoor use, or the connectors supplied with the fixture.
- Exterior-grade silicone caulk and a caulking gun.
- Step ladder, stable on level ground.
- Mounting strap and screws — usually included with the new fixture.
- Drill and appropriate anchors if mounting into masonry.
- Wet-rated bulb matching the fixture’s base and maximum wattage.
Step by Step: Installing a Porch Light Fixture
- Switch off the breaker and label it. Find the breaker serving the exterior light, switch it off, and tape a note over it. Turning off the wall switch alone is not sufficient, because some circuits are switched on the neutral and the fixture remains live.
- Verify the circuit is dead at the fixture. Remove the fixture’s globe or shade, hold a non-contact tester against the wires, and confirm no reading. Test the tester on a known-live outlet first so you know it works.
- Remove the old fixture. Undo the mounting screws or cap nut and let the fixture hang. Photograph the existing wiring before disconnecting anything, then untwist the connectors and separate black to black, white to white, and ground.
- Inspect the box and the wall. The box must be an outdoor-rated box, ideally metal or PVC with threaded openings, and it must be securely fastened. Look for rot, rust, insect nests, or water staining inside. Water inside the box means the previous seal failed and must be corrected now, not later.
- Clean the mounting surface. Scrape off old caulk, flaking paint, and dirt so the new fixture sits flat against the wall or the trim block. A fixture that rocks on an uneven surface will never seal.
- Fit the mounting strap. Screw the new strap to the box using the supplied screws. On masonry, drill and set anchors rated for the fixture weight. Check the strap is level with a small torpedo level before tightening fully, because a crooked strap means a crooked lantern.
- Connect the ground first. Join the fixture’s bare or green conductor to the box ground and the supply ground. Grounding first means the fixture is protected throughout the rest of the connections.
- Connect neutral and hot. White to white, black to black. Strip about 15 mm of insulation, twist the conductors together, and screw on the connector until it is firm. Tug each connection to confirm nothing pulls free, and make sure no bare copper shows below the connector skirt.
- Tuck the wiring and mount the fixture. Fold the connections neatly into the box without pinching insulation, then bring the fixture up to the strap and secure it. Do not overtighten; crushing the gasket makes it seal worse, not better.
- Seal the fixture against water. Run a bead of exterior silicone around the top and both sides of the fixture base where it meets the wall, and deliberately leave the bottom edge unsealed. That gap is a weep path, so any condensation that does form can drain out instead of pooling inside the box.
- Install the bulb and lens. Fit a wet-rated bulb hand-tight plus a quarter turn, then refit the globe or lens with its gasket seated properly. Cracked or missing lens gaskets should be replaced before the fixture goes into service.
- Restore power and test. Remove the breaker tag, switch on, and check the light. Test it again after dark, and check the fixture for warmth and any buzzing, which usually points to a dimmer paired with a non-dimmable bulb.
Choosing the Right Bulb for a Porch
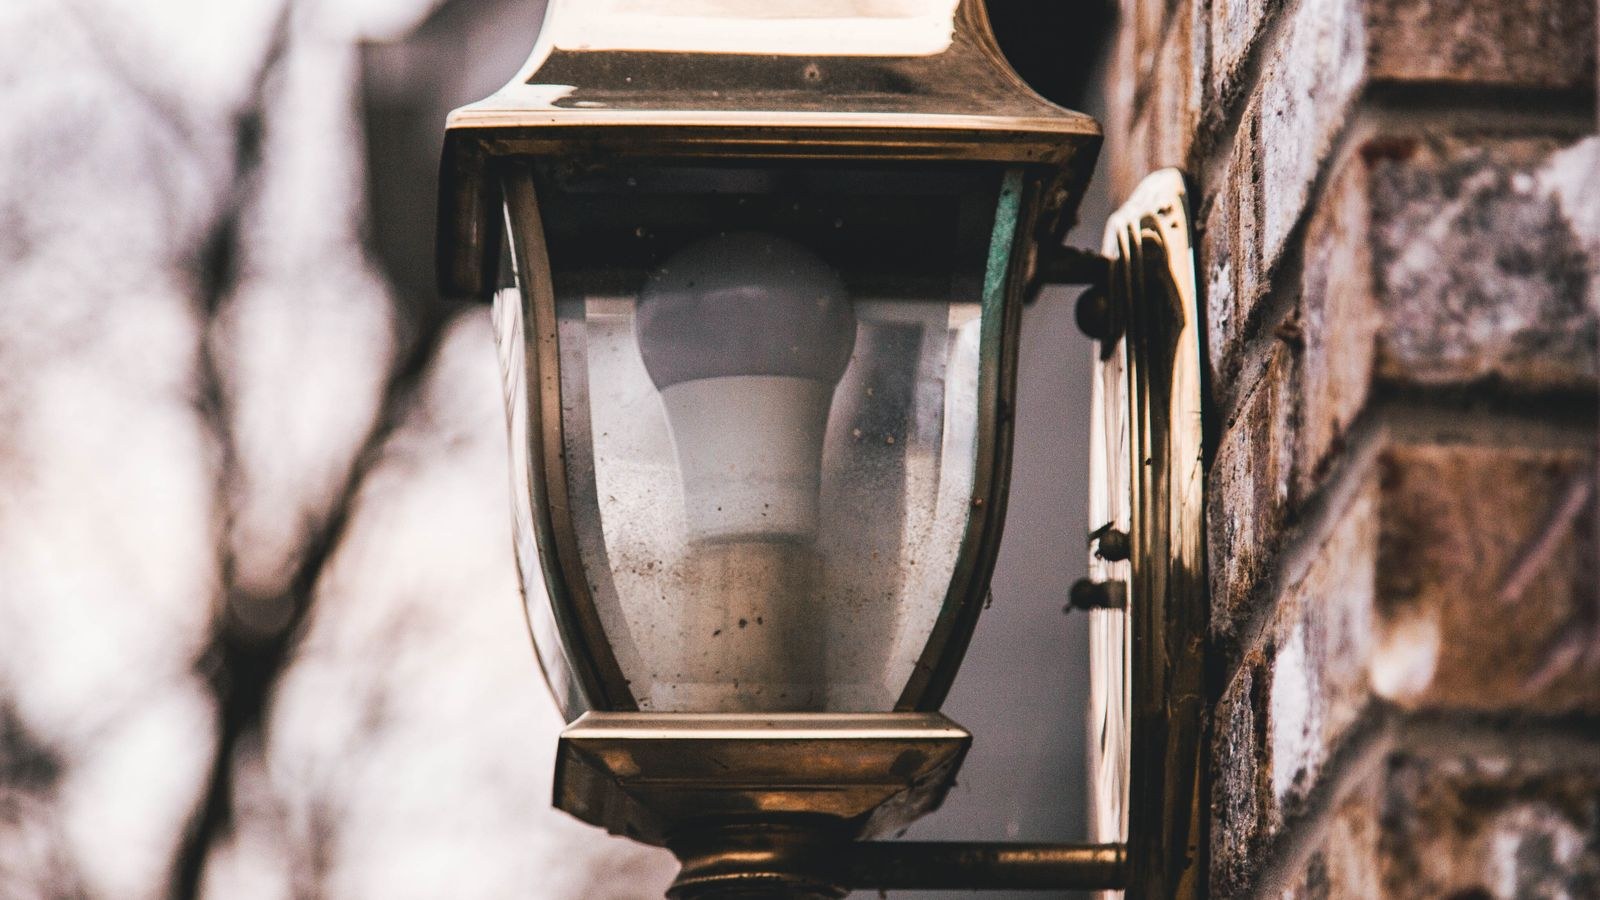
Outdoor sockets are hard on bulbs. Cold starts, temperature swings, and humidity kill cheap lamps quickly, so look for a bulb explicitly rated for damp or wet locations and for a low operating temperature. LEDs handle cold far better than CFLs, which take a long time to reach full brightness below freezing and often never do in mid-winter.
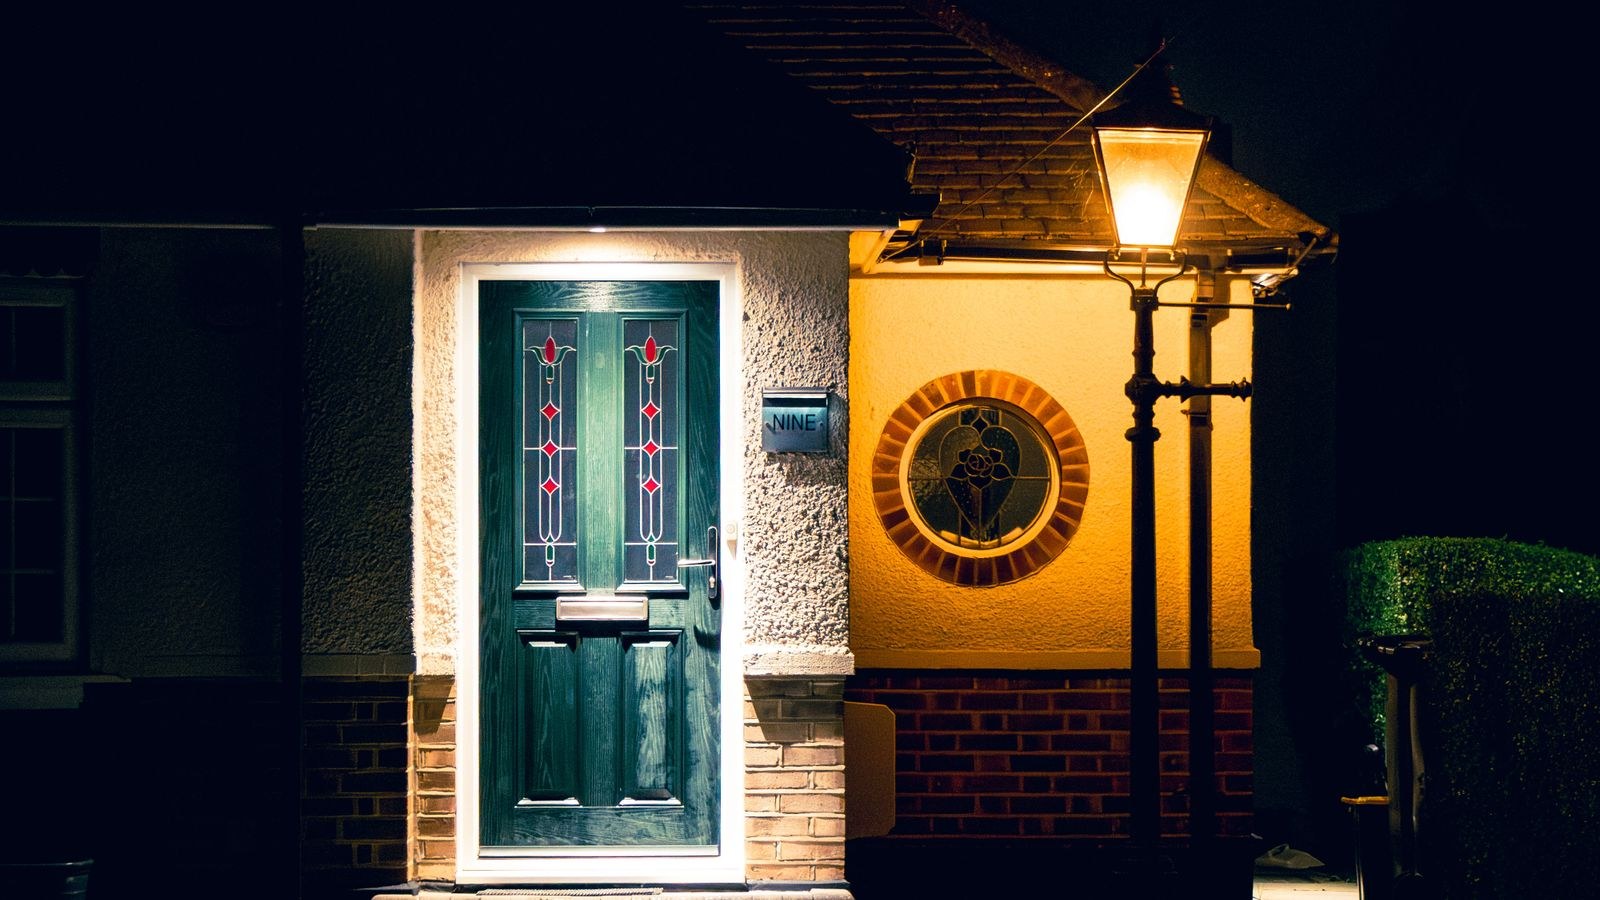
Brightness is easy to overdo. For a typical front entry, roughly 800 lumens per fixture is plenty; two flanking sconces at 450 to 600 lumens each give softer, less glaring coverage. Warm colour temperature in the 2700K to 3000K range flatters a home’s exterior and attracts fewer insects than cool white. Our comparison of the best light bulbs for front porch fixtures covers cold-weather performance in detail, and the wider list of best light bulbs for porch use adds dusk-to-dawn and motion-triggered options. For enclosed lanterns where heat has nowhere to go, the best LED light bulbs for outdoor fixtures highlights models rated for enclosed use, which matters more than raw brightness.
Weatherproofing and Long-Term Reliability
Almost every porch light failure traces back to water. Beyond the caulk bead described above, check three things. First, confirm the fixture’s own gasket is present and intact between the backplate and the wall. Second, make sure any conduit or cable entry uses a proper weatherproof connector rather than caulk alone. Third, make sure the lens or globe seals top-down so water runs off rather than collecting in a bowl.
Applying a thin smear of dielectric grease to the socket threads before installing the bulb keeps corrosion from welding the base in place, which is the difference between a two-minute bulb change in three years and a broken glass extraction job. Give the fixture a wipe and a quick gasket check twice a year, ideally when the clocks change so it is easy to remember.
Smart and Motion-Activated Options
Once wiring is exposed, it is the cheapest moment to upgrade the fixture’s behaviour. Motion-sensing porch lights hold at low output and jump to full brightness when someone approaches, which saves energy and creates a clear security cue. Dusk-to-dawn photocells remove the need to remember the switch at all. Smart fixtures and smart bulbs add scheduling, colour temperature control, and remote operation from a phone.
Two cautions apply. Smart bulbs need constant power to stay connected, so the wall switch must remain on, which trips up other members of the household until everyone adapts. And motion sensors mounted too high or aimed at a road produce constant false triggers; aim them across the approach path rather than down it. If you want the connected route, the best outdoor smart lights roundup compares wired fixtures against retrofit smart bulbs so you can pick the simpler path for your setup.
Troubleshooting a New Porch Light
- No light at all — check the breaker, then the wall switch, then confirm the bulb is fully seated and the socket contact tab is raised.
- Flickering — usually a loose connector or an LED on an incompatible dimmer. Cut power and retighten every connection.
- Breaker trips immediately — a short. Cut power and check that no bare conductor touches the metal box or the fixture body.
- Moisture inside the lens — the gasket or caulk seal has failed, or the bottom weep gap is blocked with caulk.
- Buzzing — dimmer incompatibility or a loose lamp holder. Swap to a dimmable-rated bulb first.
Frequently Asked Questions
Do I need an electrician to replace a porch light?
Not for a like-for-like swap on an existing, sound outdoor box with modern wiring. Call a professional if there is no box, no ground conductor, damaged insulation, or if you need a new circuit or switch.
Should I caulk all the way around the fixture?
No. Seal the top and the sides but leave the bottom edge open so trapped moisture can drain. Fully sealing the perimeter traps water inside the box.
Can I use an indoor bulb outside if the fixture is covered?
Only in a genuinely dry, fully covered location, and even then it is a poor idea. Temperature swings and humidity shorten indoor bulb life considerably; a wet-rated LED costs little more and lasts far longer.
What size fixture suits a front door?
As a rough guide, a single sconce should be about one quarter to one third the height of the door, mounted with its centre roughly at eye level. Paired sconces can each be slightly smaller.
Final Thoughts
Installing a porch light fixture is a short job with a long payoff, provided you do it in the right order. Kill the breaker and verify with a tester, inspect the box before you commit to a new fixture, ground first when wiring, and seal the top and sides while leaving the bottom to drain. Finish with a wet-rated warm LED sized to about 800 lumens, and you will have an entry that is welcoming, safe underfoot, and unlikely to need attention again for years.









