
 Owen Bradley
 You mount a new camera, check the daytime picture, and it looks perfect. Then night falls and the feed turns into a milky white fog, a blazing hotspot in one corner, or a wall of glowing orbs drifting across the frame. Night vision glare is the single most common complaint about home security cameras, and almost none of it is a defect. It is infrared light bouncing back into the lens from something too close, too reflective, or too dirty. The good news is that nearly every case can be fixed in an afternoon with a screwdriver, a cloth, and a few smart adjustments. This guide walks through diagnosing the exact cause of your glare and fixing it for good.
Why Night Vision Glare Happens
After dark, a camera switches to night mode: it drops the infrared cut filter and fires a ring of IR LEDs around the lens. Those LEDs flood the scene with light your eye cannot see but the sensor can. The trouble is that infrared behaves like any other light. If anything sits close enough to the lens to catch that beam and throw it straight back, the sensor sees a bright reflection instead of the scene behind it. The camera’s automatic exposure then darkens everything else to compensate, which is why one glare source can ruin an entire frame.
There are four usual culprits, and identifying which one you have saves hours of guesswork:
- Glass reflection — the camera is indoors shooting through a window, and the IR bounces straight off the pane.
- Wall or eave bounce — a soffit, gutter, or wall edge sits inside the IR beam’s spread and lights up like a flashlight.
- Spider webs and insects — silk strands and moths hover inches from the lens and blaze white. This causes the classic “floating orbs” effect.
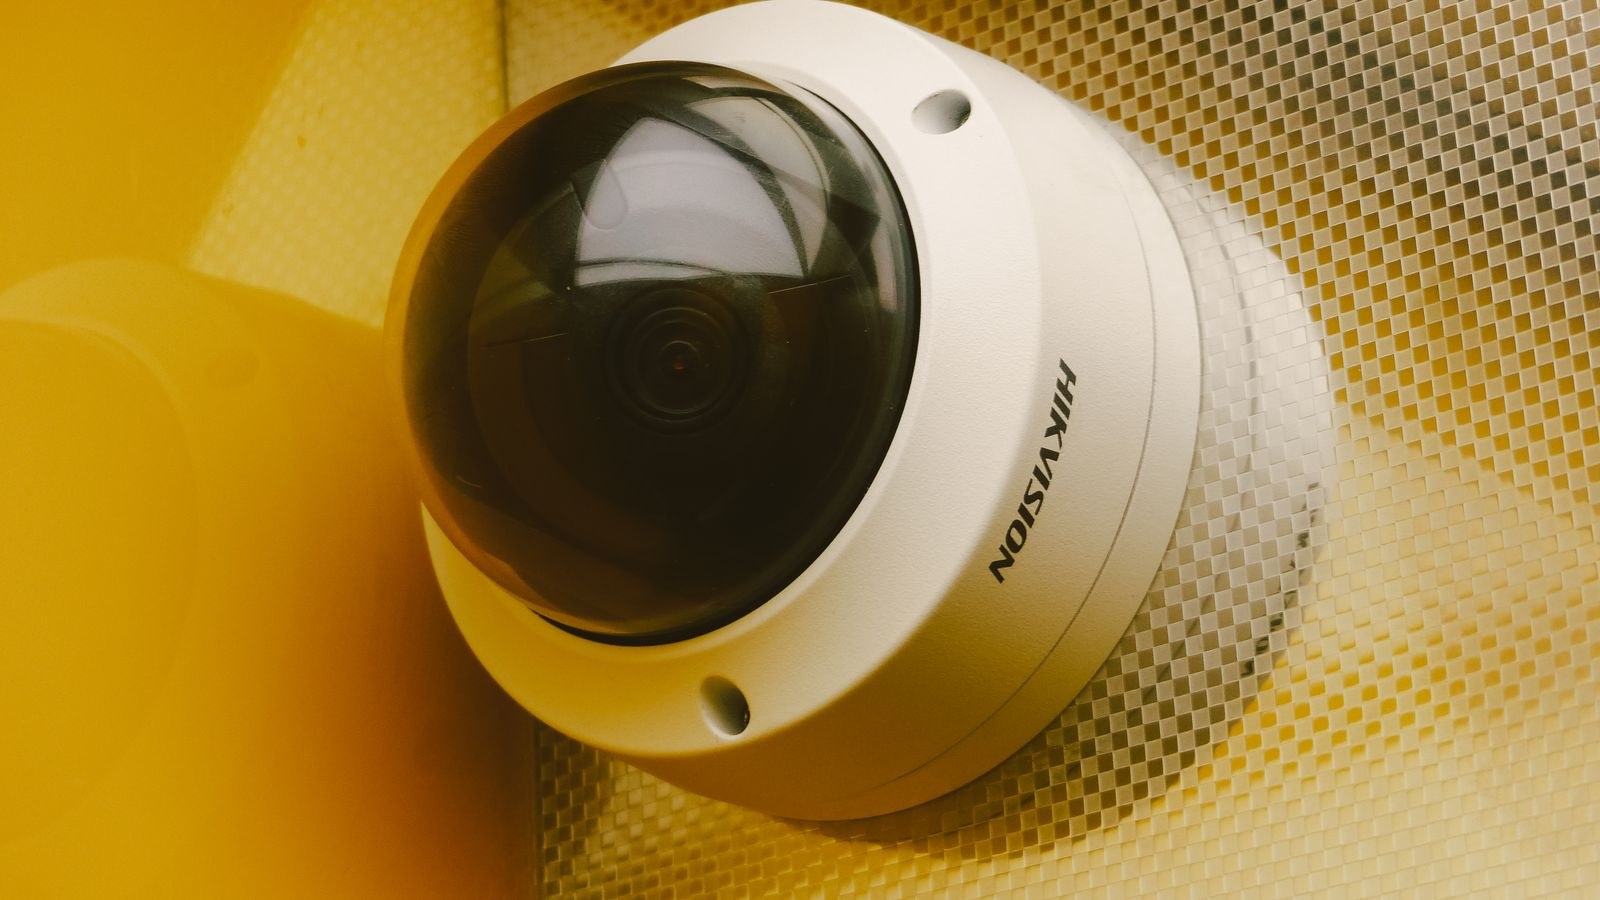
- Dome or lens contamination — dust, fingerprints, water spots, or a scratched dome scatter the IR across the whole image, producing that flat foggy haze.
What You Need Before You Start
Nothing exotic. Gather a microfiber cloth, a mild lens cleaner or plain isopropyl alcohol, a screwdriver matching your camera mount, a stepladder, and a phone running the camera app so you can watch the live feed while you adjust. A roll of black electrical tape or a strip of dense foam weather-stripping is useful for shielding. If you plan to rely on external lighting instead of infrared, a low-wattage warm LED fixture or a motion floodlight is worth having on hand.
Do the work after dark. Glare is invisible in daylight, so a daytime adjustment is pure guesswork — you need to see the live night image change as you move things.
Step-by-Step: Diagnose and Fix the Glare
- Watch the live night feed and describe the glare. Is it a uniform milky haze across the whole frame, a bright blob in one corner, or drifting bright shapes? Uniform haze points to a dirty or scratched lens cover. A fixed blob points to a surface reflecting the IR. Drifting shapes point to webs and insects.
- Clean the lens and dome first. Power the camera down if you can, then wipe the dome or lens cover with a damp microfiber cloth and dry it fully. Do not use household glass cleaner with ammonia on plastic domes — it clouds them permanently. Clear away any webbing on the housing, mount, and surrounding surface while you are up there.
- Check for a protective film. New cameras often ship with a thin plastic film over the dome. People miss it constantly, and it produces textbook foggy glare. Peel it off if present.
- Reseat the dome cover properly. On dome cameras, an IR-blocking foam gasket sits between the LED ring and the dome. If it is pinched, missing, or misaligned, IR leaks sideways into the dome and floods the image. Reseat the foam ring so it presses evenly all the way around, then re-tighten the cover without over-torquing.
- Aim the camera away from nearby surfaces. Tilt the camera down and out so no wall, eave, gutter, or railing falls within roughly the first few feet of the IR beam. A small change in angle usually makes a large difference. Watch the feed as you go — glare vanishes suddenly once the offending surface leaves the beam.
- Move the camera off the wall if aiming is not enough. Cameras mounted flush against a soffit almost always bounce IR off it. A short extension arm or junction-box mount pushes the lens a few inches clear of the surface and solves the problem outright.
- Shield the IR ring where it spills. If one segment of the ring lights a nearby surface, mask just that segment. Cut a small crescent of black tape or foam and apply it inside the housing over the offending LEDs. You lose a little illumination in that direction but recover the whole picture. Never cover the lens itself.
- Fix window mounts properly. Shooting through glass with IR on never works. Either press the lens flush against the pane with a foam collar to block reflection, or turn IR off entirely and rely on room or street lighting. Better still, move the camera outside — a purpose-built exterior unit from our roundup of the best outside cameras avoids the problem completely and gives a far wider view.
- Add visible light and switch IR off. If your camera has a colour night mode or a spotlight, a modest warm LED near the area lets you disable infrared altogether. Colour footage in low light identifies clothing and vehicles far better than monochrome IR, and glare stops being an issue.
- Verify over a full night. Leave it recording and review the footage in the morning. Dew, fog, and passing rain reveal glare that a five-minute check misses, and insect activity peaks well after you have gone to bed.
Stopping Spider Webs and Insects for Good
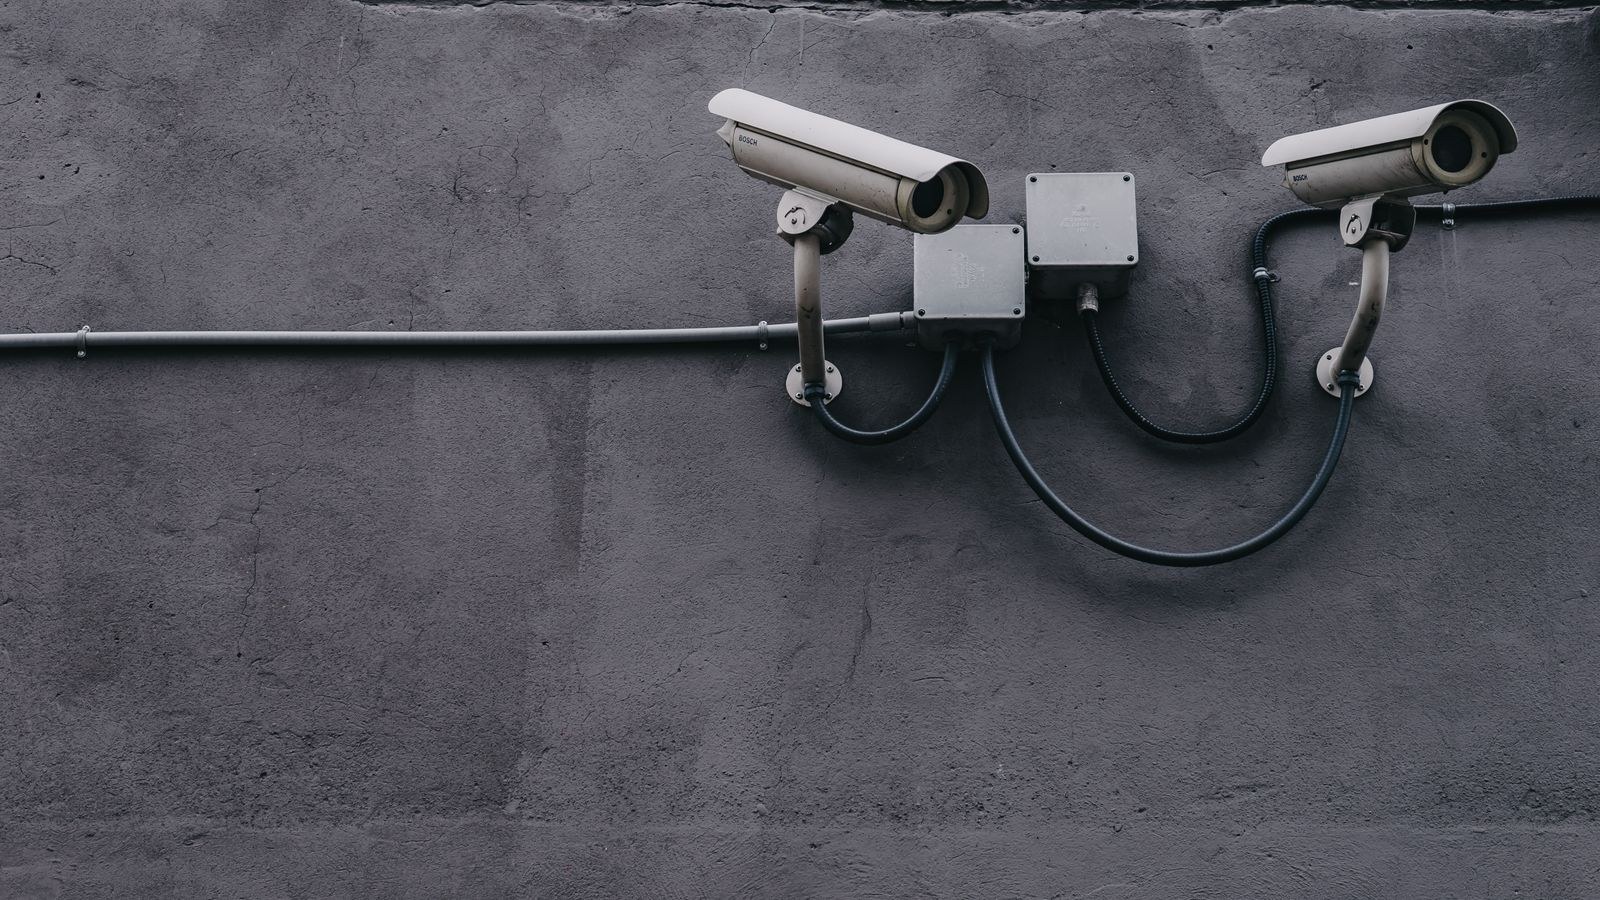
Warm camera housings attract insects, insects attract spiders, and both sit right in the IR beam. Cleaning helps for a week or two, then it comes back. The durable fixes are simple: wipe the housing and mount monthly during warm months, avoid mounting cameras directly beside porch lights that draw moths, and keep the surrounding eave clear of webbing. Some owners apply a thin band of insect-repellent gel or a light silicone film to the mount arm — never on the lens or dome — so spiders find nothing to anchor to. A camera with the IR emitters physically separated from the lens is inherently less prone to this, because a web has to sit directly in front of the lens rather than merely near the LEDs.
Indoor Cameras Have Their Own Glare Traps
Inside, the reflective culprits are picture frames, mirrors, television screens, glossy cabinet doors, and glass tabletops. A camera on a shelf will also bounce IR off the shelf edge just below it, producing a bright band across the bottom of the frame. Raise the camera slightly, tilt it a few degrees away from the reflective surface, or slide it forward so nothing sits in the near field. Corner placement generally beats wall placement indoors because it keeps flat surfaces out of the first stretch of the beam. If you are still choosing hardware, comparing the best home indoor security cameras is worth the time, since models differ enormously in how well they control IR spill in tight rooms.
Common Mistakes to Avoid
- Cleaning the dome with abrasive cloths or ammonia cleaner. Micro-scratches scatter infrared permanently and there is no fix except replacing the cover.
- Cranking brightness or exposure to compensate. This amplifies the glare along with everything else and destroys detail in the dark areas you actually care about.
- Taping over the lens instead of the LEDs. Shield the emitters, never the optics.
- Judging the fix in daylight. Always confirm changes on the live night feed.
- Mounting flush under a low eave. It is the most common install error and guarantees bounce glare from day one. Our walkthrough on how to install an outdoor security camera covers placement heights and angles that keep IR clear of surfaces.
- Assuming the camera is faulty. Genuine hardware failure is rare; placement and contamination explain the overwhelming majority of glare reports.
When the Camera Really Is the Problem
Occasionally glare persists after every adjustment. Cheap units with the IR ring mounted flush against the lens leak internally, and no amount of aiming corrects it. Aged domes yellow and haze with UV exposure over several years. If a camera glares even when pointed at open sky with a spotless, freshly seated dome, the housing design is the limit. That is the point to replace rather than tinker. Higher-resolution sensors also handle low light more gracefully because they gather more detail per frame, so if you are upgrading anyway, look at the best 4K security cameras for sharper night footage, or browse the wider selection of the best security cameras to match a model to your mounting situation before you buy in 2026.
Frequently Asked Questions
Why is my night vision white and washed out?
Almost always a dirty, filmed, or scratched lens cover, or IR leaking inside the dome past a misaligned foam gasket. Clean the dome, confirm the shipping film is off, and reseat the gasket before changing anything else.
Can I just turn night vision off?
Yes, and it is often the best answer if the area has any ambient light. Disabling IR eliminates all reflection glare and gives you colour footage, which is far more useful for identification. Add a modest warm LED nearby if the scene is too dark.
Why does my camera show floating white circles at night?
Those are insects or dust drifting through the IR beam inches from the lens, or spider silk catching the light. Clean the housing thoroughly and keep the camera away from porch lights that attract bugs.
Does shooting through a window ever work at night?
Only with infrared switched off, or with the lens pressed flat against the glass behind a light-blocking collar. Otherwise the pane reflects the camera’s own IR straight back into the sensor.
Will a wider IR range fix my glare?
No. More powerful emitters usually make bounce glare worse, because there is more light available to reflect off the nearby surface. Fix the geometry first, then worry about range.
Final Thoughts
Night vision glare feels like a hardware fault but behaves like a lighting problem, and lighting problems respond to geometry. Clean the optics, confirm nothing sits within the first few feet of the beam, reseat the dome gasket, shield the emitters that spill onto walls, and keep webs off the housing. Work through those in order while watching the live night feed and the vast majority of glare disappears within an hour. If you can add a little visible light and switch infrared off altogether, do it — colour night footage is more useful evidence than a clean monochrome frame, and it sidesteps the whole issue permanently.









