
 Owen Bradley
 A roofline of evenly spaced lights is the outline that makes a house read as decorated from the end of the street, and it is also the job most likely to end with someone on a wobbly ladder in freezing drizzle. Done properly it is straightforward: you measure once, buy the right clips for your specific roof edge, set the ladder correctly, and work in short controlled sections. Done badly it produces uneven spacing, staples through cable, tripped breakers, and a genuine fall risk. This guide covers measuring, clip selection, ladder safety, powering the run, and taking everything down without damaging the house.
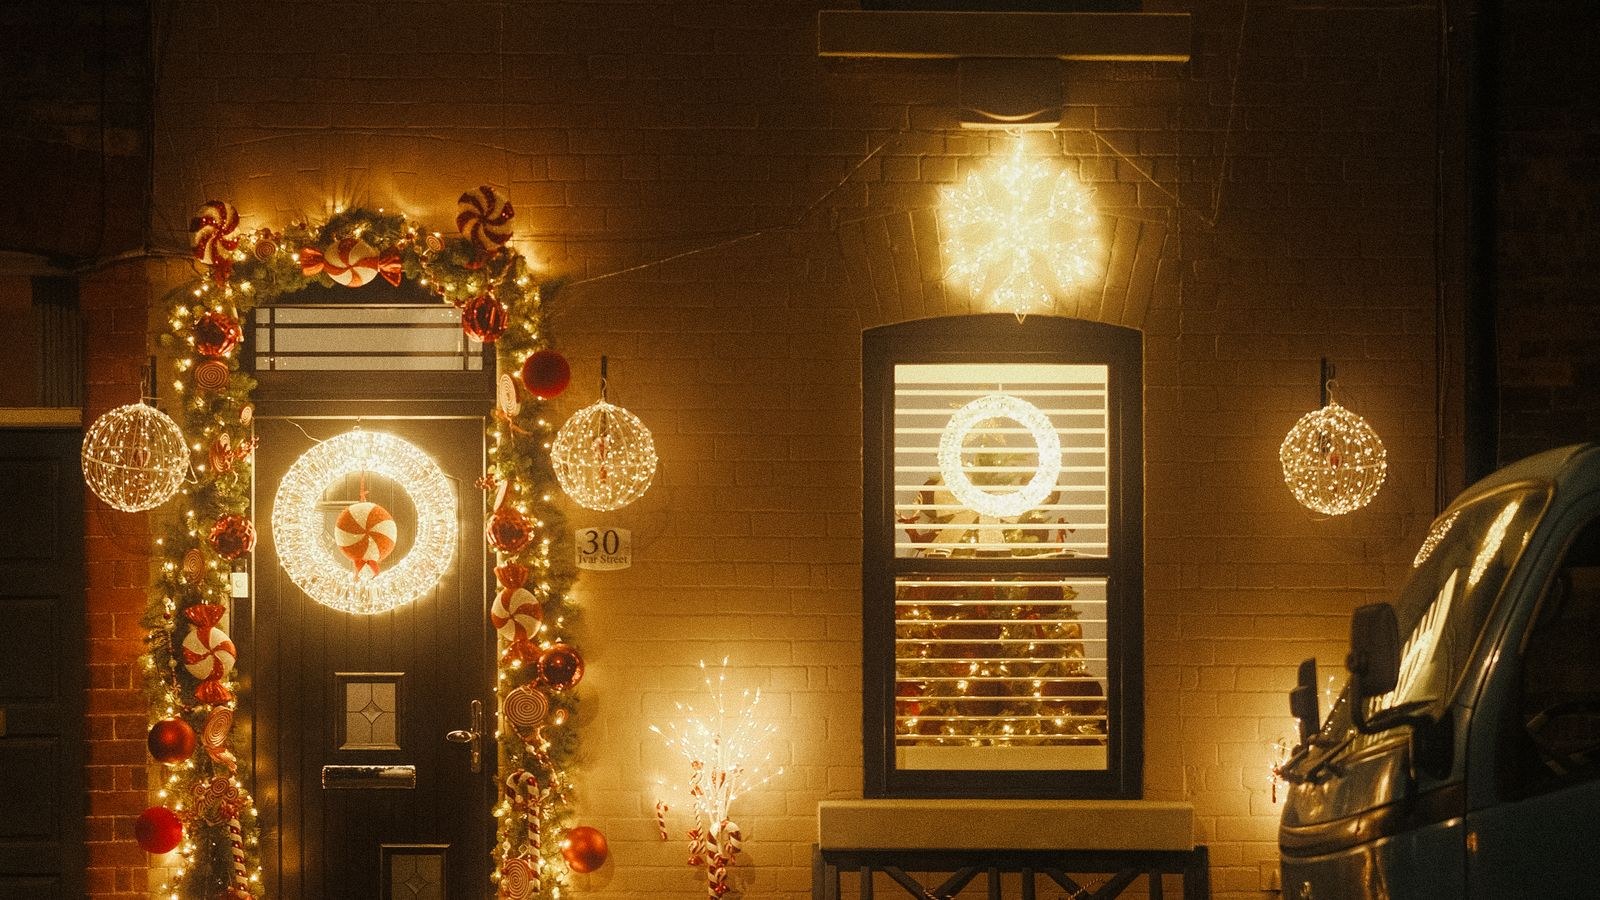
Plan the Run Before You Buy a Single Strand
Decide which edges you are lighting. The most common choice is the front-facing gutter line plus the two rake edges of the gable, which outlines the house shape cleanly. You can add a lower porch roof or a garage line, but resist outlining every edge at once, because a partial outline usually looks more deliberate than a complete one.
Now measure. Use a long tape at ground level along the gutter line, then measure the rake edges by measuring the roof width and the height to the peak and using those to estimate the sloped length. Add the vertical drop to the socket, add roughly 10 percent for slack around corners, and round up to the nearest whole strand. Sketch it, note the length of each section, and only then buy. Working out mid-installation that you are three metres short is the classic way to lose an afternoon.
Match the Bulb Style to the Roofline
Larger C7 and C9 bulbs spaced 20 to 30cm apart give the bold classic outline that reads well from a distance and suits a two-storey frontage. Mini lights give a finer, denser sparkle that suits closer viewing and smaller houses. Rope light and neon-flex produce a continuous line rather than points, which looks contemporary but shows every wobble in your mounting, so it demands a straight track. Whichever you choose, buy strands rated for outdoor use with weather-sealed sockets, since indoor sets fail quickly once water gets into a lampholder. Purpose-built sets of Christmas lights for rooflines use heavier cable and spacing designed for exactly this application.
Tools and Materials
- Outdoor-rated light strands, measured and totalled as above
- Light clips matched to your roof edge: gutter clips, shingle tabs, all-in-one clips, or under-eave clips
- Outdoor extension cords, heavy gauge, in the shortest lengths that reach
- An outdoor socket protected by an RCD or GFCI
- Outdoor timer or smart plug
- Extension ladder tall enough to extend a metre above the roof edge, plus a stabiliser bar
- Ladder levellers if the ground is uneven
- Tool belt or bucket hook so both hands stay free
- Tape measure, gloves, non-slip boots, and a headlamp
- Spare bulbs and fuses for the strand type you bought
Choosing the Right Clip
- Gutter clips hook over the front lip of the gutter and hold the bulb facing outward or upward. Best where you have a clean continuous gutter.
- Shingle tabs slide under the edge of an asphalt shingle. Ideal where there is no gutter, but only use them on shingles that are warm enough to flex, since cold shingles crack.
- All-in-one clips do both jobs and are worth the small premium because they let you switch method partway along a run without changing hardware.
- Under-eave or soffit clips adhere or screw beneath the overhang, giving a very tidy line for mini lights.
- Ridge clips sit over a ridge cap if you want to outline the peak itself.
Whatever you use, the rule is absolute: never use staples, nails, screws or a staple gun on light cable. A staple that pierces the insulation creates a short circuit path that may not fail until the cable is wet, and it damages the roof edge permanently.
Step-by-Step: Hanging Lights on the Roofline
- Test every strand on the ground first. Lay the sets out on the drive, plug them in, and confirm every bulb lights. Discovering a dead section at the top of a ladder is entirely avoidable.
- Clip the strands on the ground. Attach clips to the cable at your chosen spacing before you climb, spacing them evenly with a bulb between each pair. This is the single biggest time-saver in the whole job and it is why professional runs look so even.
- Check the weather and the surface. Work on a dry, still day above freezing. Wind above about 25km/h and any ice on the roof edge mean postponing, not persevering.
- Set the ladder properly. Use the four-to-one rule, placing the base one metre out for every four metres of height. Extend it at least a metre past the roof edge, use a stabiliser bar so it rests on the fascia rather than the gutter, and have someone foot the ladder. Level the feet on soft or sloping ground.
- Start at the socket end. Begin the run at the corner nearest your power source so the male plug ends up where the power is, and work outward. Starting at the wrong end leaves you needing an extra cord across the whole frontage.
- Work in short sections. Hang about two metres, then climb down and move the ladder. Reaching sideways past your belt buckle is how ladders tip, and no amount of saved time is worth it.
- Keep bulbs facing the same way. Decide on outward or upward and stay consistent for the entire run. Mixed orientation is the detail that makes an otherwise neat job look amateurish from the street.
- Manage the joins. Where two strands meet, keep the connection above the gutter line and loop the cable upward before the plug so rainwater drips off rather than running into the joint. Wrap the connection loosely with electrical tape or use a purpose-made connector cover.
- Handle the corners and rakes. At an outside corner, leave a small loop of slack rather than pulling the cable tight around the angle. On the sloped rake edges, use a clip every 30cm rather than the wider spacing you can get away with on a horizontal gutter, since gravity works against you.
- Route the drop and connect. Bring the final cable down at a corner, secure it every 40cm with clips so it does not flap, and plug into an RCD-protected outdoor socket via a timer. Check the whole run after dark and adjust any clip that has slipped.
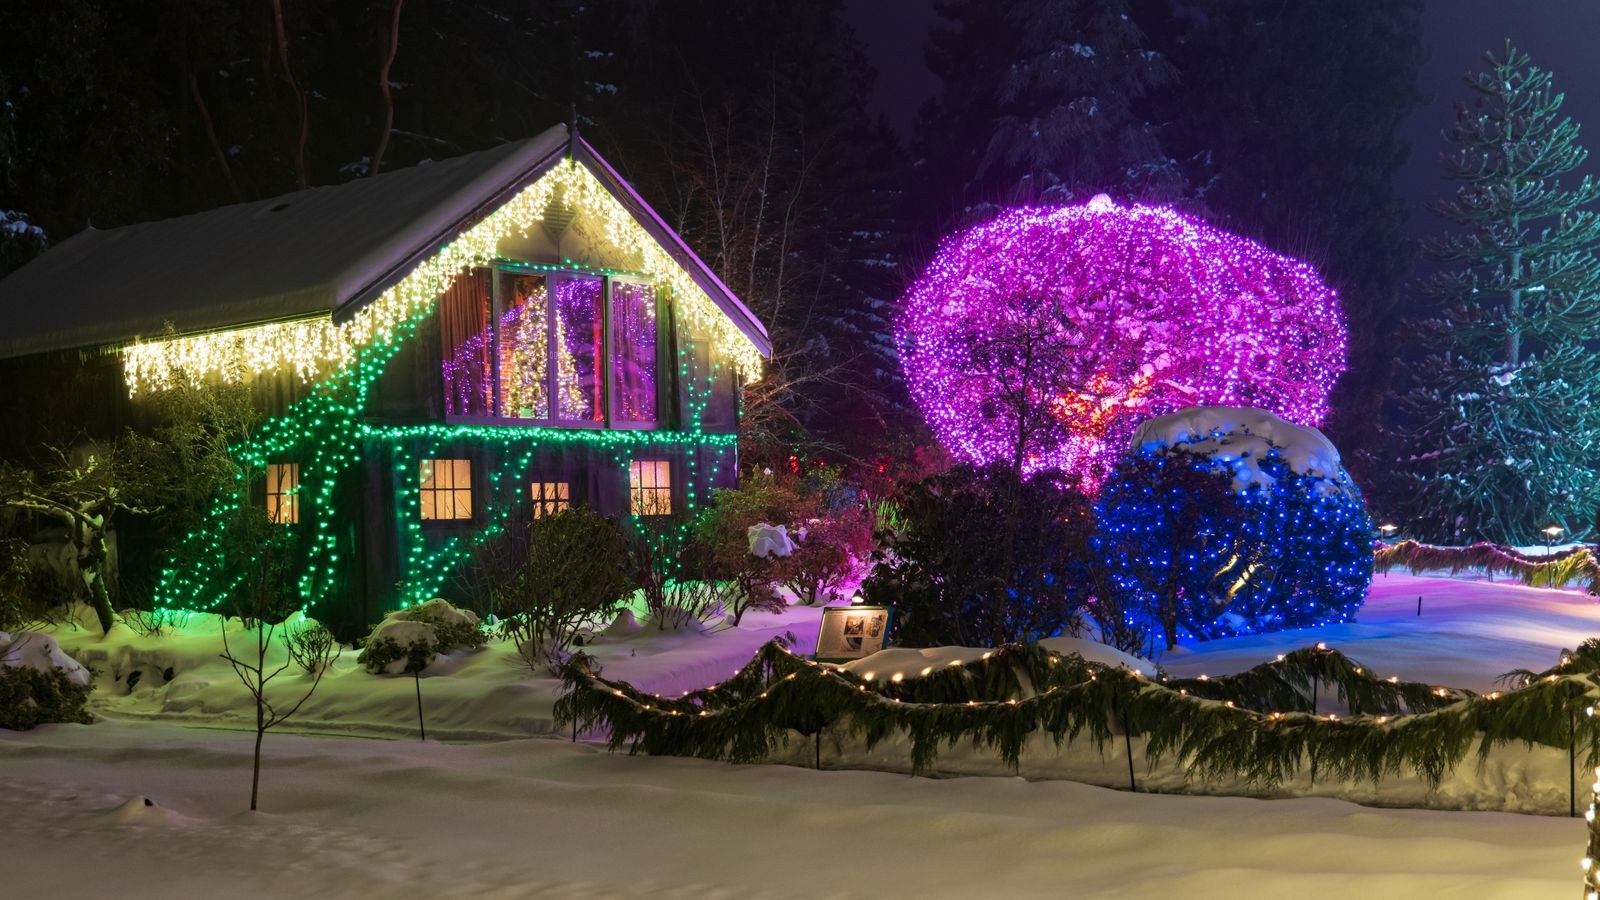
Ladder Safety Is the Whole Job
Falls from ladders during holiday decorating send thousands of people to hospital every season, and almost all of those falls come from the same handful of errors. Never stand on the top two rungs. Never lean out to reach one more clip. Keep three points of contact at all times, which means carrying clips in a belt or a bucket on a hook rather than in your hand. Do not climb with a cordless tool in one hand. Have a second person on the ground both to foot the ladder and to call for help if needed. If your roof is above single storey, steeply pitched, or the ground below is uneven and hard, seriously consider whether the outline is worth it, because paying an installer once is cheaper than a broken wrist.
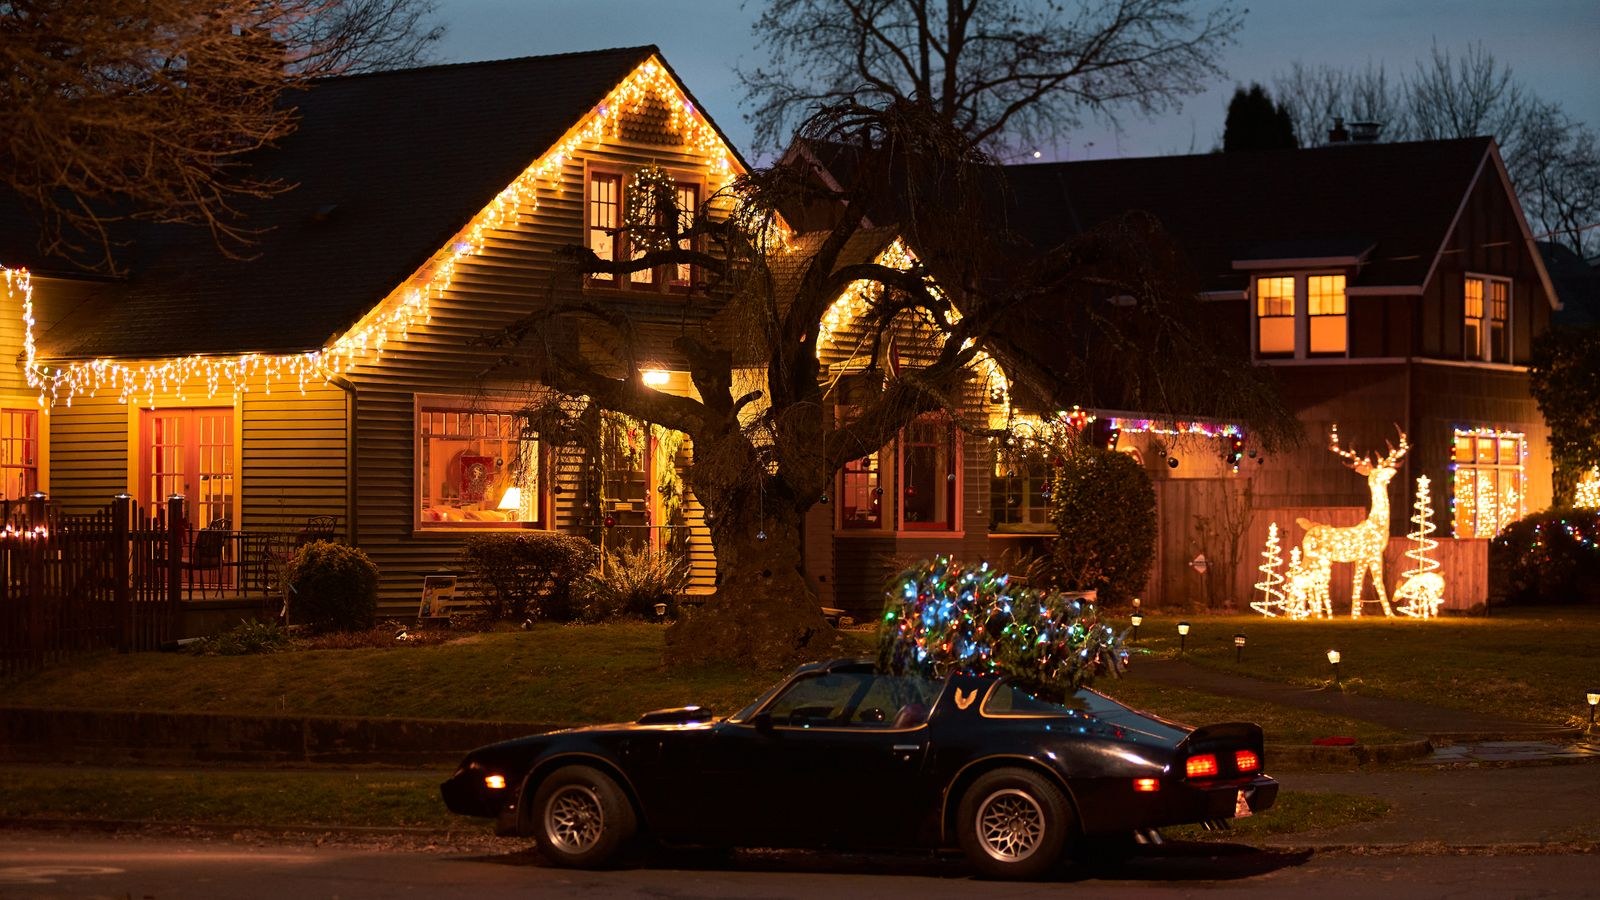
Power Planning and Load Limits
Every strand box states the maximum number of sets that can be connected end to end. LED sets typically allow long chains because they draw so little, while incandescent C9 strands may cap out at three. Exceeding that limit overheats the first connector in the chain. Total your wattage and keep any single circuit comfortably under 80 percent of its rating. Use one heavy-gauge outdoor extension cord per run rather than daisy-chaining several thin ones, keep all connections off the ground, and put the whole display on an outdoor timer or smart plug so nothing runs unattended all night. LED sets make all of this dramatically easier, which is one reason most modern exterior Christmas lights have moved to LED entirely.
Common Mistakes
Uneven spacing is the most visible error, and clipping on the ground solves it. Mixing warm white and cool white sets on the same run is the second, because the mismatch is glaring at night even though both boxes said white. Others include stapling cable, running indoor extension cords outside, hanging lights on a wet or icy edge, forgetting to leave slack at corners so the cable strains as temperatures drop, and leaving the final drop cable unsecured so it flaps and eventually pulls clips loose. Also avoid the temptation to hang everything in one marathon session, since fatigue on a ladder is genuinely dangerous.
Taking Lights Down Without Damage
Unplug first, then remove clips by lifting rather than yanking the cable, which is what breaks clips and pulls shingle tabs through the shingle. Wrap each run around a length of cardboard or a dedicated reel and label it with the section it came from, because next season you will thank yourself when the front gutter strand is already the right length. Store indoors somewhere dry, since a season in a damp shed corrodes sockets. If the annual climb has lost its charm, permanent Christmas lights mounted once under the eave and controlled by an app remove the ladder from the equation for good.
Frequently Asked Questions
How many clips do I need?
Count on one clip per bulb for C7 and C9 strands, and one every 20 to 30cm for mini lights. Buy 20 percent more than the calculation suggests, since clips break and get dropped.
Can I hang lights if I have no gutters?
Yes. Shingle tabs slide under the shingle edge, and under-eave clips attach to the soffit or fascia. Both give a clean line without touching a gutter.
Should I use warm white or multicolor?
It is purely taste, but pick one and commit across the whole frontage. Warm white reads as classic and elegant; multicolor reads as playful. Mixing them on a single roofline rarely works.
Is it safe to leave lights up all winter?
Outdoor-rated sets tolerate it, though ice loading and UV shorten their life. If you want a year-round outline, choose hardware designed for permanent mounting rather than seasonal clips.
What if a section stops working mid-season?
Check the fuse in the plug first, then look for a loose bulb, since one unseated bulb can kill a whole series section. Robust sets built as Christmas lights for outside houses usually use parallel wiring so a single failure does not take the run down.
Final Thoughts
The difference between a roofline that looks professionally installed and one that looks thrown up in an hour comes down to three habits: measure and buy before you climb, clip every strand on the ground so spacing is perfect, and move the ladder rather than reaching. Add outdoor-rated strands, RCD-protected power within the stated load limits, and consistent bulb orientation, and you get a clean bright outline that goes up faster each year as your labelled reels do the measuring for you.









