
 Owen Bradley
 Solar lights have a reputation for dying quietly. One evening the path glows, and a few weeks later half the fixtures never come on at all. The good news is that solar lights almost never fail in complicated ways. Nearly every dead unit traces back to one of five things: a dirty panel, a worn battery, a switch left off, poor sun exposure, or corroded contacts. Each of those takes minutes to check and costs little to correct. This guide walks through how to fix solar lights that stopped working, in the order that finds the fault fastest, so you spend 2026 replacing batteries instead of whole fixtures.
How a Solar Light Works
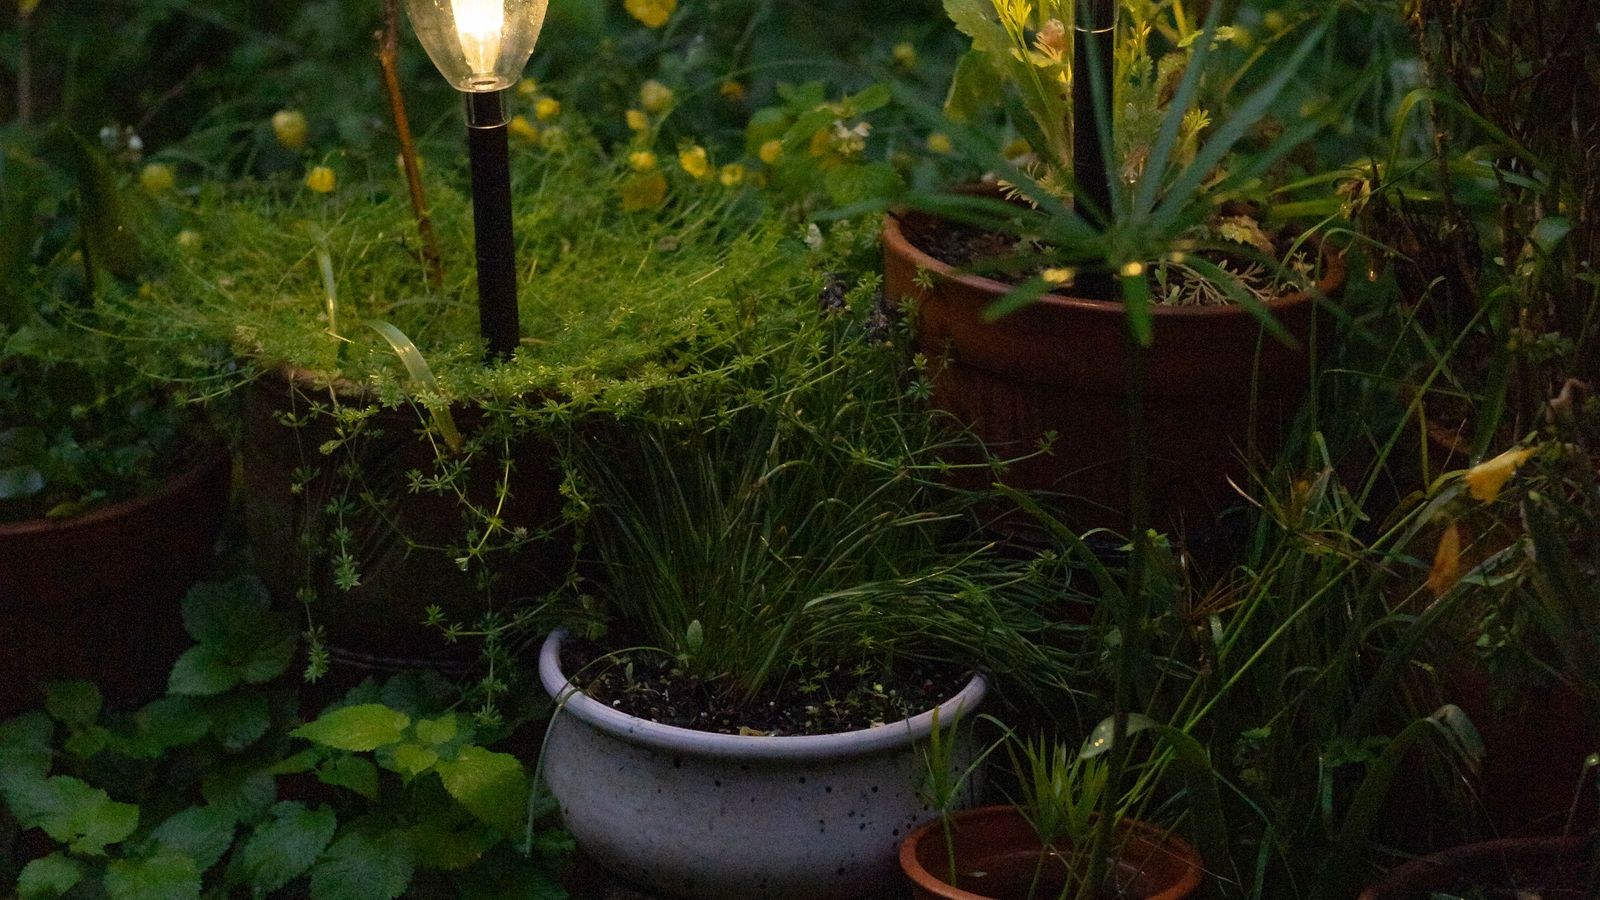
Every solar garden light contains four parts. A small photovoltaic panel converts daylight into current. A rechargeable battery, usually a single AA or AAA NiMH cell, stores that energy. A tiny light sensor detects darkness and closes the circuit. An LED then runs off the stored charge until the battery is depleted or dawn arrives.
Because the whole system depends on capturing and storing a small amount of energy, anything that reduces charging has an outsized effect. A panel at 60 percent transmission because of haze and pollen does not produce 60 percent of the runtime; it may produce far less, because the battery never reaches a useful state of charge. That is why cleaning is the first fix, not the last.
What You Will Need
- A soft cloth, warm water, and mild dish soap for cleaning the panel.
- Rubbing alcohol and a cotton swab for stubborn film and battery contacts.
- Fine sandpaper or an emery board to clean corroded contacts.
- Replacement NiMH rechargeable batteries in the correct size and capacity.
- A small Phillips screwdriver to open the head assembly.
- A multimeter if you own one, for checking battery and panel voltage.
- Clear silicone sealant for resealing a housing that leaks.
Work on a bench or table rather than in the garden bed, and keep the tiny screws in a dish. Many solar heads are held together with four small screws and a gasket, and losing one means the housing will not seal against rain afterward.
Step-by-Step: Diagnosing and Fixing a Dead Solar Light
- Check the on/off switch first. It sounds absurd, but many solar fixtures ship with the switch off, and a switch can get bumped during weeding or knocked by a mower. Some models also have a separate transport tab or a plastic pull strip under the battery cover that must be removed before the cell connects. Look for both.
- Clean the solar panel thoroughly. Wash the panel with warm soapy water and a soft cloth, then wipe with rubbing alcohol to remove any film. Pollen, hard-water spray, sprinkler residue, and road dust build up an almost invisible haze that dramatically cuts output. This alone revives a large share of “dead” lights.
- Test the sensor by covering the panel. With the switch on, cover the panel completely with your hand or a cloth in a dim room. A working fixture lights within a few seconds. If it does, the electronics are fine and the problem is charging. If nothing happens, continue to the battery.
- Open the housing and inspect the battery. Remove the screws holding the head together and lift out the cell. Look for white or green crust on the terminals, a bulged case, or leaked electrolyte. Any of these means the battery is finished and may have damaged the contacts too.
- Clean the battery contacts. Scrub corrosion off the spring and flat contacts with fine sandpaper or an emery board until bare metal shows, then wipe with alcohol. Poor contact behaves exactly like a dead battery, and this five-minute step fixes a surprising number of units.
- Replace the battery with the correct type. Install a fresh NiMH rechargeable of the same size and voltage, with capacity in the same range or somewhat higher. Never install a standard alkaline battery; it is not designed to be charged, and the charging circuit will overheat or leak it. This is the single most common repair, since solar batteries typically last one to two years.
- Test with a known-good battery to isolate the fault. If a fresh cell still gives nothing, swap the new battery into a working fixture. If it works there, the fault is in the panel or circuit board of the original unit. If it fails there too, you have a bad battery.
- Check the panel output with a multimeter. In bright sun, measure across the panel’s leads. A healthy small panel typically reads somewhere around 2 to 5 volts depending on the design. A reading near zero in full sun means the panel or its wiring has failed, and the fixture is generally not worth repairing.
- Inspect for water intrusion. Condensation inside the lens, rust on the screws, or damp foam gasket all point to a failed seal. Dry the interior completely, clean the gasket seat, and reassemble with a thin bead of clear silicone around the joint. Let it cure fully before putting the light back outside.
- Move the fixture to a sunnier location. Solar lights need roughly 6 to 8 hours of direct sun to charge fully. A spot that was sunny in spring may be shaded by summer foliage or a new fence. Watch the location across a full day before deciding it is genuinely bright enough.
- Charge it fully before final judgment. After any repair, leave the fixture in full sun for two or three complete days with the switch on. New NiMH cells often need a few cycles to reach full capacity, so a light that runs only an hour on night one may run all night by night three.
Troubleshooting by Symptom
The Light Comes On but Fades Within an Hour
This is a charging or capacity problem, not a failure. Either the panel is not receiving enough sun, or the battery has lost capacity with age. Clean the panel first, relocate if shading has crept in, and replace the cell if the fixture is more than about two years old.
The Light Flickers or Strobes
Flicker generally means marginal voltage, either from a nearly depleted battery or from a poor contact. Clean the terminals and try a fresh cell. If the flicker persists with a good battery, the circuit board has likely failed.
The Light Stays On During the Day
The photosensor is either blocked or faulty. Check that nothing has been placed over the panel, since many designs use the panel itself as the light sensor. Persistent daytime operation with a clear panel usually means a failed sensor circuit.
Some Lights in a Set Work and Others Do Not
Compare their locations. Nearly always the failing units sit in more shade, closer to a wall, or under a shrub that filled in. Swap positions with a working unit and see whether the problem follows the fixture or stays with the spot.
The Light Works Indoors but Not Outdoors
Cold weather cuts NiMH capacity noticeably, and short winter days provide less charging. Both effects together can drop runtime by half. Consider higher-capacity cells and accept shorter winter performance as normal rather than a defect.
Getting More Runtime From Working Lights
Aim panels toward true south in the northern hemisphere, tilted roughly toward the winter sun angle if the fixture allows it. Trim back branches that shade the panel during peak hours. Clean panels seasonally rather than once a year, especially in pollen-heavy spring and after any period of sprinkler overspray.
Battery choice matters as well. A higher-capacity NiMH cell stores more energy for long nights, though it also needs more sun to fill. Match capacity to the sun your location actually receives. Fixtures built with larger panels and quality cells hold up much better over years, which is what separates quality solar lights from the cheapest sets that fail after one season.
When Replacement Beats Repair
Repair is worth it when the fault is a battery, a dirty panel, a switch, or corroded contacts. Replacement makes more sense when the panel reads zero volts in full sun, when the circuit board is visibly corroded, when the housing has cracked, or when the plastic lens has yellowed and clouded so badly that output is halved regardless of charge.
Older fixtures also lag well behind current designs on brightness and battery capacity. If you are already replacing several units from the same set, moving up to modern solar LED lights usually delivers more light and longer runtime for a similar price. For spots where you genuinely need output rather than ambience, the brightest solar lights use larger panels and higher-capacity cells, and for walkways a matched set of solar path lights keeps color and height consistent along the run.
Mistakes That Kill Solar Lights Early
Installing alkaline batteries in a solar fixture is the most damaging error, because the charging circuit will try to charge a non-rechargeable cell and can cause leaking that destroys the contacts. Leaving fixtures switched off for months lets the battery self-discharge deeply, which permanently reduces capacity.
Pressure-washing panels scratches the surface and forces water past the gasket. Placing lights under eaves, dense shrubs, or beneath a tree canopy starves them of the sun they need. And reassembling a head without seating the gasket properly invites the water intrusion that ends most fixtures for good.
Frequently Asked Questions
Why did my solar lights suddenly stop working?
Most often an aging battery, a panel coated in film, or a switch that got bumped. Clean the panel and replace the rechargeable cell before assuming the fixture has failed.
How long do solar light batteries last?
Typically one to two years of nightly cycling. Replacement NiMH cells cost very little and restore full runtime in most fixtures.
Can I use regular alkaline batteries?
No. Solar fixtures charge the cell every day, and alkaline batteries are not rechargeable. Using them risks leaking, corrosion, and damage to the charging circuit.
How much sun do solar lights actually need?
Roughly 6 to 8 hours of direct sunlight for a full charge. Filtered light through branches or partial afternoon sun produces noticeably shorter runtime.
Should I turn solar lights off in winter?
If you store them, charge them fully first and top them up periodically. Storing a deeply discharged NiMH cell for months permanently reduces its capacity.
Final Thoughts
Fixing solar lights is a short checklist, not a repair project. Confirm the switch, clean the panel, test the sensor by covering it, then open the head and deal with the battery and contacts. If a fresh cell and a clean panel do not bring it back, measure the panel in sunlight and decide whether the fixture is worth keeping. Build cleaning into your seasonal yard routine and swap batteries every couple of years, and most of a solar lighting set will keep working long past the point where neighbors have replaced theirs twice.









