Owen Bradley
 Night footage that used to be crisp has turned into a soft glowing haze, faces are unreadable, and every headlight blooms across half the frame. Nine times out of ten the camera is fine and the problem is a film of dust, pollen, spider silk and hard-water spray sitting on the lens cover. Learning to clean security camera lenses properly takes ten minutes and restores image quality that no setting change can recover. It also matters that you do it correctly, because the wrong cloth or the wrong spray permanently scratches or hazes an acrylic dome, and a scratched dome is a replacement rather than a repair.
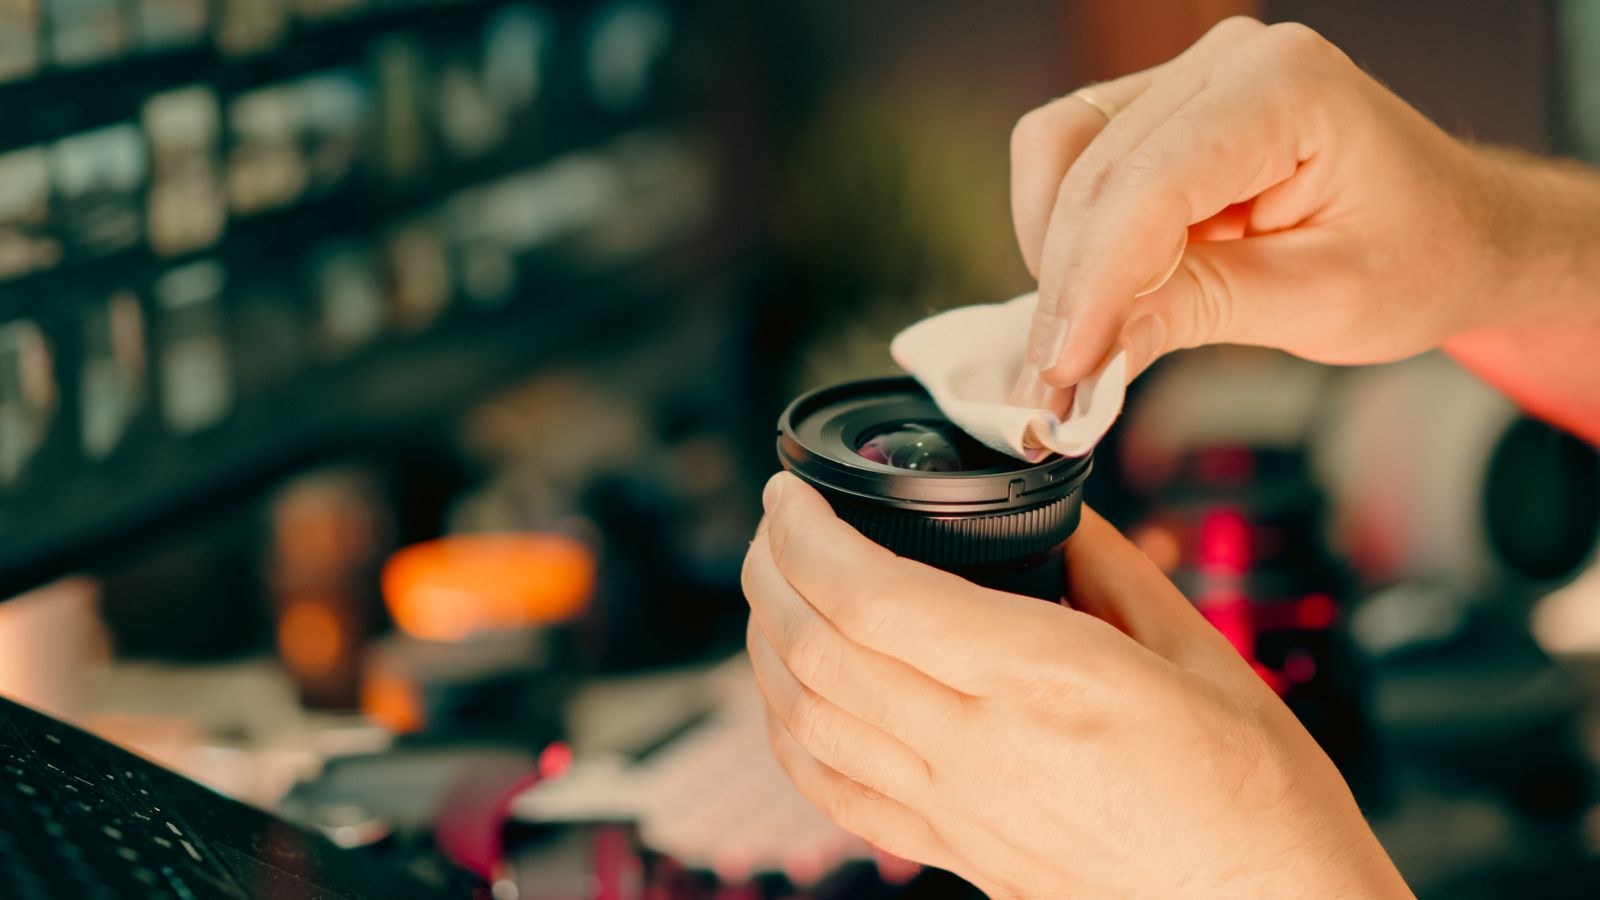
What You Need
- Air blower bulb to remove loose grit before anything touches the surface.
- Soft brush with natural or fine synthetic bristles for webs and stubborn dust.
- Two clean microfiber cloths, one damp and one dry. Not paper towel, not a shirt sleeve.
- Distilled water in a small spray bottle. Tap water leaves mineral spots.
- Isopropyl alcohol at 70 percent, or a dedicated lens solution, for greasy residue only.
- Cotton swabs for the recessed edge where the dome meets its housing.
- Stable ladder and a helper if the camera is above head height.
Do not use glass cleaner containing ammonia, acetone, household degreasers, disinfectant wipes or abrasive pads. Ammonia clouds polycarbonate and acrylic, and even a single pass with a paper towel can leave fine scratches that scatter infrared light at night.
Step-by-Step Cleaning
- Power down or disable recording. Turn the camera off at the switch, or at least pause recording and alerts in the app so you do not fill storage with clips of your own hand.
- Note the current aim. Take a screenshot of the live view, or photograph the mount, so you can restore the exact framing if you nudge it.
- Blow off loose debris first. Use the air blower across the entire lens or dome. This step is not optional; wiping grit across a surface is how scratches happen.
- Brush away webs and pollen. Work gently with the soft brush, including the ring around the infrared LEDs where silk collects most heavily.
- Dampen the cloth, never the camera. Spray distilled water onto the microfiber cloth, not onto the housing. Liquid sprayed directly can wick past seals into the electronics.
- Wipe in a spiral. Start at the center and move outward in a slow spiral with very light pressure. Do not scrub back and forth, which drags any remaining particle across the same track repeatedly.
- Treat greasy marks separately. For fingerprints, sap or road film, put a small amount of 70 percent isopropyl on a corner of the cloth, lift the mark with a light dab-and-wipe, then follow with the damp cloth.
- Clean the seam. Run a slightly damp cotton swab around the edge where the dome meets the housing, where grime builds up and later runs back across the glass in rain.
- Dry immediately. Buff with the second, completely dry microfiber cloth before water can evaporate and leave spots.
- Check the housing and gasket. Wipe the body, clear the drain holes if there are any, and confirm the rubber gasket around the dome is intact and seated.
- Restore power and inspect the image. Check the live view in daylight, then again after dark. Night view is where any remaining film or scratch shows up most clearly.
- Confirm the aim. Compare against your earlier screenshot and correct the angle if the camera shifted while you worked.
Domes Versus Bullet Cameras
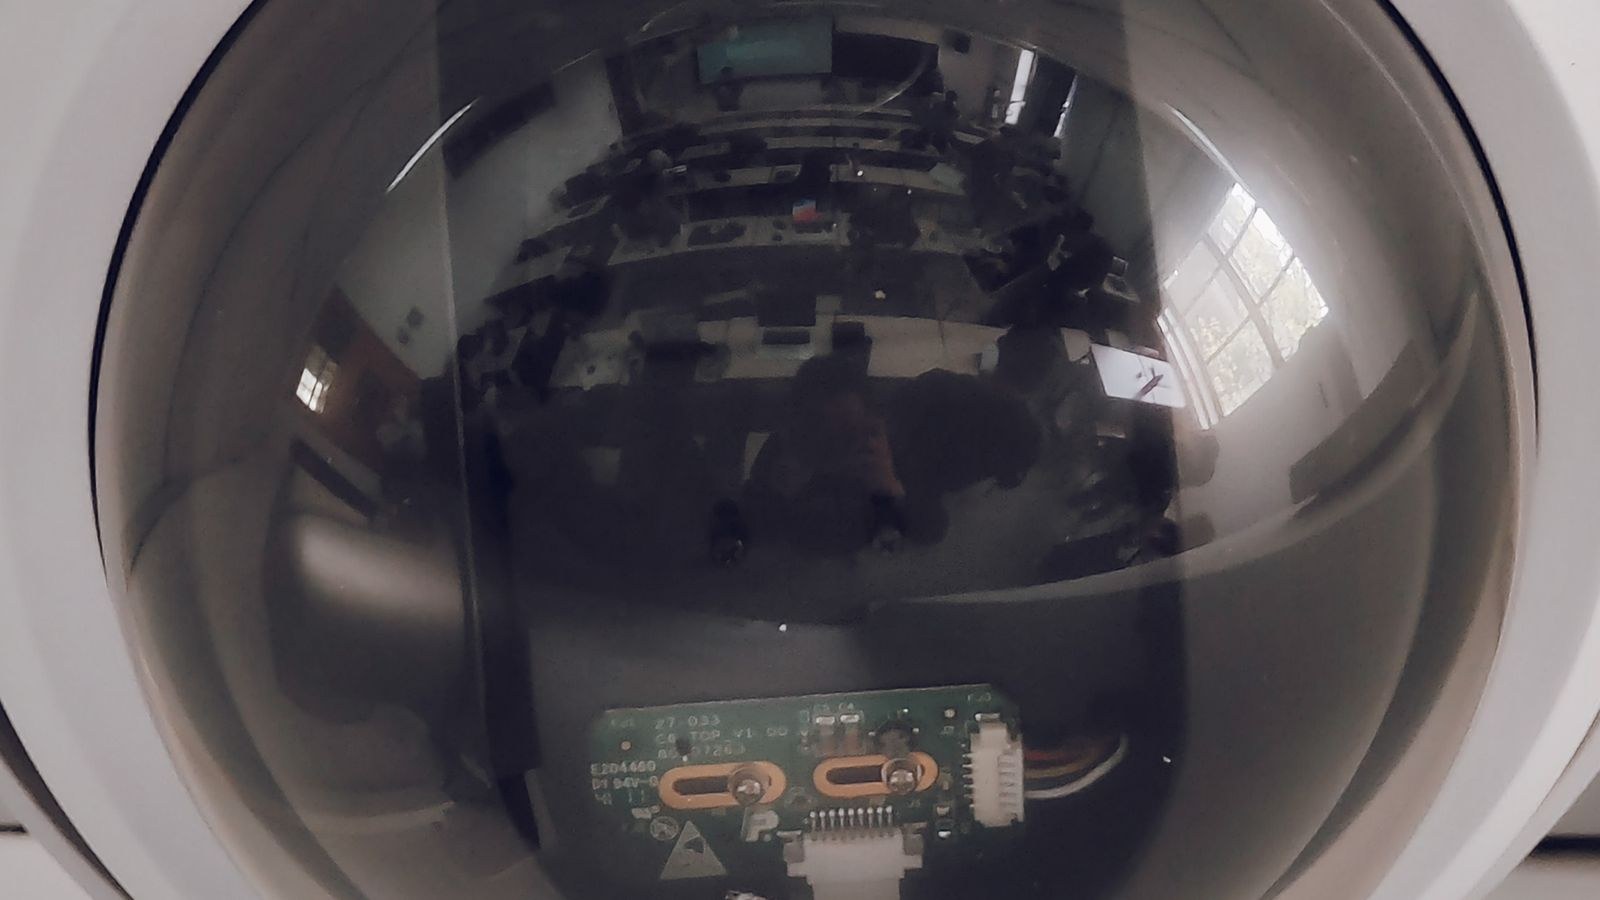
The two common body styles need slightly different handling. Dome cameras usually have an acrylic or polycarbonate bubble, which is far softer than glass and scratches easily. Use the lightest possible pressure, keep to water and mild alcohol, and never use anything abrasive. A hazed dome is the leading cause of “my camera suddenly got worse at night” complaints.
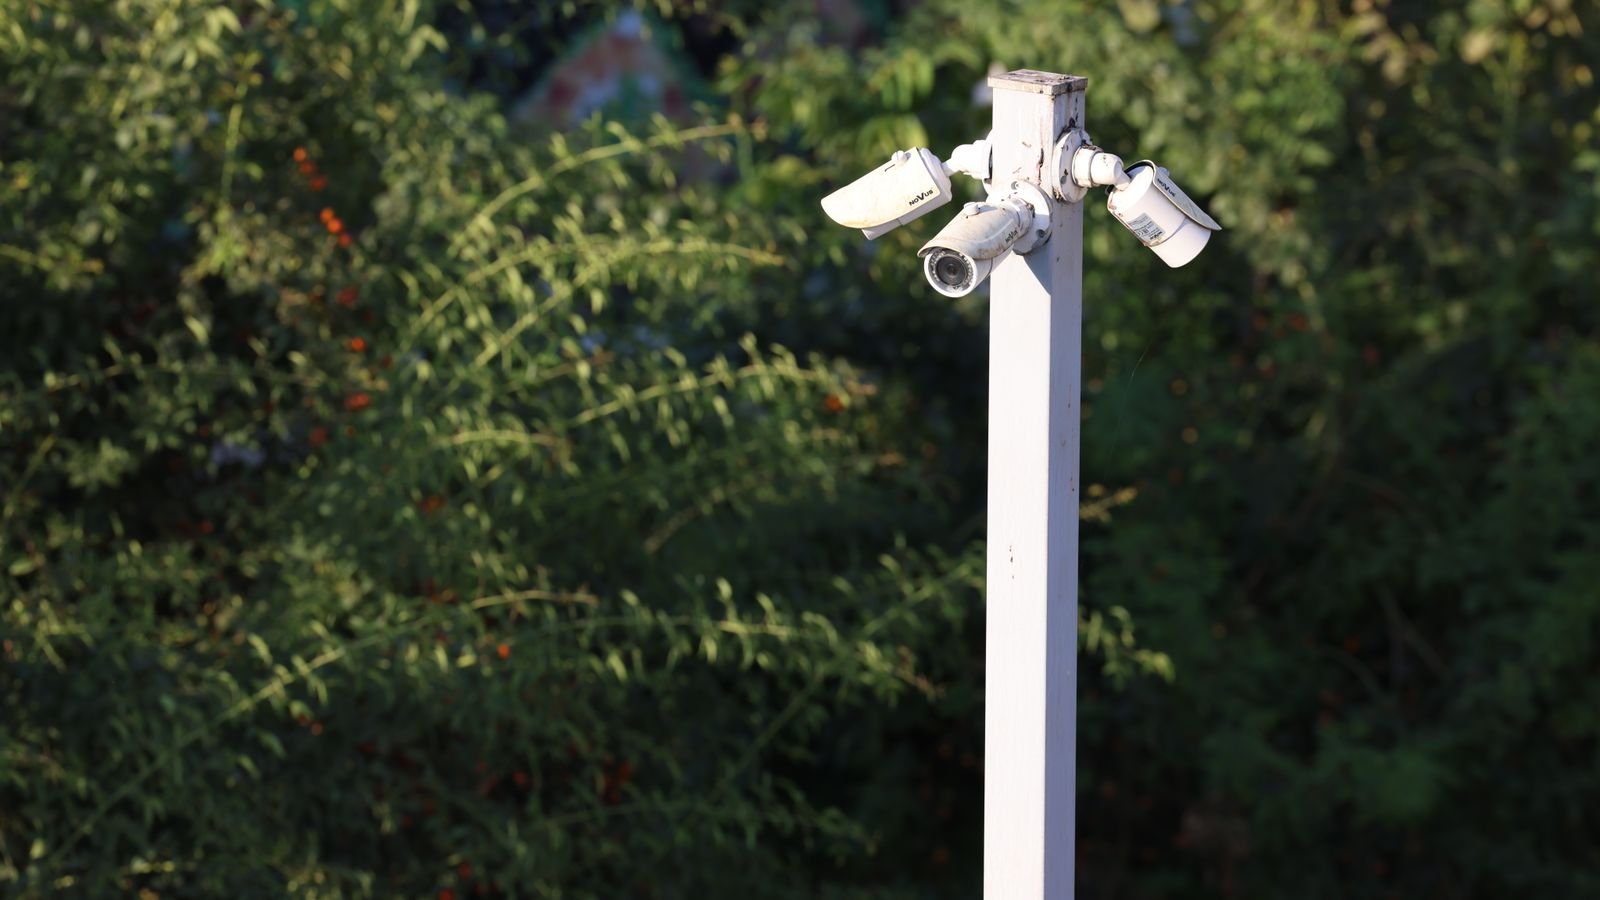
Bullet cameras generally have a smaller glass front element recessed inside a sunshade. Glass tolerates cleaning better, but the recess traps insects, webs and dust, so the blower and brush do most of the work. Pay attention to the sunshade itself: if it has slid forward over time it can clip the frame edges or throw a shadow.
Why Night Footage Suffers Most
During the day, a slightly dirty lens costs you a little sharpness. At night, it costs you everything. Infrared illuminators sit in a ring around the lens, and their light bounces off any film, smear or scratch straight back into the sensor. That produces the characteristic white haze, halos around lights, and washed-out faces even though the scene itself is well lit.
The same effect explains why cleaning often fixes problems people blame on the camera. If your night view is foggy but the daytime image looks acceptable, the lens cover is the first thing to check, before you touch a single exposure or infrared setting in the app. Persistent haze after a proper clean usually means either internal condensation or a genuinely scratched dome.
How Often to Clean
A sensible baseline is every three months, aligned with the seasons. Increase that frequency if the camera faces a road that throws up dust and salt spray, sits near sprinklers that leave mineral spots, is under a tree that drops pollen and sap, or lives in a coastal environment where salt film builds fast.
Spring is the heaviest season because of pollen, and autumn is the second because spiders are most active. Rather than tracking dates, get in the habit of glancing at the night view once a month; a slow drop in clarity is the cue to clean. Pair the autumn clean with your cold-weather prep, which our guide on how to winterize home security cameras walks through.
Safety Precautions
Most incidents involve ladders, not cameras. Set the ladder on level ground, keep three points of contact, and reposition rather than leaning sideways to reach the far edge of a dome. Have someone hold the base for anything above single-storey height, and never clean a roofline camera in wind or rain.
Electrically, avoid spraying anything near the cable entry, and if the camera is hardwired to mains through a floodlight fixture, switch off the breaker before touching the housing. Let the camera dry fully before restoring power if any liquid reached the body.
Troubleshooting After Cleaning
- Still hazy at night. Likely internal condensation. Check the gasket, and consider a desiccant pack if the housing opens.
- Faint circular scratches appear. The dome is worn. Many manufacturers sell a replacement bubble, which is far cheaper than a new camera.
- Streaks that will not lift. Residue from a previous cleaner. Repeat with distilled water only and a fresh cloth.
- Camera offline afterwards. A connector was disturbed. Reseat the cable and check the mount.
- The view has changed. The housing rotated. Compare to your before screenshot and readjust.
Mistakes That Cause Permanent Damage
The most damaging habit is reaching for whatever is nearby: a paper towel, a sleeve, a glass cleaner from under the sink. Each one either scratches the surface or attacks the plastic chemically. The second is pressure. People scrub at a stubborn spot and grind a trapped grain of sand in a circle, leaving a permanent arc that glows every night thereafter.
The third is spraying the camera directly. Even weather-rated housings are designed to shed falling rain, not a pressurized jet aimed at a seam. Spray the cloth instead. Finally, some cameras simply reach the end of their useful life, with clouded plastic and failing illuminators that cleaning cannot revive. When that happens, comparing the best outside cameras or the best house security cameras is more productive than another round of polishing.
Frequently Asked Questions
Can I use rubbing alcohol on a camera dome?
Yes, 70 percent isopropyl applied to a cloth is safe for occasional grease removal. Avoid higher concentrations and never let it pool around seals.
Are disinfectant wipes okay in a pinch?
No. Most contain surfactants or quaternary compounds that leave a film and can craze plastic domes.
Can I pressure wash near my cameras?
Keep the wand well away. Pressure washing forces water past gaskets and is a common cause of dead outdoor cameras.
My footage is still poor after cleaning. Now what?
Check for condensation inside the dome, confirm the infrared illuminators still light up at night, and assess the sensor’s age. If image quality has degraded across all conditions, a replacement is usually warranted; our comparisons of the best CCTV cameras for home and the wider best security cameras lineup cover current low-light performance.
Final Thoughts
Cleaning a security camera lens is one of the few maintenance jobs where the technique matters more than the products. Blow the grit off before anything touches the surface, dampen the cloth rather than the camera, wipe outward in a light spiral, and dry immediately. Stay away from paper towels, ammonia and pressure. Do that every few months, check the night view rather than the daytime image to judge your results, and you will keep the sharp, identifiable footage you paid for without ever putting a scratch in the dome.