Owen Bradley
 Most living rooms are lit by one thing: a fixture in the middle of the ceiling doing every job at once. It floods the center, leaves the corners dim, casts unflattering shadows, and offers exactly one mood — on. Layered lighting fixes this by splitting the work across three distinct types of light, each with its own purpose and its own switch. The result is a room that can be bright and functional in the afternoon and low and warm at night, without ever feeling like a waiting area. This guide walks through the three layers, how to plan them for your specific room, what to install, and how to control the whole thing without a wall covered in switches.
The Three Layers Explained
- Ambient light is the general illumination that lets you move through the room safely and see it as a whole. Ceiling fixtures, recessed downlights, and cove lighting provide it. Its job is baseline visibility, not drama.
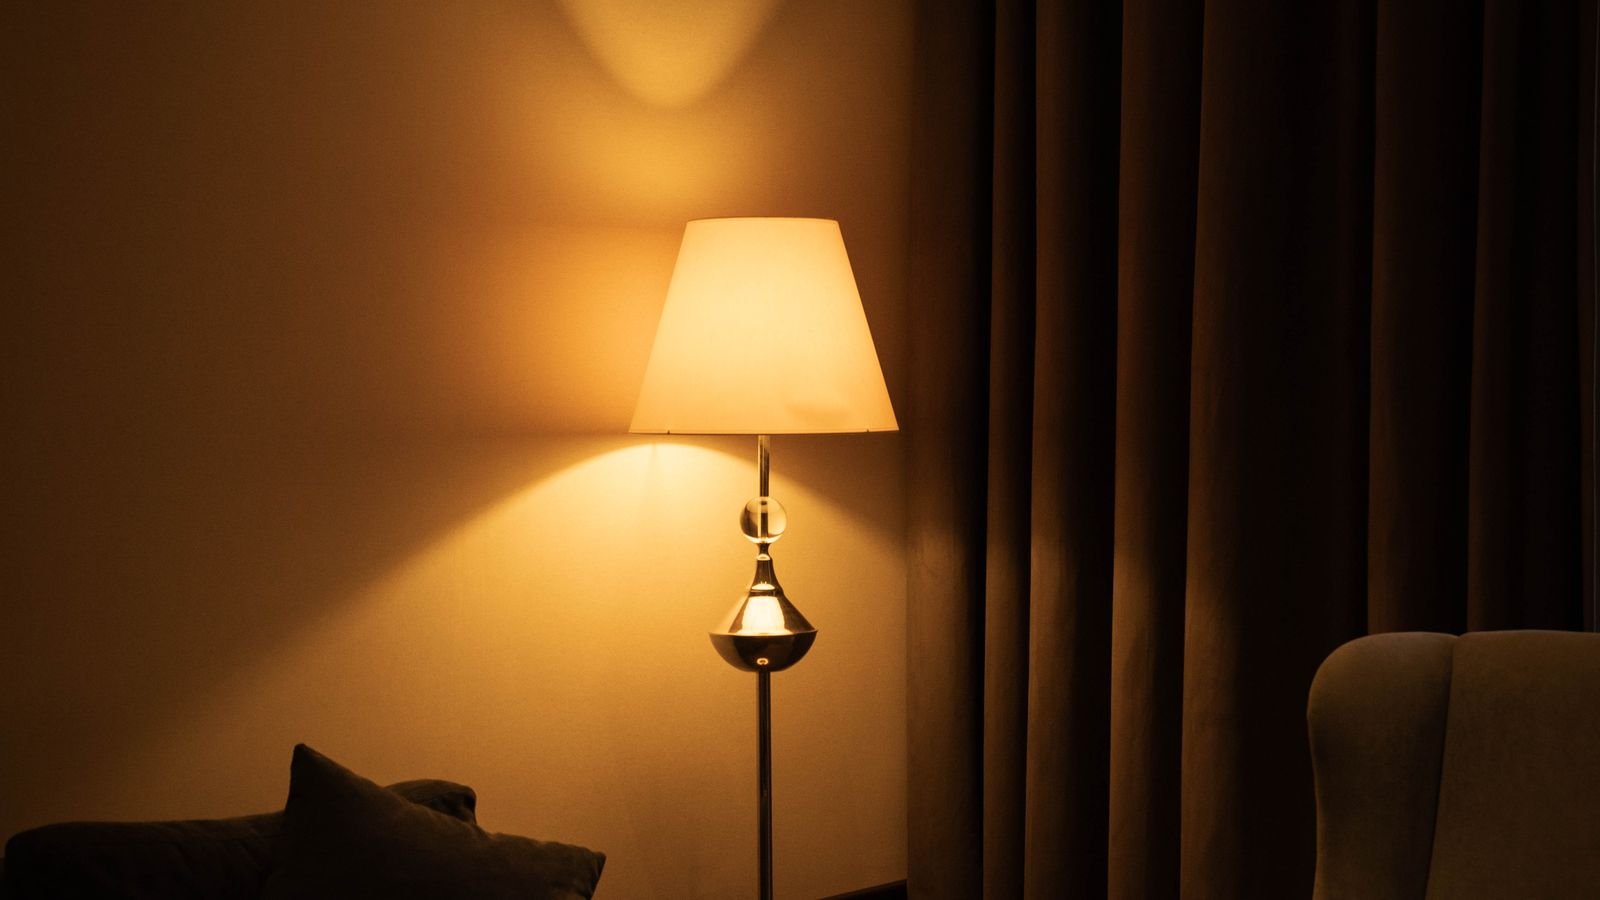
- Task light serves specific activities — reading, working, playing a board game. Floor lamps beside chairs, table lamps on end tables, and directed downlights over a specific seat. Task light is local, controllable, and considerably brighter than ambient in its small area.
- Accent light is what makes a room look designed rather than merely lit. Picture lights, wall washers, uplights behind plants, LED strips under a floating shelf or behind the television. Accent light creates the contrast and depth that flat ambient light destroys.
The common failure is having only the first layer. The common overcorrection is adding lots of accent light with no task light, producing a room that looks moody in photographs and is impossible to read in.
Step-by-Step: Planning Your Layers
- Draw the room and mark how it is used. Note the reading chair, the sofa, the television wall, the traffic path from the door. Layered lighting follows function, so this map drives every later decision.
- Identify the focal points. A fireplace, artwork, a bookcase, a textured wall. These are your accent light targets and there should be no more than two or three — highlighting everything highlights nothing.
- Calculate your ambient requirement. A rough working figure is 20 lumens per square foot for living room ambient light. A 250-square-foot room needs roughly 5000 lumens of ambient capacity, and it should be dimmable so you rarely use all of it.
- Place task lighting at every seat where someone might read. A floor lamp beside the reading chair, table lamps flanking the sofa. The bottom of the shade should sit near eye level when seated, so the bulb stays hidden.
- Add accent lighting at your chosen focal points. Aim adjustable fixtures at art, run a strip behind the television for bias light, or place a small uplight behind a large plant to throw shadow onto the wall.
- Distribute light around the perimeter. Corners left dark make a room feel smaller. A single lamp in an unused corner does more for perceived room size than any amount of extra ceiling output.
- Assign each layer its own switch or dimmer. Layers that cannot be controlled independently are not really layers.
- Test at night before committing. Position lamps temporarily and live with the arrangement for a few evenings before drilling anything or buying permanent fixtures.
Getting Color Temperature and Bulbs Right
Consistency is what separates a layered room from a cluttered one. Keep every source in the living room within about 500K of the others — mixing 2700K lamps with 4000K downlights makes the room feel visually unsettled even when people cannot articulate why. For living rooms, 2700K to 3000K is the standard choice, warm enough to feel like an evening space.
Beyond temperature, prioritize CRI above 90 so upholstery, wood, and skin tones read naturally, and insist on dimmability across every layer. A living room used from afternoon through late evening needs a wide output range, and non-dimmable fixtures lock you into one time of day.
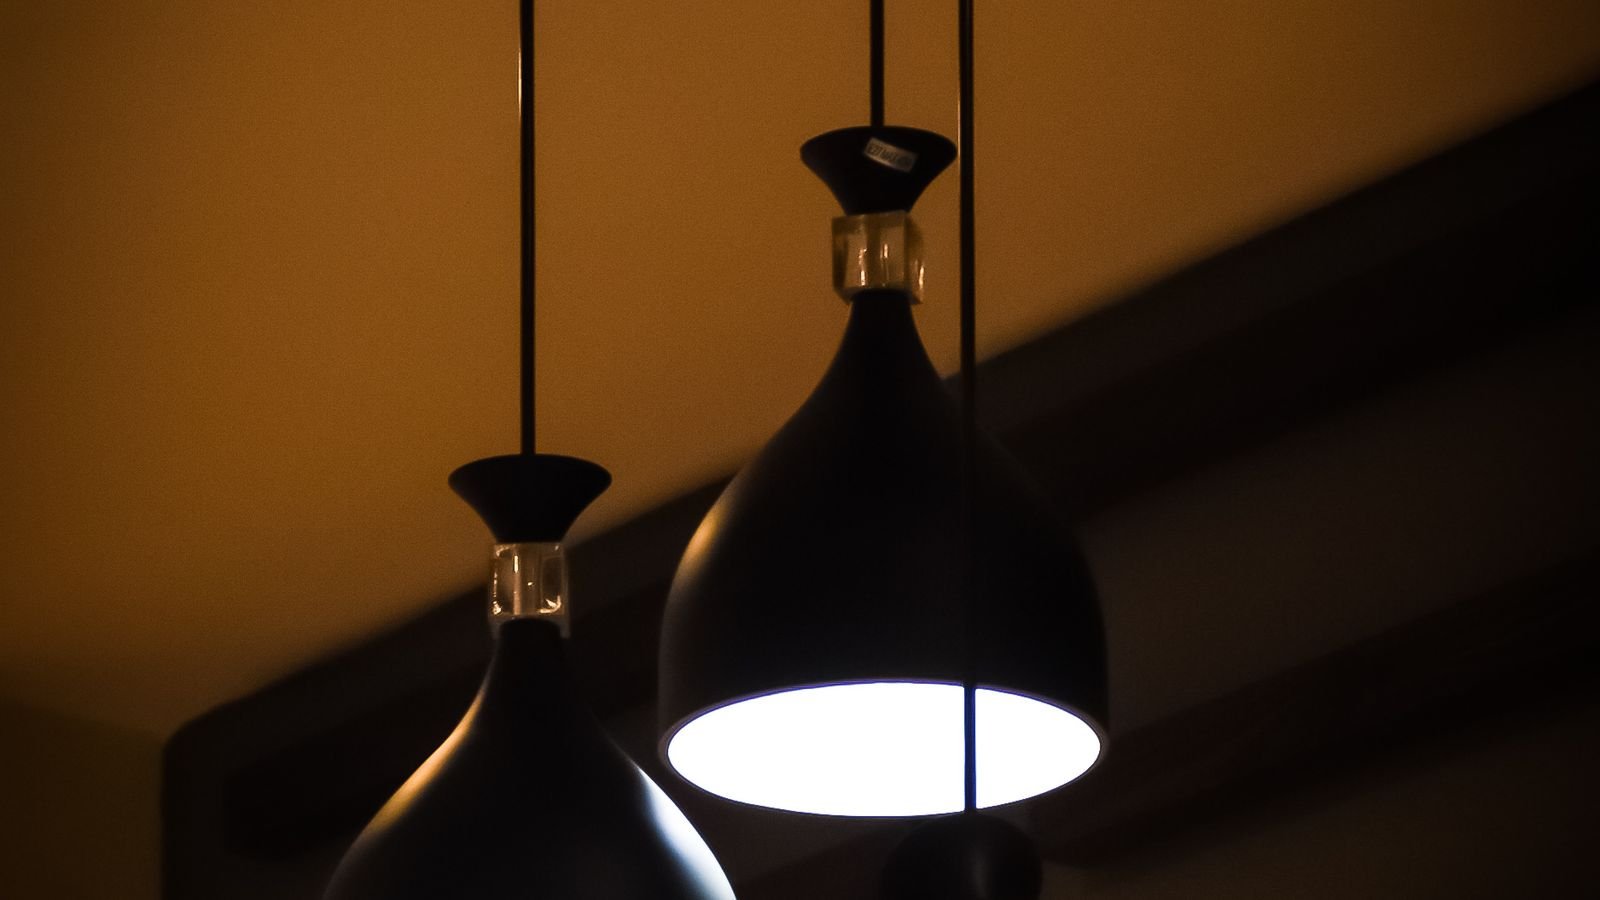
Because the fixture and bulb choices differ substantially by layer, comparison helps. Roundups of the best led lights for living room spaces cover ambient and accent options suited to this exact application. For the bulbs going into your lamps, the best light bulbs for living room guides focus on warm high-CRI options, and if you want smooth low-end dimming without flicker across the whole system, the best dimmable light bulbs comparisons identify which models actually dim gracefully below twenty percent.
Practical Placement Rules
- Reading lamps should sit slightly behind and to the side of the chair, with the shade bottom around 40 to 42 inches from the floor when seated.
- Table lamps flanking a sofa work best when both shades are the same height, even if the lamps differ in style.
- Picture lights should be aimed at roughly 30 degrees to avoid reflecting off glass or varnish straight back at the viewer.
- Recessed downlights belong 24 to 30 inches from walls so they wash the wall rather than scalloping it, and spaced about half the ceiling height apart.
- Television bias lighting behind the screen reduces eye strain dramatically and costs almost nothing.
- Avoid placing any light source directly in the primary sightline from the main seating position.
Controlling the System
Three layers means three control decisions, and this is where good plans collapse into a bank of switches nobody uses. Practical approaches:
- Dimmers on every circuit as the minimum. Even a purely manual setup needs range.
- Scene control via smart bulbs or smart switches, so one press sets all three layers at once — “evening”, “movie”, “bright”.
- Smart plugs on lamps as the cheapest way to bring floor and table lamps into a scene without rewiring.
- Schedules that bring the accent layer up automatically at sunset, which means the room is never entered in darkness.
Build three scenes and stop there. Systems with fifteen scenes get used for two of them.
Budgeting the Project
- Minimal. Add two lamps and a dimmer to the existing ceiling fixture. Two layers, immediate improvement, very low cost.
- Moderate. Add smart bulbs to existing lamps, an LED strip behind the television, and a floor lamp for the dark corner. Three layers with scene control and no electrical work.
- Full. Install recessed ambient lighting on a dimmer, dedicated picture lights, and cove or shelf accent lighting on separate circuits. This is the version that requires an electrician and planning around joists.
Mistakes to Avoid
- Relying on one ceiling fixture. The problem this entire approach exists to solve.
- Mixing color temperatures. The most visually jarring error and the easiest to prevent.
- Skipping dimmers. Fixed output means the room is wrong for most of the day.
- Over-lighting. More sources at lower output beats fewer sources at full power, every time.
- Accent lighting with no task lighting. Atmospheric and unusable.
- Leaving corners dark. Shrinks the room visually more than anything else on this list.
- Exposed bulbs at seated eye level. Instant glare, regardless of how attractive the fixture is.
Frequently Asked Questions
How many light sources does a living room need?
Five or more is a good target for an average room — one ambient source, two task lamps, and two accent points. Distribution matters more than the exact count, and more low-output sources beat fewer bright ones.
What color temperature is best for a living room?
2700K to 3000K. It reads as warm and relaxed while still supporting reading and conversation. Keep every fixture in the room within roughly 500K of the others.
Can I layer lighting without any electrical work?
Entirely. Floor lamps, table lamps, plug-in picture lights, LED strips, and smart plugs deliver all three layers with nothing more than a screwdriver and available outlets.
How bright should living room lighting be?
Roughly 20 lumens per square foot for the ambient layer, with task lighting providing considerably higher local levels where people read. Dimmers matter more than the peak figure, since you will rarely run everything at full.
Where should accent lighting go?
At two or three genuine focal points — artwork, a fireplace, a textured wall, or a bookcase. Accent light works through contrast, so lighting every surface removes the effect entirely.
Final Thoughts
Layered lighting is less about buying fixtures than about separating jobs. Once the ambient, task, and accent roles have their own sources and their own controls, a living room stops being a single fixed environment and starts adapting to what you are doing in it. Start by mapping how the room is actually used, add a lamp to the darkest corner, put every circuit on a dimmer, and keep the color temperature consistent throughout. Those four moves alone deliver most of the benefit, and they can all be done in a weekend without touching a single wire.