
 Owen Bradley
 Few things are as quietly infuriating as an LED strip that sags away from the wall a week after installation. You press it back, it holds for a day, and then the corner droops again. The factory adhesive on most strips is a thin 3M-style foam tape that was chosen to be cheap and flexible, not to fight gravity, heat, dust and humidity for years. The fix is rarely more pressure. It is better surface preparation, a stronger mounting method matched to the surface, and in the best cases mechanical support that does not rely on adhesive at all. This guide walks through why strips fall, how to prep properly, and which mounting upgrades actually last.
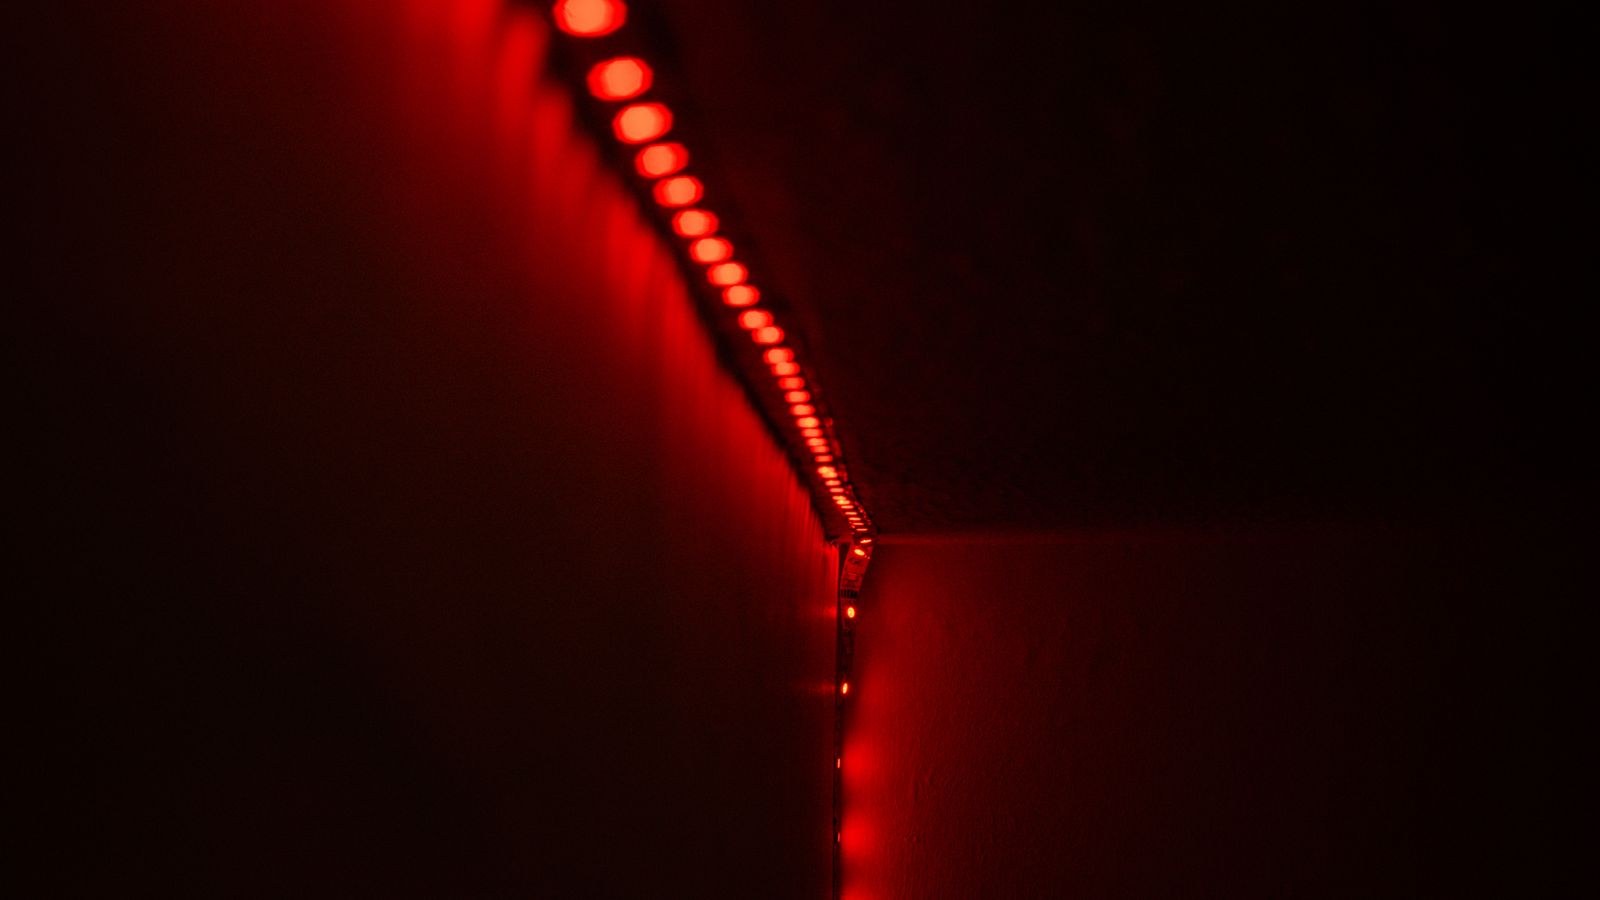
Why LED Strip Lights Keep Falling Off
Adhesive failure is almost always one of six causes, and identifying yours saves you repeating the same mistake with better tape.
- Dust and surface film. Even a wall that looks clean carries a fine layer of dust, cooking grease or drywall powder. Pressure-sensitive adhesive bonds to whatever it touches first, and if that is dust, it bonds to dust.
- Porous or textured surfaces. Matte paint, raw plaster, popcorn ceilings and textured wallpaper give the tape very little continuous contact area. The bond is only as strong as the paint layer beneath it, and flat emulsion peels readily.
- Heat. Strips get warm in use, and adhesive softens as it warms. A strip inside a warm cove or above a kitchen worktop is fighting a constant thermal handicap.
- Humidity. Bathrooms and kitchens push moisture into the bond line. Once water sits between tape and wall, the bond is finished.
- Tension from corners. A strip bent around a 90-degree corner is permanently trying to spring straight. That stored tension concentrates on the few centimetres either side of the bend, which is exactly where you will find your first failure.
- Cold installation. Adhesive needs warmth to flow into surface texture. Applying tape at 10 degrees Celsius gives you a fraction of the ultimate bond strength.
Tools and Materials for a Permanent Fix
- Isopropyl alcohol, 70 percent or higher, and lint-free cloths
- Fine sandpaper, around 220 grit, for glossy or previously taped areas
- Double-sided VHB mounting tape, 8mm to 12mm wide, or 3M primer 94 pen
- Aluminum channel with diffuser and mounting clips, sized to your strip width
- Plastic strip clips or small cable-tie saddles with screws
- Small screws and wall plugs suited to your surface
- Heat gun or hair dryer set low
- Clean cloth or roller for applying pressure
- Tape measure, pencil and a spirit level
Step-by-Step: Remounting Strips So They Stay Put
- Remove the strip carefully. Warm the adhesive with a hair dryer on low for ten seconds at a time and peel slowly at a shallow angle. Pulling a cold strip straight off can crack the flexible circuit or tear pads free at a solder joint.
- Strip the old adhesive. Rub the residue off the back of the strip with isopropyl alcohol and your thumb. Any old foam left behind stops new tape from sitting flat, which is the single most common reason a second attempt also fails.
- Prepare the surface. Scrub the mounting line with alcohol and let it dry fully. On gloss paint or plastic, scuff lightly with 220 grit first so the tape has some tooth to grab. On raw plaster or chalky paint, seal the line with a coat of primer or clear varnish and let it cure, because otherwise you are sticking to loose powder.
- Warm the room. Bring the space and the strip to at least 18 degrees Celsius. If the wall itself is cold, warm the mounting line gently with the hair dryer for a minute before applying tape.
- Apply new adhesive. Lay VHB tape along the back of the strip in one continuous run rather than short segments. Continuous tape distributes load; segments create stress points that peel from the ends.
- Mount from one end. Peel the liner back roughly 20cm at a time, position the strip against a pencil guideline, and press as you go. Never peel the full length first and try to place the whole run at once.
- Press hard and evenly. Run a cloth-wrapped thumb or a small roller along the entire strip with firm pressure. VHB adhesive works by flowing into surface texture under pressure, and light finger pressure achieves maybe a third of the possible bond.
- Handle corners mechanically. Do not bend a strip around a corner and hope tape holds it. Either cut the strip and use a corner connector, or add a screw-down clip within 2cm of each side of the bend.
- Add clips at intervals. Fit a small plastic clip or saddle every 40 to 60cm along the run, and always within 10cm of each end. Even one clip per half metre converts the tape from a load-bearing element into a positioning aid, which is what it was actually designed to be.
- Let it cure before switching on. VHB reaches about half strength in twenty minutes but takes 24 to 72 hours to reach full bond. Leave the lights off for the first day so the adhesive is not fighting heat while it cures.
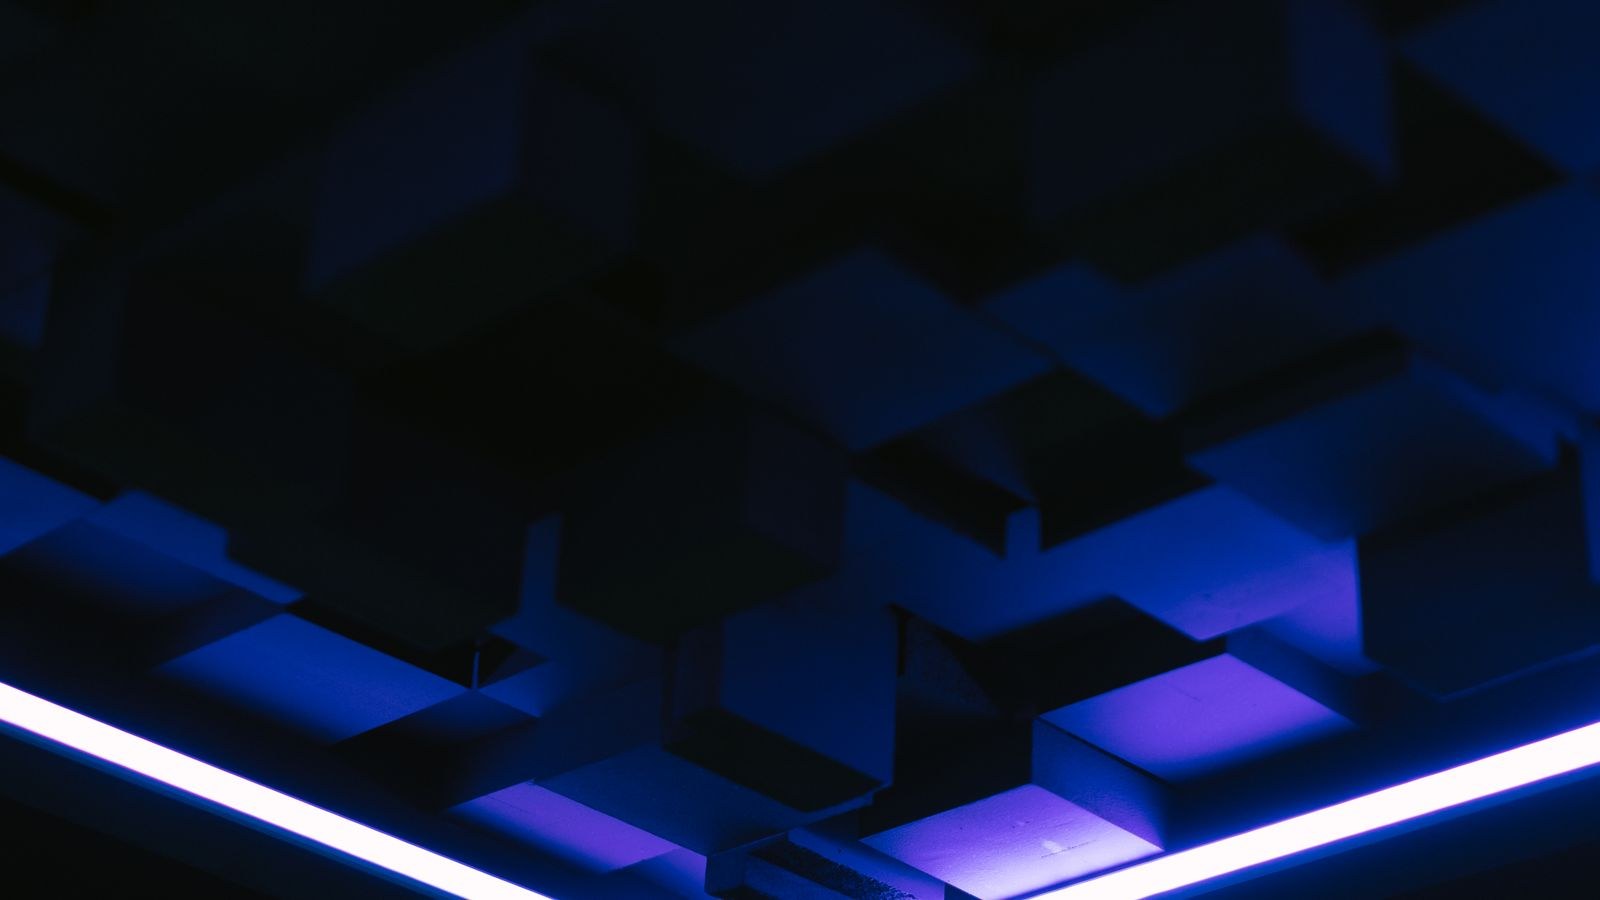
Aluminum Channels: The Real Long-Term Answer
If you want a run you never have to touch again, mount an aluminum channel to the surface with screws and drop the strip inside it. The channel takes the mechanical load, the screws take the pull-off force, and the adhesive only has to keep the strip from sliding within a metal groove that already surrounds it on three sides.
The thermal benefit matters just as much. Aluminum draws heat away from the strip, which keeps both the LEDs and the adhesive cooler, and cooler adhesive holds better. The frosted diffuser also hides the individual diodes and turns a dotted line of points into a clean bar of light, which usually looks considerably better than a bare strip anyway. Channels are the standard approach for ceiling coves, so if you are planning a run of LED strip lights for a ceiling, budget for channel from the start rather than adding it after the first failure.
Choosing Between Surface Mount and Recessed Channel
Surface-mount channel screws straight to a flat face and suits shelving, under-cabinet runs and skirting details. Recessed channel sits in a routed groove and gives a flush architectural look, but it requires cutting the substrate, so it is a job for new joinery rather than a retrofit. For most rooms, surface mount with an opal diffuser is the practical pick.
Matching the Mounting Method to the Surface
- Painted drywall: clean, prime the line if the paint is matte, use VHB plus clips every 50cm.
- Textured or popcorn ceiling: adhesive will never hold. Screw a channel into the joists or use anchors.
- Wood and MDF: excellent for screws. Channel or clips directly into the timber is the easiest reliable option.
- Glass and gloss tile: non-porous surfaces actually bond very well once degreased with alcohol. VHB alone is usually enough.
- Wallpaper: the tape will hold, but the paper will not. Anchor through to the wall behind or accept that removal will tear the paper.
- Metal: degrease thoroughly, since machining oils defeat adhesive. Magnetic channel clips are a neat trick on steel.
- Outdoors or bathrooms: use clips or channel with weatherproof strips. Adhesive alone in a damp environment is a temporary measure.

Mistakes to Avoid
Do not stack fresh tape on top of the failed factory tape, because you are simply adding another weak layer. Do not use hot glue on the strip body, since it traps heat and makes future removal destructive. Do not use staples anywhere near a strip, as a staple through the flexible circuit shorts the traces. Avoid super glue, which goes brittle and shatters with any flex. Resist mounting a strip directly to a warm appliance housing or inside an unventilated sealed box, because that heat will beat any adhesive you choose. And do not blame the technique when the underlying product is poor, because thin backing and weak factory tape are hallmarks of budget strips, while the best quality LED strips ship with genuine branded adhesive that behaves predictably.
Frequently Asked Questions
Will double-sided VHB tape damage my paint on removal?
It can, and on flat emulsion it usually will. If the wall finish matters, mount a channel with small screws and fill the holes later, which is a far easier repair than repainting a peeled stripe.
How long should I wait before switching the lights on?
Give it 24 hours. The adhesive is still building strength during that window, and the extra heat from powered LEDs works directly against the cure.
Can I reuse a strip that has fallen off several times?
Usually yes, provided the copper pads and solder joints are intact and the flexible circuit shows no cracks. Clean the back thoroughly and apply fresh tape. If the strip has visible creases or dead segments near a bend, replace that section.
Do bedroom installs need the same treatment?
Bedrooms are the friendliest environment because they are dry and stable, so quality tape plus a few clips is usually sufficient. Even so, behind-headboard and under-bed runs get knocked constantly, so a channel is worth it there. Look for strips with a genuine branded adhesive backing when choosing LED strip lights for a bedroom.
Is silicone adhesive a good alternative?
Neutral-cure silicone gives an extremely strong bond and tolerates heat and damp well, but it is effectively permanent and messy to remove. Reserve it for outdoor or bathroom runs where you accept that the strip is staying put for good.
Final Thoughts
Strips fall off because adhesive is being asked to do a structural job on a surface it was never tested against. Reverse that. Clean and prime the surface so the tape has something real to grip, use continuous quality tape rather than the factory backing, add a clip every half metre so gravity is carried by hardware, and use aluminum channel anywhere the run is long, warm, or in a place you cannot easily reach again. Whether you are running LED strip lights behind a TV or around a whole ceiling perimeter, the preparation takes an extra twenty minutes and buys you years of not looking at a drooping corner.









