
 Owen Bradley
 There is a specific kind of panic that comes from a PC that will not boot after you changed a setting. The fans spin, the lights come on, and the screen stays black with no way back into the menu you just broke. Clearing the CMOS is the escape hatch. It wipes every stored BIOS setting and returns the board to the state it left the factory in, which resolves a huge share of no-boot situations caused by a bad overclock, an aggressive memory profile, or a boot option that locked you out. The procedure is simple, completely safe for your data, and worth knowing before you need it. Here is how to clear CMOS three different ways, and which settings to put back before you carry on.
What CMOS Actually Is
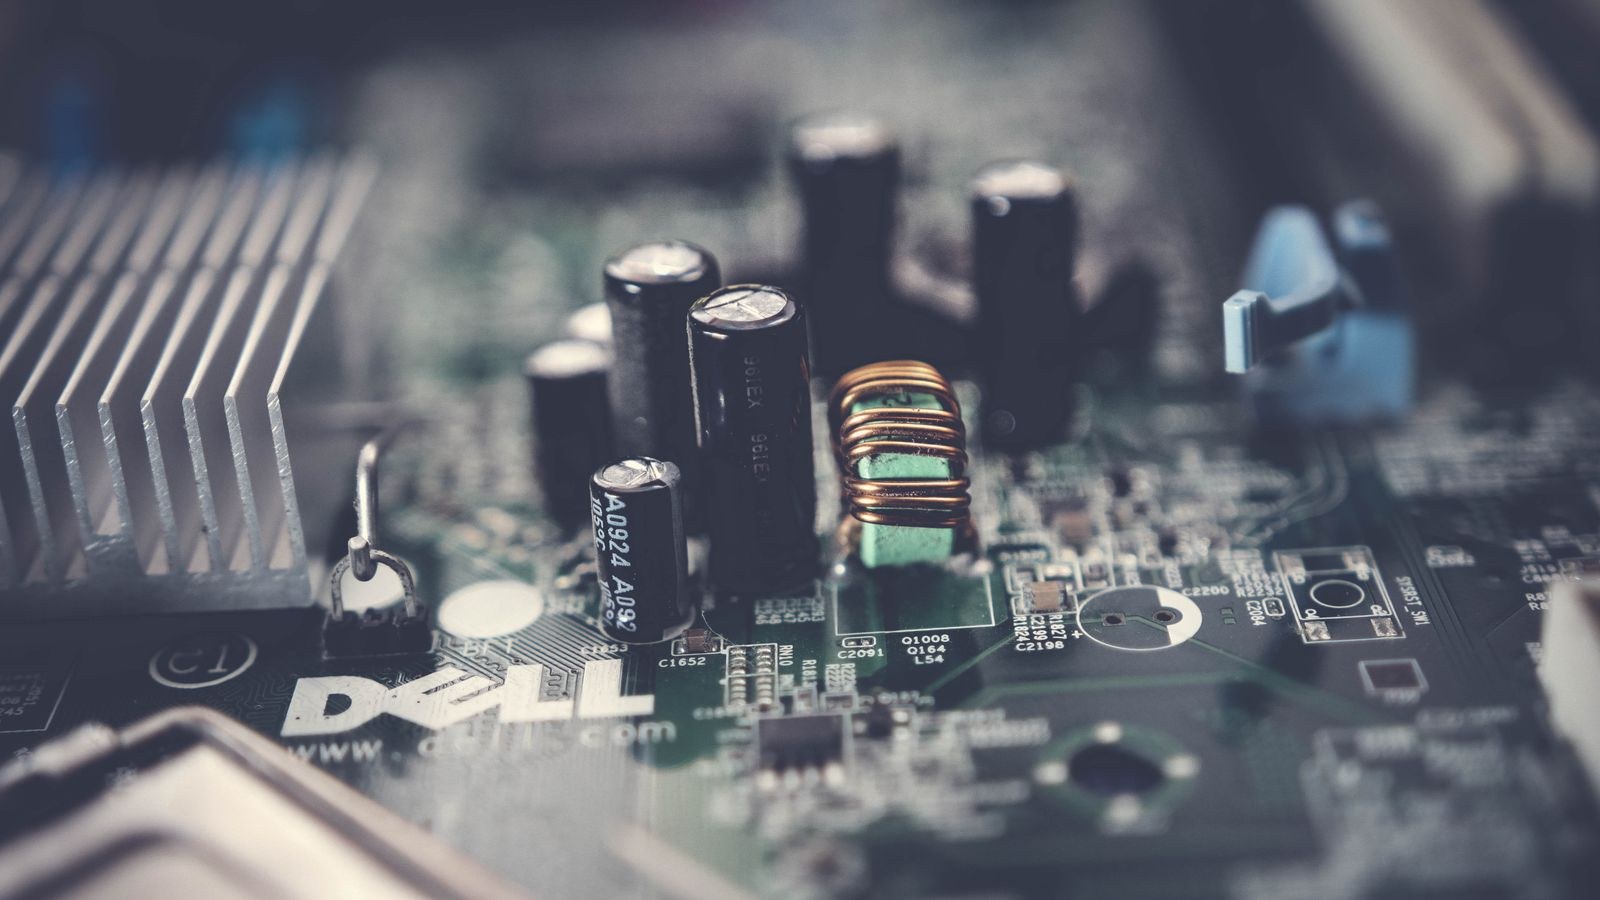
The BIOS firmware itself lives in a flash chip and is not affected by any of this. What you are clearing is the small block of settings the firmware reads at startup: memory frequency and timings, voltages, fan curves, boot order, storage controller mode, security options, and the real-time clock. Historically this data sat in a low-power CMOS memory chip kept alive by a coin cell battery, which is where the name comes from. Modern boards often store settings in non-volatile memory instead, but the terminology and the reset procedure stuck.
Because it only touches configuration, clearing CMOS cannot delete files, cannot uninstall Windows, and cannot damage components. The worst it does is make you re-enter settings and reset the system clock. That makes it a genuinely low-risk first move whenever a machine misbehaves after a configuration change.
When Clearing CMOS Is the Right Move
- No boot after an overclock. Whether CPU, memory, or voltage, a setting the hardware cannot sustain often prevents POST entirely, with no way to reach the menu.
- An unstable memory profile. A kit that will not run at its rated speed on your controller can leave the board stuck in a retraining loop.
- A forgotten BIOS password. Clearing removes supervisor passwords on most consumer boards.
- Boot device lockout. A misconfigured Secure Boot, CSM, or storage mode setting that stops the drive being detected.
- Odd behaviour after a hardware change. Swapping a CPU, adding memory, or moving a GPU sometimes leaves stale configuration that confuses the board.
- Before deeper troubleshooting. If you are working through a no-POST checklist, resetting to defaults eliminates configuration as a variable early.
It is not a fix for failing hardware, a corrupted Windows install, or a driver problem. If defaults do not help, the cause lies elsewhere.
Step by Step: The Three Methods
Whichever route you take, start with the same preparation. Shut the computer down fully rather than putting it to sleep, flip the switch on the back of the power supply to off, and pull the mains cable from the wall. Then hold the case power button for around ten seconds to drain residual charge from the capacitors. Skipping this step is the most common reason a clear appears not to work. Touch a bare metal part of the chassis to discharge static before reaching inside.
Method 1: The Rear Panel Button
- Look at the motherboard’s rear input and output panel for a small recessed button labelled Clear CMOS, CLR_CMOS, or occasionally BIOS reset. Mid-range and enthusiast boards usually have one.
- With power disconnected and residual charge drained, press and hold it for five to ten seconds.
- Release, reconnect power, and start the machine. It will boot to defaults, often displaying a message that settings were reset.
This is the easiest method by far and needs no tools or case opening. If you are still choosing a board and expect to tinker, the best motherboards for gaming guide notes which models include external reset buttons and debug displays, both of which save real time.
Method 2: The Onboard Jumper
- Open the side panel and locate a two or three pin header labelled CLR_CMOS, CLRTC, or JBAT1. It usually sits near the coin cell battery or along the bottom edge of the board. The manual gives the exact position.
- On a three-pin header with a plastic jumper cap, move the cap from pins 1 and 2 across to pins 2 and 3.
- Leave it for ten to fifteen seconds, then move it back to the original position. It must go back or the board will not POST.
- On a two-pin header with no cap supplied, briefly bridge the two pins with a flat screwdriver blade for about ten seconds.
- Reconnect power and boot.
Full-size layouts usually put the header somewhere reachable, but on compact builds it can hide under the graphics card or a drive cage. Anyone working in a small chassis knows this frustration well, and it is one of the practical trade-offs covered in the best mini ITX motherboards roundup, where the roomier layouts in the best ATX motherboards comparison have a clear advantage for hands-on maintenance.
Method 3: Removing the Battery
- Find the round silver coin cell, almost always a CR2032, sitting flat on the board.
- Press the small metal retaining clip beside it to release the cell, then lift it out. A plastic tool is safer than a metal screwdriver here.
- With the battery out and power disconnected, hold the case power button for thirty seconds to guarantee the stored charge is gone.
- Wait five minutes. Some boards hold settings for a surprisingly long time on residual charge.
- Reinsert the battery the correct way up, with the positive side facing outward as it was.
- Reconnect power and boot.
This is the universal fallback, and it is the one route that works on every board ever made, which makes it worth knowing even if you own a model with a rear button. Newcomers often find it the least intimidating option too, and layouts from the best motherboards for beginners selection generally place the coin cell somewhere you can reach without removing the graphics card. Use this method when there is no button and no accessible jumper, or when the other two methods did not take. It is also the moment to fit a fresh battery if the system has been losing its clock, which is the classic sign of a dead cell after five or more years.
What to Expect on the First Boot Afterwards
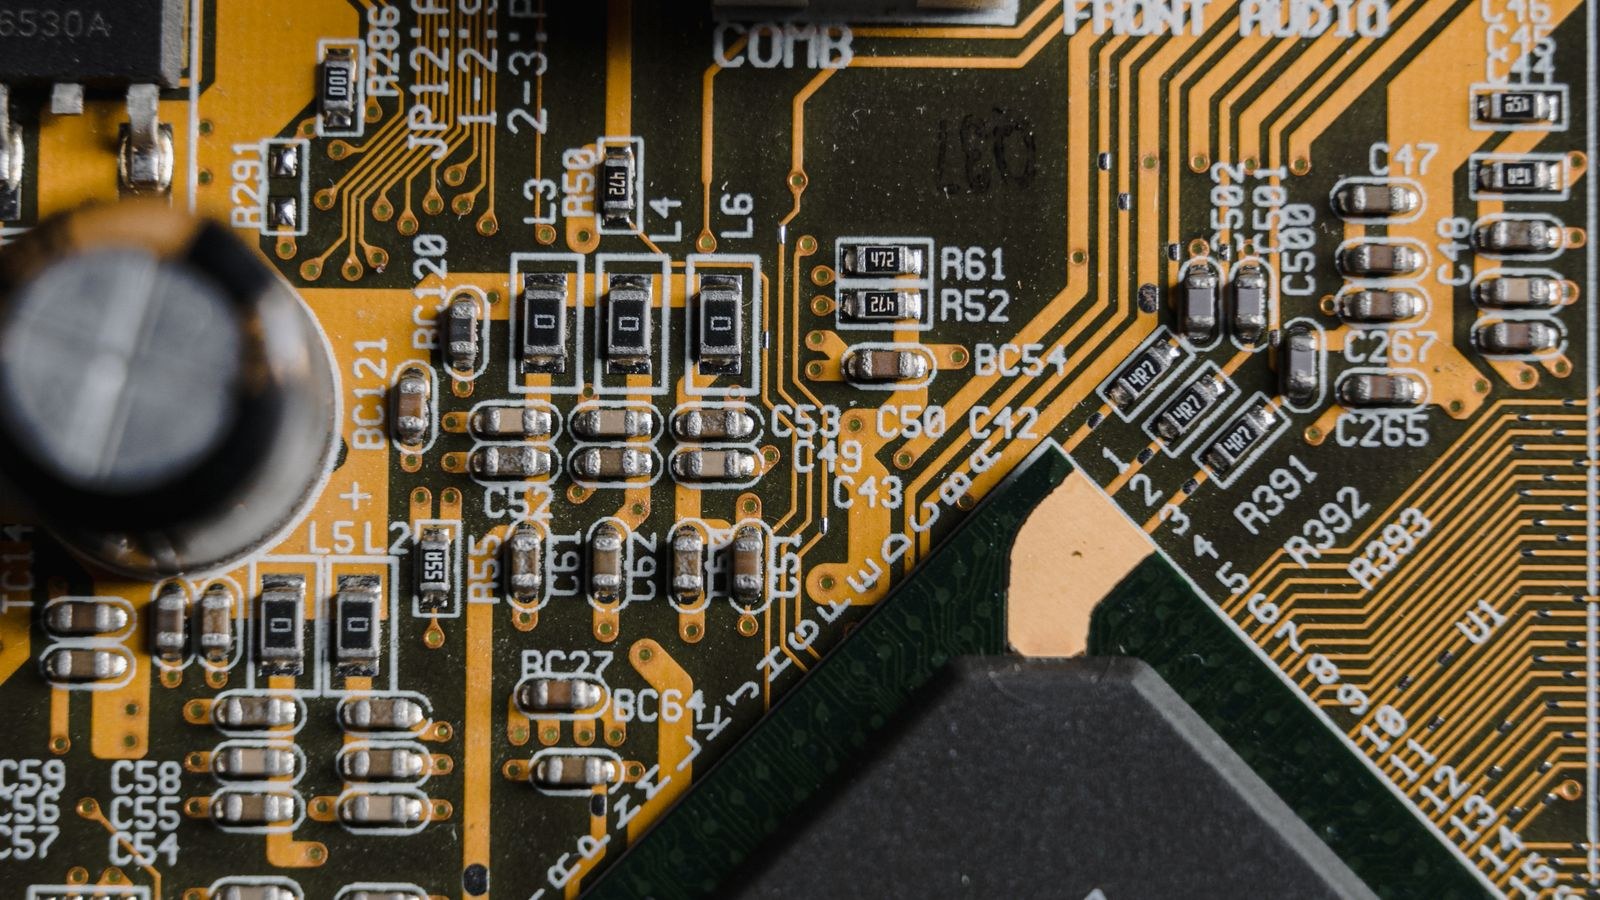
The first startup will be slow. The board retrains memory from scratch, so a blank screen for twenty to thirty seconds is normal, as are one or two automatic power cycles. Many boards then display a message such as “Overclocking failed” or “CMOS settings were reset” and offer to enter setup. Take that offer.
Do not simply save and exit at defaults if you rely on custom configuration. Work through the settings you had before:
- Memory profile. XMP or EXPO is now off, so your RAM is running at the slow JEDEC baseline until you re-enable it.
- Boot order. Set the correct drive first, or the machine may try to boot a USB stick or the network.
- Storage controller mode. If this reverted from AHCI or RAID, Windows will not boot until it is set back. This alarms people far more than it should.
- Secure Boot and TPM. Needed for disk encryption and several anti-cheat systems.
- Fan curves. Defaults are often loud and sometimes run cooler than necessary. Restore your profiles.
- Resizable BAR and above-4G decoding. Worth re-enabling for gaming performance.
- Date and time. Correct it, since a wrong clock breaks secure web connections.
If you cleared CMOS because an overclock failed, do not immediately reapply the same values. Come back at a lower frequency or looser timing and retest. Chips vary, and the settings that work for someone else’s sample may simply not be achievable on yours, which is part of why the best CPUs for overclocking tend to be the ones with the most consistent headroom rather than the highest headline numbers.
Common Mistakes
The most frequent error is clearing CMOS with the power supply still connected and switched on. Standby power keeps the board alive and the reset does nothing. Always unplug and drain first. Close behind is forgetting to return a three-pin jumper to its original position, which leaves the board permanently held in reset and unable to POST. If a machine goes completely dead right after a jumper clear, that is almost always the reason.
Others include being too impatient on the first boot and hitting reset during memory retraining, which can leave you chasing a problem that was about to resolve itself; forcing the battery clip and snapping it; and reinstalling the cell upside down. Finally, plenty of people clear CMOS, get a working machine, and never re-enable their memory profile, then spend weeks wondering why performance dropped. Make the settings list part of the routine.
Frequently Asked Questions
Will clearing CMOS delete my files or Windows?
No. It only resets BIOS configuration. Your drives, operating system, and files are untouched. The one caveat is that a reverted storage controller mode can stop Windows booting until you set it back, which looks alarming but is easily fixed.
How long should I leave the battery out?
Five minutes is plenty on almost every board, provided you also drained residual charge by holding the power button with the machine unplugged. Longer waits rarely help if that step was skipped.
Does clearing CMOS remove a BIOS password?
On most consumer desktop boards, yes. Business machines and laptops frequently store passwords in a separate secure chip that a CMOS clear does not affect, and those require manufacturer support to unlock.
Do I need to replace the battery while I am in there?
Only if the system has been forgetting the time and date, or if the board is more than about five years old. A CR2032 costs very little and is easy to swap while the case is already open.
My PC still will not POST after clearing. What now?
Configuration was not the cause. Move on to the physical checklist: reseat the memory in the correct slots, reseat the graphics card, confirm both the 24-pin and CPU power connectors are fully home, and check the board’s debug LEDs or beep codes to see which component is halting the boot.
Final Thoughts
Clearing CMOS is the reset button for everything you can configure in firmware, and it costs you nothing but a few minutes of re-entering settings. Cut mains power, drain the capacitors, then use whichever method your board supports: the rear button if you have one, the jumper if you do not, and the battery as a last resort. Expect a slow first boot, then walk back through your memory profile, boot order, storage mode, and fan curves before you get back to work. Keep the procedure in mind whenever you are tuning a system in 2026, and a setting that would otherwise leave you stuck at a black screen becomes nothing more than a brief detour.









