Owen Bradley
 A window air conditioner that has lost its bite usually has not lost any refrigerant. It has lost airflow. Dust builds on the filter, lint mats into the evaporator fins, and the outdoor coil packs with pollen, cottonwood and grime until the unit cannot reject heat or move air properly. The result is weak cooling, higher running costs, a musty smell and eventually a frozen coil. The fix is entirely mechanical, takes about an hour, and needs almost nothing you do not already own. This guide covers how to clean a window AC unit end to end — filter, evaporator, condenser, fins, base pan and drain — plus the safety rules that keep the job from becoming a repair bill.
Signs It Is Time for a Clean
Do not wait for the unit to stop working. Clean it when you notice weak airflow from the louvres even at high fan speed, air that is cool rather than cold, a longer run time to reach the same temperature, a musty or sour smell when it starts, water appearing indoors, visible grey matting on the fins, or ice forming on the coil behind the front grille. Ice in particular is a direct symptom of restricted airflow — the coil gets cold enough to freeze the moisture condensing on it because not enough warm room air is passing over it.
As a schedule, rinse the filter every two to four weeks during the cooling season, and do a full deep clean once a year, ideally before the first hot spell.
What You Will Need
- Screwdrivers, usually Phillips and a nut driver for the cabinet screws
- A vacuum with a soft brush and crevice attachment
- A soft brush and a few microfiber cloths
- A spray bottle with warm water and a little dish soap, or a no-rinse coil cleaner
- A fin comb sized to your fin spacing, typically 12 to 15 fins per inch
- A garden hose with a gentle spray, for outdoor rinsing only
- Distilled white vinegar or a mild bleach solution for the drain and pan
- Gloves and eye protection — coil fins are sharp
Safety First
Unplug the unit at the wall before removing any panel. Switching it off at the control is not enough, since capacitors inside can hold a charge and the fan can start unexpectedly. If you are removing the unit from the window, treat it as a two-person job for anything over about 50 pounds and never lean out over a sill to reach the outdoor coil.
Keep water away from the control board, the fan motor and the compressor terminals. Wet coils are fine and expected; wet electronics are not. Let everything dry fully — several hours minimum — before plugging back in. And never bend or lever the copper refrigerant tubing while cleaning around the coils.
Step-by-Step Cleaning
- Unplug the unit and let it sit. Give it a few minutes so any residual condensate stops dripping and the fan comes to a complete stop.
- Remove and wash the filter. Pop the front grille or slide the filter out of its slot. Vacuum the loose dust off first, then wash it in warm soapy water, rinse until the water runs clear, shake it out and set it aside to dry completely. Never reinstall a damp filter — it grows mildew and restricts airflow. Reusable mesh filters last for years, but if yours is torn, permanently discoloured or a disposable pleated type, replace it. Guidance on the best air conditioner filters for home use explains which MERV ratings are appropriate for a window unit, since going too dense actually reduces airflow.
- Take off the front grille and cabinet. Remove the screws around the grille, then the screws securing the outer cabinet or sleeve. Slide the chassis out if you have removed the unit from the window; if it is staying in the window, you can usually work with just the front panel off.
- Vacuum the evaporator coil. This is the coil directly behind the front grille — the cold one. Use a soft brush attachment and always work in the direction of the fins, top to bottom, never across them. Cross-brushing bends fins and makes airflow worse.
- Clean the evaporator coil. Spray the fins with warm soapy water or a no-rinse foaming coil cleaner and let it dwell for a few minutes so it dissolves the greasy film that holds the dust. Wipe the drip tray beneath it. If you used soapy water, wipe the residue off rather than flooding the fins.
- Clean the condenser coil. This is the rear coil that faces outdoors — the hot one, and usually the dirtiest. Vacuum the loose debris, then rinse from the inside out with a gentle hose spray so the dirt is pushed back the way it came. High-pressure spray flattens fins instantly, so keep the nozzle wide and stand back.
- Comb the bent fins. Fit a fin comb with matching spacing and draw it gently upward through flattened sections until they stand straight again. Straight fins can move air; flattened ones cannot, and a large flattened patch measurably reduces capacity.
- Clean the base pan and drain. Scoop out leaves and sludge, wipe the pan, then clear the small drain hole at the back with a piece of wire or a pipe cleaner. Flush the pan with a vinegar-and-water solution to kill algae and mildew. Do not drill additional holes — many units deliberately hold shallow standing water for the fan’s slinger ring.
- Wipe the fan blades and blower wheel. Both accumulate a felt-like layer of dust that unbalances them and cuts airflow. Clean each blade with a damp cloth, supporting the assembly so you do not force it against the motor bearings.
- Clean the housing, louvres and gaskets. Wash the cabinet inside and out, wipe the vent louvres and check the foam gaskets around the sides for compression or mould, replacing any that have crumbled.
- Dry everything thoroughly. Leave the unit open for several hours, or overnight if you rinsed it heavily. Reassemble in reverse order, refit the dry filter and reinstall the grille.
- Plug in and test. Run on cool at high fan for fifteen minutes and confirm the vent air is significantly colder than room air and the airflow is noticeably stronger than before.
Dealing With Mould and Smells
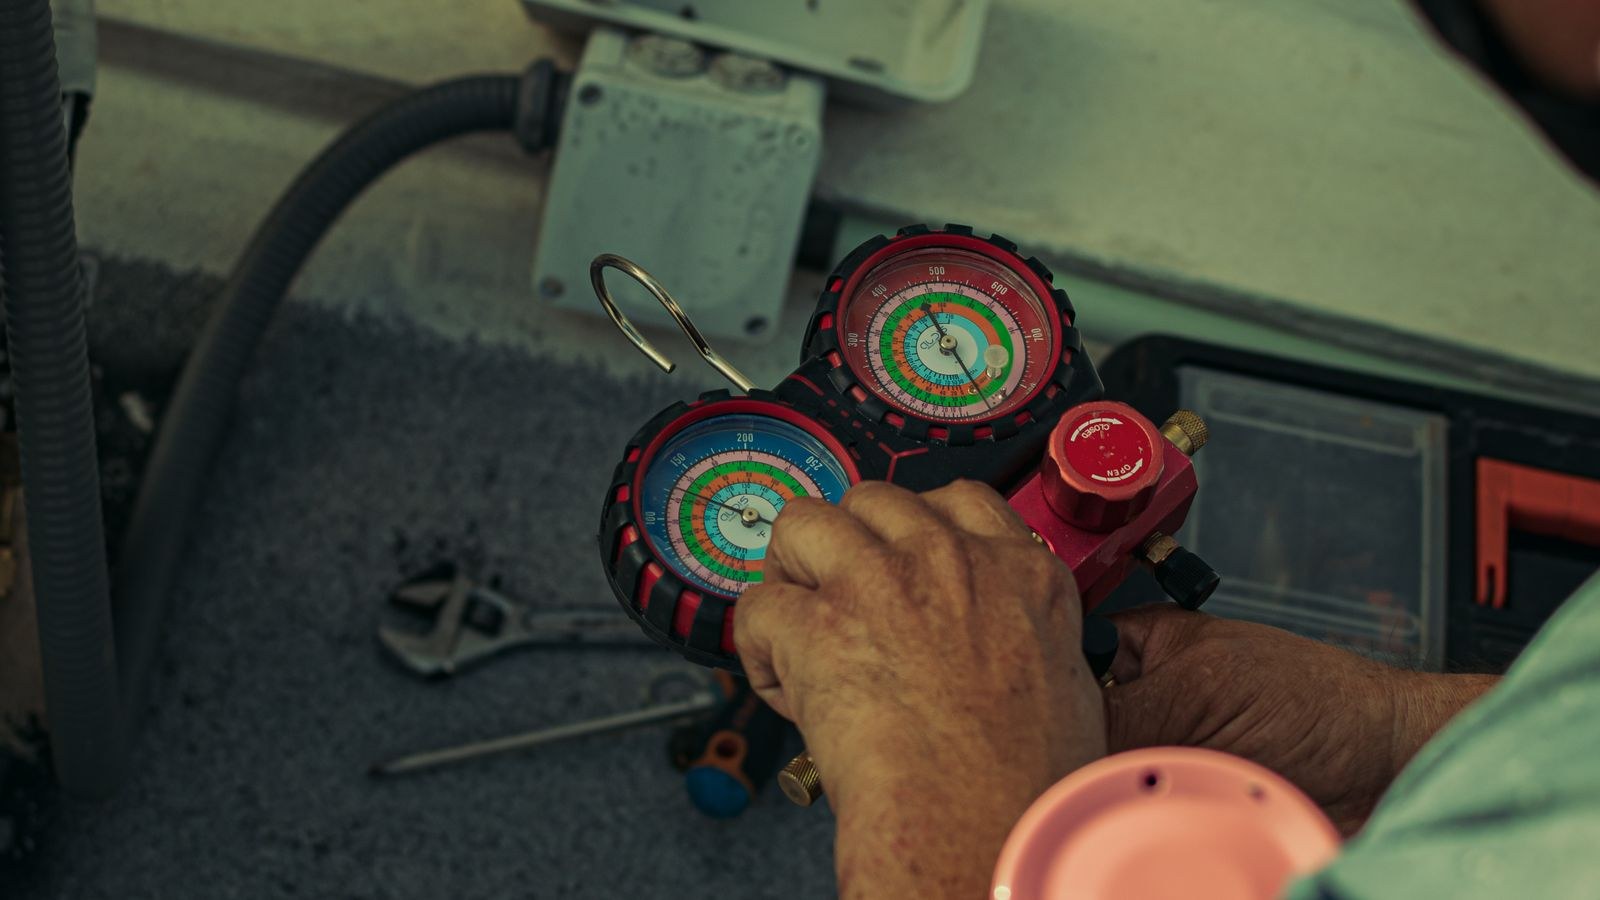
That damp-basement smell when the unit starts is biological growth on the evaporator coil and in the drip tray, where condensate keeps everything permanently moist. Cleaning the coil and flushing the pan with a vinegar solution handles most cases. For persistent odour, use an enzymatic or antimicrobial coil cleaner formulated for HVAC use and let it dwell as directed.
To stop it returning, run the fan-only mode for ten minutes after each cooling session so the coil dries before the unit shuts down. Many units have a built-in fan delay or dry mode that does this automatically. Adjusting your air conditioner settings for summer so the fan runs on auto rather than continuously also reduces how much moisture gets re-evaporated back into the room.
Off-Season Care
What you do in autumn determines how much cleaning you face next spring. If you can, remove the unit, clean it fully, dry it and store it upright indoors. If it stays in the window, cover the exterior portion — a fitted air conditioner cover keeps leaves, snow and freeze-thaw water out of the base pan and off the condenser coil, which is where most winter corrosion starts. Make sure whatever cover you use is breathable or vented, because a fully sealed plastic wrap traps moisture against the metal and accelerates rust rather than preventing it.
When Cleaning Is Not the Answer
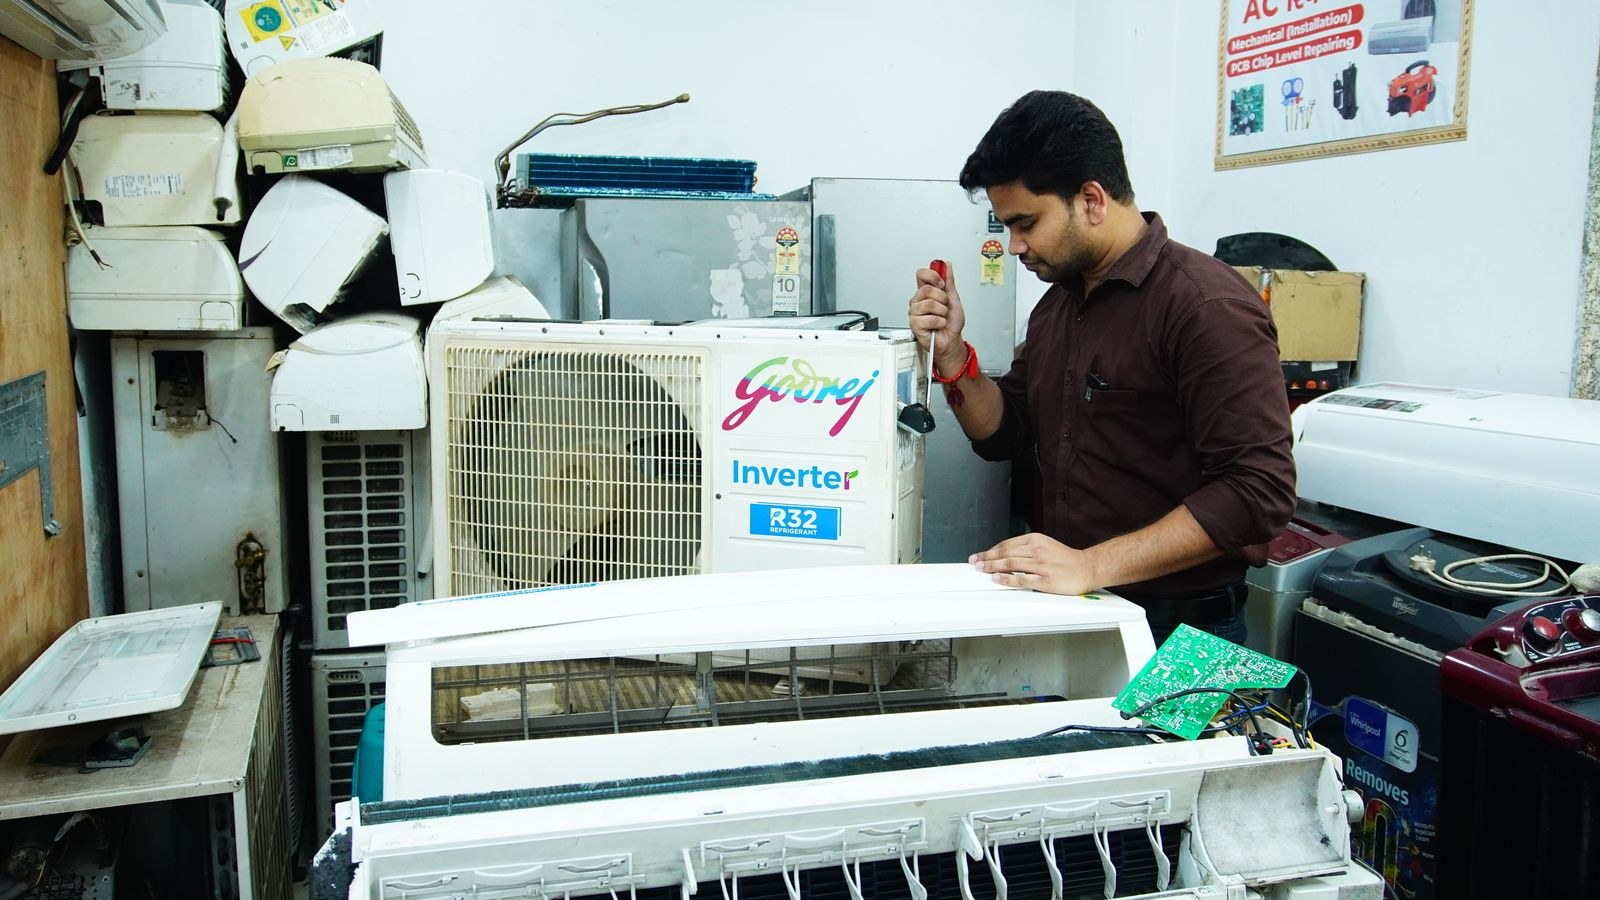
A thorough clean fixes weak airflow, odours, most freezing and gradual efficiency loss. It does not fix a failed compressor, a refrigerant leak, a burnt-out fan motor, a bad capacitor or a dead control board. If the unit runs but the air is never cold even with spotless coils, refrigerant charge or the compressor is the likely culprit, and neither is a homeowner job.
Age matters too. A unit past roughly ten years old with a significant fault is often not worth repairing, since efficiency standards have improved considerably and a replacement pays back part of the cost in running savings. Comparing the best energy efficient window air conditioners against a repair quote is a sensible check, and for a bedroom or small room the compact models covered in the best small window air conditioners guide are usually cheaper to run than an old oversized unit limping along.
Common Mistakes
The most damaging error is pressure-washing the condenser coil. It flattens hundreds of fins in seconds and can drive water into the fan motor, doing more harm in a minute than a season of neglect. The second is brushing across the fins instead of along them, which bends them the same way at a smaller scale.
Two more are worth naming. Reinstalling a filter that is still damp seeds mould directly onto the coil you just cleaned. And plugging the unit back in before it is fully dry risks shorting the control board — if in doubt, wait longer. Also resist the urge to drill extra drain holes to stop water pooling in the base pan; on most designs that shallow water is intentional and improves cooling performance.
Frequently Asked Questions
How often should I clean the filter?
Every two to four weeks during heavy use, and more often with pets, smokers or a dusty environment. It takes five minutes and has more effect on performance than anything else on this list.
Can I use a garden hose on the coils?
On the outdoor condenser coil, yes, with a gentle wide spray directed from the inside out. Keep water away from the control board, motor and wiring, and never use a pressure washer.
Why does my unit freeze up after cleaning?
Usually a filter reinstalled while still damp, or fins that remain flattened and restrict airflow. Check both. Persistent icing with clean coils and good airflow points to low refrigerant, which needs a technician.
Is it safe to use bleach in the drain pan?
A dilute solution is fine occasionally, but white vinegar is gentler on metal and plastic and just as effective against algae. Rinse either one out and never mix bleach with other cleaners.
Final Thoughts
Cleaning a window air conditioner is the highest-return hour of maintenance you can spend on the appliance. Wash the filter often, deep clean the coils once a year working with the fins rather than across them, comb out flattened sections, clear the drain and let everything dry completely before it goes back together. Add a fan-only run at the end of each cooling session and a breathable cover through winter, and the unit will hold close to its original output for years. When cold air still will not come after a proper clean, that is your signal the problem is refrigerant or a component — and time to weigh a repair against a more efficient replacement.