Owen Bradley
 A bulb rated for fifteen years that dies in four months is not bad luck, and it is almost never a defective bulb. When light bulbs burn out fast in the same fixture repeatedly, the fixture is telling you something specific: it is running too hot, the connection is loose, the voltage is wrong, or the control on the circuit is fighting the lamp’s electronics. Each of those causes has a distinct signature you can read from the failed bulb itself. This tutorial walks through diagnosing the real reason, fixing it, and choosing a replacement that survives, so you stop buying the same bulb three times a year.

Tools and Preparation
Nothing here requires an electrician for the diagnostic stage, though a few of the fixes do.
- A non-contact voltage tester to confirm a fixture is dead before you reach into it.
- A multimeter if you want to check supply voltage at an outlet on the same circuit.
- A flat-blade screwdriver for adjusting a socket tab, plus a Phillips for fixture screws.
- A step stool and a torch for looking inside recessed cans and enclosed globes.
- The failed bulbs themselves, kept rather than binned, because their appearance is the best diagnostic clue you have.
Always switch the circuit off at the breaker before touching a socket interior, and let the fixture cool completely. A lamp that has just failed can still be hot enough to burn, and a glass envelope weakened by heat can shatter in your hand.
Step-by-Step: Finding the Real Cause
- Establish the pattern first. Is it one fixture, one room, or the whole house? A single fixture points to heat, a socket fault, or a fitting problem. A room or a circuit points to a dimmer, a switch, or a shared neutral issue. Whole-house failures point to supply voltage or to the bulbs themselves being a bad batch. Write down which fixtures have failed and how long each bulb lasted.
- Read the dead bulb. Turn it over under good light. A blackened or smoked base on an LED means the driver cooked, which is a heat problem. A yellowed or browned plastic diffuser is the same story. Dark scorching on the metal screw base or pitted contact points indicate arcing from a loose socket. A cleanly failed lamp with no visible damage more often points to voltage or switching stress.
- Check the fixture for trapped heat. Enclosed globes, sealed outdoor lanterns, recessed cans without ventilation, and fully shaded table lamps all trap the heat an LED driver produces. The diodes themselves last a very long time; the electronics beneath them do not, and every 10 degrees of extra operating temperature meaningfully shortens their life. If the fixture is enclosed, the bulb must be explicitly rated for enclosed use.
- Inspect and tighten the socket contact. With the breaker off, look into the socket. The small brass tab at the base should sit at a slight upward angle. Years of bulbs being screwed in flatten it, leaving a weak connection that arcs, heats, and destroys lamps. Gently lever it up a few millimetres with a screwdriver. Also check the threads for corrosion or green oxidation, especially in bathrooms and outdoor fittings.
- Check how tightly bulbs are being installed. Overtightening crushes the contact tab and cracks solder joints inside the lamp base. Undertightening leaves an intermittent connection. Screw until snug and the light comes on solidly, then stop. Never install a lamp while the switch is on.
- Test the dimmer compatibility. This is the single most common cause of premature LED failure in modern homes. Old rotary and slider dimmers were designed for the resistive load of an incandescent filament and mishandle an LED driver, causing flicker, buzzing, and early death. If the fixture is on a dimmer, confirm the lamp says dimmable on the box and that the dimmer is a modern LED-rated model with a low minimum load. Selecting from a range of dimmable LED bulbs designed for wide dimmer compatibility solves most of these cases outright.
- Measure your supply voltage. Set a multimeter to AC volts and test an outlet on the same circuit. A nominal 120-volt supply should read somewhere around 115 to 125 volts. Readings consistently above about 127 volts stress every lamp in the house and will shorten bulb life everywhere. Chronic high voltage is a utility or service issue and needs a licensed electrician or a call to your supply company.
- Look for vibration. Fixtures mounted on ceiling fans, on a wall shared with a slamming door, in a garage below a busy room, or at the bottom of a stairwell take constant mechanical shock. Vibration destroys filaments almost instantly and eventually cracks LED solder joints. A rough-service or vibration-rated lamp is the fix.
- Check wiring at the fixture and switch. With power off, confirm the wire nuts at the fixture are tight and that no conductor is loose or discoloured. A loose neutral in particular causes voltage to wander and kills bulbs across a whole circuit. If you find scorched insulation, stop and call an electrician.
- Fit a quality replacement and log the date. Install one good lamp, write the date on the base with a marker, and see how long it lasts. Without that record you will be guessing again in six months. A shortlist of the best quality LED bulbs is a sensible starting point, since driver quality is exactly where budget lamps cut corners and exactly what determines survival.
Matching the Bulb to the Fixture
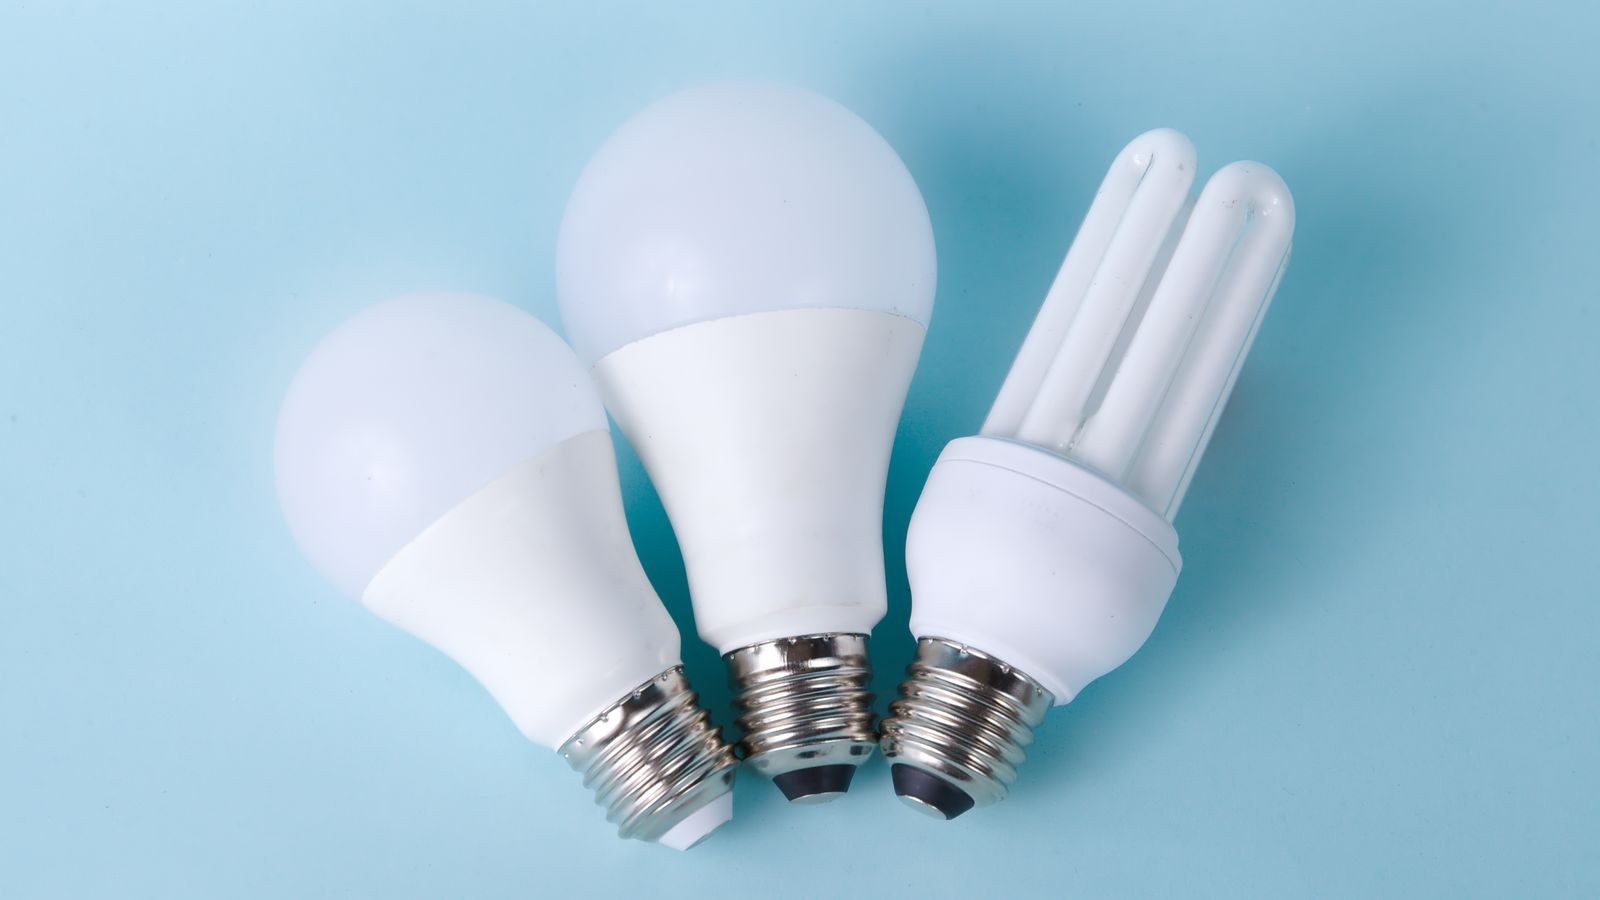
Once you know the cause, the replacement choice follows directly. For sealed globes, ceiling domes, and outdoor lanterns, buy only lamps carrying an explicit enclosed fixture rating, since standard LEDs are designed assuming open air circulation. A guide to the best LED bulbs for enclosed fixtures covers the models built with heat-tolerant drivers and larger heat sinks for exactly this problem.
For fixtures on a dimmer, pick a dimmable lamp and, where possible, put matching lamps in every socket of that fixture. Mixing brands or mixing dimmable and non-dimmable lamps on one dimmer produces uneven behaviour and stresses everything on the circuit. For general replacements around the house, a broad comparison of the best LED light bulbs for home helps you settle on one or two families and standardise, which makes future failures far easier to interpret.
Safety Rules That Matter Here
Kill the breaker rather than relying on the wall switch, because a miswired fixture can leave the socket live with the switch off. Verify with a non-contact tester before touching anything. Never exceed the fixture’s maximum wattage marking. Do not attempt to repair a socket with visible melting or charring; replace the fixture. If a compact fluorescent lamp breaks, ventilate the room, sweep the pieces rather than vacuuming, and dispose of it at a recycling point. And if a circuit is repeatedly killing bulbs after you have ruled out heat and dimmers, treat it as an electrical fault rather than a bulb problem and get it inspected.
Common Mistakes People Make
The most damaging habit is simply buying a cheaper bulb each time. The failure was never really about the bulb, so the cheaper lamp fails faster and confirms nothing except that the underlying fault is still there. The second mistake is putting a standard LED into an enclosed fixture repeatedly, since the packaging warning is small and easy to miss, yet it explains a huge share of premature failures.
A third is blaming the brand after a single failure. One lamp dying early is noise; three in the same socket is a diagnosis. A fourth is overtightening on installation, which people do instinctively when a light flickers, when flickering usually signals a flattened contact tab that overtightening makes worse. Finally, many people never consider the dimmer at all, because the old incandescent lamps worked fine on it for twenty years. That compatibility did not carry over, and an incompatible dimmer will keep killing lamps indefinitely.
Frequently Asked Questions
Why do bulbs only burn out in one specific fixture?
That pattern nearly always means heat or a bad socket. Check whether the fixture is enclosed and whether the brass contact tab has been flattened. Those two causes account for most single-fixture failures.
Can a bad switch cause bulbs to fail?
Yes. A worn switch with pitted contacts creates arcing and inrush spikes each time it operates. If the switch feels loose, buzzes, or is warm to the touch, replacing it is worthwhile and inexpensive.
Do LEDs really last as long as the box claims?
The diodes generally do. The driver electronics are the weak point, and rated lifetimes assume open-air installation at a moderate ambient temperature. In a hot, enclosed, or poorly ventilated fixture, expect a fraction of the printed figure unless the lamp is specifically rated for it.
Should I worry about flickering before failure?
Flicker is a useful early warning. It usually indicates a loose connection, an incompatible dimmer, or a failing driver. Investigating at that stage often saves the lamp and occasionally reveals a genuine wiring fault worth fixing.
Final Thoughts
Bulbs that burn out fast are a symptom, and the diagnosis is usually available in under twenty minutes. Look at the pattern, read the dead lamp, feel for heat, check the socket tab, and question the dimmer. Fix the underlying cause first, then buy one good replacement rated for that specific fixture and date it. Do that once per problem fixture and the constant cycle of replacement bulbs stops for good, which is worth far more than the few dollars saved on a cheap multipack.