
 Owen Bradley
 A dark strand in the middle of an otherwise perfect display is one of the most frustrating parts of decorating. The good news is that most dead Christmas light strands fail for a handful of predictable reasons, and nearly all of them are fixable with a few dollars of parts and about fifteen minutes of patient work. Before you throw a string in the trash and drive to the store, it is worth walking through the same checks a repair technician would use: power, fuses, bulbs, shunts, and sockets. This guide shows you how to fix Christmas lights systematically so you spend less every 2026 and keep working strings out of the landfill.
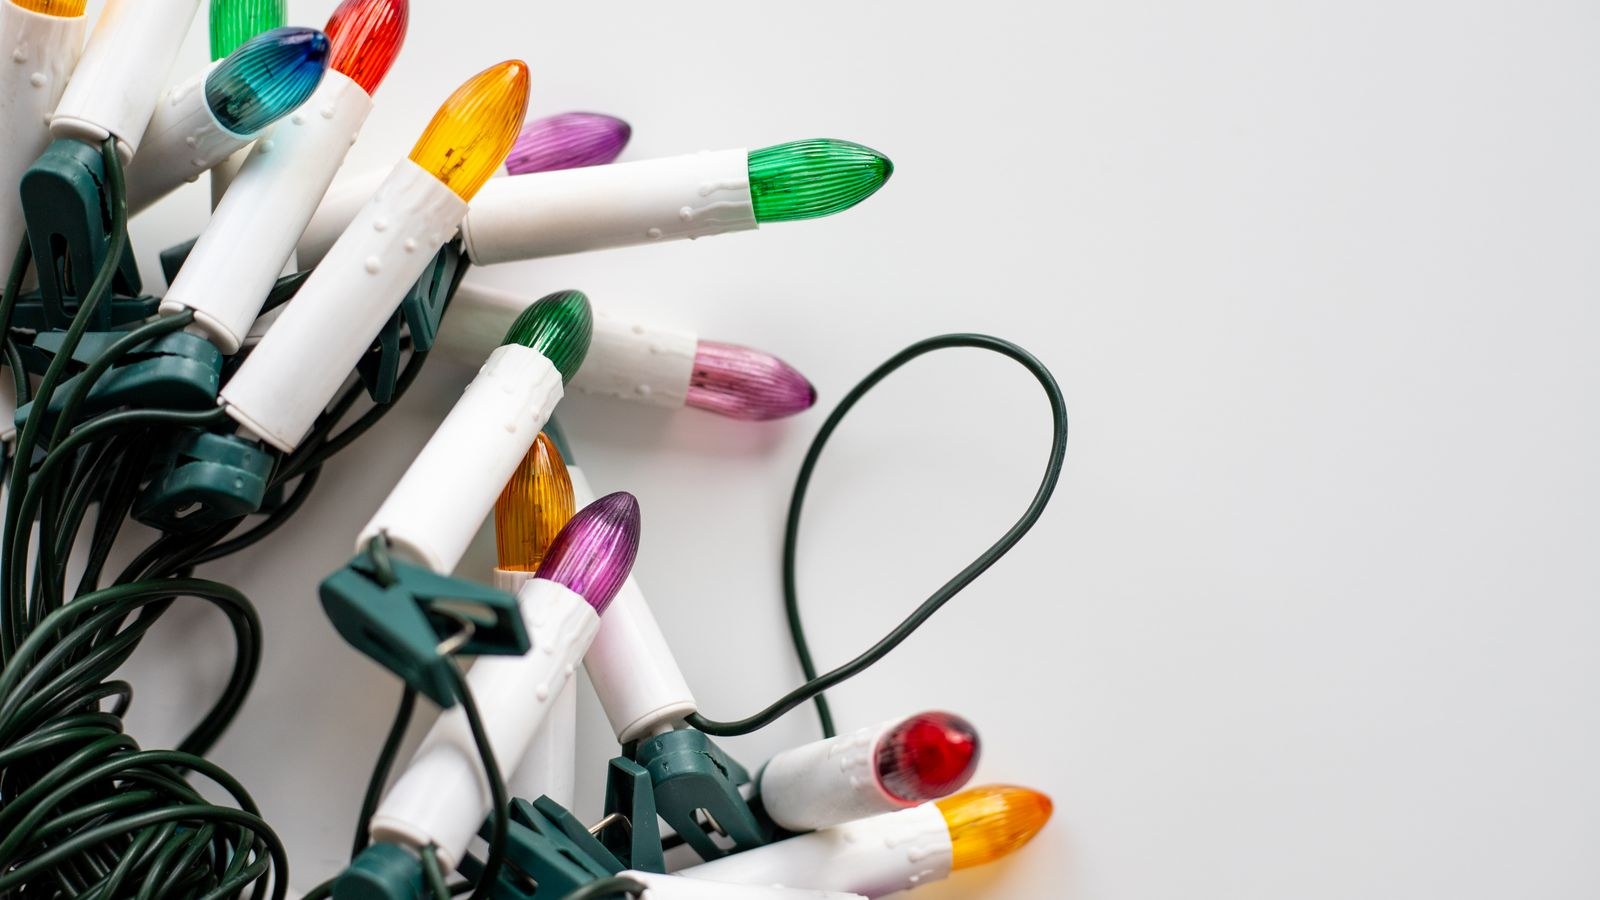
How Christmas Light Strands Actually Work
Understanding the wiring makes troubleshooting far quicker. Most traditional mini-light strands wire bulbs in series within sections, meaning current must pass through every bulb in that section for any of them to light. If one bulb loses contact, the whole section goes dark. That is why half a string can fail while the rest stays lit: the plug feeds two or three separate series circuits, and only one of them broke.
Each bulb also contains a tiny internal wire called a shunt, designed to close the circuit automatically when the filament burns out so the rest of the strand keeps working. Shunts fail often enough that a single burned bulb with a bad shunt can kill an entire section. Modern LED strings behave differently, since many use parallel wiring or a small driver, but they still suffer from corroded sockets, cracked wire, and blown fuses.
Tools and Supplies You Will Need
- Replacement fuses — usually included in the small pouch attached to the strand when new, or sold in packs at any hardware store.
- Spare bulbs matched to the strand’s voltage rating, plus a few spare sockets if you have them.
- A small flat screwdriver for opening the fuse door on the male plug.
- A bulb tester or non-contact voltage detector, which turns a guessing game into a two-minute job.
- A multimeter if you own one, useful for continuity checks on suspect bulbs.
- Electrical tape or heat-shrink tubing for repairing nicked insulation.
Safety comes first with any of these steps. Always unplug the strand before touching bulbs, sockets, or wire, and never work on lights while standing on wet ground. If a strand shows scorch marks, melted plastic, or exposed copper, retire it rather than repair it. That is also the moment to price out a replacement from a roundup of the best Christmas lights instead of nursing a damaged string along.
Step-by-Step: Fixing a Dead Christmas Light Strand
- Confirm the outlet and any timer are working. Plug a lamp or phone charger into the same outlet. Check GFCI outlets for a tripped reset button, and confirm that any smart plug, timer, or extension cord in the chain is actually passing power. A surprising share of “dead” strands are simply downstream of a tripped circuit.
- Check the fuses in the male plug. Slide open the small door on the flat plug body. Inside sit one or two tiny glass fuses. Look for a dark or broken filament, or test them for continuity. Swap in identical replacements of the same amp rating, never a higher one. Blown fuses usually mean too many strands were daisy-chained together, so recount how many strings you connected end to end.
- Plug the strand back in and note which sections light. Mapping the dark section narrows the search dramatically. If the whole strand is dead after a fuse swap, suspect the plug wiring or a break near the plug. If only one section is dark, you are hunting a single bad bulb or socket inside that section.
- Look for the obvious offenders first. Walk the dark section and check for bulbs that are missing entirely, seated crooked, blackened at the base, or rattling loose in the socket. Press each bulb firmly into place. Loose seating from storage and handling causes a large share of failures.
- Inspect the bulb bases for bent leads. Pull a suspect bulb straight out and look at the two thin wires folded against the plastic base. If a lead is bent under the base instead of pressed flat against it, the contact never touches the socket. Straighten the leads, fold them cleanly along the sides, and reinsert.
- Use a bulb tester on the dark section. A quick-fix style tester with a trigger sends a pulse down the wire and beeps or lights up where current stops flowing. Run it bulb by bulb along the dead section until the reading changes; that transition point is your failed bulb or socket. This is by far the fastest method for long strands.
- Swap bulbs one at a time. Without a tester, use the substitution method: replace the first bulb in the dark section with a known-good spare, then move down the line. Work from one end to the other rather than jumping around, and keep the removed bulbs in order so you can put good ones back.
- Replace the failed bulb or socket. When the section relights, you have found it. If the bulb itself looks fine but the socket is cracked, corroded green, or has burned contacts, replace the socket. Replacement socket kits let you cut out the bad one and crimp a new one onto the same wire.
- Repair any damaged wire. Nicks from staples, squirrels, or a lawn trimmer break the run entirely. Cut out the damaged length, splice with an insulated crimp connector rated for the wire gauge, and seal the joint with heat-shrink tubing. For outdoor runs, use a waterproof connector rather than tape.
- Test the full strand before hanging it back up. Plug it in on the floor, flex the wire gently along its length, and watch for flicker. Flickering while you move the cord means a marginal connection you have not fully fixed yet. Solve it now rather than on a ladder in the cold.
When Half the Strand Is Out
Half-dark strands are the classic symptom of a single failed series section, and they are the easiest to fix because you have already halved the search area. Start at the boundary between lit and unlit bulbs, since failures often cluster near the junction where the two circuits split. Work outward from there with your tester.
If replacing several bulbs does not help, suspect the shunt problem. When one burned bulb’s shunt fails to close, current stops even though every other bulb is perfect. Some testers include a shunt-repair function that zaps a pulse through the strand to re-establish the shunt path. It works often enough to be worth a try before you start swapping a hundred bulbs.
Troubleshooting Common Failure Patterns
The Strand Flickers Instead of Staying Lit
Flicker almost always means intermittent contact. Look for loose bulbs, a socket whose contacts have spread apart, or a plug connection that is not fully seated. Moisture inside an outdoor socket can also cause flicker before it causes a full failure, so dry the strand and reseat the bulbs.
The Fuse Blows Repeatedly
A fuse that blows again immediately signals a short circuit or an overload. Count how many strands you connected end to end and compare against the maximum on the strand’s tag; incandescent strings often cap at three connected sets, while LED strings allow far more. If the count is fine, inspect for pinched wire or water sitting in a socket.
LED Strings That Have Dimmed or Changed Color
LEDs rarely burn out abruptly, but heat and moisture can degrade them until they look washed out or shift toward a bluish tone. A single mismatched section is normally cheaper to replace than to repair, and a full set of quality LED string lights will draw a fraction of the power of an equivalent incandescent run.
Everything Works Indoors but Not Outside
Outdoor sockets face rain, snow, and freeze cycles that indoor strings never see. If a string performs perfectly on the living room floor and fails on the porch, moisture in the sockets is the likely cause. Outdoor use calls for strings actually rated for it, which is where dedicated exterior Christmas lights pay for themselves with sealed sockets and heavier jacketing.
Mistakes That Make the Problem Worse
The most common error is installing a higher-amperage fuse to stop repeated blowing. The fuse is protecting the wire, and defeating it invites overheating. A second frequent mistake is mixing bulbs of different voltage ratings within one strand, which stresses the whole series and shortens the life of every bulb in the section. Always match the rating printed on the strand tag.
Yanking bulbs out by the glass rather than the plastic base breaks the seal and snaps leads, creating new failures while chasing an old one. Finally, resist the urge to repair a strand with electrical tape wrapped around bare copper. Tape is not a connector and it will not survive an outdoor season.
When Repair Stops Being Worth It
Repair makes sense when a strand is otherwise sound and you are fixing one or two points of failure. It stops making sense when the insulation is brittle and cracking, when multiple sockets have corroded, or when you have already spent an hour hunting a fault on a string that costs very little to replace. Older incandescent sets also cost meaningfully more to run each season, so replacing them with modern indoor tree lights often pays back within a couple of seasons of nightly use.
Frequently Asked Questions
Why did my whole strand go out when only one bulb burned?
The bulb’s internal shunt failed to close the circuit. In a series section, that break stops current for every bulb downstream. Replacing the failed bulb restores the section.
Do I need a bulb tester to fix a dead strand?
No, but it saves enormous time. Without one you must substitute known-good bulbs one at a time, which can take a long while on a strand with a hundred bulbs.
Can I replace a burned socket instead of the whole strand?
Yes. Socket replacement kits let you cut out the damaged socket and crimp a new one onto the existing wire, which is far cheaper than buying a new set.
How many light strands can I safely connect end to end?
Check the tag on the strand. Incandescent sets often allow only three connected strings, while LED sets frequently allow many more because they draw far less current.
Is it safe to use an indoor strand outside?
No. Indoor-rated strings lack the sealing and jacket thickness needed for weather exposure, and moisture in the sockets can trip a breaker or create a shock hazard.
Final Thoughts
Fixing a dead Christmas light strand comes down to working the chain in order: outlet, fuse, section, bulb, socket, wire. Skipping straight to bulb swapping is why so many people give up and buy replacements. Spend two minutes on the fuse door and the outlet first, map which section is dark, then let a tester or a patient substitution pass find the single point of failure. Keep a small kit of spare fuses, bulbs, and sockets in the same bin as your decorations, and most seasons you will be back up and glowing before the coffee gets cold.









