Owen Bradley
 A soundbar is the fastest upgrade available to any television, but only if you connect it the right way. Plug it into the wrong port and you lose Dolby Atmos, surrender remote volume control, or end up with audio that drifts half a second behind the picture. The differences between HDMI ARC, eARC, optical, and Bluetooth are not cosmetic — each one carries a different set of audio formats and control signals. This guide walks through every connection method in order of quality, shows exactly which settings to change on the TV, and explains how to fix the lip-sync and no-sound problems that follow a rushed install.
What You Need Before You Start
- A high-speed HDMI cable, ideally one rated Ultra High Speed if your gear supports eARC.
- A digital optical (TOSLINK) cable as a fallback if the TV lacks a working ARC port.
- Both remotes — TV and soundbar — plus the soundbar’s power adapter.
- A phone flashlight for reading the tiny port labels on the back of a wall-mounted TV.
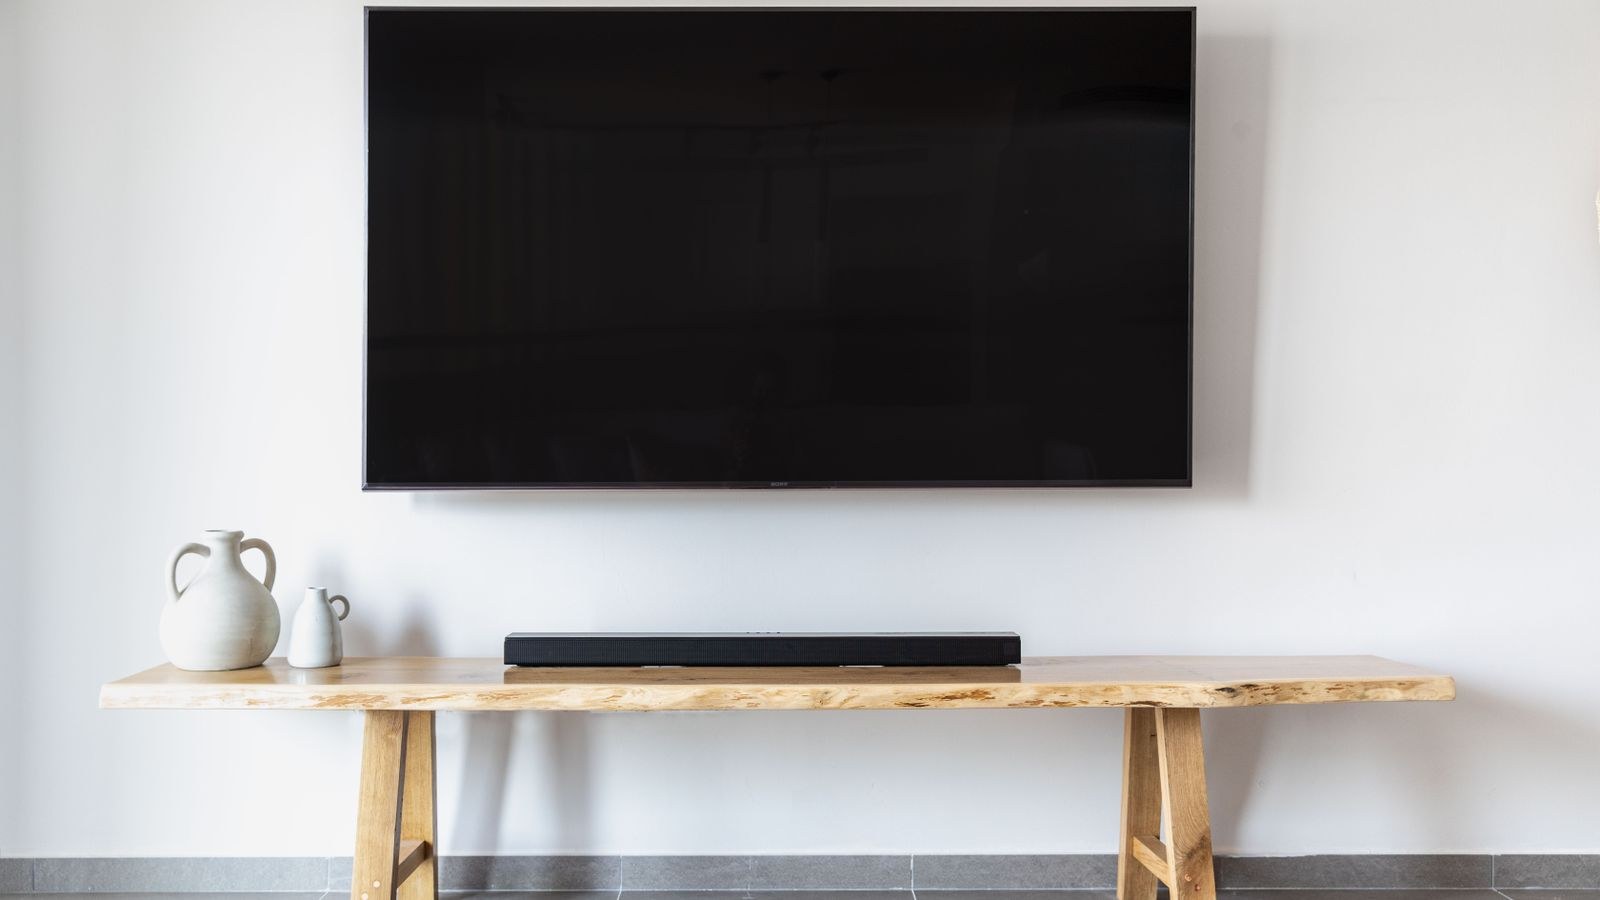
Take two minutes to identify the ports before you move anything. On the TV, look for an HDMI input marked ARC or eARC — usually only one of the three or four HDMI ports carries that label. On the soundbar, look for a port marked HDMI OUT (TV-ARC). Those two are the pair you want. If either is missing, the optical route in step 4 is the answer.
Step 1: Choose the Best Connection Your Gear Supports
Work down this list and stop at the first option both devices support.
- HDMI eARC — the enhanced audio return channel. Carries full-bandwidth, uncompressed formats including Dolby TrueHD, DTS-HD Master Audio, and lossless Dolby Atmos. Passes remote volume control. This is the only connection that delivers everything.
- HDMI ARC — the older audio return channel. Carries compressed surround such as Dolby Digital, DTS, and Dolby Digital Plus, which includes lossy Atmos on most streaming apps. Also passes remote control. Excellent for almost everyone.
- Digital optical — carries stereo PCM and Dolby Digital or DTS 5.1, but has no bandwidth for Atmos or lossless formats and passes no control signals. Reliable and immune to HDMI handshake bugs.
- Bluetooth — wireless, convenient, and compressed. Fine for casual listening or late-night use; not suitable as a primary connection because of latency and stereo-only limits.
- 3.5mm or RCA analogue — last resort on older sets. Stereo only, and volume behaviour varies wildly by TV.
Step 2: Connect Over HDMI ARC or eARC
This takes about five minutes if you go in order.
- Power down both the TV and the soundbar and unplug them from the wall for thirty seconds. This clears stale HDMI handshake data, which is the single most common cause of a connection that refuses to work.
- Run the HDMI cable from the HDMI OUT (ARC) port on the soundbar to the HDMI IN (ARC/eARC) port on the TV. Direction matters — the soundbar’s other HDMI ports are inputs for sources, not for the TV.
- Plug both units back in and power them on, TV first.
- On the TV, open Settings > Sound > Sound Output and select the HDMI or Audio System option rather than TV Speakers.
- Enable HDMI-CEC. Every brand names it differently: Anynet+, Bravia Sync, Simplink, Viera Link, EasyLink, or just HDMI Control. Turn it on for the port you used.
- Set the soundbar’s input to TV or HDMI ARC using its own remote or source button.
- Play something and confirm audio comes only from the soundbar. Then press volume on the TV remote — it should now drive the soundbar.
If you want the soundbar to handle switching for a console or streaming box, plug those sources into the soundbar’s HDMI inputs and run the single HDMI OUT to the TV. This routes audio through the bar first and video onward to the panel, which is the cleanest arrangement when your TV has limited HDMI ports.
Step 3: Turn On the Right Audio Format Settings
A correct cable with the wrong menu setting still gives you plain stereo. Two settings matter most.
First, find Digital Audio Output or Digital Output Format in the TV’s sound menu and set it to Bitstream, Passthrough, or Auto. Do not leave it on PCM, which forces the TV to downmix everything to stereo before it ever reaches the bar. Second, if the TV offers a Dolby Atmos or Pass-through toggle, enable it. Some sets also hide a per-app setting inside the streaming application itself, so check that the app’s audio option is set to the highest available rather than Stereo.
You can confirm success on the soundbar’s display or app: it should show DOLBY ATMOS, DD+, or DTS rather than PCM or STEREO when playing appropriate content. If your bar is showing PCM on everything, the format setting is almost certainly still wrong.

Step 4: Using Optical When ARC Is Not Available
Optical remains a perfectly good connection on older televisions or when a stubborn ARC port refuses to cooperate. Remove the plastic caps from both ends of the TOSLINK cable, push the connector in until it clicks, and run it from the TV’s Digital Audio Out (Optical) to the soundbar’s Optical In. Never bend an optical cable sharply — the fibre inside cracks and the signal simply stops.
Then set the TV’s sound output to the optical or external speaker option and its digital format to Bitstream. Because optical carries no control data, you will use the soundbar’s remote for volume, and the TV’s own volume control will do nothing. Many soundbars can learn the TV remote’s volume codes through an IR learning mode, which restores single-remote operation without HDMI.
Step 5: Adding a Bluetooth Connection for Casual Use
Bluetooth is worth pairing even when HDMI is your main link, because it lets you stream music from a phone without waking the TV. Put the soundbar into pairing mode using its Bluetooth button, then select it in your phone’s Bluetooth menu. For pairing to the TV itself, open the TV’s Bluetooth or wireless speaker menu and select the bar.
Be aware of the tradeoff: Bluetooth compresses audio and introduces latency measured in tens or hundreds of milliseconds, which shows as lips moving out of time with speech. Some TVs offer an audio delay slider to compensate. Use Bluetooth for music, not for films.
Fixing Lip-Sync, Dropouts, and No Sound
Audio lags the picture. Look for an Audio Delay, AV Sync, or Lip Sync slider — first on the soundbar, then on the TV. Adjust in 10ms increments while watching a close-up of someone speaking. Delay is common when video passes through extra processing such as a motion smoothing mode, so disabling that often removes the offset entirely.
No sound at all over ARC. Confirm the cable is in the ARC-labelled port, not just any HDMI. Then power-cycle both devices with the cables unplugged for a minute, which resets the handshake. Verify CEC is on for both units. If it still fails, swap in a different HDMI cable; older or thin cables often lack the return-channel wiring.
Volume control stopped working. Re-enable CEC on both devices, and check whether a firmware update reset the setting. Some TVs disable CEC automatically after a factory reset or a power surge.
Intermittent dropouts when switching sources. This is a handshake renegotiation issue. Setting the soundbar’s input mode manually to TV rather than Auto usually stops it.
Getting the Most From the Setup
Once the connection is correct, spend a few minutes in the soundbar’s sound modes. Movie or Cinema modes widen the soundstage; a dedicated Voice or Clear Dialogue mode raises the centre channel and is the fastest fix for mumbled speech. If you have added a wireless subwoofer, set its level so bass supports the scene rather than dominating it — a good starting point is one or two notches below where it first sounds impressive.
If the bar is not delivering what you hoped, the limitation may be the hardware rather than the wiring. Comparing options among the best soundbar speakers and the broader best TV speakers helps set expectations, while a system built around the best speakers with subwoofer pairings gives noticeably more low-end weight. On the display side, sets listed among the best gaming TVs with eARC guarantee the full-bandwidth return channel, and the best gaming TVs with built-in soundbar designs are worth a look if you would rather not add a separate box at all.
Frequently Asked Questions
Is HDMI or optical better for a soundbar?
HDMI, clearly. ARC and eARC carry more audio formats and pass remote volume control, which optical cannot do. Use optical only when the TV has no ARC port or when the HDMI connection proves unreliable after troubleshooting.
Do I need eARC for Dolby Atmos?
Not always. Standard ARC carries Dolby Atmos delivered inside Dolby Digital Plus, which covers most streaming services. You need eARC for lossless Atmos in Dolby TrueHD, which is found mainly on physical disc releases.
Why does my TV remote not change the soundbar volume?
HDMI-CEC is switched off on one of the devices, or the cable is not in the ARC port. Enable CEC under its brand-specific name on both units and confirm the port label before assuming the soundbar is faulty.
Can I keep the TV speakers on alongside the soundbar?
Some televisions allow simultaneous output, but it rarely sounds good because the two sources arrive at slightly different times and blur dialogue. Turn the internal speakers off and let the bar handle everything.
Final Thoughts
Connecting a soundbar well comes down to three choices: use the ARC or eARC HDMI port whenever it exists, set the TV’s digital audio output to Bitstream rather than PCM, and enable HDMI-CEC so one remote runs the whole system. Optical is a solid fallback and Bluetooth is a convenience, not a foundation. Get those settings right and the same hardware will sound noticeably better than it did on a rushed first attempt, giving you proper surround, working volume keys, and dialogue that stays locked to the picture for as long as you own the system in 2026 and beyond.