Owen Bradley
 Good PC cable management is not just about bragging rights in a build photo. Cables that sprawl across the interior of a case block the very airflow paths your fans depend on, trap heat around the motherboard, and turn a simple upgrade into a twenty-minute untangling session. Done properly, cable routing takes an extra half hour during assembly and pays you back every time you swap a drive, add a fan, or clean out dust. This guide walks through the order of operations, the tie-down points builders overlook, and the cable choices that make the whole job easier, so your finished build stays cool, quiet, and easy to service for years.
What Cable Management Actually Does for Airflow
Air moving through a computer case behaves like water in a pipe. It follows the path of least resistance, and anything sitting in that path either slows it down or pushes it somewhere else. A bundle of unmanaged power supply cables draped across the front intake fans acts exactly like a partial blockage: the fans still spin at the same speed, but far less air actually reaches the graphics card and CPU cooler.
The gains are real but modest. Tidying a genuinely messy build typically drops component temperatures by a few degrees Celsius, more in cramped cases where every square inch of intake matters. The larger benefit is consistency: clean routing keeps hot air from pooling in dead zones and lets your fans hold lower speeds to hit the same temperature target, which directly reduces noise.
Tools and Materials to Gather First
You do not need a workshop, but having the right supplies within reach prevents half-finished routing that you never go back and fix.
- A Phillips #2 screwdriver, ideally magnetic, for case panels and drive cages.
- Velcro straps for anything you expect to change later. They are reusable and forgiving.
- Zip ties for permanent bundles, plus flush cutters so you can trim the tails cleanly instead of leaving sharp stubs.
- A flashlight or headlamp to see behind the motherboard tray, which is almost always poorly lit.
- Right-angle SATA cables if your drive bays sit close to the side panel.
- Cable combs if you are using individually sleeved extensions and want them to lie flat.
Two component choices matter more than any accessory. A fully modular power supply lets you leave every unused cable in the box instead of stuffing it behind the tray, and a case with a deep cable channel gives you somewhere to put the bundles you do need. If you are still choosing parts, our roundups of the best fully modular PSUs and the broader best modular PSUs explain which cable sets each design includes.
Step-by-Step: Routing Cables in a New Build
Order matters enormously. Doing these steps out of sequence means removing components you already installed. Work through them from the top.
- Strip the case first. Remove both side panels and set them aside where they cannot get scratched. Take out any drive cages or brackets you do not plan to use, since empty cages are the single biggest obstruction in older mid-tower designs.
- Plan your routes before connecting anything. Look at where each grommet, cutout, and tie-down loop sits relative to the motherboard connectors. Decide now which hole each cable will pass through. Five minutes of planning saves three re-routes later.
- Install the power supply and pass the long cables through early. Feed the 24-pin motherboard cable and the EPS CPU power cable behind the tray before you mount the motherboard. The EPS connector sits at the top-left corner and is nearly impossible to reach once a large air cooler is installed.
- Mount the motherboard with the CPU, cooler, and memory already fitted. Populating the board outside the case is faster and avoids flexing it. Just confirm your cooler still clears the case side panel before you commit.
- Connect front panel headers next. The tiny power switch, reset, HDD LED, USB, and audio plugs live at the bottom edge of the board and are the hardest to reach later. Route them along the bottom channel, not diagonally across the board.
- Attach the 24-pin and EPS cables. Push them in firmly until the retention clip clicks. A partially seated 24-pin is a classic no-boot cause.
- Install storage drives and run SATA cables. Feed data and power cables from behind the tray and bring them through the nearest grommet so only the last few inches are visible. Daisy-chain SATA power connectors along one cable rather than running a separate lead to each drive.
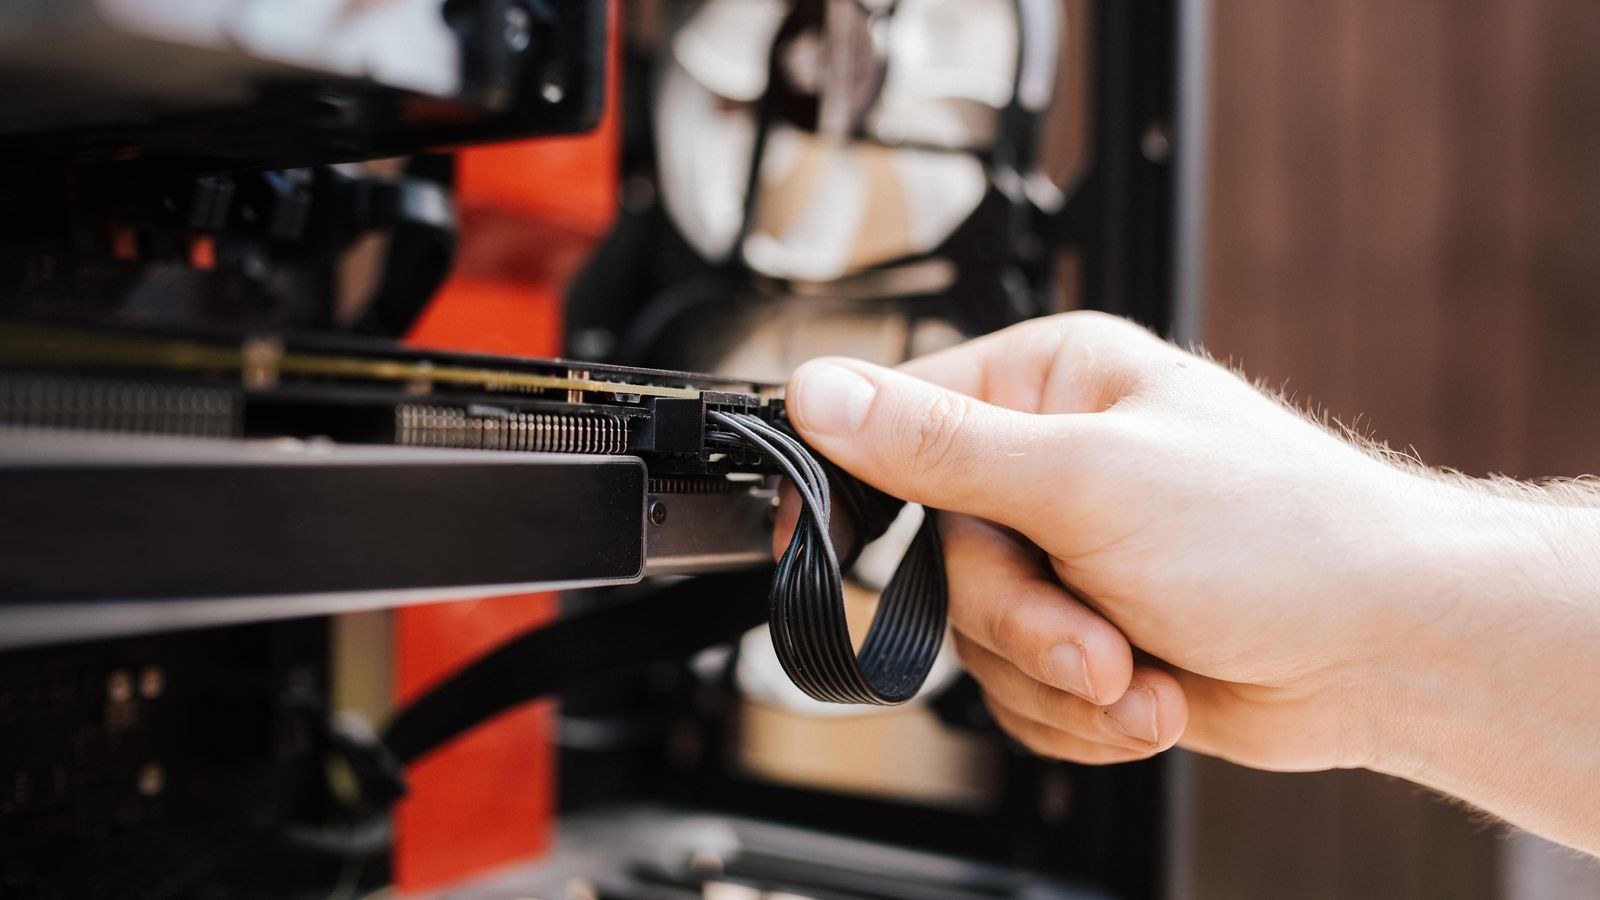
- Route the PCIe power cables last, then install the graphics card. Bring the cables up through the grommet closest to the card’s connectors so they arrive with a short, gentle curve rather than a long diagonal reach.
- Gather fan cables into a hub. Most modern cases include a PWM fan hub behind the tray. Using it turns five or six thin cables into one, which is a dramatic visual and airflow improvement.
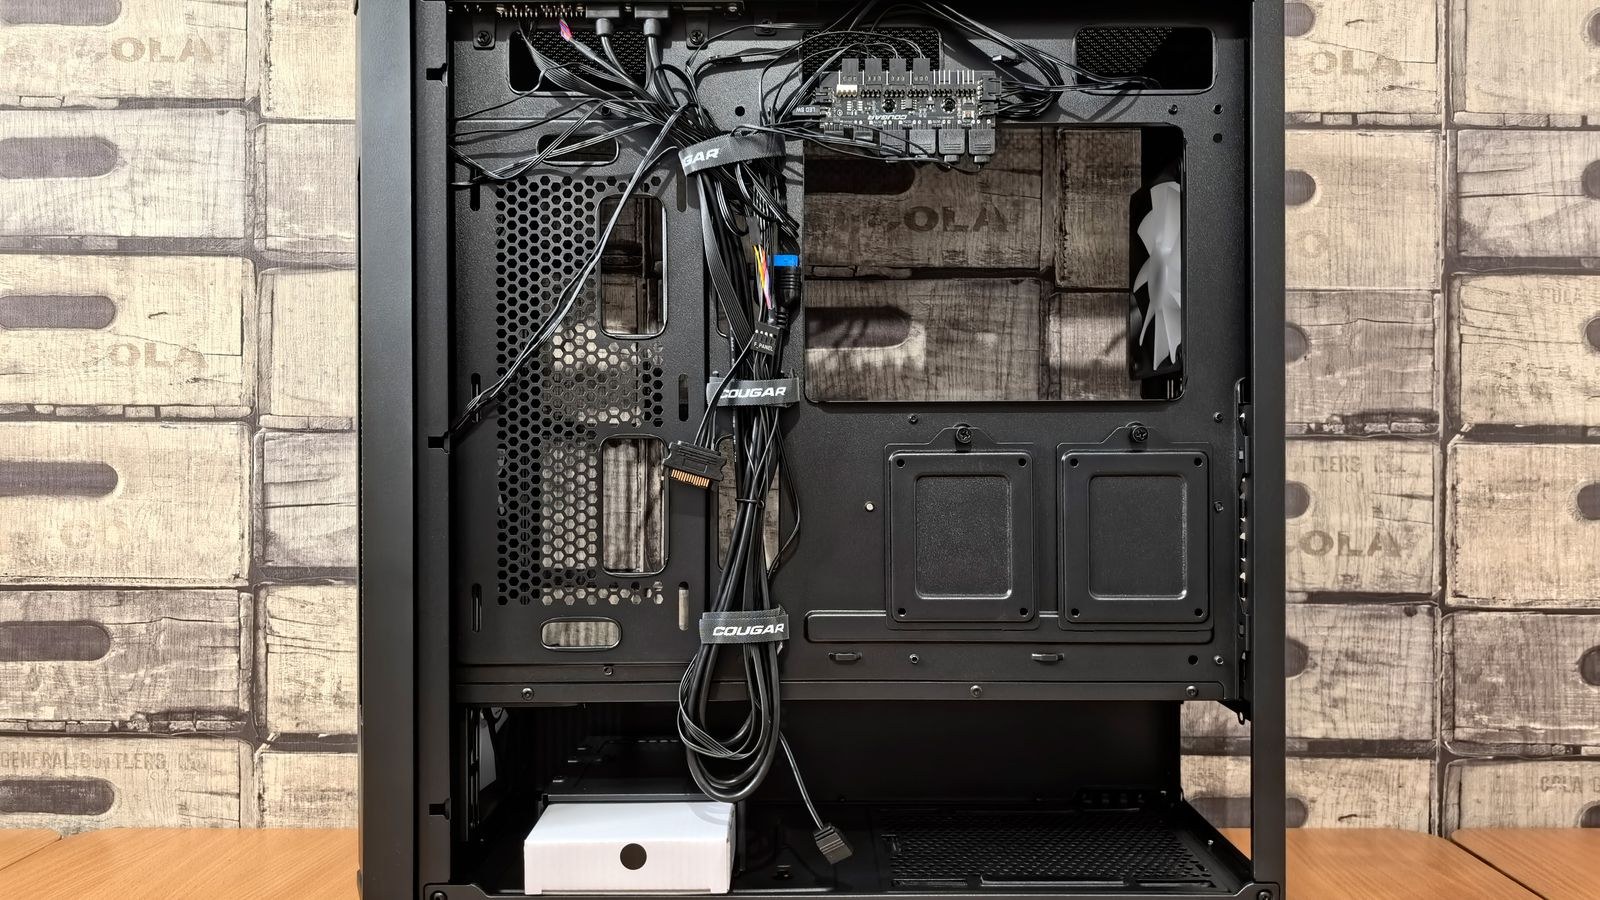
- Bundle and secure everything behind the tray. Group cables that run in the same direction, strap them at roughly four to six inch intervals, and keep bundles flat rather than stacked into a single fat rope.
- Test-fit the rear side panel before final tightening. If it bulges or refuses to seat, redistribute the bundles rather than forcing the panel, which stresses both the cables and the case.
Keeping Airflow Paths Clear
Once the cables are secured, look at the case as a wind tunnel. Cool air should enter at the front and bottom, travel across the graphics card and CPU cooler, and leave through the rear and top. Anything in that corridor is a candidate for relocation.
Check three specific zones. The area immediately behind the front intake fans should be completely clear, so pull any drive cage or cable bundle out of it. The space below the graphics card, where the card’s own fans draw air, should not have PCIe cables looping underneath it. And the region around the CPU cooler needs room for the fan to breathe, which means EPS and fan cables should hug the edge of the board rather than crossing the socket area.
Case design does a lot of this work for you. Mesh front panels, generous rear cable depth, and well-placed grommets make tidy routing almost automatic, while sealed glass fronts and shallow trays fight you at every step. If you are shopping, compare the best mid-tower PC cases for all-round buildability, look at the best PC cases for airflow if temperatures are your priority, or browse the best PC cases with tempered glass if you want the finished routing on display.
Working Behind the Motherboard Tray
The rear compartment is where most builders run out of room. The fix is layering rather than piling: put flat, wide cables like the 24-pin against the tray first, then run thinner SATA and fan cables on top. Use every tie-down loop, not just the two nearest your hands.
Safety and Handling Notes
Cable work is low risk, but a few habits prevent expensive mistakes. Unplug the power supply from the wall and hold the power button for five seconds to drain residual charge before working inside a completed system. Touch a bare metal part of the case periodically to equalize static, or wear a wrist strap if you live somewhere dry.
Never force a connector; PCIe, EPS, and SATA plugs are keyed, so resistance means the orientation is wrong. Do not over-tighten zip ties either, because crushing insulation on power leads can create hot spots. Snug is enough. Finally, only ever use the modular cables that shipped with your specific power supply. Pinouts differ between manufacturers and even between models from the same brand, and mixing them can send full voltage to the wrong pin and destroy components instantly.
Troubleshooting Common Problems
If the side panel will not close, the cause is almost always one thick bundle rather than overall volume. Split it into two thinner runs on different paths. If the system does not power on after a rebuild, re-seat the 24-pin, the EPS connector, and the front panel power switch header, in that order, since all three are easy to leave slightly loose.
Fans that fail to spin usually point to a cable seated on only two of four header pins, or a hub that lost its own power input. A drive that disappears from the BIOS is normally a SATA data cable that popped loose while you were tightening a strap nearby. And if temperatures came out worse after a cleanup, check that you have not accidentally blocked an intake with a rerouted bundle or left a filter partially covered.
Mistakes That Undo Your Work
The most common error is running cables the shortest way instead of the tidiest way. A diagonal cable across the motherboard saves two inches of length and costs you airflow and appearance. The second is bending cables sharply right at the connector, which strains the pins and can loosen a contact over months of thermal cycling. Leave a gentle curve of at least an inch before any bend.
Builders also tend to cut too much slack out of the system. Pulling a cable drum-tight leaves nothing to work with when you later move a drive, and it puts constant tension on the connector. Leave a small service loop behind the tray. Finally, do not skip the fan hub: six individual fan leads running to scattered motherboard headers create a web across the board that is both obstructive and harder to control later.
Frequently Asked Questions
Does cable management really lower temperatures?
Yes, though the effect is measured in a few degrees rather than a transformation. The improvement is largest in compact cases and in builds where cables were physically covering an intake fan. The secondary benefit, quieter operation because fans can run slower, is often more noticeable day to day.
Are Velcro straps or zip ties better?
Use Velcro for anything you expect to change, which is most of the build, and zip ties for permanent runs where you want the flattest possible profile. Velcro costs a little more and adds a couple of millimeters of thickness, but the ability to redo a bundle without cutting anything is worth it.
Do I need a modular power supply?
It is not mandatory, but it is the single biggest quality-of-life upgrade for cable management. A non-modular unit forces you to store every unused peripheral cable somewhere inside the case, which usually means a large bundle jammed into the rear compartment or the basement shroud.
Final Thoughts
Cable management rewards patience more than skill. The order of operations does most of the work: strip the case, plan the routes, feed the long cables early, connect the awkward headers before anything blocks them, and save the graphics card for last. Bundle behind the tray in flat layers rather than one thick rope, keep the front intake and the space under the graphics card completely clear, and leave a little slack for future changes.
Choose parts that cooperate and the job gets easier still. A fully modular power supply and a case with real cable depth turn a frustrating afternoon into a straightforward one. Spend the extra half hour now, and every upgrade you make in 2026 and beyond will start with a clear view of the components instead of a knot of wires.