Owen Bradley
 Earbuds live in one of the least hygienic environments any gadget will ever face. They sit inside a warm, humid canal that produces wax continuously, they ride in pockets full of lint, and they get tossed into a case without ever being wiped down. Within a few months the result is predictable: muffled highs, a noticeable drop in volume from one side, silicone tips that no longer seal, and a faint smell nobody wants to think about. The good news is that almost all of that lost performance is recoverable. Learning how to clean earbuds properly, without soaking them or poking sharp metal into the driver mesh, takes about ten minutes and can save you the cost of a replacement pair. This guide walks through the safe method step by step, explains which cleaning agents belong nowhere near your buds, and shows how to build a maintenance habit that keeps sound clear all year.
Why Dirty Earbuds Sound Worse
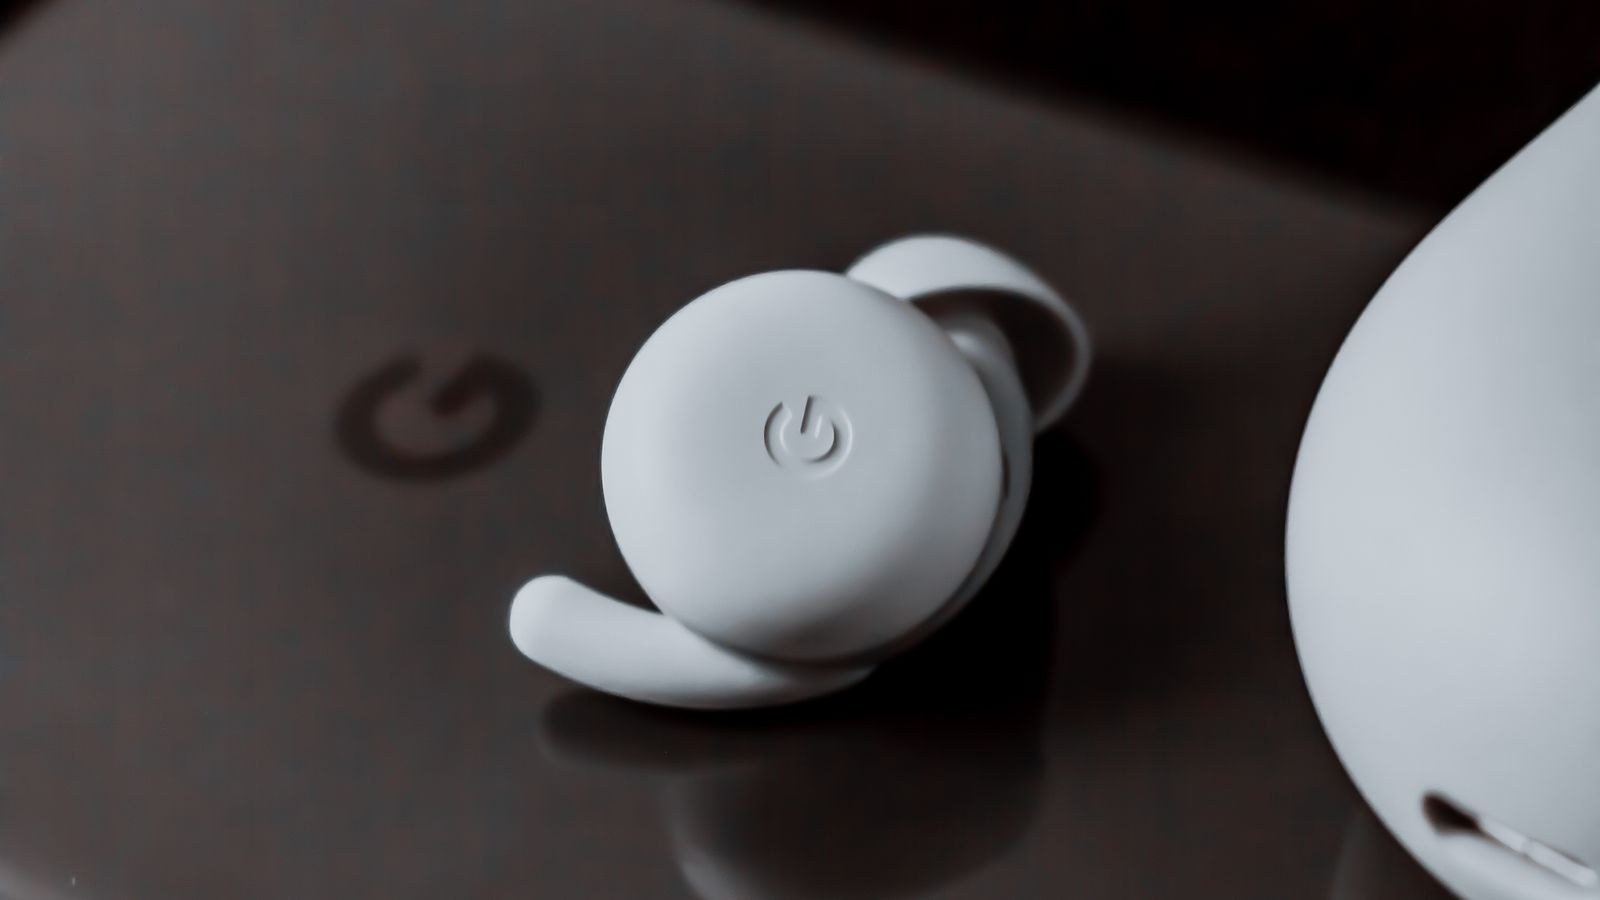
Sound leaves an earbud through a tiny opening covered by a fine mesh screen, often no larger than a grain of rice. Earwax, skin oil, and dust settle on that mesh and gradually block it. Because the blockage builds slowly, most people never notice a single moment when the audio changed. They simply find themselves nudging the volume up, then up again, until one day the left side is obviously quieter than the right.
Wax also affects the seal. Silicone or foam tips work by pressing gently against the ear canal walls, and any coating of grime reduces friction so the tip slips outward during a walk or a workout. A broken seal is the fastest way to lose bass and to make active noise cancellation feel weak, because ANC relies on a consistent acoustic chamber to cancel outside sound accurately. Cleaning restores the seal before you ever consider replacing the hardware. If your buds have never sealed well even when spotless, the tips themselves may be the wrong size, and a set from a well-fitting model in our roundup of the best in-ear headsets is worth comparing against what you own.
What You Need Before You Start
Gather everything first so you are not hunting for supplies with a wet bud in your hand. Nothing on this list is expensive or specialized.
- A dry soft-bristle brush. A clean, unused toothbrush works, and so does a makeup brush or a camera lens brush.
- Microfiber cloth. Lint-free and slightly more abrasive than tissue, which sheds fibers into the mesh.
- Wooden toothpick or plastic pick. Never metal. Metal scratches mesh and can puncture it.
- Cotton swabs. For housings and the case interior, not for pushing debris into ports.
- 70 percent isopropyl alcohol. Used sparingly, on the cloth or swab, never poured on the bud.
- Mild dish soap and warm water. For detached silicone tips only.
- Compressed air or a bulb blower. Optional, and only used at a distance and at low pressure.
Work over a table with good light and a towel underneath so a dropped tip does not roll away.
Step-by-Step: Cleaning Earbuds Safely
- Power the buds off and remove them from the case. Disconnect from your phone so a stray touch control does not blast audio into your hand or trigger a firmware action mid-clean.
- Pull off the ear tips. Grip the base of the silicone and roll it gently off the nozzle rather than yanking straight out, which stretches and eventually tears the sleeve. Set the tips aside in a small dish so they do not go missing.
- Dry brush the mesh first, always. Hold the bud nozzle down so gravity works with you and sweep the brush lightly across the screen. Most dried wax lifts off as powder. Never start with liquid, because moisture turns loose wax into a paste that gets driven deeper.
- Loosen stubborn spots with a wooden pick. Trace around the outer rim of the mesh, not across the center, and lift debris outward. If a plug does not move with light pressure, stop and repeat the brushing rather than forcing it inward.
- Wipe the housing with alcohol. Dampen a corner of the microfiber cloth or a cotton swab with 70 percent isopropyl until it is barely moist, then clean the plastic body, the touch surface, and around the microphone openings. The cloth should never drip.
- Clean the metal charging contacts. These small gold pads on the bud stem build up an invisible film that causes charging failures. A swab lightly dipped in alcohol, followed by a dry pass, restores contact.
- Wash the ear tips separately. Silicone tips can be washed in warm water with a drop of mild dish soap. Rub between your fingers, rinse thoroughly, and squeeze out excess water. Foam tips should only be wiped with a slightly damp cloth, as soaking destroys their memory-foam structure.
- Dry everything completely. Lay tips on a towel, mesh side down, for at least an hour, and preferably overnight. Reattaching a damp tip traps moisture against the driver and is one of the most common causes of a bud dying weeks after a cleaning.
- Clean the charging case. Brush lint from the bud wells, wipe the charging pins with a dry swab, and clear the lid hinge. A dirty case recontaminates clean buds within days.
- Reassemble and test. Push the dry tips fully back onto the nozzles, seat the buds in the case, and play a familiar track to compare the volume balance between left and right.
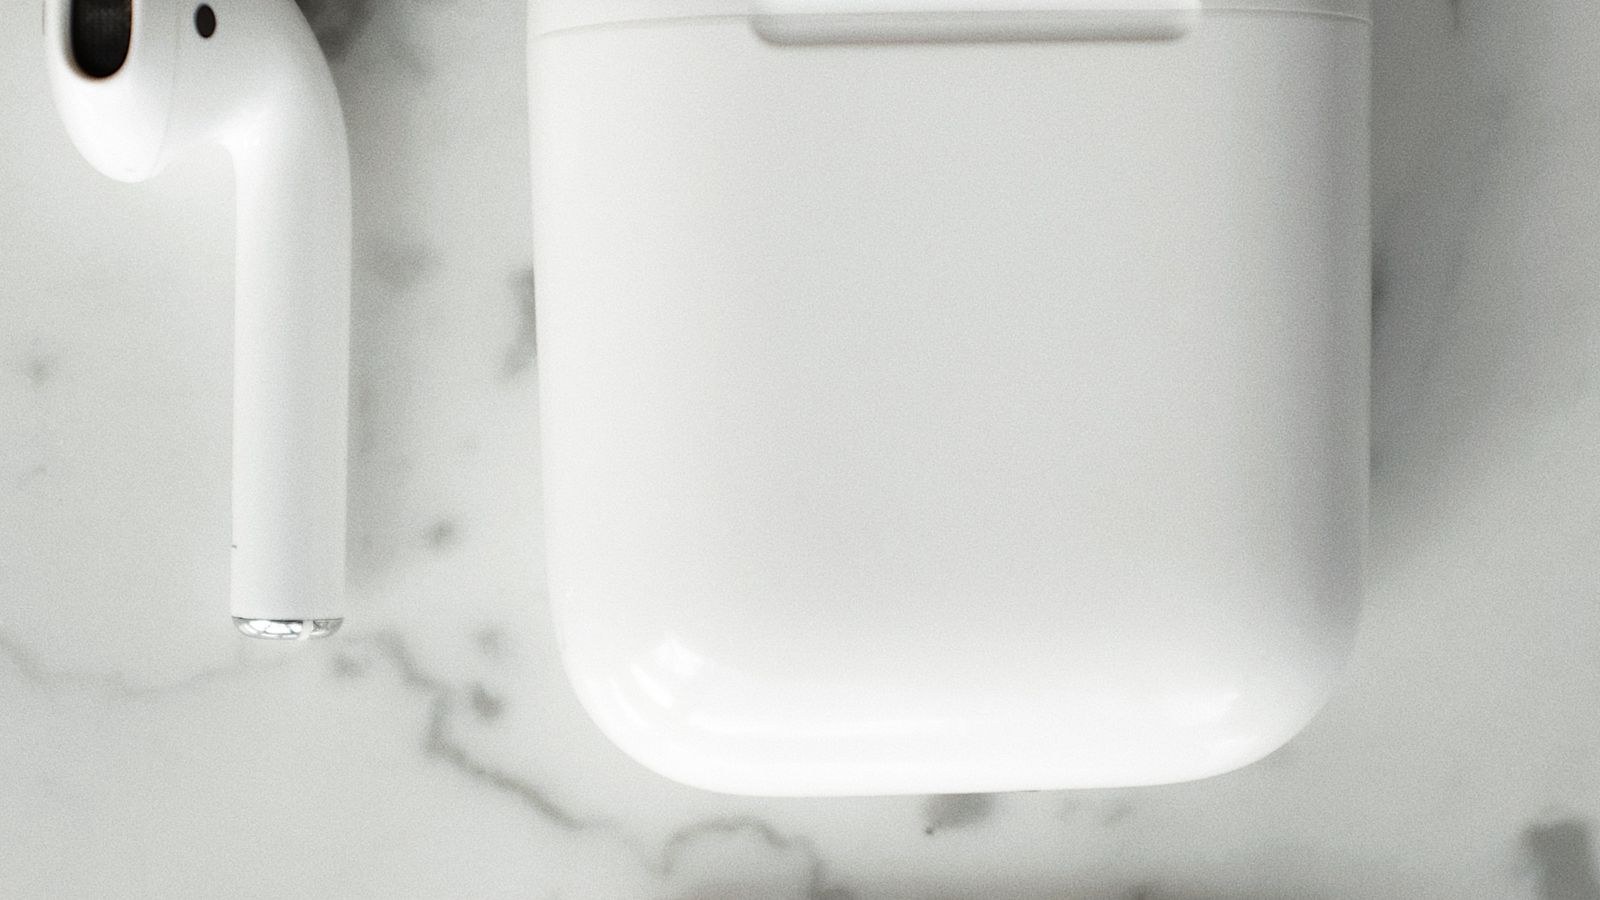
What Never to Use on Earbuds
Damage almost always comes from the cleaning method rather than the dirt. Keep these off your buds permanently.
- Running water or submersion. Even IPX-rated buds are only splash resistant, and water ingress voids most warranties.
- Metal pins, needles, or paperclips. One scratch through the acoustic mesh permanently changes the sound and lets debris reach the driver directly.
- High-concentration alcohol on silicone or foam. Anything above 70 percent dries out and cracks the rubber, ruining the seal.
- Bleach, vinegar, hand sanitizer gel, or window cleaner. These degrade plastics, leave sticky residue, and can irritate the ear canal.
- Compressed air held close and upright. Blasting straight into the nozzle drives debris onto the driver and can push liquid propellant inside.
- Tissue or paper towel on the mesh. Both shed fibers that lodge in the screen and are harder to remove than wax.
Cleaning Over-Ear and On-Ear Pads
The same principles apply to larger headphones, with one difference: the contact surface is a fabric or leatherette pad rather than a silicone tip. Wipe protein leather pads with a barely damp cloth and dry immediately, since standing moisture causes the coating to flake within a year. Velour and fabric pads can be removed on most models and hand washed, then air dried fully before reattaching. If your pads are already crumbling, replacement pads for a popular model cost far less than a new set, so pricing a replacement pad set against a new headset tells you whether repair or replacement makes more sense.
For headsets with a boom microphone, clean the foam windscreen separately and never spray anything directly at the capsule. A dry brush around the mic grille is usually enough. Owners of noise cancelling headsets should pay extra attention to the small external microphone ports on the earcup, since a blocked ANC mic reduces cancellation dramatically and is often mistaken for a hardware fault.
Building a Maintenance Routine
Cleaning is far easier when nothing has had time to harden. A simple three-tier schedule keeps the job to seconds most of the time.
- Daily: a quick wipe of the tips with a dry cloth before the buds go back in the case.
- Weekly: dry brush the mesh screens and wipe the housings with a lightly dampened cloth.
- Monthly: the full routine above, including detaching and washing tips and cleaning the case wells and pins.
Replace silicone tips roughly every six months, or sooner if they feel tacky, look discolored, or no longer grip the nozzle firmly. Tips are consumables, and a fresh set costs a fraction of a new pair while restoring both seal and comfort. If you use buds for the gym or commuting, keep a spare cloth in the same pocket as the case so the habit requires no extra effort. People who wear Bluetooth headsets for long call-heavy workdays should also clean the microphone mesh weekly, because voice quality complaints on calls are frequently a dust problem rather than a connection problem.
Troubleshooting After a Clean
If one side is still quiet after a full clean, the mesh is probably blocked beneath the surface. Some models sell replacement nozzle filters as a cheap spare part, which is a five-minute swap and the safest fix. Try the bud on a different source device first to rule out a channel balance setting that has drifted in your phone accessibility menu, since that produces identical symptoms and costs nothing to check.
If a bud stops charging after cleaning, the most likely cause is residual moisture bridging the contacts. Leave both the bud and the case open in a dry, room-temperature spot for a full day before trying again, and never use a hair dryer or radiator, as heat warps housings and damages the battery.
Persistent problems on only one channel after all of that usually point to genuine driver failure rather than dirt. At that stage, weigh repair cost against a replacement, and if you travel or commute daily, compact models from our list of the best portable headsets or the broader best wireless headsets roundup give you a sense of what current pricing looks like before you commit.
Frequently Asked Questions
How often should I clean my earbuds?
Wipe the tips daily, brush the mesh weekly, and do a full clean monthly. Daily gym or commuting use pushes that toward a full clean every two weeks, because sweat accelerates buildup considerably.
Can I use alcohol wipes on ear tips?
Sparingly, and only 70 percent isopropyl. Higher concentrations dry silicone until it cracks. For a deeper clean, soap and warm water on detached tips is gentler and more effective.
Is it safe to share earbuds after cleaning?
Cleaning reduces the risk substantially, but sharing still transfers bacteria between ear canals. If you share regularly, keep a separate set of tips for each person and swap them rather than sharing the same tips.
Why is one earbud quieter than the other?
Blocked mesh is the leading cause and usually resolves with dry brushing. If it persists, check the audio balance slider in your phone settings, then try a replacement nozzle filter before assuming the driver has failed.
Final Thoughts
Most earbuds that sound tired are not worn out; they are clogged. Dry brushing first, keeping liquid on the cloth rather than on the device, using wood instead of metal near the mesh, and drying everything completely before reassembly are the four habits that separate a successful clean from an expensive mistake. Add a quick wipe to your daily routine, swap tips twice a year, and keep the charging case as clean as the buds themselves. Do that and a decent pair will hold its original clarity, seal, and battery contact reliability for years rather than months, which is a better return than any upgrade you could buy this 2026.