Owen Bradley
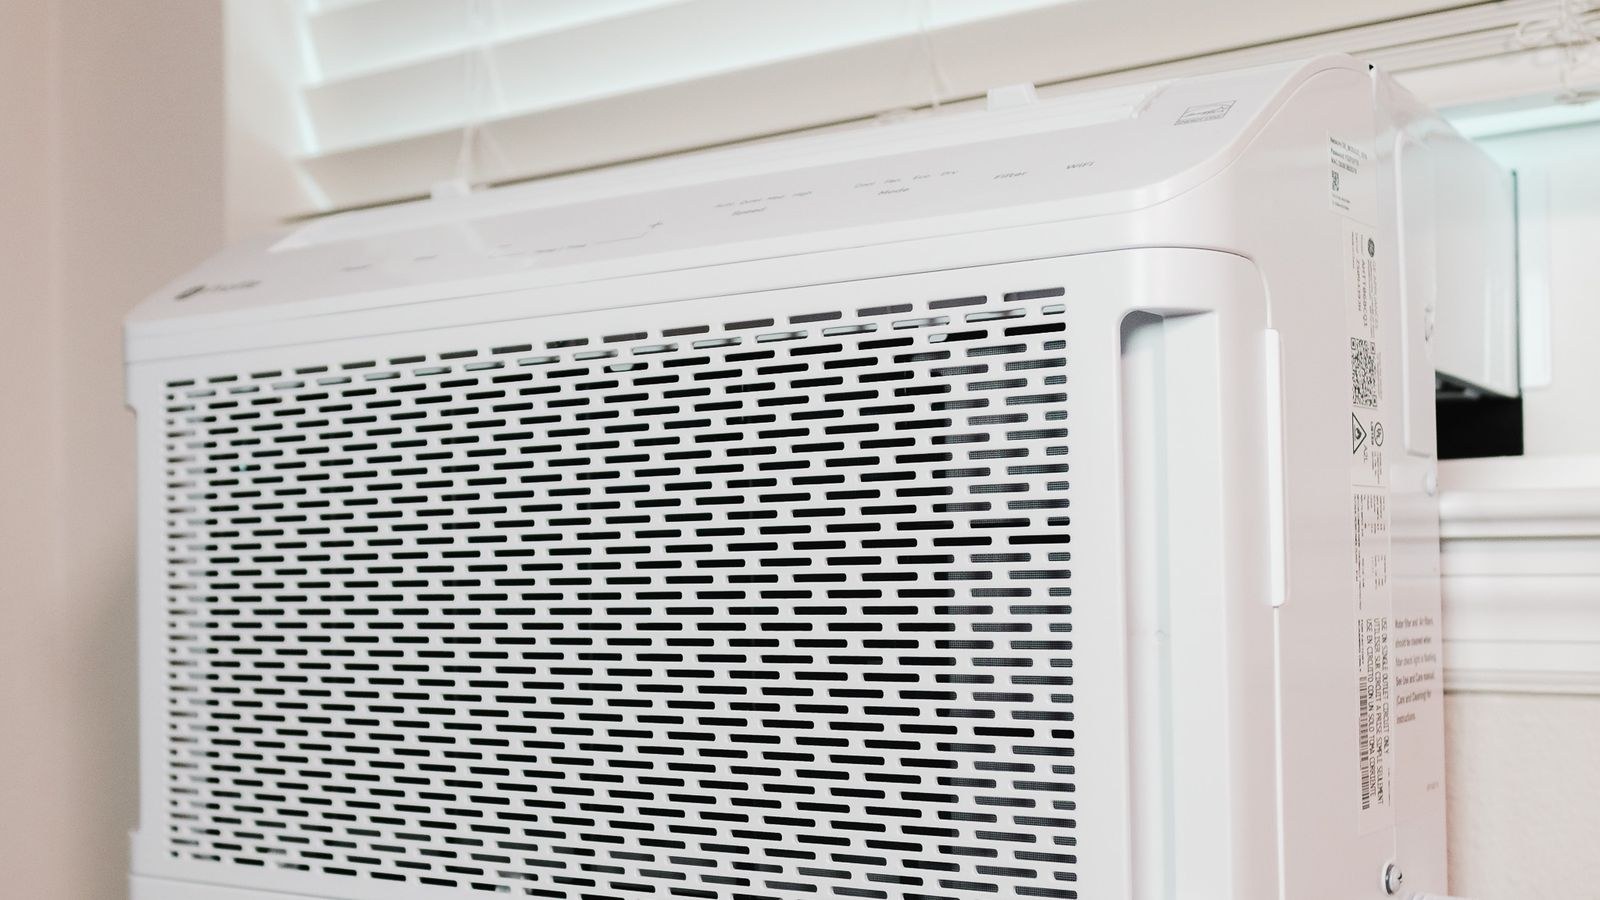
 Mini-split systems are quiet, efficient, and remarkably easy to neglect, largely because the indoor head sits high on a wall where nobody looks. Behind that smooth plastic face is a fine-finned evaporator coil, a long barrel-shaped blower wheel, and a drain pan that stays wet all summer. Dust, cooking grease, and airborne spores settle on those wet surfaces and build a film that restricts airflow, cuts capacity, and produces the sour smell many owners assume is just how mini-splits age. Cleaning a mini split head is a two-hour job you can do twice a year with household supplies, and it makes an immediate difference to both airflow and odor.
Why the Indoor Head Gets Dirty So Fast
During cooling, the evaporator coil runs below the dew point, so moisture condenses continuously across its surface. Any dust that slips past the mesh filters lands on wet aluminum and sticks. Over a season that becomes a felt-like mat between the fins, and the blower wheel picks up its own coating on every one of its dozens of small blades.
The consequences compound. Restricted airflow means less air crosses the coil, so the unit runs longer for the same cooling and the coil runs colder, which can lead to icing. The damp organic film on the wheel and drain pan is an ideal substrate for mold, which is the actual source of the musty odor that hits when the unit first starts. Regular cleaning addresses efficiency, air quality, and noise at the same time.
What You Will Need
- A stable step ladder tall enough to work at the head comfortably.
- A large plastic sheet or a fitted mini-split cleaning bag with a drain spout.
- A bucket, spray bottle, and old towels.
- Warm water with mild dish soap or a no-rinse evaporator coil cleaner labeled for indoor use.
- A soft brush, microfiber cloths, and cotton swabs for the blower vanes.
- A vacuum with a brush attachment for dry dust.
- A fin comb if any coil fins are bent.
- A wet/dry vacuum or drain-line pump for flushing the condensate line.
- Gloves and eye protection. Coil fins are sharp and cleaner can splash.
Step-by-Step: Cleaning the Mini-Split Head
- Cut power at the disconnect or breaker. The remote does not isolate the unit. Switch off the dedicated breaker or the outdoor disconnect and confirm the head is dead before touching anything inside the cabinet.
- Protect the wall and floor. Fit a cleaning bag around the head or tape plastic sheeting below it, angled into a bucket. Every drop of dirty water will run down the wall otherwise, and it stains.
- Open the front cover and remove the filters. Lift the hinged face panel until it latches, then slide the mesh filters out by their tabs. Note which side each came from if they differ.
- Wash the filters. Vacuum loose dust first, then rinse under lukewarm running water from the clean side outward. Use mild soap if greasy, never hot water, which can warp the plastic frame. Shake them out and let them air dry completely.
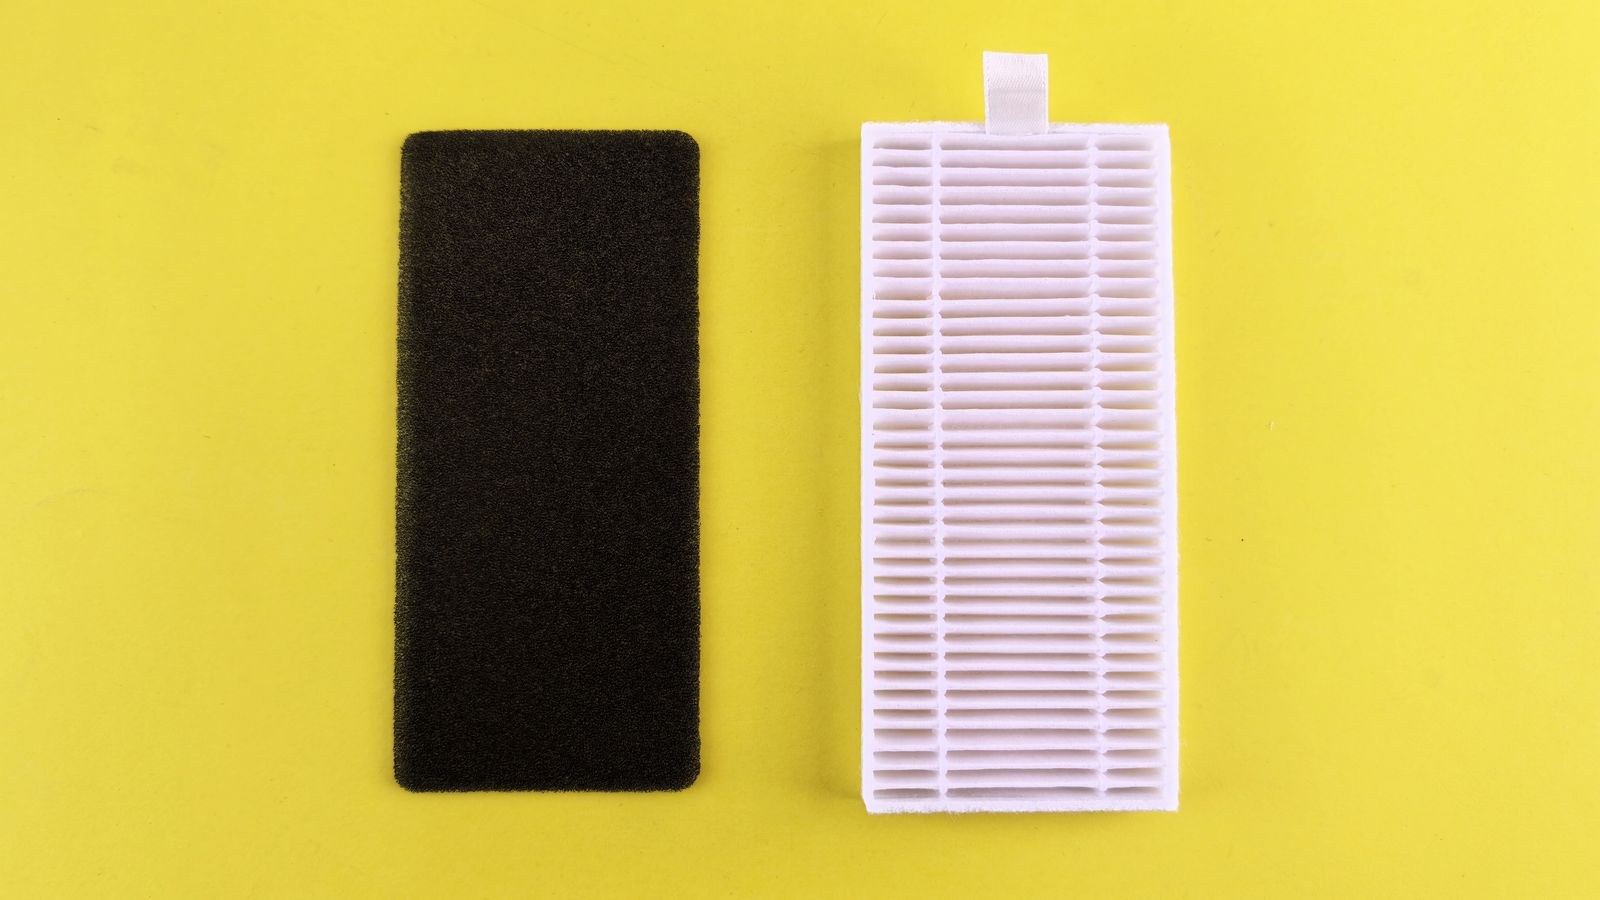
- Clean any secondary filters. Many heads carry small carbon, catechin, or ionizer cartridges clipped behind the main mesh. These are usually not washable. Vacuum them gently and replace them on the schedule in your manual.
- Vacuum the coil face. With a soft brush attachment, work vertically along the fins to lift dry dust without bending them. Never brush across the fins. Straighten any bent fins carefully with a fin comb.
- Spray the coil with cleaner. Apply an indoor-rated no-rinse coil cleaner or a light soapy solution evenly across the fins, top to bottom. Let it dwell for the time the label specifies so it can loosen the film, then rinse lightly with clean water in a spray bottle if the product requires rinsing.
- Clean the blower wheel. Reach behind the coil to the barrel-shaped wheel and rotate it by hand. Spray the vanes with soapy water and work along them with a brush or cotton swab, cleaning a section, rotating, and repeating. This step removes the most odor-causing buildup and is the one most people skip.
- Wipe out the drain pan. The shallow trough under the coil collects slime. Wipe it with a cloth soaked in soapy water, then rinse. If it feels slippery, clean again until the surface is smooth.
- Flush the condensate drain line. Locate the drain outlet outside or at the line’s low point and apply gentle suction with a wet/dry vacuum for a minute or two to pull any clog free. Then pour a cup of clean water into the pan indoors and confirm it exits promptly outdoors.
- Wipe the cabinet and louvers. Clean the front panel, the vertical vanes, and the horizontal louver with a damp cloth. Avoid solvents, which haze the plastic.
- Dry, reassemble, and restore power. Refit the fully dry filters, close the panel, remove the bag or sheeting, and restore the breaker. Run the unit in fan-only mode for fifteen minutes to dry the coil before switching to cooling.
Safety Precautions That Actually Matter
Water and electricity share a small space inside a mini-split head. Keep spray away from the control board, which usually sits behind a plastic cover on one end of the cabinet, and tape a plastic bag over it if you are working nearby. Never spray with the breaker on.
Do not touch the copper refrigerant lines or attempt to remove the coil from its mounting. Those connections are pressurized and any disturbance requires a licensed technician. Work from a proper step ladder rather than a chair, keep one hand free, and wear gloves because aluminum fins cut skin readily. If you are cleaning a head that already smells strongly of mold, wear a mask as well.
How Often Should You Clean?
Rinse the mesh filters every two to four weeks during heavy use. A filter takes five minutes and prevents most of the deeper fouling. Give the coil, blower wheel, and drain pan a full clean twice a year, ideally before the cooling season and again before the heating season if the unit is a heat pump.
Households with pets, smokers, or an open kitchen near the head should shorten those intervals. Coastal and dusty environments do the same. If anyone in the home has allergies or asthma, filter quality matters as much as frequency, and our comparison of the best air conditioner filters for allergies covers what actually captures fine particulate rather than just large dust.
Signs You Are Overdue
- A musty smell in the first minutes of operation. Classic sign of biofilm on the wheel and pan.
- Weak airflow with the fan on high. Usually a loaded coil or filter, not a failing fan.
- Water dripping from the front of the head. Almost always a blocked drain line or a fouled pan.
- Rattling or whistling noise. Debris on the blower wheel unbalances it and changes the sound.
- Longer run times for the same comfort. A dirty coil transfers heat poorly, so cycles stretch out.
When to Call a Professional
Deep cleaning has limits. If the coil is packed solid, if you find visible mold growth spreading into the cabinet insulation, or if the drain line will not clear with suction, a technician with a pressure washer and proper containment will do a far more thorough job. The same applies to any electrical fault, a fan motor that hums without turning, or refrigerant concerns such as ice on the copper lines.
An annual professional service also covers the outdoor condenser, refrigerant charge, and electrical connections that homeowner cleaning does not touch. If your whole-home comfort strategy is still taking shape, our overview of the best HVAC air conditioners explains where ductless systems fit against central equipment, and the best 3 ton air conditioners comparison covers the capacity range where a multi-zone mini-split competes directly with a ducted system.
Frequently Asked Questions
Can I use bleach to clean the drain pan?
Avoid it. Bleach corrodes aluminum fins and can damage plastic pan components over time. Mild detergent and thorough rinsing handle biofilm well, and dedicated evaporator cleaners are formulated to be coil-safe.
Do I need a mini-split cleaning bag?
It is not mandatory but it makes the job dramatically cleaner. A bag catches all runoff and channels it into a bucket, which matters when you are washing a coil mounted seven feet up a painted wall. Plastic sheeting and a helper can substitute.
Will cleaning stop the musty smell for good?
It removes the current growth, but the smell returns if the coil stays wet between cycles. Running fan-only mode for ten to fifteen minutes after cooling dries the coil and is the most effective long-term prevention. Many units offer this as a self-clean setting.
How much quieter will the unit be afterward?
A cleaned blower wheel and unobstructed coil often reduce noticeable rushing and rattling noise because air moves freely again. If a unit is still louder than you want, low sound ratings are worth prioritizing next time, as covered in our roundup of the best quiet air conditioners.
Is a mini-split worth it for a single problem room?
Often yes, because a ductless head cools one space efficiently without touching the rest of the house. Alternatives and trade-offs are compared in our guide to cooling a room without central air.
Final Thoughts
Cleaning a mini-split head is mostly about patience and protecting the wall. Kill the power, bag the unit, wash the filters, lift dust off the coil before wetting it, then spend real time on the blower wheel and drain pan where the odor lives. Flush the condensate line, dry everything, and finish with a fan-only run. Do that twice a year and rinse the filters monthly, and the head will move more air, run shorter cycles, and smell like nothing at all through 2026 and well beyond.