
 Owen Bradley
 A custom water cooling loop is the point where PC building stops being assembly and starts being plumbing. Unlike a sealed all-in-one unit, every joint in a custom loop is one you made yourself, which means the difference between a stunning quiet build and a soaked graphics card comes down to planning, patience, and a proper leak test. The good news is that none of the individual steps are difficult. The parts are standardised, the fittings thread together predictably, and the fill procedure is the same whether you are cooling one CPU or a CPU and two GPUs. What trips people up is order of operations. This guide takes you through planning, assembly, leak testing, and filling in the sequence that keeps water where it belongs.
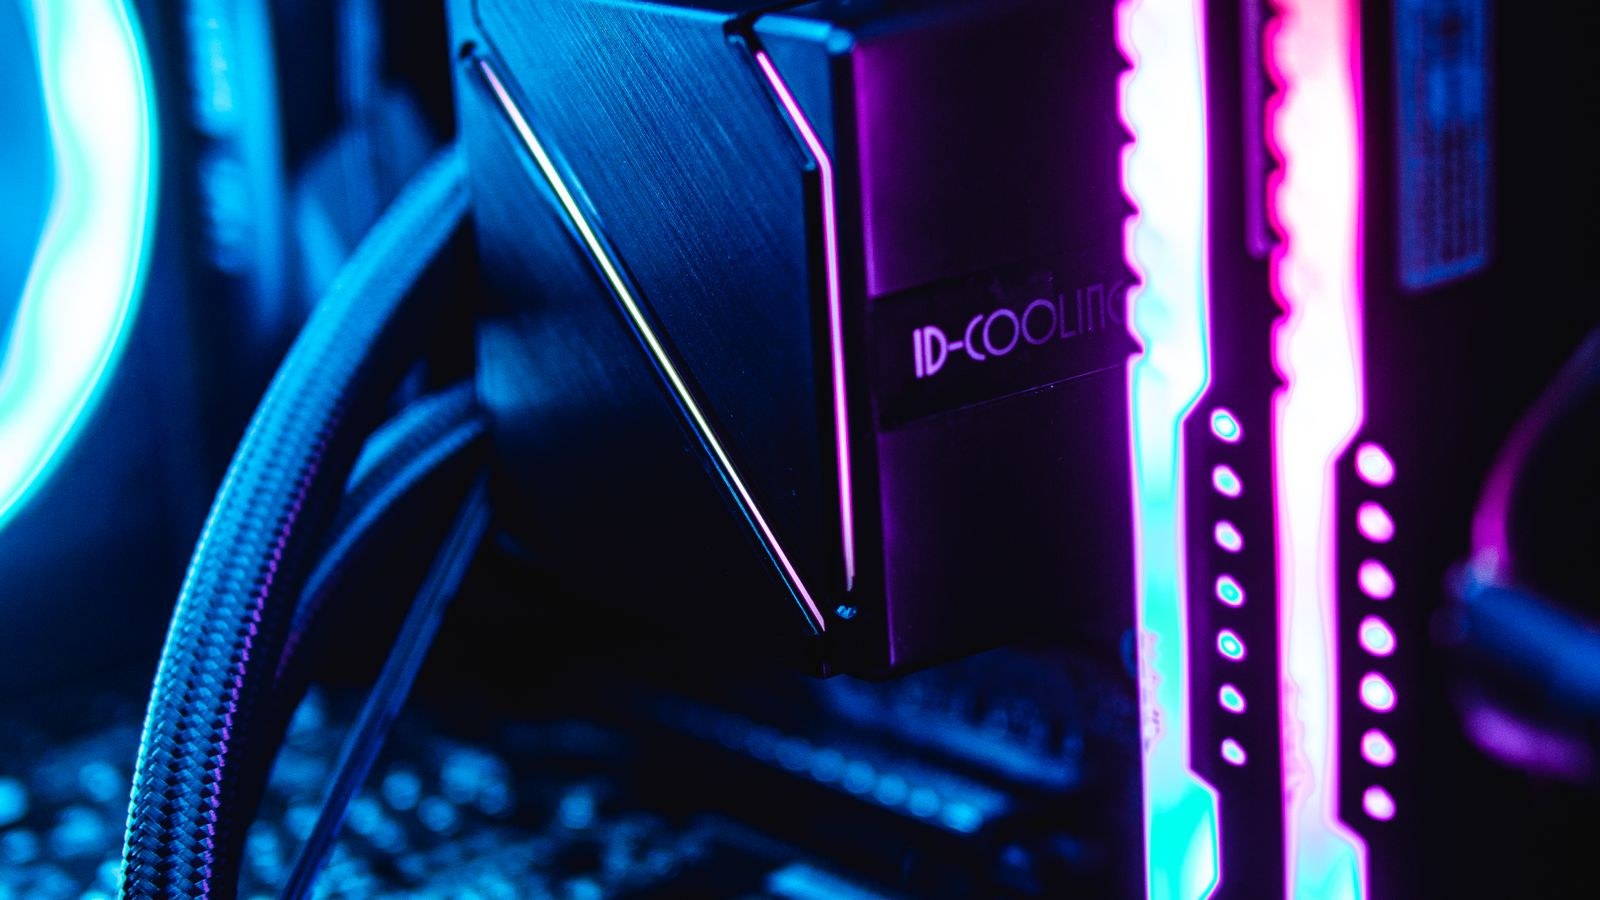
Parts You Need for a Custom Loop
Every loop, no matter how elaborate, is built from the same core components. Buy them as a set so thread sizes and tubing diameters match.
- CPU water block matched to your socket, and a GPU block matched to your exact card model and PCB revision.
- Radiator or radiators, sized by heat load. A rough planning figure is 120mm of radiator per major heat source, plus extra for quiet operation.
- Pump and reservoir, usually bought as a combined unit that simplifies mounting and filling.
- Tubing, either flexible soft tubing or rigid hardline in acrylic or PETG.
- Compression fittings sized to your tubing’s inner and outer diameter, plus a drain valve, a fill port, and a few angled fittings.
- Coolant, either premixed or concentrate, plus distilled water. Never use tap water.
- Fans with reasonable static pressure for the radiators, and a fan controller or hub.
- Tools: hex keys, a tube cutter, paper towels, and a 24-pin jumper for leak testing.
Planning the Loop Before You Buy
Loop order matters less than people assume. Water carries heat away regardless of sequence, so a few degrees is all that separates one arrangement from another. The one rule that genuinely matters is that the pump inlet must be fed directly from the reservoir. Pumps push well and pull badly, and starving one of water will destroy it in minutes.
A reliable and simple order is reservoir, pump, radiator, CPU block, GPU block, back to reservoir. Draw it on paper with the actual case in front of you and mark where each tube run will pass. Tube runs should be short, gently curved, and reachable for later maintenance.
Case choice dominates everything else. You need mounting points for the radiators, depth for radiator plus fan thickness, and somewhere sensible for a pump and reservoir. Start with the best PC cases for water cooling, and if you plan a dual-radiator loop check the best PC cases for large radiators for chassis that swallow a 360mm front and a 360mm top at once.
Should You Build a Custom Loop at All?
Be honest about the goal. A custom loop excels at cooling a CPU and GPU together at very low noise, and it looks spectacular. It does not usually beat a good sealed cooler by a large margin on CPU temperature alone, and it costs several times as much while requiring maintenance every year or two. If cooling the processor is the real aim, comparing the best liquid CPU coolers or the best CPU coolers for water cooling may get you most of the result for a fraction of the effort.
Step-by-Step Custom Loop Build
- Test the system before you start. Build and boot the PC with its stock coolers first and confirm everything works. Diagnosing a dead motherboard after the loop is plumbed in is miserable.
- Dry fit every component. Mount radiators, pump, reservoir, and blocks without tubing. Confirm nothing collides with RAM, drive cages, or the side panel, and that ports face the directions your plan assumed.
- Mount the radiators and fans. Fit fans with the correct airflow direction and use the short screws so you do not puncture the fin stack. Position radiators so the highest point of the loop is a radiator or the reservoir top, never the pump.
- Install the CPU block. Clean the CPU lid with isopropyl alcohol, apply a pea-sized dot of thermal paste suited to liquid cooling, then tighten the block’s screws in a diagonal cross pattern a little at a time for even pressure.
- Fit the GPU block. Strip the stock cooler, clean every thermal pad residue off, apply new pads at the exact thicknesses the block manufacturer specifies, paste the die, and tighten the block screws gradually in the order printed in its manual.
- Install fittings. Thread the compression fittings into every port hand tight, then a fraction more. O-rings do the sealing, so overtightening cracks acrylic ports rather than improving the seal.
- Cut and route the tubing. Measure each run with the tubing in place, cut square with a proper cutter, and deburr the end. For hardline, heat evenly with a heat gun over a silicone insert and bend slowly. Leave gentle curves rather than tight corners.
- Connect every run and add a drain. Seat each tube fully into the fitting before screwing the compression ring down. Place a drain valve at the lowest point of the loop, which makes future maintenance a five-minute job instead of an hour.
- Leak test with the system unpowered. Disconnect all component power. Use a 24-pin jumper so only the power supply and pump run. Fill the reservoir with distilled water or coolant, run the pump for a few seconds, top up, and repeat until the loop is full and the reservoir stays about two-thirds full.
- Run the leak test for hours. Leave the pump running for a minimum of two hours, ideally overnight, with paper towel laid under every fitting. Check each joint by touch, since a slow weep is easier to feel than to see.
- Purge the air. With the pump running, gently tilt and rock the case in each direction so trapped bubbles migrate to the reservoir. Top up as the level drops. Most of the gurgling disappears within the first day of use.
- Reconnect power and boot. Only after a clean leak test, reconnect the components, boot into the BIOS, and confirm pump RPM and idle temperatures before loading the system. Then set a flat, gentle fan curve, because the loop’s thermal mass means fans do not need to react quickly.
Leak Testing Properly Is Non-Negotiable
Nearly every horror story about custom loops begins with someone skipping or shortening the leak test. The only cost is time, and the payoff is knowing your fittings hold before electricity is anywhere near them. Use a jumper on the 24-pin connector so the power supply spins the pump with the motherboard and graphics card fully disconnected. If you have access to a pressure tester, pressurising the loop to a modest level and watching the gauge hold is even more thorough than a water test.
Pay closest attention to the joints you struggled with, hardline bends near a fitting, and any port where you felt the thread bite unevenly. A fitting that needed extra force is a fitting to watch.
Maintenance and Coolant Care
A loop is not a fit-and-forget system. Plan to drain, flush, and refill roughly once a year, more often if you used a coloured or opaque coolant, which can leave deposits in blocks and radiator channels. Clear premixed coolant with corrosion inhibitors and a biocide is the low-maintenance choice.
Avoid mixing metals where you can. Copper blocks with aluminium radiators in the same loop cause galvanic corrosion that clogs fins within months, so keep the wetted metals consistent. Dust radiators regularly, since a clogged fin stack ruins performance far faster than any coolant issue.
Mistakes That Ruin First Builds
The most damaging is filling and powering the system in one go, with no separate leak test. Second is placing the pump above the radiators, which lets air collect in the impeller and kills the pump early. Third is buying a GPU block without matching the exact card variant, because PCB layouts differ even between cards with the same model name. Fourth is overtightening fittings into acrylic reservoir ports and cracking them. Fifth is using tap water or a coloured dye without inhibitors, which invites growth and staining that no amount of flushing fully removes.
Frequently Asked Questions
How long does a custom loop take to build?
Budget a full weekend for a first build. The physical assembly might take four to six hours, but leak testing, air purging, and inevitable re-runs of a tube add up. Rushing is exactly how mistakes happen.
Soft tubing or hardline?
Soft tubing is far more forgiving, cheaper, and easier to route around obstacles, so it is the sensible first choice. Hardline looks better but requires accurate measurement, heat bending practice, and more patience.
Do I need to cool the GPU too?
Not necessarily, but a CPU-only custom loop is hard to justify against a good sealed cooler. Bringing the graphics card into the loop is where the noise and temperature benefits become genuinely significant.
What if I find a small leak after filling?
Stop the pump, drain the loop from the drain valve, dry everything thoroughly, and reseat the offending fitting. Do not power components on with a known weep, however slow it looks.
Final Thoughts
A custom water cooling loop rewards planning more than skill. Choose a case with real radiator support, feed the pump straight from the reservoir, keep the pump low in the loop, use matched metals and clean coolant, and above all leak test with the components disconnected for hours before you trust it. Add a drain valve so future maintenance is trivial rather than dreaded. Follow that sequence and the build becomes what it should be: an extremely quiet, extremely cool machine you enjoy looking at, rather than a story about a soaked graphics card.









