Owen Bradley
 Winter is when outdoor security cameras are needed most and when they are most likely to fail. Batteries that lasted four months in summer die in three weeks. Lenses fog, then freeze over. Wi-Fi range shortens, motion detection triggers on falling snow every ninety seconds, and the one night you actually want footage, the camera has been offline since Tuesday. Winterizing your home security cameras for cold weather is a two-hour job in autumn that prevents nearly all of it. This guide covers battery strategy, sealing and mounting, lens treatment, network resilience, and the settings changes that stop snow from filling your event log.

What Cold Actually Does to a Camera
Three separate problems combine, and each has a different fix.
Batteries lose capacity. Lithium-ion cells deliver dramatically less usable energy below freezing, and they typically stop accepting charge entirely below about 32°F. A camera rated for four months of battery life in mild weather may manage two to three weeks in a hard freeze, and a solar panel attached to it will contribute almost nothing because the cell cannot take the charge.
Moisture gets in and condenses. Warm, humid air trapped inside a housing condenses on the cold lens, producing fog that no amount of remote rebooting will clear. Repeated freeze-thaw cycles work moisture past marginal seals and into connectors.
Detection goes haywire. Falling snow, blowing ice crystals, and the sharp thermal contrast of a warm object against a frozen background all confuse motion algorithms. PIR sensors in particular behave differently when the ambient temperature is far below body temperature, extending their effective range and picking up things they would ignore in summer.
Tools and Supplies
- Exterior-grade silicone sealant, and dielectric grease for connectors.
- Self-amalgamating rubber tape for cable joints, which outperforms electrical tape outdoors.
- Microfiber cloths, isopropyl alcohol, and an automotive rain-repellent treatment.
- Weatherproof outdoor junction boxes for any exposed connections.
- Lithium primary batteries or a cold-rated rechargeable pack, if your cameras are battery powered.
- A camera housing hood or a small awning if the mounting spot is exposed.
- A ladder, a screwdriver, and a phone with the camera app open.
Do this work on a dry autumn day above freezing. Sealant does not cure properly in cold, and working on a ladder in ice is not worth the saved trip.
Step-by-Step Winterizing
- Check the operating temperature rating. Look up the minimum rated temperature for each camera. Many consumer models are rated only to -4°F, some just to 14°F. If your winters routinely go below that, the camera needs relocating to a sheltered position or replacing with a genuinely cold-rated unit.
- Clean the lens and housing. Remove dirt, cobwebs, and summer’s insect residue with a microfiber cloth and isopropyl alcohol. Grime holds moisture, which then freezes on the lens.
- Apply a rain-repellent treatment. A thin coat of automotive glass repellent on the lens cover makes water bead and run off rather than sitting and freezing. Reapply every four to six weeks through winter.
- Inspect and reseal every entry point. Check the cable gland, the mounting screws, and the housing seam. Run a bead of exterior silicone around any gap where the cable enters the housing or the wall. Water that gets in and then freezes will crack a housing open.
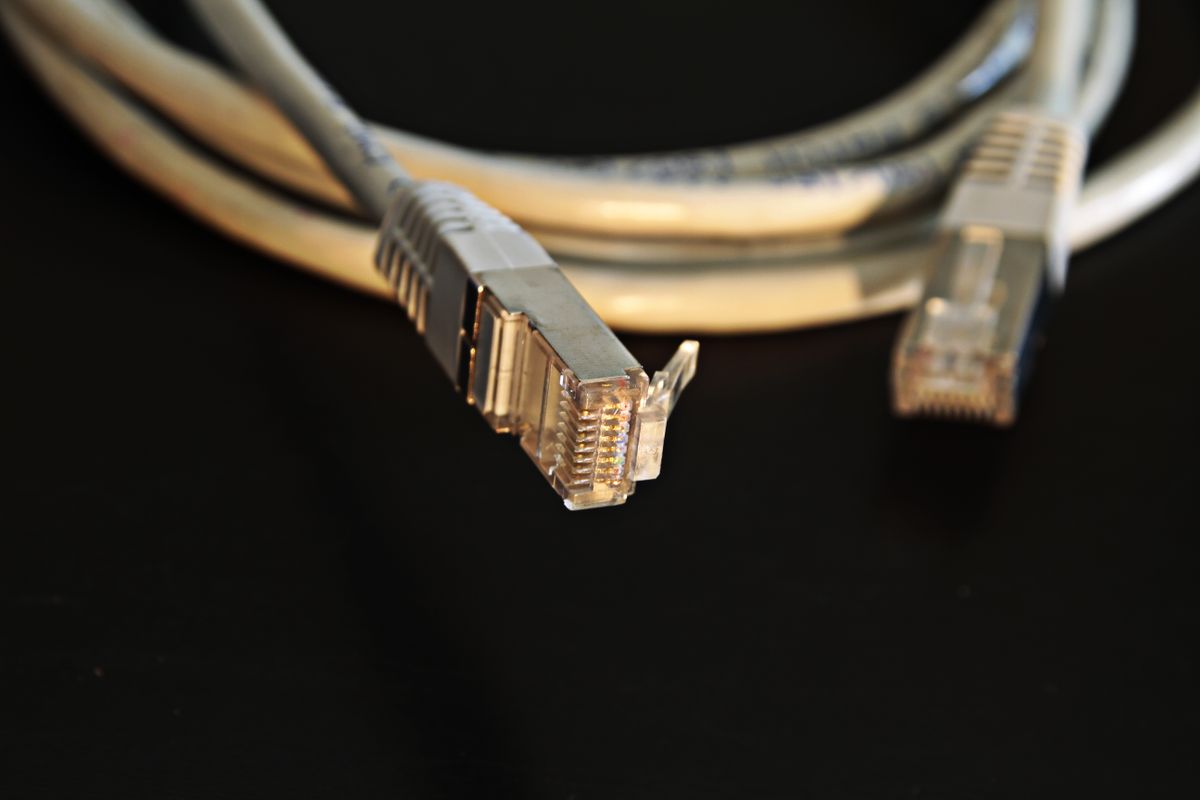
- Protect the connectors. Pack RJ45 and power connectors with dielectric grease, wrap them in self-amalgamating tape, and house them in a weatherproof junction box. Exposed connectors are the most common winter failure point on wired systems.
- Add a hood or reposition under an eave. Mounting under an overhang shields the lens from direct snow accumulation and cuts ice buildup enormously. If relocation is impossible, fit a sun-shield hood, which works just as well against snow.
- Angle the camera slightly downward. A downward tilt sheds snow rather than letting it accumulate on the top face of the lens cover.
- Address the batteries. Swap alkaline cells for lithium primaries, which perform far better in the cold. For rechargeable units, either bring them inside to charge every few weeks or, better, convert them to continuous power with a weatherproof low-voltage cable.
- Test everything before the first freeze. Confirm live view, night vision, recording, motion alerts, and cloud or local storage on every camera. Fixing a fault in November is much easier than in January.
Power: The Decision That Matters Most
If you take one action from this guide, make it moving battery cameras to permanent power for the winter. A camera on a wired low-voltage supply or Power over Ethernet simply does not have a cold-weather battery problem, and PoE has the added advantage of carrying data and power over one cable that you can seal at a single point.
Where wiring is genuinely impossible, plan around the limitation. Keep a second charged battery indoors and rotate it every two to three weeks. Reduce recording quality and clip length to stretch capacity. Turn off continuous recording and rely on event triggers. Accept that a solar panel will contribute little between December and February in northern latitudes, and clear snow off the panel whenever you clear the lens. When comparing hardware for a system that has to survive real winters, the current lineup of best wireless camera security systems shows how widely low-temperature ratings and power options vary between models that otherwise look similar.
Settings to Change for Winter
Hardware preparation only gets you halfway; the software needs seasonal adjustment too.
- Lower motion sensitivity by one or two steps so falling snow stops triggering alerts.
- Enable person and vehicle detection if available, and disable generic motion alerts. Object recognition ignores precipitation almost entirely.
- Redraw your activity zones. Exclude the sky, tree branches, and any area where drifting snow accumulates. Tighten zones to doors, walkways, and the driveway.
- Extend the retrigger interval to reduce battery drain from repeated short clips during a storm.
- Reconsider infrared night vision. IR reflects brilliantly off falling snow, producing a screen of white streaks. If you have a spotlight or a color night mode, it often gives far more usable footage in snow than IR does.
- Shorten clip length on battery cameras from 60 seconds to 20 or 30.
- Turn on offline notifications so you learn a camera has dropped out the same day rather than a week later.
Network Resilience in Winter
Wi-Fi range effectively shortens in winter for practical reasons: storm windows go on, doors stay closed, and wet snow on exterior walls attenuates the signal. A camera that held a marginal connection in August may drop repeatedly in January.
Check the signal strength reading for each camera in your app now, and address anything below about 50%. A mesh node in a garage or a sunroom, or an outdoor-rated access point, usually fixes it. Put your router and any network video recorder on a small uninterruptible power supply, since winter storms bring outages and a camera system that loses its recorder is recording nothing. If your system supports local storage on an SD card as well as cloud upload, enable both, so an internet outage does not mean lost footage.
Common Mistakes to Avoid
- Scraping ice off a lens cover with a hard tool, which permanently scratches the optics. Use lukewarm, never hot, water and a soft cloth.
- Pouring hot water on a frozen camera; thermal shock cracks housings and lens covers.
- Sealing a housing so completely that trapped humid air has nowhere to go, which causes internal fogging. Respect the manufacturer’s vent or desiccant provisions.
- Relying on a solar panel through a northern winter.
- Using ordinary electrical tape on outdoor connections, which unwinds and admits water within a season.
- Leaving motion sensitivity at summer levels and then muting alerts entirely out of frustration, which defeats the purpose of the system.
- Mounting a camera above a spot where roof ice dams form and drip.
Mid-Winter Checks
Set a reminder to walk the perimeter every two to three weeks. Clear snow off lens covers, hoods, and solar panels. Check each camera’s live view and signal strength in the app. Look for ice buildup around cable entries, and for any housing that has shifted or drooped under snow load. Confirm recordings are still landing wherever they are supposed to. Five minutes per check is enough, and it catches problems while they are still trivial.
Frequently Asked Questions
How cold is too cold for a security camera?
Check the specification, but most consumer models are rated to somewhere between 14°F and -4°F. Below the rated minimum, expect battery failure, sluggish response, and possible permanent damage.
Why does my camera fog up in winter?
Warm humid air trapped in the housing condenses on the cold lens. Reseal the cable entry, replace or add a desiccant pack if your model uses one, and improve shelter so the housing does not swing through such extreme temperature changes.
Will a solar panel keep my camera charged through winter?
Rarely in cold climates. Short days, low sun angle, snow cover, and the fact that lithium cells will not accept charge below freezing all combine to make solar unreliable in midwinter.
How do I stop snow triggering constant alerts?
Lower motion sensitivity, switch to person and vehicle detection, tighten activity zones to exclude open sky and drifting areas, and extend the retrigger interval.
Should I take my cameras down for winter?
No. Winter brings long nights and more package theft, making cameras more valuable, not less. Winterize them properly and leave them in place.
Final Thoughts
Winterizing security cameras is mostly about removing single points of failure before the weather finds them for you. Get the cameras onto permanent power, seal every connector and cable entry, shelter each lens under an eave or hood, treat the glass so water runs off, and retune motion detection so snow does not bury your alerts. Two hours in October buys you a system that keeps watching straight through the worst months, which is the only time of year it truly has to.