Owen Bradley
 Landscape lighting looks effortless when it works: the path glows at dusk, the facade washes warm, and everything shuts off quietly after midnight without anyone touching a switch. Getting there means setting up a schedule rather than a switch, and the right approach depends on whether your fixtures run off a low-voltage transformer, a smart plug, or their own solar panels. This guide covers how to set up landscape lighting on a timer or a solar schedule, including where to place fixtures, how to program dusk-to-dawn and astronomic modes, how to size a transformer, and what to change as the seasons shift the sunset by three hours.

Three Ways to Automate Outdoor Lighting
Before touching a fixture, decide which control method fits your setup, because it determines everything else.
- Low-voltage transformer with a built-in timer. The standard for wired landscape lighting. A 12V transformer plugs into a GFCI outlet, feeds buried cable, and its onboard timer or photocell controls everything at once. Most reliable, most flexible, requires running cable.
- Solar fixtures with onboard sensors. Each light has its own panel, battery, and dusk sensor. No wiring at all, but the “schedule” is limited to what the battery supports, and performance drops sharply in winter and in shade.
- Smart plug or smart transformer. A Wi-Fi controlled outlet or transformer running an astronomic clock through an app. Gives you sunset-relative scheduling, remote control, and seasonal adjustment automatically.
Many homes end up with a hybrid: wired lighting on the main paths and facade, plus solar accents in far corners where running cable is not worth the trench.
Tools and Materials
- Low-voltage transformer sized for your load, with a digital timer or photocell.
- Direct-burial landscape cable in the correct gauge, typically 12/2 or 14/2.
- Waterproof wire connectors rated for direct burial, not indoor wire nuts.
- A flat spade or edging tool for the cable trench, plus a mallet for fixture stakes.
- Wire strippers, a multimeter for checking voltage at the far end of a run, and a GFCI-protected exterior outlet.
- Marking flags or spray paint, and a tape measure.
Call 811 or your local utility locating service before digging anything, even a shallow trench. Landscape cable trenches are shallow, but irrigation lines, invisible fence wire, and gas lines to a grill are not always where you assume.
Step-by-Step: Wiring and Scheduling
- Plan the layout in daylight. Place a marking flag at every intended fixture. Path lights go 6 to 8 feet apart along walkways, staggered rather than lined up like an airstrip. Uplights sit 12 to 18 inches from a tree or wall. Aim for pools of light with dark space between, not uniform brightness.
- Total the wattage. Add up every fixture’s rating and multiply by 1.25 for headroom. A transformer should run at no more than about 80% of its rated capacity, so twelve 4-watt LED fixtures totaling 48 watts is comfortable on a 60-watt unit.
- Mount the transformer. Fix it to a wall or post at least 12 inches above grade, within reach of a GFCI outlet, and out of sprinkler spray. Do not plug it in yet.
- Lay the cable on the surface first. Run it along the fixture line without burying it. Leave a service loop of extra cable at each fixture.
- Connect the fixtures. Strip the leads and join them to the main run with waterproof direct-burial connectors, matching polarity where the fixture requires it. Gel-filled connectors are worth the small extra cost.
- Test before burying. Plug in the transformer and confirm every fixture lights. Check voltage at the last fixture on each run with a multimeter; anything below about 10.5V means the run is too long or the wire gauge too thin, and you should split it into two runs off separate terminals.
- Bury the cable. Cut a slit trench 4 to 6 inches deep with a flat spade, tuck the cable in, and close the turf over it. Keep it clear of areas you regularly aerate or edge.
- Program the timer. Set the schedule using one of the modes described below, then confirm it triggers correctly on the first evening.
Choosing a Schedule That Actually Works
There are four common timer modes and they behave very differently across the year.
- Dusk-to-dawn (photocell). Lights on when ambient light drops, off at first light. Simple and always correct, but it burns fourteen hours a night in midwinter, which most people neither need nor want.
- Dusk-plus-duration. The most practical setting. The photocell triggers at dusk, then the timer runs for a fixed number of hours. Five to six hours covers the evening and shuts off around midnight, and it self-corrects as sunset moves through the seasons.
- Fixed clock times. On at 6:00 p.m., off at 11:00 p.m. Fine in principle, but sunset shifts by roughly three hours between summer and winter, so you will be resetting it every six to eight weeks or watching lights come on in broad daylight.
- Astronomic clock. Found on smart transformers and app-controlled units. You enter your location once and the controller calculates sunrise and sunset every day, letting you say “on at sunset, off at 11:30 p.m.” and never touch it again.
For most homes, dusk-plus-six-hours is the right answer on a basic transformer, and sunset-to-midnight with a separate low-level dawn window is ideal on a smart one. If you want a split schedule, an evening block plus a short pre-dawn block for early commuters, you need either a smart controller or a transformer with multiple independently timed terminals.
Setting Up Solar Fixtures
Solar lights have no schedule to program in the conventional sense; they run until the battery is spent. Your job is to maximize how long that lasts.
Position panels where they get six or more hours of direct sun, facing south in the northern hemisphere, and angled rather than flat so they shed rain and leaves. Keep them away from the throw of your other landscape lights, since artificial light hitting the sensor prevents the fixture from ever switching on. Before first use, let new units charge for two full days with the switch off, which conditions the battery.
Expect eight or more hours of runtime in summer and as little as three or four in midwinter, when the sun is low and the days short. Many models offer a high/low or a motion-triggered mode; running on low roughly doubles the hours you get from the same charge. Wipe the panels monthly, because a film of pollen or dust cuts charging noticeably. When comparing what to buy for a mixed wired-and-solar setup, the current selection of best landscaping lights shows how much fixture quality and battery capacity affect real-world runtime.
Seasonal Adjustments
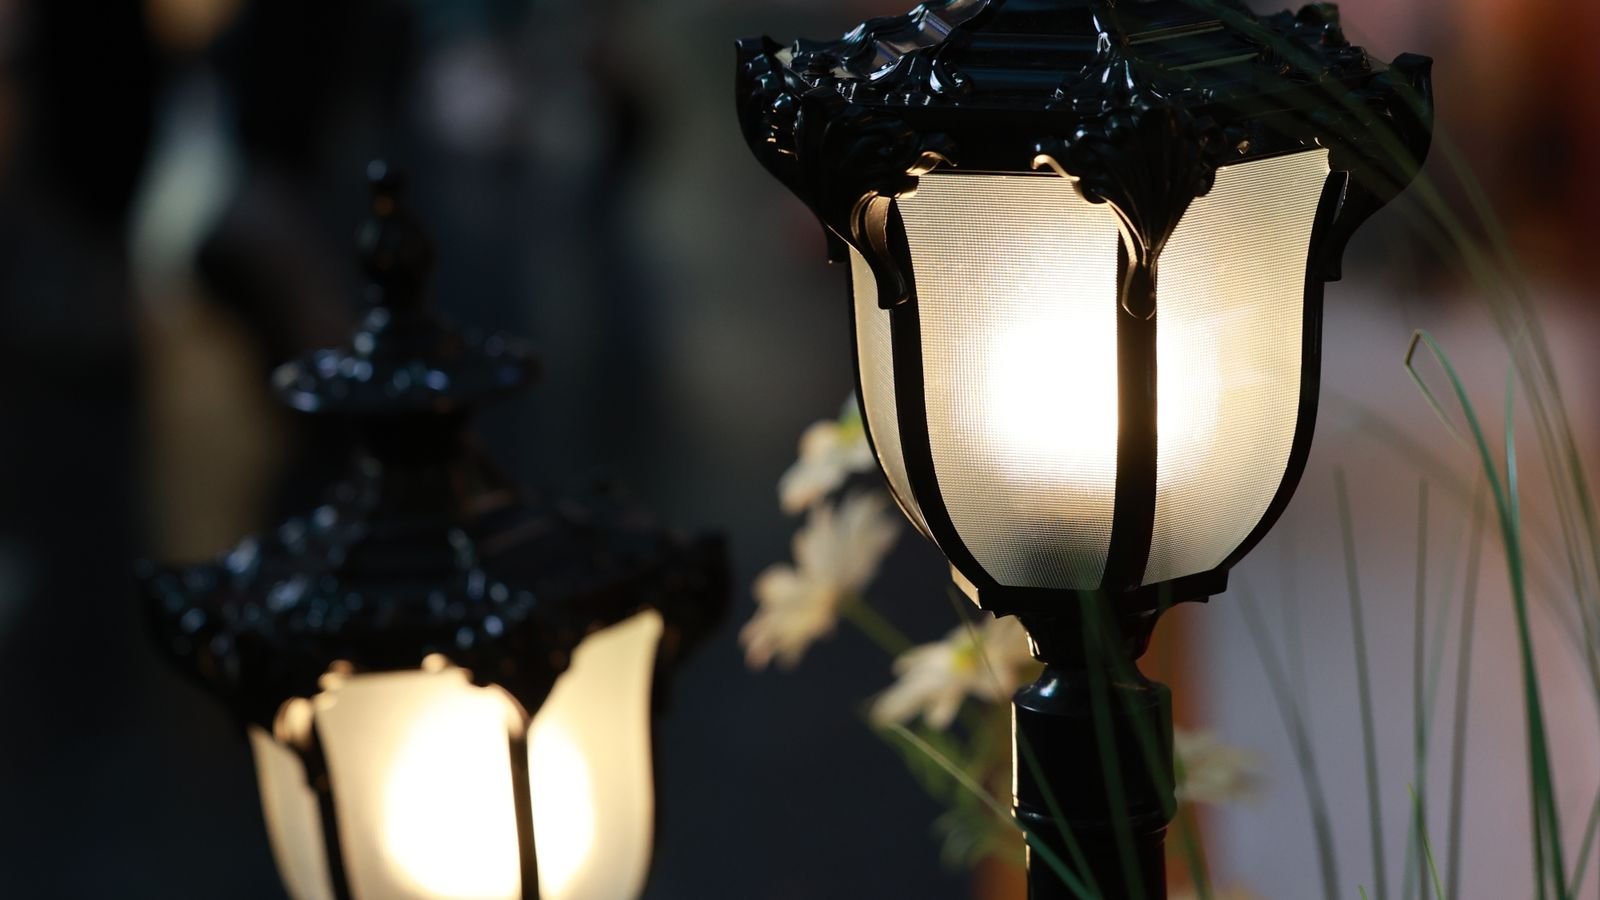
Even a good schedule needs a little attention four times a year. At the daylight saving changeover, verify the transformer clock followed along; many basic units do not. In late autumn, clear leaves off solar panels and off any recessed well lights, which fill with debris quickly. In winter, drop the runtime by an hour to spare solar batteries in cold weather, since capacity falls sharply below freezing. In spring, trim the plantings that grew over your path lights during the season, and re-aim any uplights that shifted when the ground heaved with frost.
Common Mistakes to Avoid
- Overloading the transformer past 80% of its rating, which shortens its life and dims the far end of every run.
- Using indoor wire nuts underground; they wick water and corrode within a season.
- Running one long daisy chain instead of splitting into shorter runs, causing visible voltage drop.
- Mounting the photocell where a porch light or a passing car shines on it.
- Placing solar fixtures under an eave, a tree canopy, or in the shade of a hedge.
- Lighting everything evenly, which flattens the landscape instead of shaping it.
- Burying cable directly under a lawn edge or a spot you routinely dig.
Frequently Asked Questions
How many hours should landscape lighting run each night?
Five to six hours from dusk covers the evening for most households. Full dusk-to-dawn operation is worth it only for security lighting at entry points.
Can I put my transformer on a smart plug?
Yes, and it is one of the cheapest upgrades available. Use an outdoor-rated smart plug, set the transformer to always-on, and let the plug handle the astronomic schedule.
Why are the last few lights on my run dimmer?
Voltage drop. Split the circuit into two shorter runs from separate transformer terminals, or move up to a heavier cable gauge.
Do solar lights work in winter?
They work, but runtime drops substantially because of shorter days, lower sun angle, and cold-reduced battery capacity. Keep panels clear of snow and expect three to four hours rather than eight.
Should path lights be evenly spaced?
Space them 6 to 8 feet apart and stagger them side to side. Perfectly aligned, evenly spaced lights read as a runway rather than a garden path.
Final Thoughts
Good landscape lighting is a matter of two decisions made well: put the fixtures where they shape the space rather than flood it, and put the schedule on something that tracks sunset instead of the clock. Dusk-plus-duration on a properly sized transformer handles the wired side, well-placed panels handle the solar side, and a seasonal check four times a year keeps both running. Get those right and the system disappears into the background, which is exactly what good outdoor lighting should do.