Owen Bradley
 Choosing the right tile sealant for a shower floor is a decision that determines whether your shower stays watertight for a decade or starts leaking into the subfloor within two years. The confusion is understandable, because “sealant” covers three genuinely different products: penetrating sealers that soak into porous tile and grout, surface sealers that form a film on top, and flexible silicone caulk that seals the movement joints. A shower floor needs the right one in the right place. This guide explains which is which, how to pick based on your tile type, and how to apply it so it actually lasts.
The Three Products People Call “Sealant”
- Penetrating (impregnating) sealer. A thin liquid that soaks into porous material and lines the pores from within, repelling water while letting the tile breathe. It does not change the appearance or create a slippery layer. This is the correct choice for shower floors in almost every case.
- Topical or surface sealer. Forms a visible film on the surface, often with a gloss or wet-look finish. On a shower floor it is generally a poor idea: it becomes dangerously slippery when wet, traps moisture underneath, and peels or yellows over time.
- Silicone or hybrid caulk. A flexible bead used at changes of plane — the floor-to-wall junction, corners, and around the drain. This is not optional, and it is not interchangeable with grout. Rigid grout in a movement joint cracks; flexible caulk absorbs the movement.
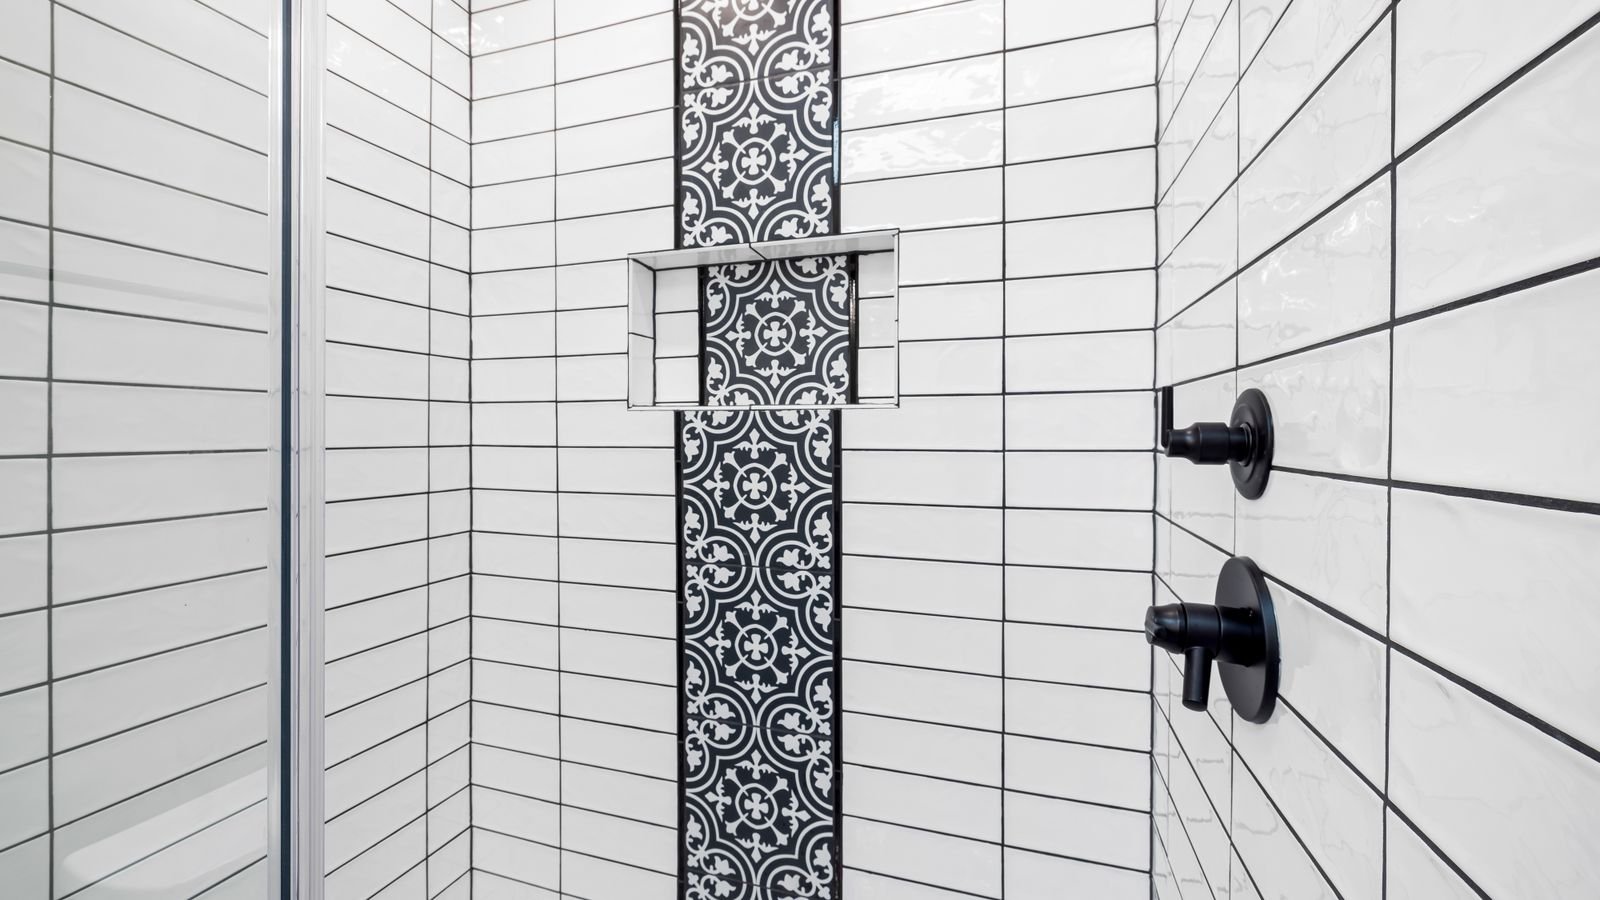
A properly sealed shower floor typically uses a penetrating sealer across the field and grout, plus silicone caulk in every corner and change of plane.
Does Your Tile Actually Need Sealing?
Not all tile does, and sealing something that does not need it wastes money and can leave a hazy residue.
- Porcelain, glazed ceramic and glass: The tile faces themselves are effectively non-porous and do not need sealing. The grout between them does.
- Natural stone — marble, travertine, slate, limestone: Porous and absolutely requires sealing, often more than once. Stone in a shower is the highest-maintenance option.
- Unglazed porcelain, quarry tile and terracotta: Porous and needs sealing.
- Cement-based grout: Porous and needs sealing on any shower floor.
- Epoxy grout: Non-porous and does not need sealing at all. It is harder to install but essentially maintenance-free afterwards.
The quick field test: sprinkle a few drops of water on the tile and grout and wait five minutes. If the water darkens the surface or soaks in, it is porous and needs sealer. If it beads up and sits there, either the material is non-porous or an existing sealer is still working.
Matching Sealant to Material
For natural stone floors
Use a solvent-based or high-quality water-based impregnating sealer specifically labelled for natural stone, and check it is safe for the particular stone. Marble, travertine and limestone are calcareous and can be etched by acidic cleaners, so pair the sealer with a pH-neutral cleaning routine. Expect to reseal every one to two years in a shower.
For cement grout with porcelain or ceramic tile
A dedicated grout sealer, applied precisely to the joints, is enough. Water-based penetrating grout sealers are easy to work with, low odour and perfectly adequate for residential showers. Reseal every one to two years.
For small mosaic floors
Mosaic shower floors have far more grout per square foot than large-format tile, which means far more porous surface. Here it is often faster to apply the sealer across the whole floor rather than trying to trace every joint, provided the sealer is rated for the tile as well as the grout.
For the movement joints
Use 100 percent silicone or a modern hybrid MS polymer sealant rated for wet areas, ideally with a mildewcide. Avoid acrylic latex caulk in a shower — it is easier to tool but shrinks, cracks and grows mould far sooner. Match the caulk colour to your grout so the joints read as continuous.
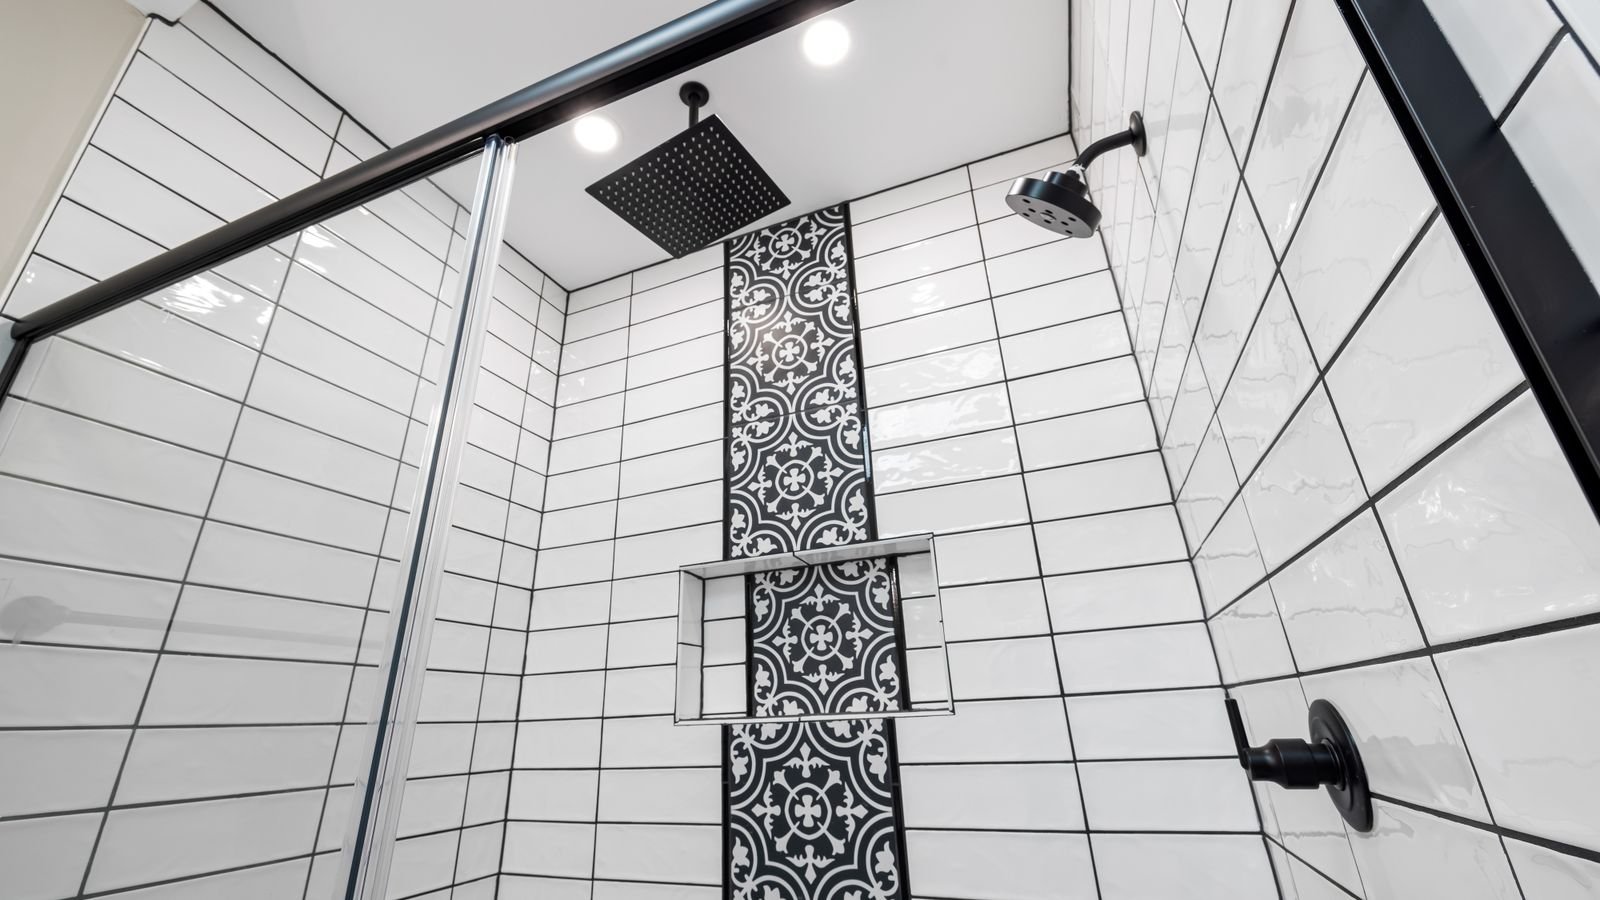
Step-by-Step: Applying the Sealer
- Wait for new installations to cure. New grout needs at least 48 to 72 hours before sealing, and thinset beneath a new floor needs longer. Sealing too early traps moisture and causes hazing and efflorescence.
- Clean the floor thoroughly. Use a pH-neutral tile cleaner and a soft brush. Remove all soap scum, mineral deposits and any old failing sealer — a sealer only bonds to a genuinely clean surface. On stone, never use vinegar or acidic descalers.
- Let it dry completely. Allow at least 24 hours of drying time. Grout must be bone dry throughout, not just at the surface, or the sealer cannot penetrate.
- Ventilate and protect. Open a window, run the extractor and wear gloves and eye protection. Solvent-based sealers particularly need good airflow. Mask off the shower base, fittings and any adjacent surfaces.
- Test in an inconspicuous spot. Apply a small amount in a corner and let it dry. Check for colour change, darkening or haze before committing to the whole floor.
- Apply evenly with the right applicator. Use a foam brush or applicator bottle with a roller tip for grout lines, or a lambswool applicator for full-floor stone coverage. Work in manageable sections and keep a wet edge.
- Let it dwell, then wipe off the excess. This is the step people get wrong. Give the sealer the dwell time on the label — usually 5 to 15 minutes — then wipe all excess off the tile surface with a clean dry cloth before it dries. Sealer left to dry on the surface leaves a hard, cloudy film that is difficult to remove.
- Apply a second coat if the label calls for it. Porous stone usually needs two coats. Respect the recoat window stated on the container.
- Cure before use. Keep the shower completely dry for the full cure period, commonly 24 to 72 hours. Using it early is the most common reason a sealing job fails within months.
- Caulk the movement joints last. Once the sealer has cured, apply silicone to the floor-to-wall junction, the internal corners and around the drain. Cut the nozzle small, lay a continuous bead and tool it smoothly. Do not seal these joints with grout.
Common Mistakes to Avoid
- Using a topical gloss sealer on a shower floor. It creates a slip hazard and traps moisture in the substrate.
- Sealing damp grout. Traps water, causes haze, and blocks proper penetration.
- Letting excess sealer dry on the tile. Wipe it off within the dwell window every time.
- Grouting the corners instead of caulking them. Rigid grout in a movement joint always cracks, and that crack is a direct route to the substrate.
- Using acidic cleaners on sealed stone. Vinegar and lime-scale removers strip sealer and etch calcareous stone.
- Assuming sealer is permanent. It wears. A shower floor is the most demanding surface in the house and needs periodic renewal.
- Treating sealer as waterproofing. It is not. Waterproofing is the membrane beneath the tile. Sealer only reduces surface absorption and staining.
Maintaining a Sealed Shower Floor
Once sealed, keep the floor working with a light routine. Squeegee the floor after showers to reduce standing water and mineral deposits. Clean weekly with a pH-neutral cleaner rather than a harsh bathroom spray. Run the extractor fan for at least 20 minutes after every shower — ventilation does more to prevent mould in grout than any sealer. Repeat the water-drop test every six months, and reseal when the water stops beading and starts darkening the grout. Inspect the silicone joints annually and cut out and replace any bead that is peeling, cracked or mouldy rather than caulking over it. If the tile itself is deteriorating rather than the sealer, reviewing the best tiles for shower floors will show which materials need the least ongoing sealing — porcelain mosaic with epoxy grout being about as low-maintenance as a shower floor gets.
Frequently Asked Questions
Do I need to seal porcelain shower tile?
The porcelain itself, no — it is effectively non-porous. The cement grout between the tiles, yes, unless you used epoxy grout.
How often should a shower floor be resealed?
Roughly every one to two years for cement grout and natural stone in a regularly used shower. Use the water-drop test rather than the calendar to decide.
Can I seal over old sealer?
Only if the existing sealer is intact and the surface is clean. If water is soaking in, the old sealer has failed and should be cleaned off first so the new coat can penetrate.
Is silicone or grout better for shower floor corners?
Silicone, without exception. Corners and floor-to-wall junctions are movement joints and need a flexible sealant. Grout there will crack.
Will sealer make my shower floor slippery?
A penetrating sealer will not, because it leaves nothing on the surface. A topical gloss sealer absolutely will, which is why it should not be used on a shower floor.
Final Thoughts
Choosing tile sealant for a shower floor comes down to three decisions: use a penetrating sealer rather than a topical one, match it to whether your tile is stone or porcelain and whether your grout is cement or epoxy, and use flexible silicone in every movement joint. Then apply it to a genuinely clean, fully dry surface, wipe the excess before it dries, and give it the full cure time before the first shower. Add a squeegee habit and a good extractor fan, and the floor will stay sound long after the initial job is a distant memory.