
 Owen Bradley
 A fire extinguisher is only useful if it is where you need it, still charged, and able to discharge on the first squeeze of the handle. All three of those things depend on storage and routine inspection rather than on the extinguisher itself. Units left in a hot garage, buried behind boxes in a utility cupboard, or standing on a damp concrete floor for a decade have a habit of failing at exactly the moment they are needed. The good news is that a monthly check takes under a minute and requires no tools at all. This guide covers where to store a household extinguisher, how to read the pressure gauge, what a proper inspection looks like, and when a unit has to be serviced or replaced.
Why Storage Matters as Much as the Extinguisher
Most household extinguishers are stored-pressure dry chemical units. A charge of powder sits inside the cylinder under pressure from an inert gas, usually nitrogen. Two things can go wrong in storage. The pressure can leak away slowly through the valve stem or a perished O-ring, leaving you with a full cylinder that will not discharge. Or the powder itself can compact into a solid cake at the bottom of the cylinder, so the propellant blows straight past it and you get a puff of gas rather than a smothering cloud.
Vibration, temperature swings and long periods of standing undisturbed all accelerate caking. Humidity and salt air accelerate corrosion around the valve and the base. Choosing the right spot and giving the unit a shake now and then addresses both problems directly.
Where to Store a Home Fire Extinguisher
- Mounted on a wall bracket, not on the floor. Floor storage invites corrosion from damp concrete and means the unit gets shoved behind things.
- At an accessible height so an adult can lift it off the bracket in one motion, typically with the handle between waist and shoulder height.
- Near an exit route, not deep inside the hazard. The right position lets you fight a small fire with your back to the door and retreat if it grows.
- One in the kitchen, but mounted several feet from the cooker rather than directly above it, so you are not reaching over flames.
- One in the garage or workshop, where fuel, solvents and electrical tools concentrate the risk.
- One near the boiler or furnace, and one on each additional floor of the home.
- Out of direct sunlight and away from heat sources. Most units are rated for roughly 40 to 120 degrees Fahrenheit; a car boot or an uninsulated loft routinely exceeds that.
- Visible and unobstructed. If you have to move a coat or a bin to reach it, it is in the wrong place.
- Known to everyone in the household. An extinguisher nobody can find is decorative.
What You Will Need for an Inspection
- Good light, or a torch, to read the gauge and the label clearly
- A dry cloth for wiping dust off the gauge face and cylinder
- An inspection tag or a small notebook for recording dates
- A pen
- A soft brush for clearing debris from the nozzle
Step-by-Step: Checking Pressure and Condition
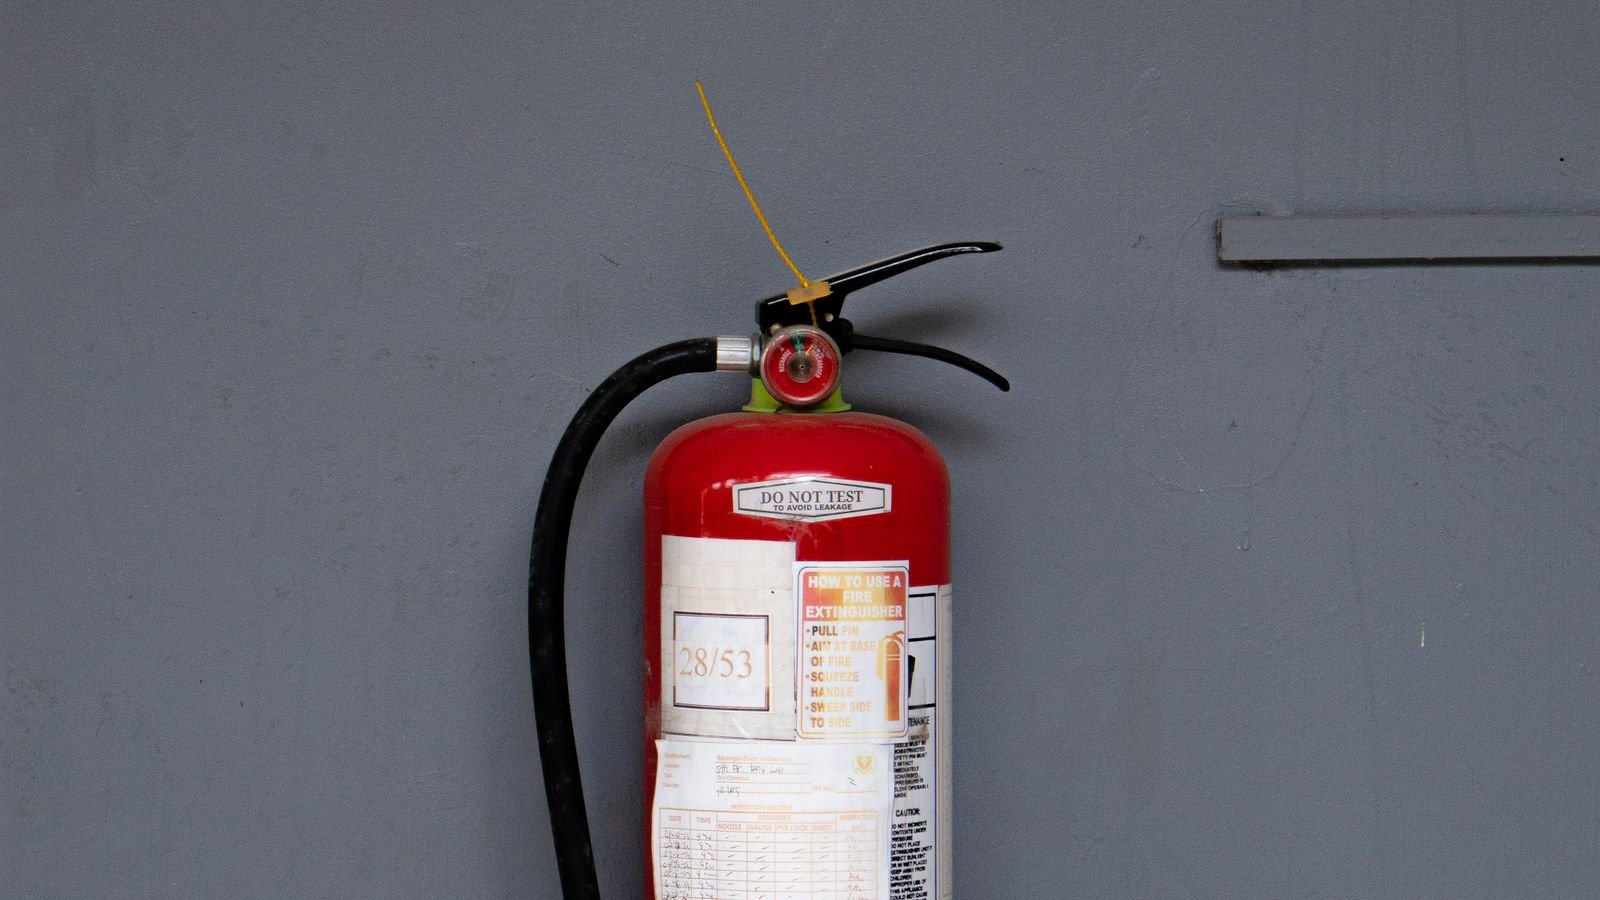
- Confirm the unit is where it should be. Before touching anything, check the extinguisher is on its bracket, unobstructed, and that the label faces outward so it can be read at a glance.
- Read the pressure gauge. The dial has three zones. The green band in the centre means the unit is correctly charged. The zone to the left marked undercharged means pressure has been lost and the extinguisher will not discharge properly. The zone to the right marked overcharged usually indicates heat exposure and makes the cylinder unsafe to handle. The needle should sit squarely in the green.
- Tap the gauge gently. Needles occasionally stick. A light tap with a fingernail confirms the reading is live rather than frozen in place.
- Check the safety pin and tamper seal. The pin must be fully seated and the plastic tamper seal intact. A broken seal means the unit has been partially discharged or handled, and even a one-second discharge leaks enough pressure to require a recharge.
- Inspect the cylinder body. Look for dents, deep scratches, rust, flaking paint, or corrosion around the base and the neck. Any of these condemn the unit. A corroded cylinder under pressure is a hazard in its own right.
- Examine the hose and nozzle. The hose should be free of cracks and splits, and the nozzle clear of dust, insects and debris. Clear obstructions with a soft brush, never by poking something rigid into the outlet.
- Check the handle and lever. They should be undamaged and free of paint or grime that could jam them.
- Invert and shake the unit. Turn a dry chemical extinguisher upside down and give it a firm shake or strike the base with the heel of your hand, then return it upright. This breaks up compacted powder. Do this at least twice a year, more if the unit lives somewhere that vibrates.
- Check the dates on the label. Note the manufacture date and any service or hydrostatic test dates. Disposable units are generally good for around ten to twelve years from manufacture.
- Weigh it if you are unsure. The label states the gross weight. A unit noticeably lighter than its stated weight has lost agent even if the gauge still reads green.
- Record the inspection. Write the date and your initials on the tag. A dated record makes it obvious at a glance when a check has been skipped.
How Often to Check
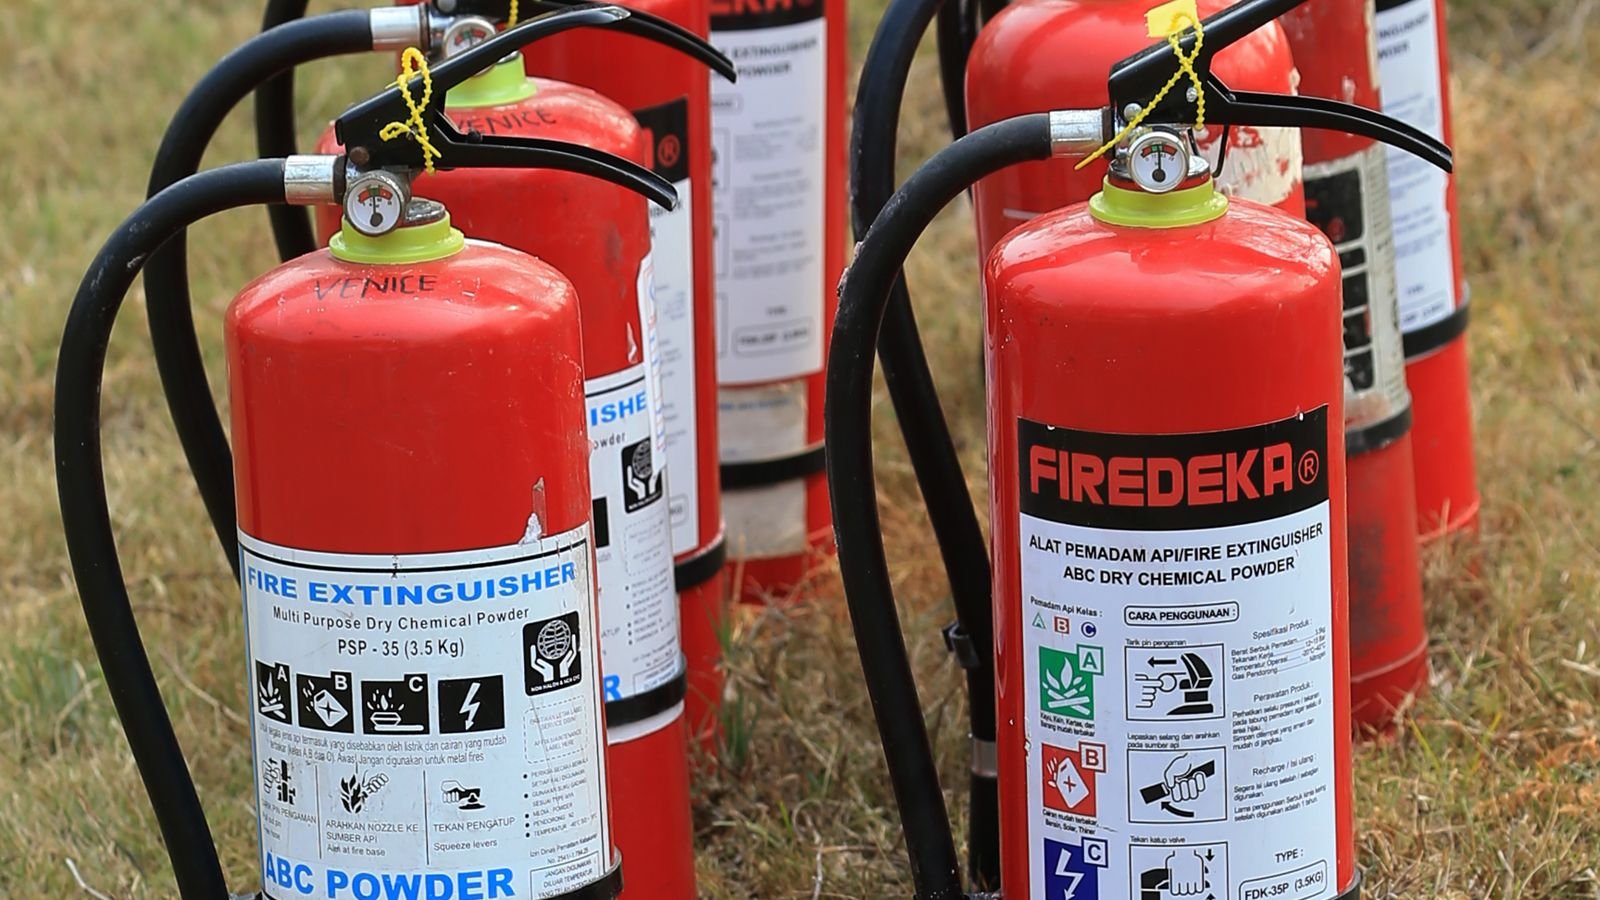
Do the quick visual check monthly: gauge in the green, pin in place, seal intact, unit accessible. Do the full inspection including the shake and the weight check every six months. Rechargeable units should be professionally serviced annually and hydrostatically tested at the interval printed on the label, typically every five to twelve years depending on the cylinder type. Disposable units cannot be recharged or tested and are simply replaced at the end of their life.
Choosing the Right Extinguisher for Each Room
Household coverage usually means a multipurpose ABC dry chemical unit, which handles ordinary combustibles, flammable liquids and live electrical equipment. Kitchens benefit from a dedicated wet chemical unit rated for cooking oil fires, because dry powder aimed at a hot pan can splash burning grease. Garages and workshops want a larger capacity than the small emergency canisters sold for cars. If you are building out coverage for the first time, comparing capacities and mounting options across a shortlist of best home fire extinguishers is a practical starting point.
While you are auditing fire readiness, it is worth thinking about what survives a fire rather than just what fights it. Deeds, passports, backup drives and insurance paperwork stored in an ordinary drawer will not, and a guide to the best fire resistant safes covers the ratings that actually matter for paper and media. Detection completes the picture, since an extinguisher is only useful if you learn about the fire while it is still small; the units covered in this roundup of the best fire alarms pair naturally with extinguisher placement on each floor.
Common Mistakes to Avoid
- Storing it in the car boot or an uninsulated loft. Temperature extremes drive pressure loss and powder caking faster than anything else.
- Test-squeezing the handle. Even a brief discharge vents enough propellant to require a full recharge. Never test-fire an extinguisher you intend to keep.
- Leaving it on the floor. Damp, knocks and clutter all shorten its life and delay access.
- Ignoring a needle just outside the green. Marginal is not acceptable; have the unit recharged or replaced.
- Painting or labelling over the gauge or instructions. You need both readable under stress.
- Buying one extinguisher for a whole house. Fires do not wait while you run downstairs.
- Never shaking a dry chemical unit. Compacted powder is invisible from outside and is a leading cause of failure to discharge.
Frequently Asked Questions
What does it mean if the gauge is in the red on the right side?
The unit is overcharged, almost always because it has been exposed to high temperatures. Do not handle it more than necessary, move it away from heat, and have it professionally inspected or disposed of. Overpressure is a rupture risk.
Can I recharge a home fire extinguisher myself?
No. Recharging requires the correct agent, the right propellant pressure and a leak test, all done with specialist equipment. Small disposable units are not designed to be recharged at all and should be replaced. Larger metal-valve units can be recharged by a certified service company.
How do I dispose of an old extinguisher?
Do not put a pressurised cylinder in household waste. Contact your local recycling centre or fire service, many of which accept them, or return it to a fire equipment supplier. If the unit is fully discharged and depressurised, the empty cylinder can usually go into scrap metal recycling.
Should the extinguisher go in the kitchen or the hallway?
Both, ideally. The kitchen unit should be mounted on the escape side of the room so you are never trapped behind the fire, and a second unit in the hallway covers the rest of the ground floor and gives you a fallback if the kitchen becomes unreachable.
Does the extinguisher still work if it has never been used?
Not necessarily. Age, temperature cycling and powder compaction degrade a unit whether or not it has ever been fired. That is exactly why the gauge check, the shake and the manufacture date all matter more than whether the seal is unbroken.
Final Thoughts
Storing a fire extinguisher well is mostly about resisting the temptation to tidy it away. Mount it in the open, at an exit, at a sensible height, in a room that does not bake in summer. Then build the monthly gauge glance into an existing routine and the six-monthly shake into whatever seasonal maintenance you already do. Those two habits, plus honest attention to the manufacture date, cover almost everything that causes a home extinguisher to fail.









