
 Owen Bradley
 A smart thermostat is one of the few home upgrades that pays for itself, but only if you install it correctly and then actually configure it. Plenty of people mount one, connect it to Wi-Fi, and leave it running the manufacturer’s generic default schedule, which often costs more than the old dial it replaced. The install itself is a straightforward hour of work for most forced-air systems, and the setup that follows is where the savings live. This guide covers wiring checks, the physical swap, network pairing, schedule programming, and the settings worth changing on day one.
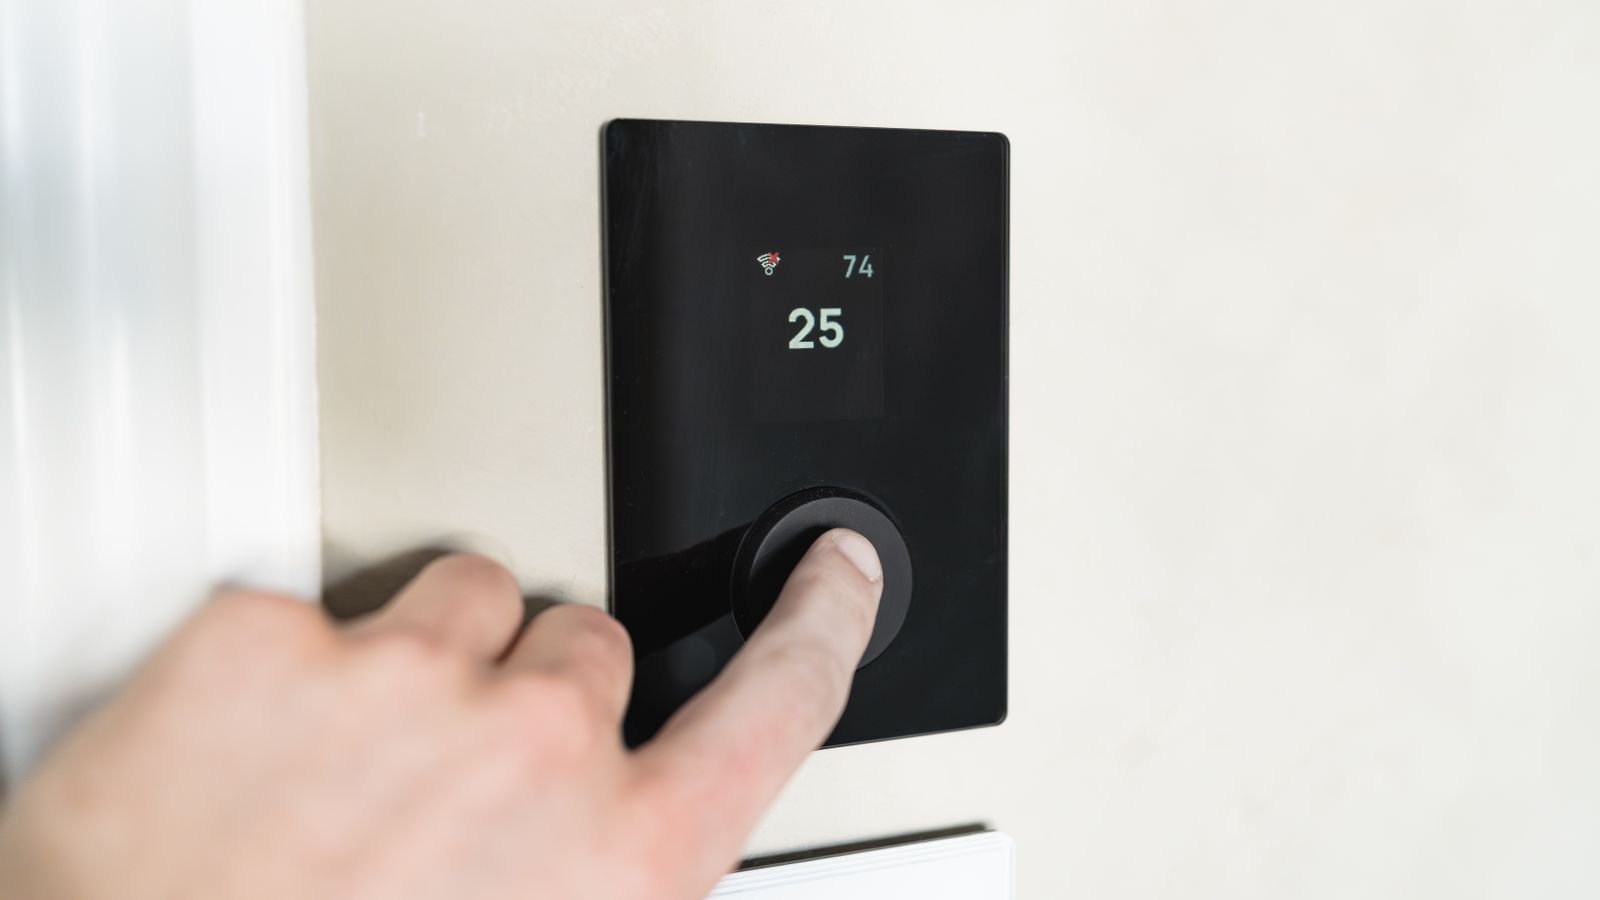
Check Compatibility Before You Buy
The single most common cause of a failed smart thermostat project is a missing C wire. The C, or common, wire delivers continuous low-voltage power to keep the display and Wi-Fi radio running. Older systems often ran without one because a mechanical thermostat needed no power of its own. Before ordering anything, turn off power at the breaker, pull the faceplate off your existing thermostat, and photograph the wiring. Note every lettered terminal that has a wire in it: R, Rc, Rh, W, W2, Y, Y2, G, C, O/B. Also identify your system type: conventional gas or electric forced air, heat pump, multi-stage, or low-voltage only. High-voltage baseboard heat and millivolt systems need specialized models. Reviews of the best smart thermostats and the wider selection of best Wi-Fi thermostats will tell you which models include a power adapter kit for homes without a C wire.
Tools and Materials
- Phillips and small flathead screwdrivers
- Drill with a small bit for wall anchors, plus a level
- Masking tape and a pen for labeling wires, or your phone camera
- A pencil, and drywall anchors if the supplied ones are not adequate
- A non-contact voltage tester
- The C-wire adapter or power extender kit, if your system needs one
- Your phone with the thermostat app installed and an account created
- Your Wi-Fi network name and password, on a 2.4 GHz band
Step-by-Step Installation
- Switch off power at the breaker serving your furnace or air handler, not just at the thermostat. Verify with the voltage tester that the wires are dead.
- Remove the old faceplate by pulling or unclipping it from its base, exposing the wiring terminals.
- Photograph the wiring clearly and label each wire with masking tape marked with the terminal letter it came from, not its color. Colors are not standardized.
- Release the wires one at a time and bend them gently over a pencil so they cannot fall back into the wall cavity.
- Unscrew the old base plate and remove it, then patch or paint the wall now if the new unit is smaller than the old one.
- Fit the new trim plate or base. Feed the wires through the opening, level the plate, mark the screw holes, drill, insert anchors, and screw it home.
- Connect the wires to matching lettered terminals on the new base, pressing each release tab and inserting the conductor fully. Tug each wire lightly to confirm it is held.
- Install the C-wire adapter if required. This normally mounts at the furnace control board and needs the furnace panel opened; follow the supplied diagram exactly.
- Clip the display onto the base until it seats firmly, with no gap around the edges.
- Restore power at the breaker and wait for the thermostat to boot.
- Run the setup wizard, confirming system type, heating and cooling stages, and fan behavior. The thermostat detects most of this from the wires present.
- Test both modes. Call for heat and confirm the system fires within a couple of minutes, then call for cooling and confirm the compressor starts.
Connecting to Wi-Fi and the App
Most thermostats broadcast their own temporary network or use Bluetooth for pairing. Open the app, choose to add a device, and follow the prompts. Two things trip people up here. First, nearly all thermostats connect only to 2.4 GHz networks, so if your router combines both bands under one name you may need to temporarily separate them or use a guest network on 2.4 GHz. Second, a thermostat mounted in a hallway is often at the weak edge of coverage; check the signal strength reading in the app and add a mesh node if it is marginal. Once connected, set your location for weather data, name the thermostat by room, and install any pending firmware update before you configure schedules.
Programming a Schedule That Saves Money
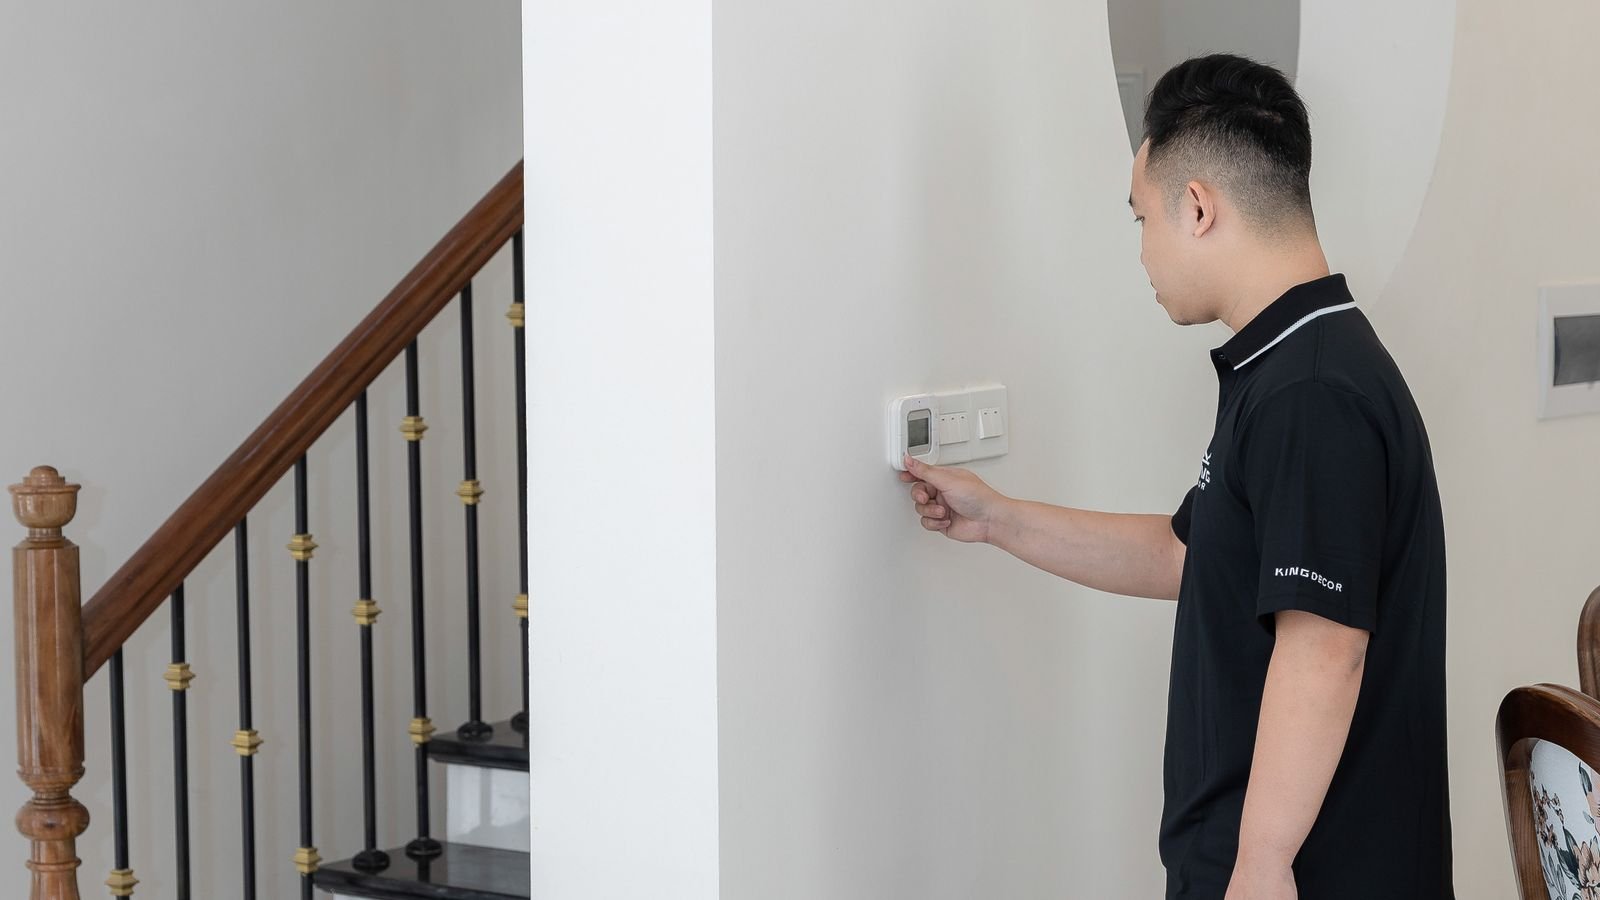
Start from how your household actually lives rather than the default template. Build four periods for a typical weekday: wake, away, home, and sleep. Set the wake period to start about 30 minutes before you get up so the house is comfortable on arrival. During away hours, let the temperature drift by 7 to 10 degrees in whichever direction saves energy. Return to comfort about 30 minutes before the first person is home. At night, set back again, since most people sleep better slightly cooler and the savings run for eight hours. Give weekends their own pattern instead of copying weekdays. Then leave it alone for two weeks and check the energy reports before fine-tuning.
Settings Worth Changing on Day One
- Geofencing: lets the thermostat set back automatically when the last phone leaves and recover before you return. Set a radius large enough to allow full recovery time.
- Smart or adaptive recovery: starts heating or cooling early so the setpoint is reached at the scheduled time rather than starting then.
- Temperature swing or cycle rate: a tighter swing means more even comfort but more cycling; a wider one saves energy.
- Fan circulation: running the fan a set number of minutes per hour evens out temperatures between rooms.
- Filter reminders: set to your actual filter interval so airflow never quietly degrades.
- Compressor lockout: prevents heat pump strip heat from running unnecessarily at moderate outdoor temperatures.
- Alerts: enable high and low temperature warnings, which catch a failed furnace before pipes freeze.
Placement and Sensors
A thermostat can only control what it can measure. Mounted in direct sunlight, above a radiator, next to a drafty exterior door, or on an exterior wall, it will read a temperature nobody in the house experiences and cycle badly. The ideal location is an interior wall, roughly 5 feet above the floor, in a room you actually occupy, away from vents, lamps, and kitchen heat. If your old thermostat was badly located and moving it is impractical, remote room sensors are the answer: place one in the bedroom and one in the main living area, and set the thermostat to average them or to prioritize the occupied room by time of day. This single change often resolves long-standing complaints about one cold room.
Mistakes That Undermine the Savings
- Leaving the factory default schedule in place, which assumes a household that may look nothing like yours.
- Cranking the setpoint far past your target to “heat faster.” Systems have one output; the extreme setting only causes overshoot.
- Holding a permanent override, which disables the schedule entirely and is easy to forget about.
- Labeling wires by color instead of terminal letter during removal, which makes reconnection guesswork.
- Ignoring the filter, since restricted airflow makes even a perfect schedule expensive.
- Setting deep setbacks with a heat pump, which can trigger costly auxiliary strip heat on recovery.
Frequently Asked Questions
What if I do not have a C wire?
Many thermostats include a power extender kit that installs at the furnace and creates the common connection using existing wires. Some models also run on batteries, though features are reduced.
Can I install one myself?
Low-voltage thermostat swaps on conventional forced-air systems are within reach for most people. Heat pumps with auxiliary heat, multi-stage systems, and anything involving line voltage are better left to an HVAC professional.
Will the thermostat still work if the internet goes down?
Yes. The schedule is stored locally and the system keeps running normally. Only remote control, voice commands, and weather-based features pause.
How much can a smart thermostat actually save?
Typical savings land somewhere between 8 and 15 percent of heating and cooling costs, driven almost entirely by consistent setbacks rather than by any clever algorithm.
Do I need room sensors?
Only if you have noticeable temperature differences between rooms or a poorly placed thermostat. In an evenly conditioned home the built-in sensor is sufficient.
Final Thoughts
Setting up a smart thermostat is a two-part job, and the second part matters more. Photograph and label the old wiring, mount the new unit level on an interior wall, confirm both heating and cooling actually respond, and get it on a solid 2.4 GHz connection. Then spend twenty minutes building a schedule around your real routine, turn on geofencing and adaptive recovery, and set the filter reminder. Review the energy report after a month and adjust. Done properly, the thermostat quietly manages comfort in the background and the savings show up on the bill without anyone having to think about it.









