
 Owen Bradley
 A robot vacuum that suddenly leaves streaks of dust behind, makes a rattling noise, or stops halfway through a run is almost never broken. Nine times out of ten it simply needs cleaning. Hair wraps around the brushroll, fine dust clogs the filter, sensors get filmed over, and suction quietly drops until the machine is pushing debris around instead of collecting it. The good news is that a full maintenance pass takes about 15 minutes, needs no tools beyond what came in the box, and restores most of the performance you remember from the first week you owned it. Here is exactly how to do it.

How Often Each Part Needs Attention
Not everything needs weekly care. A realistic schedule keeps the job small.
- Dustbin: empty after every run, or every second run in a low-traffic home
- Main brushroll: inspect weekly, deep clean every two weeks
- Side brush: clean every two weeks, replace every 3 to 6 months
- Filter: tap out weekly, wash monthly if washable, replace every 2 to 3 months
- Sensors and charging contacts: wipe monthly
- Front caster wheel: pop out and clean monthly
- Drive wheels: check quarterly for wound hair
Homes with long-haired pets or shedding occupants should roughly double that frequency. If your machine is struggling despite good maintenance, it may simply be underpowered for your floors, and comparisons of the best robot vacuums and mops will show which models handle heavy hair loads and deep pile without constant intervention.
What You Need
- The small cleaning tool or comb that shipped with the vacuum
- A pair of small scissors or a seam ripper for cutting wound hair
- A dry microfiber cloth
- A soft dry brush, such as an old toothbrush
- A handheld vacuum or your upright with a crevice tool
- Cool running water, only if your filter is explicitly labeled washable
Never use soap, alcohol, or compressed air on filters and sensors. Soap leaves residue that traps dust, and compressed air can drive fine particles deeper into the filter media or damage delicate optical sensors.
Step-by-Step: Cleaning the Main Brushroll
- Power the robot off completely using the physical switch, not just the app. Never work on a machine that could start a scheduled run.
- Flip it upside down onto a towel or carpet so you do not scratch the top cover.
- Release the brush guard. Most models have two tabs you squeeze or a latch you rotate. Lift the frame straight off.
- Lift the brushroll out, noting which end has the drive gear so it goes back the same way.
- Pull off the end caps. These small yellow or grey bearings are where hair concentrates most. Twist them free and clear the tangle underneath, then wipe the axle.
- Cut the wound hair. Slide the scissors or seam ripper along the groove that runs the length of most brushrolls and slice through the wraps, then peel them off in strips.
- Comb out the remaining debris with the supplied tool, working from one end to the other.
- Clean the brush channel in the robot itself. Vacuum the cavity and wipe the two bearing seats where the brush ends sit.
- Reassemble in reverse, making sure the brushroll clicks fully into the gear and the guard latches flat.
- Spin the brush by hand. It should turn freely with no drag or grinding.
Step-by-Step: Cleaning the Side Brushes and Wheels
- Unscrew or unclip the side brush. Most are held by a single small Phillips screw or a press-fit post.
- Unwind hair from the spindle underneath. This is a frequent cause of a side brush that stops spinning.
- Straighten bent bristles by soaking the brush in warm water for a minute and letting it dry fully before refitting.
- Pull out the front caster wheel. It usually pops out with firm upward pressure. Cut away the hair ring around its axle and vacuum the housing.
- Check the drive wheels. Spin each by hand, listen for grinding, and clear any hair visible at the axle seam.
- Wipe the underside with a dry cloth, paying attention to the cliff sensors, which are the small clear windows near the edge.
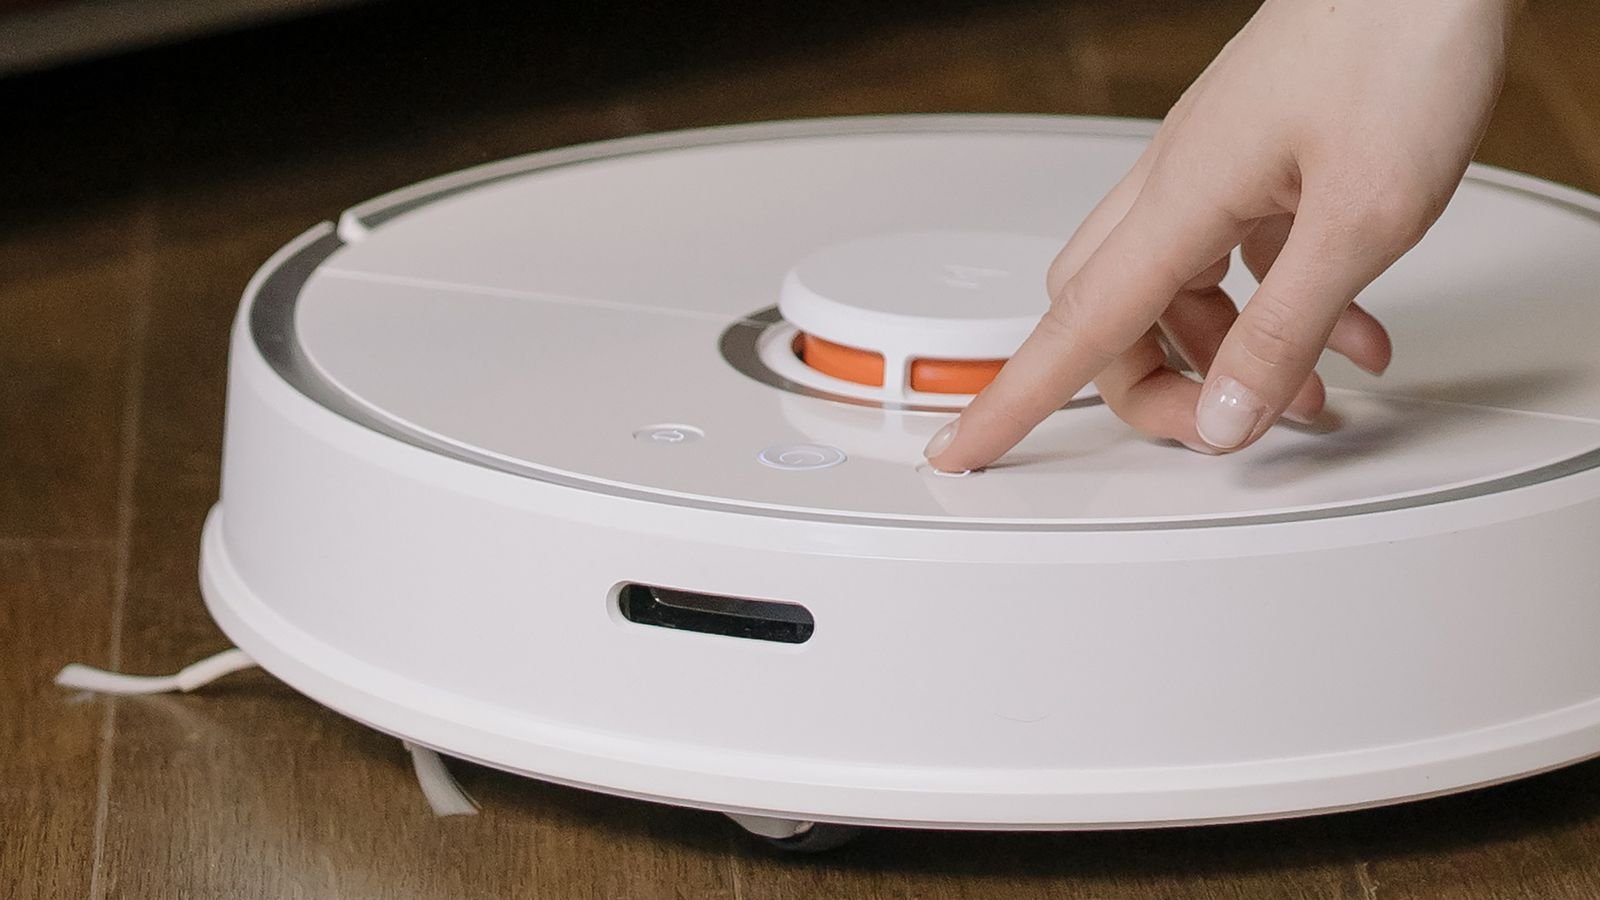
Step-by-Step: Cleaning the Filter and Dustbin
- Remove the dustbin and empty it into a trash bag rather than an open bin, so the fine dust does not billow back into the room.
- Pull the filter out by its tab and tap it firmly against the inside of the trash bag to release loose dust.
- Brush the pleats gently with a dry soft brush, always moving along the pleats rather than across them.
- Rinse only if washable. Run cool water through the clean side so debris is pushed outward, never scrub the media, and never use detergent.
- Dry for a full 24 hours at room temperature. A filter that is even slightly damp will grow mildew and can damage the motor.
- Wipe the bin interior and its seal with a dry cloth. A dusty gasket leaks suction.
- Clear the intake mouth where the bin meets the brush channel, a common hidden clog point.
- Reinstall and confirm the bin clicks home; a bin seated a millimeter proud will cause weak suction and error beeps.
Do Not Forget the Sensors and Contacts
Cleaning performance issues often trace back to optics rather than airflow. Wipe the cliff sensors on the underside, the front bumper’s obstacle sensors, the camera or lidar turret on top, and the wall-following sensor on the side, all with a dry microfiber cloth. Smudges make a robot behave erratically, back away from dark rugs it thinks are stairs, or bump harder into furniture. Then clean the two metal charging contacts on the robot and the matching pair on the dock with a dry cloth; a thin film of dust here is the single most common reason a robot parks itself on the dock but never charges.
Signs a Part Needs Replacing Rather Than Cleaning
- Filter: visibly grey through the media after washing, or a musty smell that does not clear
- Main brushroll: bristles splayed permanently outward, or rubber fins torn and no longer contacting the floor
- Side brush: arms bent into a permanent curl that flicks debris away from the intake
- Bin seal: gasket flattened, hardened, or cracked
- Caster wheel: notchy rotation or a flat spot worn into the ball
- Battery: runtime under half of the original rating even after a full clean
Consumables are cheap relative to the machine, and running a clogged filter forces the motor to work harder, which shortens its life considerably.
Habits That Cut Maintenance in Half
The easiest maintenance is the mess you prevent. Pick up cables, socks, and small rugs with loose fringe before a run, since these cause most tangles. Brush pets more often, because hair collected with a brush never reaches your floors. Run the robot more frequently at a lower intensity rather than rarely at maximum, which keeps the bin from packing solid. Keep the dock in an open area with clear space either side so the robot does not scrape past furniture on every approach. And set a recurring reminder rather than waiting for symptoms; the point of a robot vacuum is that you stop thinking about it, which is exactly why scheduled care matters.
Frequently Asked Questions
Can I wash the main brushroll with water?
Only if the manual says so, and only the bristle or rubber portion. Never wet the end caps or the gear, and always dry it completely before refitting to avoid rust and mold.
Why is my robot vacuum leaving dust behind after cleaning it?
Usually a filter that is still damp, a bin not fully seated, or a clog in the intake throat between brush and bin. Check all three before assuming a fault.
How long should a filter last?
Two to three months in a typical home, less with pets. Washing extends life but does not restore a filter indefinitely, since fine particles permanently embed in the media.
My side brush keeps stopping. What is wrong?
Hair wrapped tightly around the spindle beneath the brush is the usual culprit. Remove the brush entirely and clear the shaft rather than just pulling visible strands.
Do rubber brushrolls really tangle less?
They do. Rubber fin designs shed most long hair instead of letting it wind into the bristle base, though they still collect wraps at the end caps and need the same periodic check.
Final Thoughts
Cleaning a robot vacuum is one of those small chores that pays back immediately: suction returns, error messages stop, and runs finish on a single charge again. Build a rhythm around it, empty the bin after each run, check the brushroll weekly, wash or replace the filter monthly, and wipe the sensors and dock contacts once a month. Keep a spare filter and side brush on hand so a worn part never means a week of poor cleaning. Fifteen minutes of care every couple of weeks will keep a robot vacuum performing like new for years rather than months.









