
 Owen Bradley
 Swapping a traditional deadbolt for a smart lock is one of the most satisfying upgrades you can make to a front door. You gain keyless entry, guest codes you can hand out and revoke, remote locking from your phone, and a log of who came and went. Better still, most smart locks are designed as direct retrofits for a standard door prep, which means the whole job usually takes 20 to 40 minutes with nothing more exotic than a screwdriver. This guide walks through the entire installation from measuring your door to running the first lock and unlock test, plus the small details that separate a wobbly install from one that runs smoothly for years.
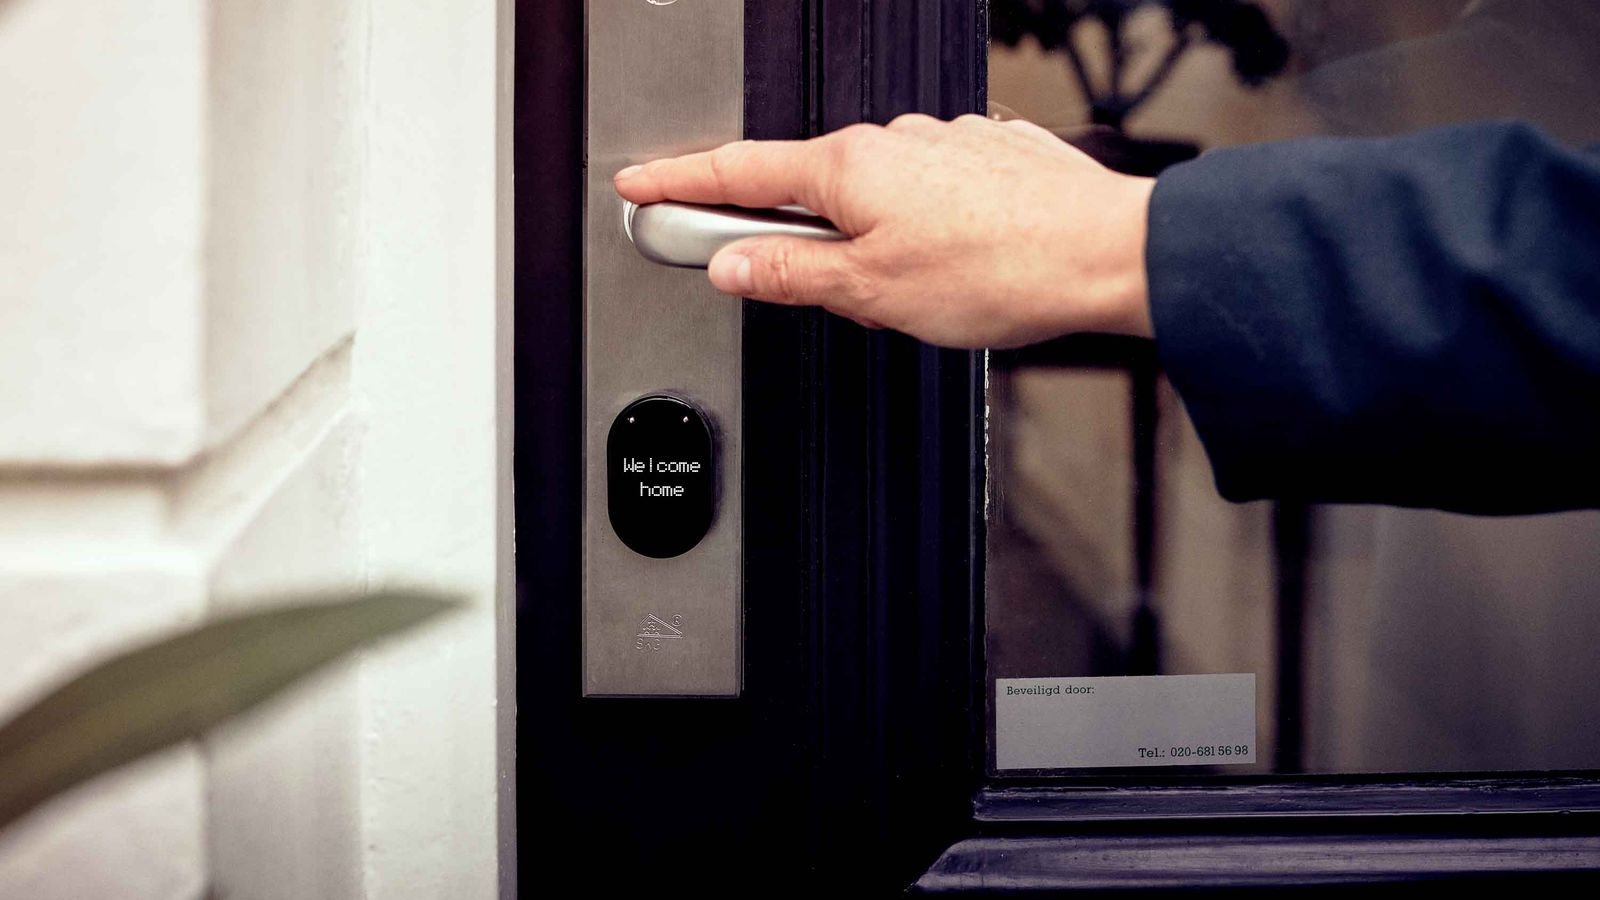
Check That Your Door Is Compatible First
Before you buy anything, confirm your door matches the standard prep that nearly every smart lock expects. Measure four things and write them down.
- Bore hole diameter: the large round hole in the door face should be 2 1/8 inches. A 1 1/2 inch bore is an older size and needs a filler plate or a re-bore.
- Backset: the distance from the door edge to the center of the bore hole, either 2 3/8 or 2 3/4 inches. Most locks ship with an adjustable latch that covers both.
- Door thickness: typically 1 3/8 to 1 3/4 inches. Thicker doors sometimes need an extension kit.
- Cross bore: the hole in the door edge for the latch, usually 1 inch.
Also check swing direction and whether the door has a storm door that could collide with a bulky exterior escutcheon. If you have not chosen a model yet, the roundups of the best smart locks for front doors and the broader field of best smart door locks are useful for narrowing down keypad, fingerprint, and retrofit designs before you commit.
Tools and Parts to Gather
You need very little, but having it all on the table saves trips.
- Phillips head screwdriver, preferably #2, and ideally a hand driver rather than a drill
- Tape measure and a pencil
- Fresh alkaline batteries, usually 4 x AA, and never a mix of old and new
- A chisel and utility knife if the strike plate needs a deeper mortise
- A drill with a 1/8 inch bit only if you must pilot longer strike screws
- Your phone with the manufacturer app already downloaded and an account created
- A small container for the old screws and parts
Set the packaging aside as a parts tray. Smart locks ship with several latch faceplates, two or three screw lengths, and sometimes multiple adapters, and losing a single machine screw stalls the job.
Step-by-Step Smart Lock Installation
- Remove the old deadbolt. Unscrew the two long screws on the interior thumbturn plate, pull both halves of the deadbolt off the door, then remove the two screws holding the latch in the door edge and slide the latch out.
- Set the new latch backset. Most latches are adjustable by twisting or sliding the collar to 2 3/8 or 2 3/4 inches. Match the measurement you took earlier.
- Insert the latch. Slide it into the cross bore with the bolt’s angled or beveled face oriented correctly, then check that the faceplate sits flush with the door edge. If it stands proud, deepen the mortise slightly with a chisel.
- Fit the exterior assembly. Feed the ribbon cable or tailpiece through the bore hole above or below the latch, exactly as the template shows. Never pinch the cable between the latch and the door.
- Attach the mounting plate. Hold the exterior half square to the door and screw the interior mounting plate on. Tighten the screws gradually in an alternating pattern so the exterior keypad does not drift off-center.
- Connect and seat the interior body. Plug the cable into the interior unit, tuck the slack into the recess, align the drive tab with the latch’s tailpiece slot, and press the body flat before driving its screws.
- Install the strike plate. Replace the door frame strike with the one supplied, and use the long 3 inch screws that reach the wall stud behind the jamb. This is the single biggest contributor to real security.
- Load batteries and power up. Insert the battery pack, wait for the startup chime or light, then run the manual lock and unlock cycle several times with the door open.
- Calibrate. Close the door and let the lock run its auto-calibration routine so it learns the torque needed for a full throw.
- Pair with the app. Follow the in-app pairing flow, connect to Wi-Fi or the bridge, set your admin PIN, and update the firmware before you rely on the lock.
Aligning the Bolt So It Never Binds
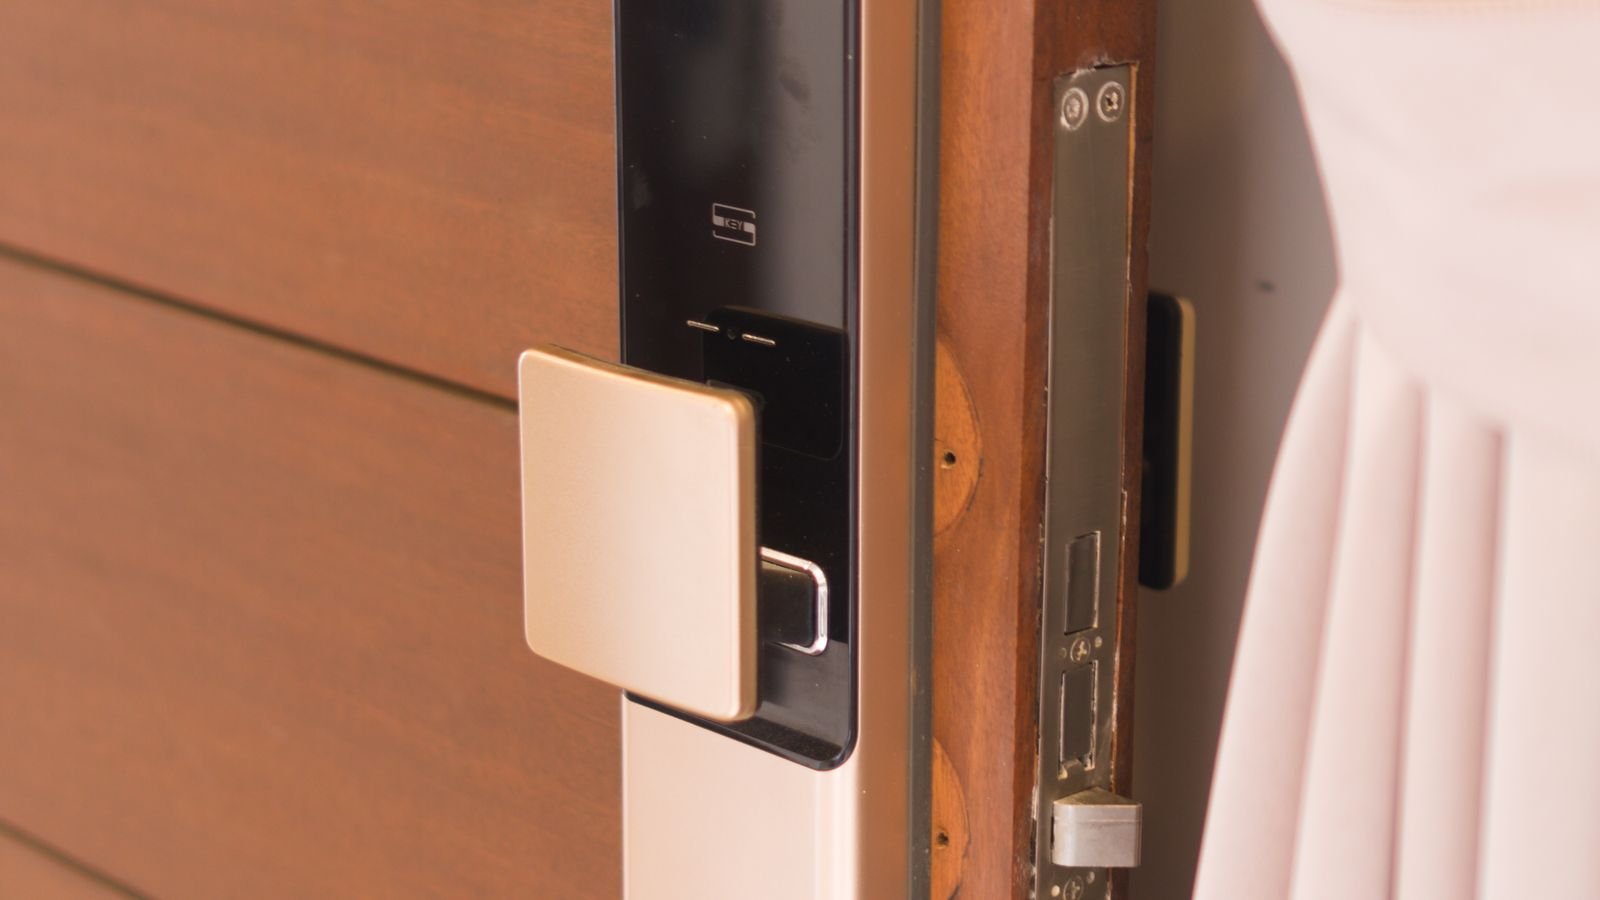
Motorized bolts are far less forgiving than your wrist. If the bolt has to scrape past the strike plate, the motor will drain batteries quickly and eventually fail to fully extend, which triggers false jam alerts. With the door closed, extend the bolt manually and watch it: it should slide into the strike hole without touching the edges. If it rubs, mark the contact point with a pencil, then file or reposition the strike plate a few millimeters. On doors that have settled, moving the strike up or down by an eighth of an inch is usually all it takes. A door that must be pulled or lifted to lock will never work reliably with automation.
Setting Up Codes, Users, and Automations
Once hardware is done, spend ten minutes on the software side. Create a unique code for each household member rather than one shared code, so the activity log actually tells you something. Add temporary or scheduled codes for cleaners, dog walkers, and contractors, and set them to expire. Turn on auto-lock with a delay that suits your household, commonly 30 to 60 seconds, and enable lock jam and door-left-open notifications. If your lock supports it, link it to a smart home hub so a single goodnight routine can lock the door, arm the alarm, and turn off downstairs lights at once. Finally, register a backup entry method: a physical key hidden securely, a keypad master code, or an emergency 9V contact terminal.
Weather, Wi-Fi, and Battery Realities
Front doors take a beating. If your lock faces driving rain or full afternoon sun, confirm its ingress rating and consider a small overhead awning. Cold matters too: below freezing, alkaline batteries lose capacity fast, and lithium AAs hold up much better through winter. On the network side, front doors are often at the edge of router coverage. Check signal strength in the app, and if it is marginal, move the router or add a mesh node near the entry rather than hoping for the best. Set a calendar reminder to check battery level quarterly, and replace all cells at once when the app reports 25 percent or lower rather than waiting for the low-battery alarm.
Common Installation Mistakes to Avoid
- Using a power drill on the mounting screws. It strips plastic bosses and cracks housings. Hand-tighten only.
- Overtightening the two long body screws. This bows the mounting plate and binds the drive mechanism.
- Reusing the short original strike screws. They anchor into thin jamb trim and offer almost no kick resistance.
- Pinching the ribbon cable. A crushed cable causes intermittent keypad failures that look like a defective unit.
- Skipping calibration. The lock guesses at torque and reports phantom jams.
- Leaving the default installer code active. Change it before the lock is in service.
Troubleshooting a Lock That Will Not Cooperate
If the motor whirs but the bolt stops short, the alignment is off or the latch backset is wrong. If the keypad is dead, reseat the battery pack and the ribbon connector. If the app cannot find the lock, confirm you are on a 2.4 GHz network, since most locks do not join 5 GHz bands. If codes work but remote access does not, the bridge or hub has lost its connection rather than the lock itself. And if the bolt throws smoothly with the door open but not closed, the problem is the door and frame, not the hardware. A factory reset, followed by a fresh pairing, resolves most stubborn software oddities and takes only a couple of minutes.
Frequently Asked Questions
Do I need to drill new holes in my door?
Rarely. If your door already has a 2 1/8 inch bore and a 1 inch cross bore, the lock drops straight in. Doors with no existing deadbolt prep need drilling with a template and hole saw.
Can I keep my existing key?
Only if you choose a retrofit model that mounts over your current interior thumbturn and leaves the original cylinder in place. Full replacement locks come with their own keys, though many can be rekeyed to match your other doors.
What happens during a power or internet outage?
The lock keeps working. It runs on its own batteries, so keypad codes and manual operation are unaffected. Only remote app control and voice commands pause until the network returns.
Is a smart lock secure enough for a front door?
A quality smart lock with a graded deadbolt and 3 inch strike screws matches or beats a standard mechanical deadbolt physically, and adds auditing and revocable codes on top. Most real-world break-ins are still brute force against a weak frame, which is why strike screws matter so much.
How long do the batteries last?
Expect six to twelve months for keypad models and three to six for Wi-Fi models that stay connected constantly. Auto-lock and frequent remote checks shorten that considerably.
Final Thoughts
Installing a smart lock is genuinely a beginner-friendly project, and the work that matters most is not the screwing together but the measuring, aligning, and configuring around it. Confirm the door prep before you buy, take the extra minute to swap in long strike screws, make sure the bolt glides rather than scrapes, and set up individual codes with sensible notifications. Do those four things and you end up with an entry that is easier to live with and harder to compromise than the lock it replaced. Keep the old deadbolt and its screws in a labeled bag in case you ever move and want to restore the original hardware.









