Owen Bradley
 Trim is the only part of a recessed light anyone actually sees, and it does far more than finish the hole. It controls how the beam leaves the fixture, how much glare reaches your eyes, whether the light washes a wall or pools on the floor, and whether the ceiling reads as clean architecture or a scatter of shiny rings. Two identical housings with different trims produce genuinely different rooms. This guide explains what each trim style does, how to match one to the job a given light is meant to perform, and how to avoid the mismatches that leave a technically correct installation feeling wrong.
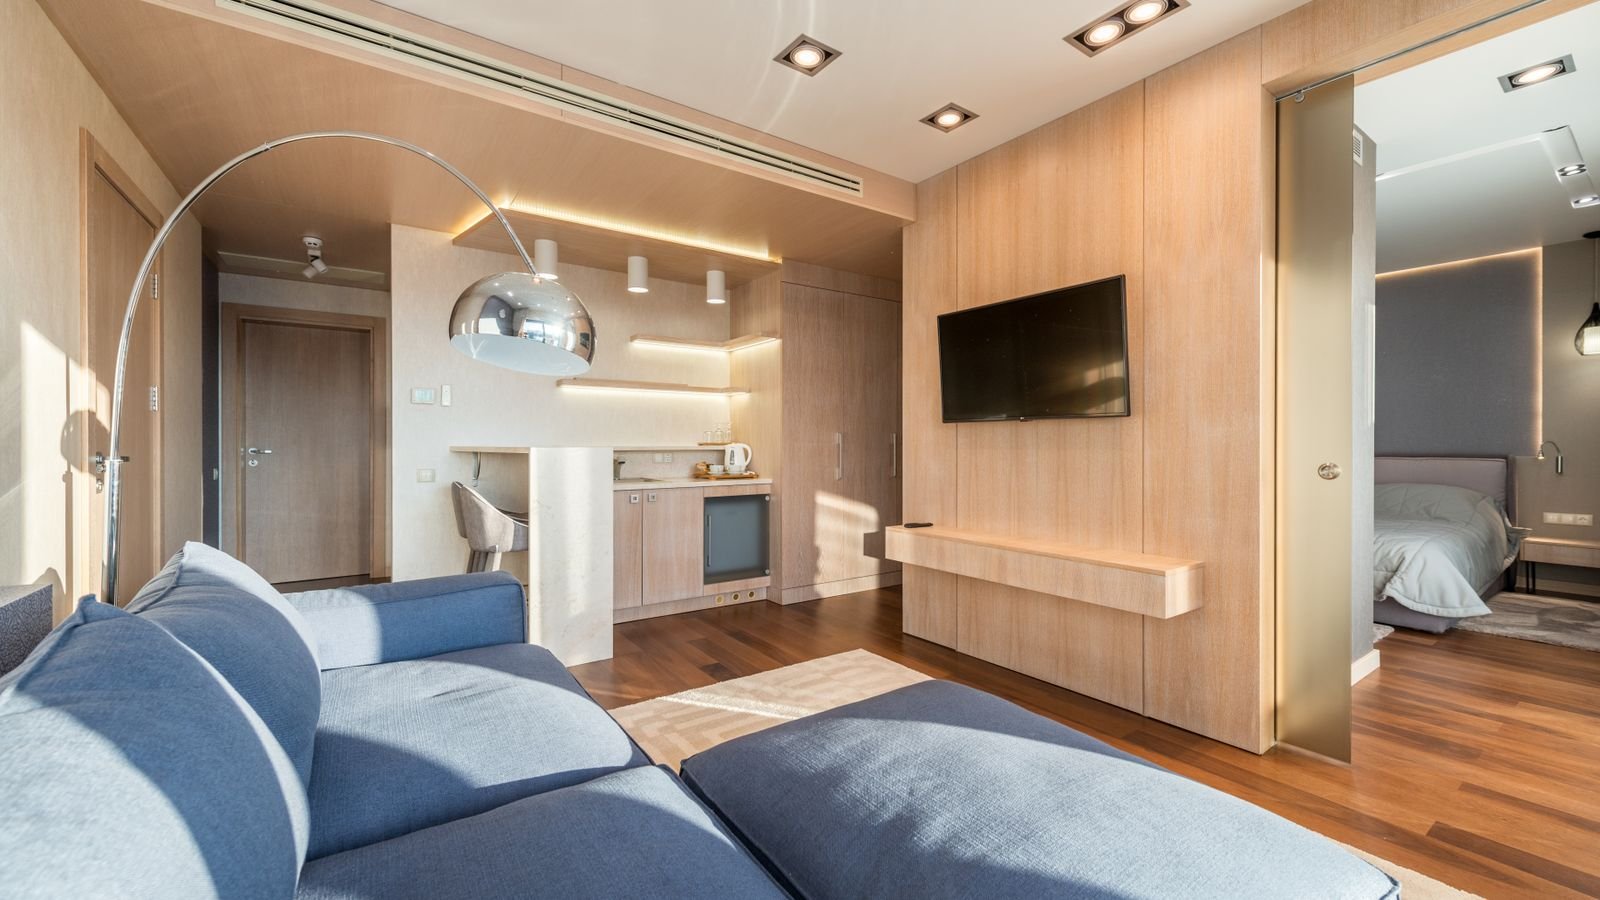
What Trim Actually Does
- Controls glare by shielding the light source from direct view, either through depth, a baffle surface, or an angled cone.
- Shapes the beam by reflecting, absorbing, or redirecting output before it leaves the ceiling plane.
- Seals the opening against air movement and dust, which matters for both efficiency and cleanliness.
- Sets the visual character of the ceiling — a flush white trim vanishes, a polished chrome ring announces itself.
The mistake most people make is treating trim as a finish decision made last. It is a performance decision that should follow from what the light is for.
The Main Trim Styles Explained
- Baffle trim. A ribbed interior, usually black or white, that absorbs stray light and softens the beam edge. The best general-purpose choice for living rooms, bedrooms, and anywhere people spend time. Black baffles reduce glare most; white baffles blend into the ceiling but reflect slightly more.
- Reflector trim. A smooth polished interior that maximizes output. Brighter than a baffle for the same lamp, but with more visible glare. Suited to kitchens, garages, and task areas where output beats subtlety.
- Eyeball or gimbal trim. Adjustable, letting you aim the beam up to about 35 degrees off vertical. Essential for artwork, accent walls, and sloped ceilings where a fixed downlight would point at nothing useful.
- Wall wash trim. Incorporates a shield or scoop that throws light asymmetrically across a vertical surface. Creates even illumination on walls, bookcases, and drapery without hot spots.
- Lensed or shower trim. A sealed glass or acrylic lens, wet-location rated. Mandatory over showers and tubs, and useful anywhere steam or dust is present.
- Pinhole trim. A small aperture producing a tight dramatic beam. Excellent for spotlighting a specific object, poor for general room light.
- Slot or trimless designs. The fixture edge is plastered into the ceiling for a seamless look. Beautiful, expensive, and requires planning during construction rather than afterward.
- Decorative trims. Metal rings in brass, bronze, or brushed nickel that make the fixture a visible element. Use sparingly — a dozen of them turns a ceiling busy.
Step-by-Step: Matching Trim to Purpose
- Write down what each fixture is for. General room light, task light over a counter, accent on art, or wall washing. This single step resolves most trim questions immediately.
- Assess the glare exposure. Will people look up toward this fixture from a sofa or bed? If yes, choose a deep black baffle or a recessed-source design. If the fixture sits over a work surface people look down at, a reflector is fine.
- Check the ceiling condition. Sloped ceilings require gimbal or dedicated sloped trims. Flat ceilings accept anything.
- Check the location rating. Anywhere within the shower or tub zone needs a wet-rated lensed trim. Bathrooms outside that zone need damp rating at minimum.
- Decide on aperture size. Four-inch apertures read as discreet and modern and suit accent and task roles. Six-inch apertures deliver more output per fixture and suit general lighting in larger rooms. Mixing sizes in the same sightline rarely looks deliberate.
- Choose the finish. Match the ceiling color for trims you want to disappear. Reserve metallic finishes for a small number of feature fixtures.
- Confirm physical compatibility. Trim must match the housing brand and aperture, and the socket type must accept your lamp. Universal trims exist but fit is never guaranteed across brands.
Trim Choices Room by Room
- Living room. Black baffle trims for general lighting, plus two or three gimbals aimed at art or a fireplace wall.
- Kitchen. Reflector or white baffle over work surfaces for output, with wall wash trims over upper cabinets to keep the perimeter bright.
- Bathroom. Lensed wet-rated trims in the shower, baffle or reflector elsewhere, and a gimbal aimed at the vanity mirror rather than directly overhead.
- Bedroom. Deep black baffles exclusively. Anything reflective becomes a problem when you are lying down looking up.
- Hallway. Small-aperture baffles evenly spaced, or wall washes if there is art to light.
- Home office. Baffles positioned to avoid monitor reflections, ideally to the sides rather than directly behind the seating position.
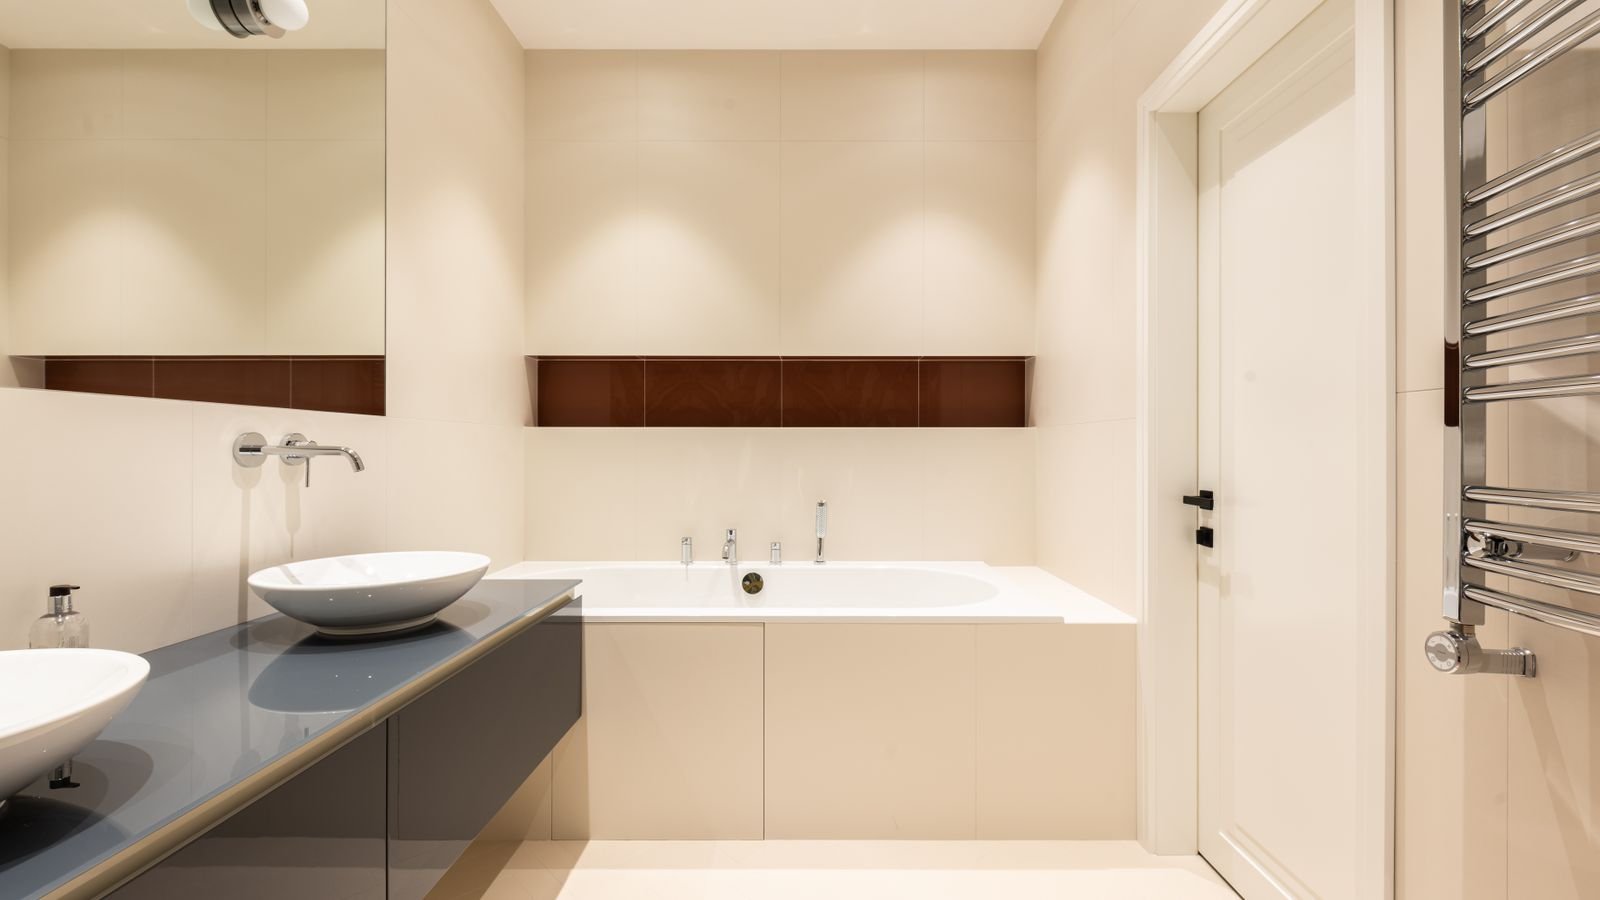
Compatibility and Fit
Trim and housing are a matched system. Before ordering, verify the aperture diameter, the housing brand and model, the socket type, whether the housing is IC-rated for insulation contact, and whether your intended trim is listed as compatible. Retrofit trims that thread into an existing socket are the easiest upgrade path for changing the look of lights already installed, and they let you switch from reflector to baffle without touching the ceiling.
Because trim options are so tied to the housing you own, it helps to see them paired. Comparisons of the best recessed lighting systems show which housings offer the widest trim range, which matters if you expect to change the look later. Where the interaction between trim and dimming performance is the concern, the roundups of best dimmable led recessed lights cover fixtures that hold color consistently at low output. And for retrofitting existing cans without opening the ceiling, the best retrofit led can lights guides cover the screw-in modules that arrive with their trim already integrated.
Common Mistakes to Avoid
- Choosing reflector trims everywhere. They are brighter and cheaper, which is why builders default to them, and they are the reason so many ceilings feel glaring.
- Mixing too many finishes. A ceiling with three trim styles reads as unplanned. Pick one primary and one accent at most.
- Ignoring the shower rating. A non-rated trim over a shower is a code violation and a genuine safety issue.
- Using fixed downlights on a sloped ceiling. The beam lands at an angle, creating ovals on the wall rather than useful light.
- Buying trim before confirming housing compatibility. Aperture size alone does not guarantee fit.
- Forgetting that black baffles look darker but perform better. People reject them on appearance in the store and regret it under the light.
Installing or Swapping a Trim
- Turn off the circuit and let the fixture cool completely. Trims retain heat well after switch-off.
- Remove the old trim by pulling straight down until the torsion springs or friction clips release, then squeezing the springs inward to free them.
- Clean the ceiling opening — a visible dirt ring around a new trim is a common annoyance.
- Attach the new trim’s springs or clips to the mounting slots in the housing, matching the type supplied.
- Push the trim up evenly until it seats flush against the ceiling with no gap on any side.
- Aim adjustable trims after restoring power, checking the result from where people will actually be sitting or standing.
Frequently Asked Questions
What is the difference between baffle and reflector trim?
A baffle has a ribbed interior that absorbs stray light, reducing glare and softening the beam. A reflector has a smooth polished interior that maximizes output at the cost of more visible brightness at the source.
Should I use black or white baffle trims?
Black controls glare significantly better and is the right choice for bedrooms and living rooms. White blends into a white ceiling visually and reflects a little more light, making it a reasonable compromise in kitchens.
Can I change recessed light trim without an electrician?
Yes for a straightforward trim swap on an existing fixture. Turn off the circuit, release the springs, and fit the replacement. Anything involving the housing or wiring is a different matter.
Do I need special trim over a shower?
Yes. A wet-location-rated lensed trim is required, providing a sealed barrier against moisture reaching the socket and housing.
What trim works on a sloped ceiling?
A gimbal, eyeball, or purpose-built sloped-ceiling trim, all of which let you aim the beam vertically regardless of the ceiling angle.
Final Thoughts
Trim selection is where recessed lighting either becomes invisible good design or an ongoing irritation. The practical approach is to decide what each fixture is meant to do, choose glare control appropriate to where people’s eyes will be, and resist the urge to use the brightest option everywhere. Baffles for comfort, reflectors for output, gimbals for aiming, lenses for wet areas — that covers nearly every situation in a home. And because trims are among the easiest things to swap, a ceiling that feels harsh today can be genuinely transformed in an afternoon without touching a wire.