Owen Bradley
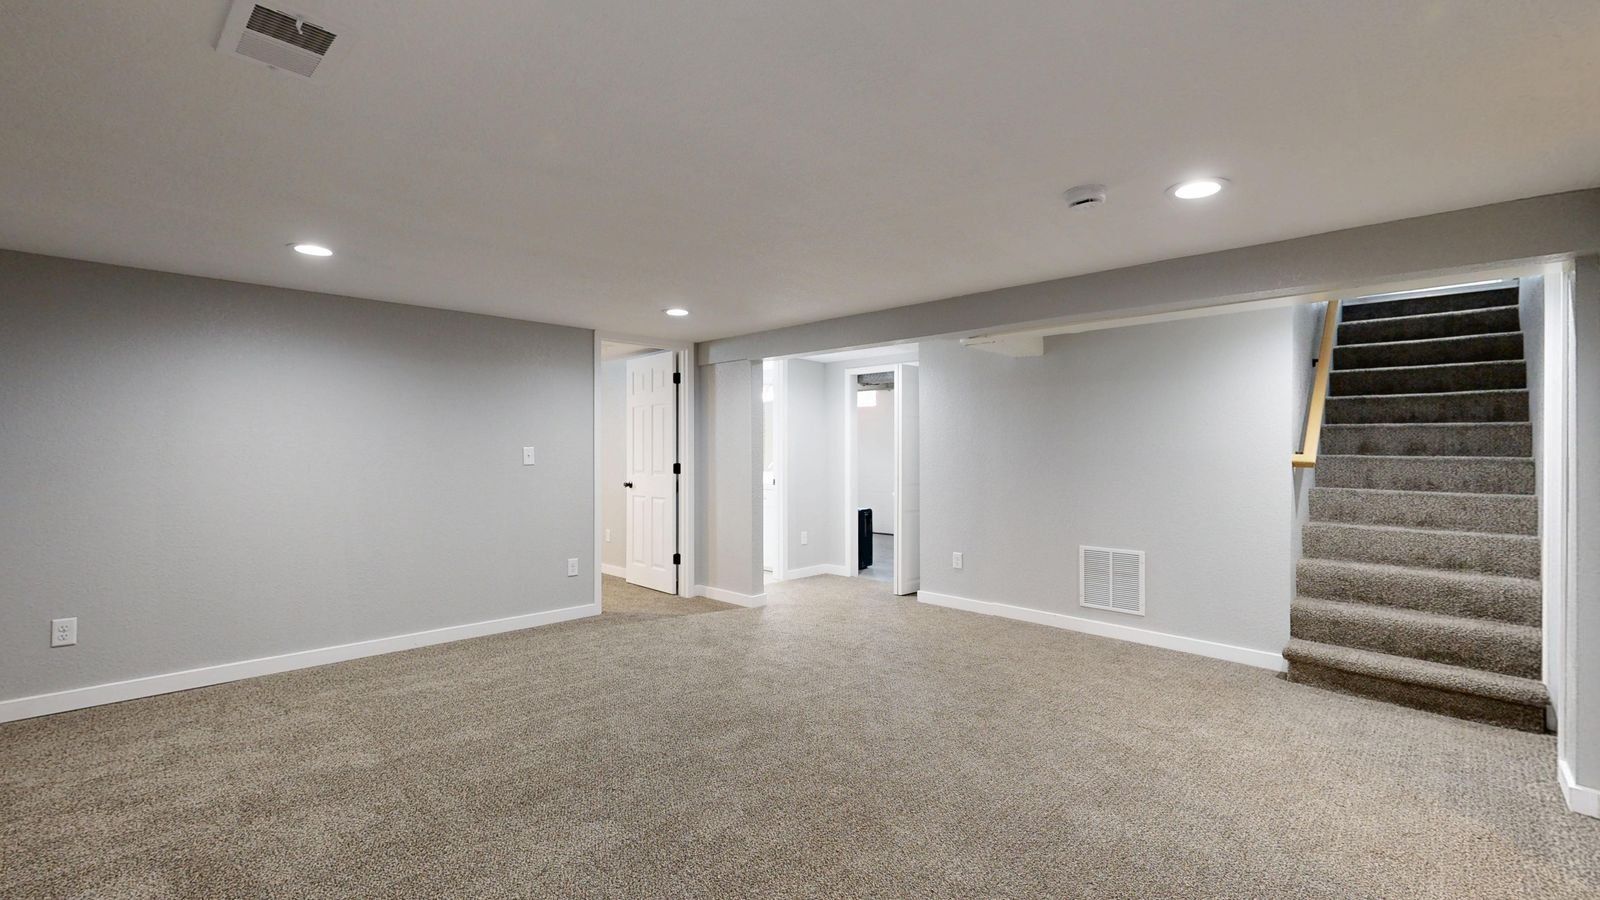
 A basement is the one room where motion-activated lighting earns its keep every single day. Your hands are full of laundry, the stairs are dark, and the switch is somewhere behind you — that is precisely the scenario occupancy sensors were invented for. Pairing them with recessed lighting gives you a ceiling that stays flush and unobtrusive in a low-headroom space while turning itself on the instant you reach the bottom step. The catch is that basements bring complications ordinary rooms do not: shallow joist bays, concrete walls, cold and damp air, and long narrow layouts that a single sensor cannot cover. This guide covers the planning, the wiring, the sensor placement, and the calibration that makes the system feel automatic rather than annoying.
Understanding the Two Ways to Add Motion Control
Before buying anything, decide which architecture you want, because it changes the entire parts list.
- Switch-based sensing. You replace the existing wall switch with an occupancy-sensor switch that controls the whole circuit. Simplest to install, cheapest, and easy to swap back. Its weakness is line-of-sight: it only detects motion within the cone it faces, so a long or L-shaped basement will have blind zones.
- Ceiling-mounted or fixture-integrated sensing. A ceiling sensor looks straight down and covers a wide radius, or individual smart recessed fixtures carry their own sensors. Far better coverage in awkward layouts, more expensive, and usually requires either a neutral wire at the fixture or a wireless smart system.
Most finished basements are best served by a hybrid: a sensor switch at the stair landing for the main run, plus one ceiling sensor in any area the switch cannot see.
Tools and Materials
- Non-contact voltage tester and a multimeter
- Wire strippers, lineman’s pliers, screwdrivers, and wire connectors
- Drywall saw or hole saw sized to the housing (commonly 4-inch or 6-inch)
- Stud finder and joist-locating tools
- Occupancy or vacancy sensor switch, or ceiling motion sensor
- Recessed housings rated for your ceiling type, plus trims and bulbs or integrated LED modules
- 14/2 or 12/2 cable to match the circuit, cable staples, and old-work box if needed
- Step ladder, drop cloth, and a dust mask
Step-by-Step Installation
- Turn off the circuit at the panel and verify it is dead. Test at the switch box and at every ceiling location with a non-contact tester. Basement circuits are frequently shared with outlets, so confirm rather than assume.
- Map the light layout on the ceiling first. Space recessed cans roughly half your ceiling height apart — for a 7.5-foot basement ceiling that means fixtures about 3.5 to 4 feet apart. Keep them 24 to 30 inches away from walls so the light washes the wall instead of scalloping it.
- Check every location for obstructions. Basements are dense with ducts, plumbing, and cable runs. Drill a small test hole and probe with a bent wire before cutting a full circle. Adjust the layout to the joist bays rather than forcing symmetry.
- Confirm your ceiling clearance. Traditional can housings need 6 to 8 inches of depth. If your basement has a low finished ceiling or a joist bay full of ductwork, use canless or slim-profile LED fixtures that need only about 2 inches.
- Cut the openings. Use the template supplied with the fixture. Cut slightly conservative — you can always enlarge, you cannot shrink drywall.
- Run the cable from the switch box to the first fixture, then fixture to fixture. Staple within 8 inches of each box and every 4.5 feet along joists. Drill through joist centers, never the top or bottom edge.
- Wire the fixtures in parallel. Black to black, white to white, ground to ground at each junction box. Every fixture receives the full circuit voltage; they are not daisy-chained in series.
- Install the sensor switch. Most occupancy switches need a neutral wire. Connect line hot to the terminal marked line, the switched hot to load, bond the neutral bundle, and attach the ground. If your box has no neutral, you must either pull one or select a no-neutral-required model.
- Add a ceiling sensor if the layout needs it. Mount it centrally over the main traffic area, wire it in line ahead of the fixtures it controls, and keep it at least 6 feet from any heat source that could trigger false readings.
- Seat and secure the fixtures, install the trims, then restore power and test each light individually before calibrating anything.
Choosing the Right Fixtures for a Basement
Basement conditions ask more of a fixture than a living room does. Look for damp-location rating if the space ever runs humid, an airtight and IC-rated housing if there is insulation above, and a color temperature around 3500K to 4000K — warm enough to feel like a room, cool enough to keep a windowless space from feeling dim. Dimmable drivers matter too, because a basement often doubles as a media room where full output is unwelcome.
Fixture selection is worth some research since basement heights and joist depths vary so much. Comparisons of the best recessed lighting for basement installations are the fastest way to see which housings actually fit shallow bays and which trims cope with a low ceiling. If your joist space is genuinely tight, reviewing best canless recessed lighting options shows the slim wafer designs that install through a small hole with no housing at all. And when you want the sensing built into the fixture rather than the switch, the roundups of best smart recessed lighting cover models with integrated occupancy detection and app scheduling.
Calibrating the Sensor So It Behaves
An uncalibrated motion sensor is worse than a plain switch. Almost every unit has three adjustments, and all three need attention:
- Time delay. How long lights stay on after the last detected motion. Thirty seconds is right for a stairwell; 15 to 30 minutes suits a basement office or workshop where you sit still.
- Sensitivity. Lower it if a furnace fan, a pet, or a dryer vent keeps triggering the lights. Raise it if small movements at the far end of the room go undetected.
- Ambient light threshold. Set it so the lights stay off when a basement window already provides enough daylight, and engage automatically after dark.
Test by walking the full route you actually take — down the stairs, across to the laundry, into the storage corner — and note anywhere the lights drop out. That is where a second sensor or a longer delay belongs.
Occupancy vs. Vacancy Sensors
The two terms are not interchangeable. An occupancy sensor turns lights on automatically when it detects motion and off after the delay. A vacancy sensor requires you to turn lights on manually but shuts them off automatically once the room empties. For a basement stairwell, occupancy is the obvious choice — hands full, arriving in the dark. For a basement media room, vacancy is often better, since you do not want the lights snapping on mid-film every time someone reaches for the popcorn.
Safety and Code Considerations
- Confirm the circuit can carry the added load. LED recessed fixtures draw little, but a basement circuit already serving outlets and a freezer may be near capacity.
- Use fixtures rated for contact with insulation if any exists above the ceiling plane.
- Keep at least 3 inches of clearance around non-IC housings.
- All splices belong inside an accessible junction box, never buried above drywall.
- Many jurisdictions require a permit for new circuits and finished basement work. Check locally, and hire an electrician if you are extending a circuit rather than replacing fixtures on an existing one.
Troubleshooting Common Problems
- Lights flicker or buzz. Usually a dimmer incompatible with the LED driver, or a sensor switch not rated for LED loads. Match the sensor’s LED wattage rating to your total load.
- Lights turn off while you are still there. Time delay too short, or you are outside the detection cone. Increase delay or reposition the sensor.
- Lights trigger with nobody present. Sensitivity too high, or the sensor is aimed at an HVAC register. Passive infrared units respond to moving warm air.
- Some fixtures do not light. Almost always a loose neutral at one junction. Kill power and re-check each connector.
- Lights never come on. Check the ambient-light threshold before assuming a fault — the sensor may believe the room is already bright enough.
Frequently Asked Questions
Do motion sensor switches work with LED recessed lights?
Yes, but only if the switch is explicitly rated for LED loads. Older sensors designed for incandescent circuits often have a minimum load requirement that low-wattage LEDs never reach, causing flicker or failure to switch off.
How many recessed lights does a basement need?
Divide the ceiling height by two to get spacing in feet, then lay out a grid. A 20 by 25 foot basement with a 7.5-foot ceiling typically needs somewhere in the range of 12 to 20 fixtures depending on trim type and desired brightness.
Can I install recessed lights in a basement with a drop ceiling?
Yes. Use fixtures designed for suspended grids, or install canless wafers into the tiles. Verify the plenum space above meets the fixture’s clearance requirement.
Where should the motion sensor go in a long basement?
Place the primary sensor facing the stairway entrance so it catches arrival immediately, and add a second sensor covering any area the first cannot see. Sensors detect motion across their field far better than motion straight toward them.
Will motion lighting save money?
In a basement, meaningfully so — these are the lights most often left burning for hours. Combined with LED fixtures, the reduction in runtime is where most of the savings come from rather than the fixtures themselves.
Final Thoughts
Motion-activated recessed lighting turns a basement from a place you brace yourself to enter into one that simply works. The installation itself is straightforward once the power is off and the layout is mapped around the real obstacles in the joists. Where people go wrong is skipping the calibration — accepting factory defaults, then living with lights that time out mid-task or fire up at every gust from the furnace. Spend fifteen minutes walking the space and tuning delay, sensitivity, and the daylight threshold. That small effort is the difference between a system you forget about entirely and one you end up disabling within a month.