Owen Bradley
 Basements are the hardest rooms in a house to light well. Ceilings are low, natural daylight is scarce or nonexistent, joists and ductwork eat into the space you have, and the surfaces down there — concrete, dark paneling, exposed framing — swallow light instead of bouncing it. Recessed lighting solves most of that, which is why it has become the default choice for finished basements. This guide walks through how to choose, lay out and specify basement recessed lighting so the finished room feels bright and deliberate rather than dim and cave-like, and covers the specific traps that catch people converting a basement for the first time.
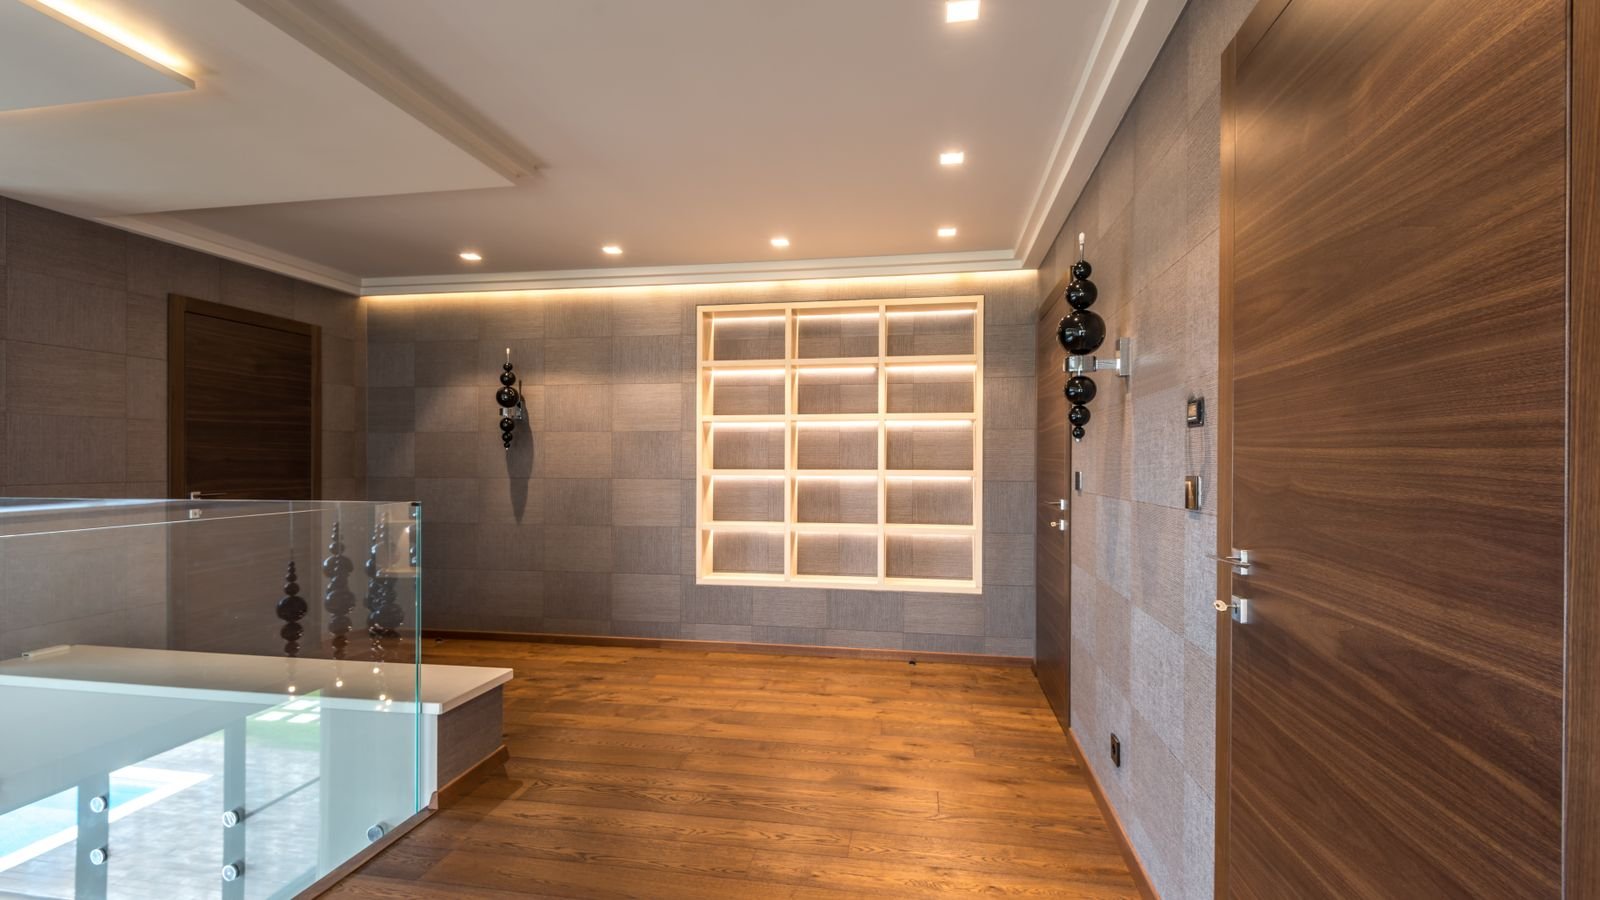
Why Recessed Lighting Suits Basements
The core problem in a basement is headroom. A pendant, a flush-mount dome or a track head all hang below the ceiling plane, and when your finished ceiling is only seven feet up, every inch you give away is felt. Recessed fixtures sit inside or against the ceiling and give the room back its vertical space.
There is a second advantage that matters just as much. Basements typically have no windows to define where light comes from, so a single central fixture creates one bright spot and heavy shadows everywhere else. A grid of recessed lights delivers even illumination across the whole floor plan, which is the visual cue our brains read as “daylit.” Even coverage, more than raw brightness, is what makes a basement stop feeling like a basement.
Canless vs Traditional Can Fixtures
This is the first real decision, and for basement retrofits it is usually easy.
Traditional Housing (Cans)
A metal housing is mounted to the joists, then wired, then a trim and bulb are added. Cans require several inches of clearance above the ceiling — often 6 to 7 inches — which basements frequently do not have once ductwork and plumbing are accounted for. They are the right choice in new construction where you control the framing, and they allow bulb swaps later.
Canless (Wafer) LEDs
An ultra-thin LED disc with an integrated driver in a small junction box. It needs only about 2 to 3 inches of depth, fits between joists without fuss, and installs into a simple hole saw cutout. For a basement with limited plenum space, canless fixtures are usually the practical answer. The tradeoff is that the LED is not replaceable — when it fails, the fixture is replaced. Modern units are rated for tens of thousands of hours, so this is less alarming than it sounds.
If you are shopping specifically for a below-grade install, our roundup of the best recessed lighting for basement spaces covers the low-clearance and damp-rated options that actually fit basement ceilings, and the broader canless recessed lighting comparison explains the wafer format in more detail.
How Many Lights and Where
Layout is where basements are most often botched. Too few lights and you get pools of brightness with dark valleys; too many and the ceiling looks like an airport runway.
A workable starting method:
- Set the spacing rule. Divide your ceiling height by two to get approximate spacing between fixtures. A 7-foot ceiling suggests roughly 3.5 feet apart; an 8-foot ceiling suggests about 4 feet.
- Keep fixtures off the walls. Place the first row about 2 to 3 feet from each wall so light washes the wall rather than scalloping it.
- Work around obstructions first. Map ducts, beams, sprinkler heads and plumbing before you commit to a grid — then shift the grid, not the ducts.
- Align to the room, not the joists. A grid that looks skewed relative to the walls will bother you forever, even if it was easier to wire.
- Add task lighting separately. A bar, a laundry area or a workbench needs its own denser cluster on its own switch.
Brightness: Getting Lumens Right
Basements need more light than the equivalent upstairs room, because there is no daylight contribution and surfaces are typically darker. A general living area upstairs might target 20 lumens per square foot; a basement family room is more comfortable at 30 to 40, and a workshop or laundry zone at 50 or more.
Work in total lumens rather than per-fixture wattage. Multiply your square footage by your target lumens per square foot, then divide by the output of the fixture you are considering. Most of the best recessed lighting fixtures publish lumen output clearly, and a typical 6-inch recessed LED puts out somewhere between 650 and 1100 lumens depending on its setting, so a 400 square foot basement targeting 35 lumens per square foot needs roughly 14,000 lumens — about 14 to 18 fixtures. Round up rather than down, then put everything on dimmers so you can dial it back.
Color Temperature and CRI
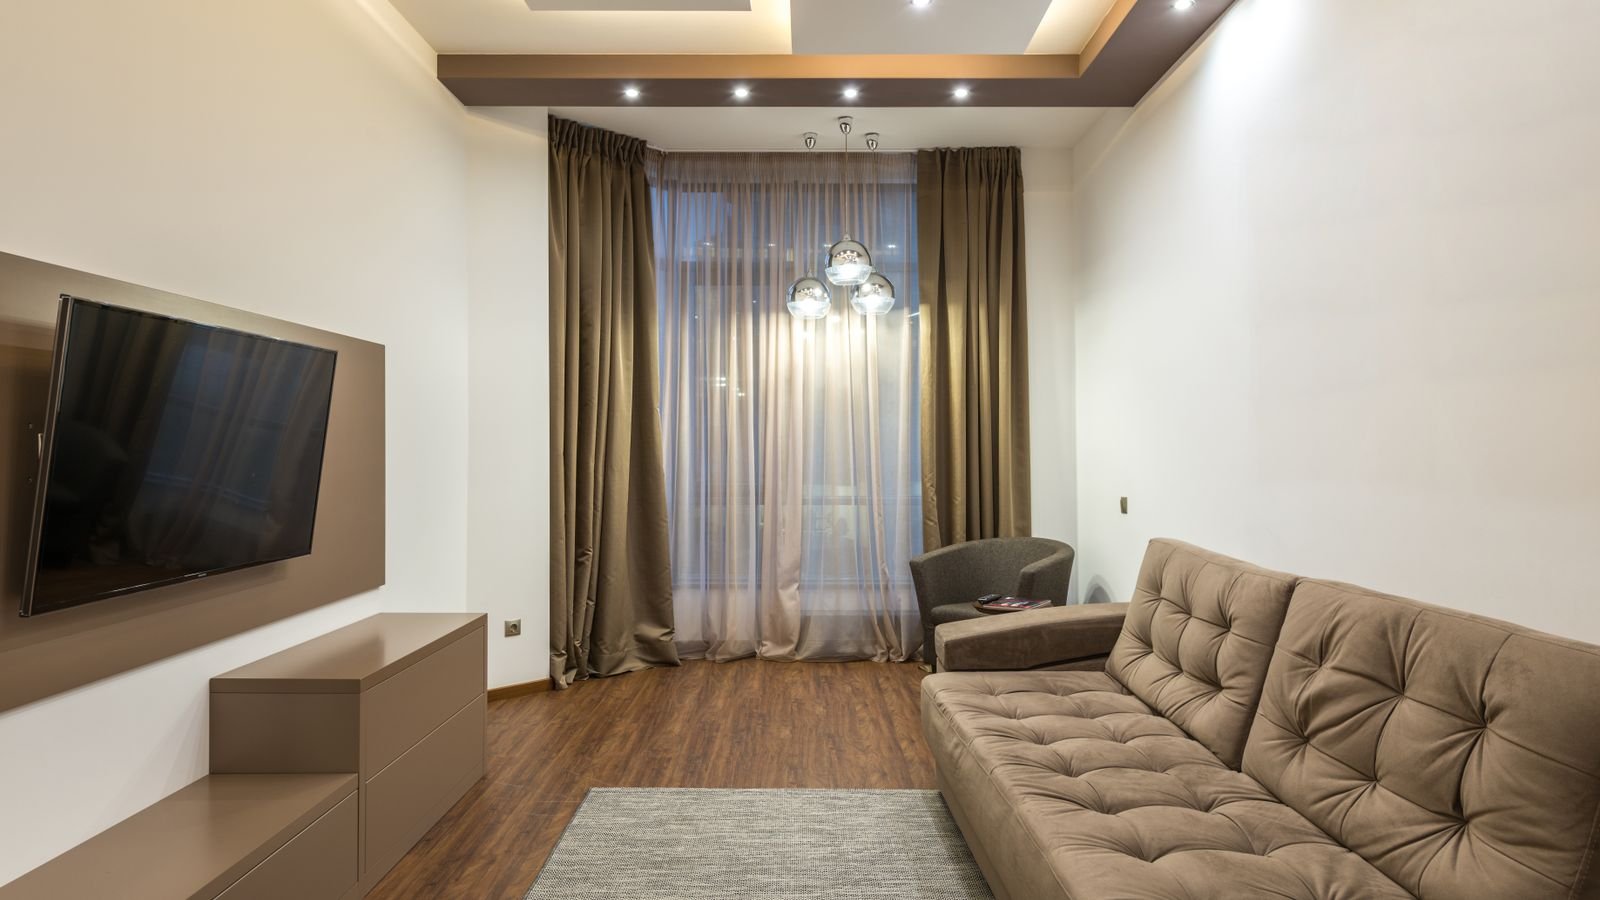
Color temperature has an outsized effect on whether a basement feels welcoming or institutional. Very cool light (5000K and above) reads as garage or clinic. Very warm light (2700K) can look muddy against the grey concrete and neutral paint common in basements.
For most finished basements, 3000K to 3500K hits the sweet spot: warm enough to feel residential, crisp enough to keep dark finishes from going flat. Utility zones — laundry, storage, workshop — benefit from 4000K for clarity. Many current fixtures include a selectable color temperature switch on the back, which lets you set zones differently from the same product and change your mind later without rewiring.
Pay attention to CRI as well. A color rendering index of 90 or above makes skin tones, wood and fabric look correct. In a windowless room where artificial light is the only light, poor CRI is far more noticeable than it would be upstairs.
Trim Types and Beam Spread
- Baffle trim. Ridged interior reduces glare. The safest default for living areas with low ceilings, where fixtures sit close to eye level.
- Reflector trim. Smooth and shiny, maximizes output. Better for utility zones than lounges — it can glare.
- Gimbal or adjustable trim. Aims the beam. Use these to wash a media wall, highlight artwork or angle light around a beam.
- Wall wash trim. Directs light asymmetrically onto a vertical surface, which makes a small basement feel wider.
- Shower or damp-rated trim. Required over any basement bathroom shower and sensible in damp-prone areas.
Beam angle matters too. Wide beams (around 90 to 120 degrees) suit low ceilings because the light spreads before it reaches the floor. Narrow spots are for accenting, not for general coverage.
Dimming, Switching and Controls
A basement that is only ever fully bright is exhausting. Split the space into at least two or three circuits — general area, media or lounge zone, and utility — and dim each independently.
LED dimming is fussier than incandescent dimming. Confirm the fixture is listed as dimmable, then match it to a compatible LED dimmer; most manufacturers publish a compatibility list. Mismatched pairs cause flicker at low levels and audible buzz. Do not skip this step to save twenty dollars on a switch.
Smart options are worth considering here more than in most rooms, because basements often lack a convenient natural switch location at the bottom of the stairs. Scene control that sets a movie level, a bright cleaning level and a low late-night level makes the room far more usable. If that appeals, the smart recessed lighting options integrate dimming and color temperature control without extra wiring runs.
Moisture, Insulation and Code Considerations
Basements are damp environments even when finished, and several requirements follow from that.
- Damp rating. Choose damp-rated fixtures for laundry rooms, near sump areas and in any basement prone to humidity. Wet-rated is required inside shower enclosures.
- IC rating. If insulation will contact the fixture — common in a basement ceiling with sound insulation between joists — you need an IC-rated (insulation contact) housing. Non-IC fixtures in contact with insulation are a genuine fire risk.
- Airtight rating. Reduces air leakage between the basement and the floor above, which helps with both energy loss and sound transfer.
- Fire-rated assemblies. Some jurisdictions require fire-rated fixtures or covers where the ceiling forms a rated assembly. Check locally before cutting holes.
Permits are commonly required for basement electrical work. An inspection is cheap insurance in a space where a hidden problem is genuinely dangerous.
Common Mistakes to Avoid
- Under-lighting. The most frequent error by a wide margin. Basements need more fixtures than the equivalent room upstairs.
- Perimeter neglect. Lighting only the center leaves dark walls, which makes the room read as smaller and lower.
- Skipping dimmers. A single bright setting makes a lounge feel like a break room.
- Mixing color temperatures. Two different whites in one sightline looks like a mistake, because it is one.
- Cutting holes before mapping obstructions. Discovering a duct after the hole saw is an expensive lesson.
- Relying solely on downlights. A few lamps or LED strips add depth that a flat ceiling grid cannot.
Budget Planning
Fixtures themselves are the smaller share of the cost in most basement projects. Canless wafer lights are inexpensive per unit and the volume adds up predictably, so a 16-fixture basement is easy to budget. The variables are wiring runs, whether a new circuit is needed at the panel, and whether the ceiling is already open. Wiring an open-joist basement before drywall is dramatically cheaper than retrofitting through a finished ceiling — if the ceiling is open right now, over-specify slightly. Adding a fixture later costs several times what adding it today does.
Frequently Asked Questions
How far apart should basement recessed lights be?
Roughly half the ceiling height. For a typical 7 to 8 foot basement ceiling, that means 3.5 to 4 feet between fixtures, with the outer row about 2 to 3 feet from the walls.
Can I install recessed lighting in a low basement ceiling?
Yes — canless wafer LEDs need only 2 to 3 inches of clearance above the drywall, so they fit in ceilings where traditional can housings will not.
What color temperature is best for a basement?
3000K to 3500K for living areas, 4000K for laundry and workshop zones. Avoid 5000K in lounge spaces unless you want a distinctly clinical feel.
Do I need damp-rated fixtures in a basement?
In laundry rooms, near sump pits and in humid basements, yes. Wet-rated fixtures are required inside shower enclosures. In a dry, conditioned finished basement, standard fixtures are generally acceptable.
Should basement recessed lights be on dimmers?
Almost always. Dimming turns one bright grid into several usable moods, and it extends fixture life. Just confirm dimmer and fixture compatibility to avoid flicker.
Final Thoughts
A well-lit basement does not announce its lighting. It simply feels like a room you would choose to be in, rather than the space below the real house. Getting there is mostly a matter of committing to enough fixtures, spacing them on a deliberate grid, choosing a color temperature that flatters the finishes, and splitting the room into zones you can dim independently. Plan the layout on paper before the first hole is cut, respect the damp and insulation ratings your space actually requires, and specify slightly more capacity than you think you need. Do that and the basement you finish in 2026 will be the room people gravitate toward instead of the one they avoid.