
 Owen Bradley
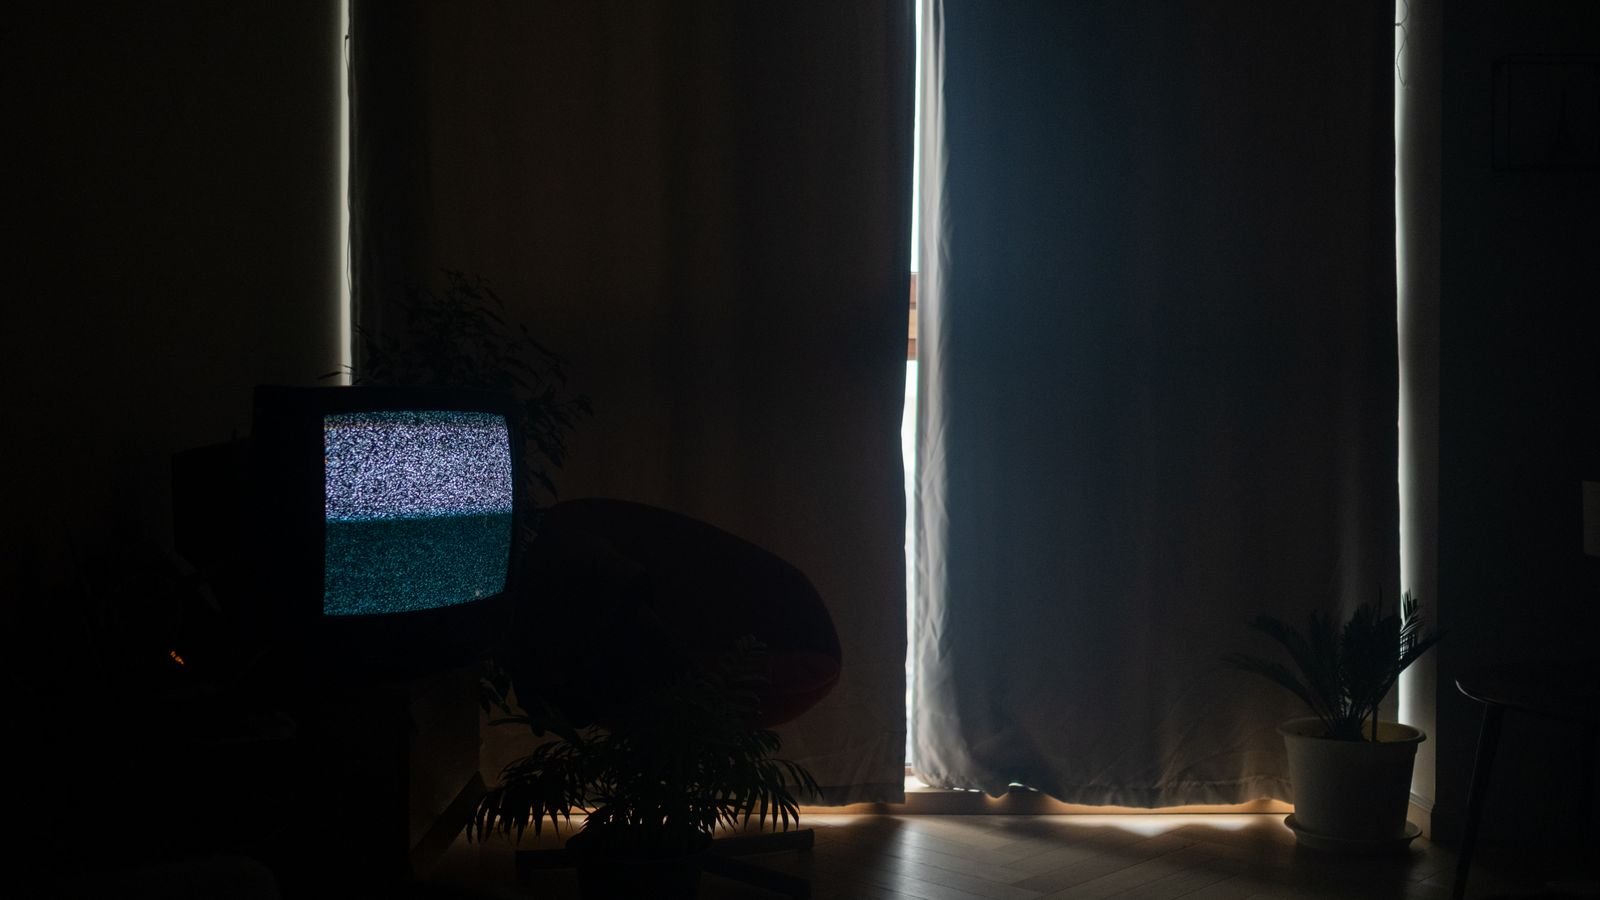
 Watching a bright screen in a dark room forces your eyes to work constantly against extreme contrast. The pupil tries to adapt to the bright display and the dark surroundings at the same time, and after an hour or two you feel it — dry eyes, a dull headache, and a picture that somehow looks worse than it should. Bias lighting fixes this with a strip of light behind the television, aimed at the wall. It raises the brightness of the area immediately surrounding the screen, reduces the contrast your eyes must handle, and, as a side effect, makes blacks on the screen look deeper and colors more accurate. It costs very little, takes half an hour, and is one of the few home upgrades where the improvement is obvious the first evening.
Why Bias Lighting Works
Two things happen when you add light behind a screen.
The first is physiological. Your eye adapts to an average brightness across your field of view. A bright screen surrounded by darkness means the eye is constantly readjusting between the two, and that continuous adjustment is what produces fatigue. Lifting the surround to a moderate level removes most of the work.
The second is perceptual. Human vision judges brightness relative to the surroundings, not absolutely. A neutral white reference next to the screen gives your visual system an anchor, so the darkest parts of the picture read as genuinely black rather than dark grey. Colors also appear more accurate, because a correct white reference lets your eye calibrate against it.
Both effects depend on the light being the right color and the right brightness — which is where most installations go wrong.
Get the Color Temperature Right
This is the detail that separates bias lighting from decorative lighting, and it is worth being strict about.
Video content is mastered against a white reference of 6500K, known as D65. If your bias light matches that, the screen’s whites look neutral against it and the calibration effect works. If your bias light is warm — say 2700K — your eye adapts toward that warmth and the screen appears bluish by comparison. If it is saturated blue or purple, color judgement is thrown off entirely.
So for genuine bias lighting: choose 6500K white, or set an RGB strip to its pure white setting. Save the color effects for a separate scene when you are not watching something you care about. Strips sold specifically for this purpose usually state 6500K explicitly — checking the color temperature spec across the best TV light strips is worth the minute it takes, because plenty of general-purpose RGB strips have no true neutral white at all.
CRI matters too. A strip rated CRI 90 or above renders the wall behind the screen as a genuinely neutral surface; a cheap low-CRI white can cast a faint green or pink tint that undermines the whole point.
Set the Brightness Correctly
Bias lighting should be noticeable but not distracting. The widely used guideline is roughly 10 percent of the screen’s peak brightness, measured on the wall behind it.
Without a meter, use this practical test: sit in your normal viewing position with the room dark and the bias light on. You should be able to see the wall around the TV clearly, but the light should never draw your eye away from the screen, and you should not see the strip itself or any bright hotspots. If you can see individual LEDs reflected in the screen or on the wall as distinct dots, the strip is too close to the edge or too bright.
A dimmable strip is therefore worth insisting on. Rooms differ, wall colors differ, and the right level for a dark grey wall is not the right level for white.
What You Will Need
- An LED strip rated 6500K, or an RGBW strip with a true white channel
- A USB power supply, or a mains adapter if the strip needs one
- Isopropyl alcohol and a lint-free cloth
- Scissors, if the strip needs shortening at marked cut points
- A few small cable clips and adhesive cable channel
- A tape measure
- Optionally, corner connectors if the strip will turn the corners of the TV back
Install the Strip Step by Step
- Measure the back of the television. Add the lengths of the sides you intend to cover. Most people run the strip around all four edges; running only the top and sides works well and avoids the stand.
- Plan the inset. Mount the strip an inch or two in from the edge of the TV’s back panel, not right at the rim. Set too close to the edge, the light spills around the screen and creates a visible bright halo instead of a soft wash.
- Check the wall distance. Bias lighting needs a few inches between the TV back and the wall for the light to spread. On a slim wall mount pressed tight to the wall, the effect will be a narrow bright line rather than a wash. Consider a slightly deeper mount, or mount the strip facing outward at the sides.
- Clean the mounting surface. Wipe the back of the TV with isopropyl alcohol and let it dry fully. Plastic TV backs carry a release agent from manufacture that defeats adhesive tape.
- Dry-fit before peeling. Hold the strip in position, power it on, and look at the wall from your seating position. Adjust the inset until the wash looks even.
- Peel and press in sections. Remove about a foot of backing at a time and press firmly. Do not pull the strip tight across corners — that tension will peel it off within weeks.
- Handle corners without folding. Curve the strip gently around each corner or use a corner connector. A sharp fold cracks the internal conductors.
- Power it from the TV’s USB port if possible. This is the neatest solution, because the strip then turns on and off with the television automatically. Confirm the port supplies enough current — some TV USB ports are limited and a long strip may need its own adapter.
- Tidy the cable. Route the lead down the same path as the TV’s other cables and secure it with clips. A visible power lead undoes the clean look entirely.
- Set the level after dark, in the room’s normal viewing conditions, and dim until the light supports the screen rather than competing with it.
Consider the Wall Behind the Screen
The wall is part of the system, because you are looking at reflected light rather than the strip itself.
A neutral wall — white, grey, or off-white — reflects the light without tinting it, which is exactly what you want. A strongly colored wall reflects colored light onto your visual field and works against the color-reference benefit. A deep red or green wall behind a television is worth reconsidering if picture accuracy matters to you.
A matte finish is better than gloss. Glossy paint creates a visible bright reflection of the strip rather than a diffuse wash.
Common Mistakes to Avoid
- Using warm or colored light. It looks pleasant in photographs and defeats the purpose in practice. Use 6500K white for viewing.
- Running the strip too bright. Overpowering bias light is more distracting than no bias light at all.
- Mounting flush with the TV edge. Creates a hard halo and visible hotspots. Inset the strip.
- Skipping the alcohol wipe. The most common reason strips droop off the back of a TV a month later.
- Blocking vents. Televisions have ventilation slots on the back panel. Route the strip around them, never across.
- Overloading the USB port. A long strip on a low-current port causes dim, uneven light or a TV that reports a fault. Use a dedicated adapter for longer runs.
Frequently Asked Questions
Does bias lighting really reduce eye strain?
It reduces the contrast between the screen and its surroundings, which is the main cause of visual fatigue when viewing in a dark room. Most people notice the difference within the first evening, particularly during long sessions.
Should the strip go around all four sides?
All four gives the most even wash, but the bottom edge contributes least, especially with a stand in the way. Top and two sides is a perfectly good compromise.
Is a screen-mirroring ambient light system better?
Systems that sample the screen and match the colors behind it are visually impressive and genuinely fun for films and games. For accurate picture quality and eye comfort, a steady 6500K white is better, because a shifting color reference cannot serve as a white reference.
Can I use bias lighting behind a computer monitor?
Yes, and the benefit is arguably greater, because you sit closer for longer. The same rules apply: 6500K, dim, and inset from the edges.
Will it damage my television?
No, provided you do not cover the ventilation slots and the strip is a low-power LED type. Keep the strip on the flat back panel and clear of any vents or heat sinks.
Final Thoughts
Bias lighting is the rare upgrade that is cheap, quick, reversible, and immediately noticeable. The whole thing comes down to four decisions: choose a 6500K strip with decent CRI, inset it an inch or two from the edges of the TV back, keep the brightness low enough that it never competes with the screen, and clean the surface properly before sticking anything down. Do that, power it from the TV’s USB port so it manages itself, and you will end up with a picture that looks better and evenings that leave your eyes considerably less tired.









