Owen Bradley
 Battery-powered LED strips solve a problem that hardwired lighting cannot: adding light where there is no outlet, no switch, and no willingness to run cable. Inside a closet, under a kitchen cabinet, along a stair rail, in a garden shed, on a bookcase, inside a camper — anywhere a plug simply does not exist. Installation is genuinely simple, requires no electrical knowledge, and takes about twenty minutes. The catch is battery life: get the planning wrong and you will be changing cells every fortnight. This guide covers choosing the right strip, mounting it so it stays put, wiring nothing at all, and setting it up so a set of batteries lasts months rather than days.
Understand What Battery Strips Can and Cannot Do
Battery LED strips are accent and task lighting, not room lighting. A typical AA-powered strip produces somewhere between 100 and 400 lumens — enough to light the inside of a wardrobe, the surface of a counter, or a path along a stair, but nowhere near enough to replace a ceiling fixture.
They also run on a limited energy budget. Three AA cells hold roughly 10 watt-hours of usable energy. A strip drawing 2 watts will therefore run about five hours continuously. That sounds poor until you realise that most sensible uses are intermittent: a closet light on for thirty seconds at a time runs for months on one set. The rule is simple — battery strips are excellent for occasional light and poor for continuous light.
Choose the Right Strip for the Job
- Power source. AA/AAA cells are cheap and replaceable anywhere. Built-in rechargeable lithium packs avoid ongoing battery cost but must be taken down or reached with a cable to charge. For hard-to-reach spots, replaceable cells with long life usually win.
- Activation. Motion-sensing strips are ideal in closets and cupboards because they eliminate the biggest waste — leaving the light on. Manual switch strips suit display lighting. Remote-controlled strips suit anything you want to dim.
- Length and density. More LEDs per foot means brighter light and faster battery drain. For closets and cabinets, a lower-density warm white strip is usually the better trade.
- Color. Warm white (2700K–3000K) for living spaces, neutral white (4000K) for closets and workspaces where you need to judge colors accurately.
- Weather rating. Anything in a shed, porch, or camper needs at least IP65.
Comparing specifications across the best battery-powered LED strip lights is the quickest way to see how runtime, brightness, and sensor options trade against each other before you commit.
Tools and Materials
- The LED strip kit and its batteries
- Isopropyl alcohol and a lint-free cloth
- Tape measure and pencil
- Scissors (only for strips with marked cut lines)
- Mounting clips, small screws, or extra double-sided mounting tape
- Adhesive hooks or a small bracket for the battery box
- A screwdriver if the battery compartment is screwed shut
Plan the Layout Before Peeling Anything
Three questions decide whether the installation looks good.
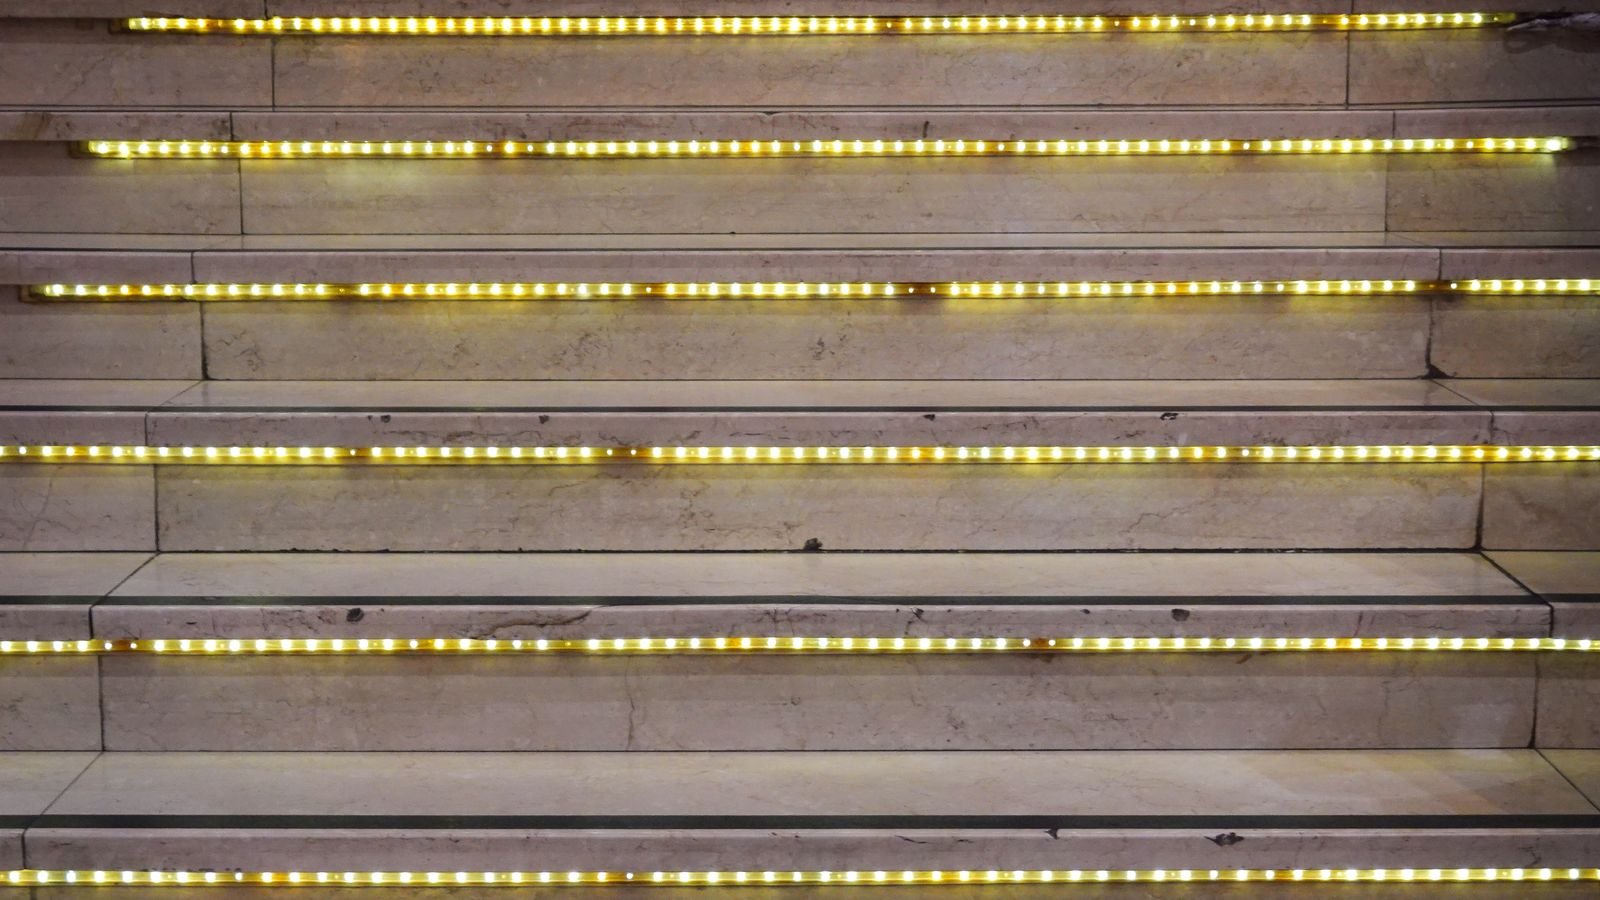
Where will the light land? The rule is to hide the strip and show the glow. Mount it on the underside of a shelf facing down, on the inside front lip of a cabinet facing back, or behind a lip on a stair nosing. Diodes visible at eye level create glare and look unfinished.
Where will the battery box live? This is the part most people forget. The box needs to be reachable for battery changes but out of sight. Good spots include the inside of a cabinet door, the back corner of a shelf, or the side wall of a closet. Do not mount it where a shelf full of stored items will bury it.
How long is the run? Measure the actual path, including any bends, and add about 15 percent. Battery strips generally cannot be extended with a second kit, so buying the right length matters more than with mains strips.
Install the Strip Step by Step
- Test the strip first. Insert the batteries and switch it on while it is still in the packaging. Confirm every section lights and, if it has a sensor, check the detection range. Discovering a dead segment after mounting is infuriating.
- Clean the mounting surface. Wipe with isopropyl alcohol and let it dry completely. Adhesive fails on dust, grease, and freshly painted surfaces — kitchen cabinets in particular carry an invisible film of cooking oil that will defeat any tape.
- Dry-fit the run. Hold the strip in place with the backing still on and check the light lands where you want. Adjust the angle a few degrees and watch how the beam moves.
- Cut to length if needed. Only cut on the marked line between the copper pads. Cutting elsewhere kills the segment. Note that the powered end is the end you must keep.
- Peel and press in sections. Remove roughly a foot of backing at a time, position, then press firmly along the length. Never stretch the strip tight while sticking it — tension slowly peels it off.
- Support long or overhead runs. Add a small clip every 18 to 24 inches, or fit an aluminium channel. Adhesive alone on an overhead surface rarely lasts more than a few months.
- Mount the battery box. Use an adhesive hook or a small screw bracket rather than tape alone, since the box gets heavier and gets pulled on during battery changes. Orient it so the lid opens freely.
- Manage the wire. Route the lead along an edge or corner and secure it with a couple of small clips. A neat cable is the difference between a tidy install and an obvious DIY job.
- Test in real conditions. Close the cupboard door, stand where you normally would, and check the light and any sensor behave correctly. Adjust before the adhesive fully cures.
Make the Batteries Last
Runtime is the whole game with battery lighting, and a few choices make a tenfold difference.
- Use motion or door activation wherever possible. A closet light triggered for 20 seconds at a time uses a tiny fraction of the energy of the same strip left on.
- Run at reduced brightness. If the strip is dimmable, 50 percent brightness typically doubles runtime and is usually plenty for accent use.
- Choose lithium cells for cold locations. Alkaline batteries lose much of their capacity in a garage or shed in winter; lithium AA cells hold up far better.
- Do not mix old and new cells. The weakest cell in the set determines the whole runtime and can leak.
- Shorten the run. A three-foot strip lasts roughly twice as long as a six-foot strip on the same battery pack.
- Remove batteries during long absences. Motion sensors draw standby current continuously, and alkaline cells left for years will corrode the contacts.
Common Mistakes to Avoid
- Skipping the alcohol wipe. The single biggest cause of strips falling down.
- Burying the battery box. If changing batteries requires emptying a shelf, you will not do it.
- Expecting room-level brightness. Battery strips supplement lighting; they do not replace a ceiling fixture.
- Mounting at eye level. Visible diodes cause glare and reveal the tape.
- Bending sharply around corners. Folding the strip cracks the internal traces. Curve it gently or use a corner connector.
- Using indoor-rated strip outdoors. Moisture corrodes the contacts within a season.
Frequently Asked Questions
How long will a set of batteries actually last?
With continuous use, expect four to eight hours from three AA cells on a typical strip. With motion activation in a closet used a few times a day, three to six months is realistic.
Can I cut a battery strip shorter to save power?
Yes, and it is one of the most effective things you can do. Cut only on the marked lines, keeping the end with the battery lead attached.
Can I later convert the strip to mains power?
Sometimes. If the strip runs on 12V and the battery box supplies 12V, a matching plug-in adapter can replace the box. Strips designed for 4.5V from three AA cells generally cannot be converted safely.
Why is one end of my strip dimmer than the other?
Voltage drop along the run, made worse as batteries deplete. Use a shorter strip, fresh cells, or feed power from both ends if the kit allows.
Are rechargeable strips better than replaceable batteries?
They are cheaper over time and better for frequently used locations you can easily reach. For a rarely opened cupboard or an awkward high shelf, replaceable long-life cells are more practical.
Final Thoughts
Battery-powered LED strips are one of the few genuinely no-skill lighting upgrades: no wiring, no tools beyond scissors, and no permanent changes to the building. Success depends almost entirely on planning rather than execution — clean the surface, hide the diodes, mount the battery box somewhere you can actually reach, and use motion activation so the light only runs when it is needed. Get those four right and a twenty-minute job will keep quietly working for months without another thought.