
 Owen Bradley
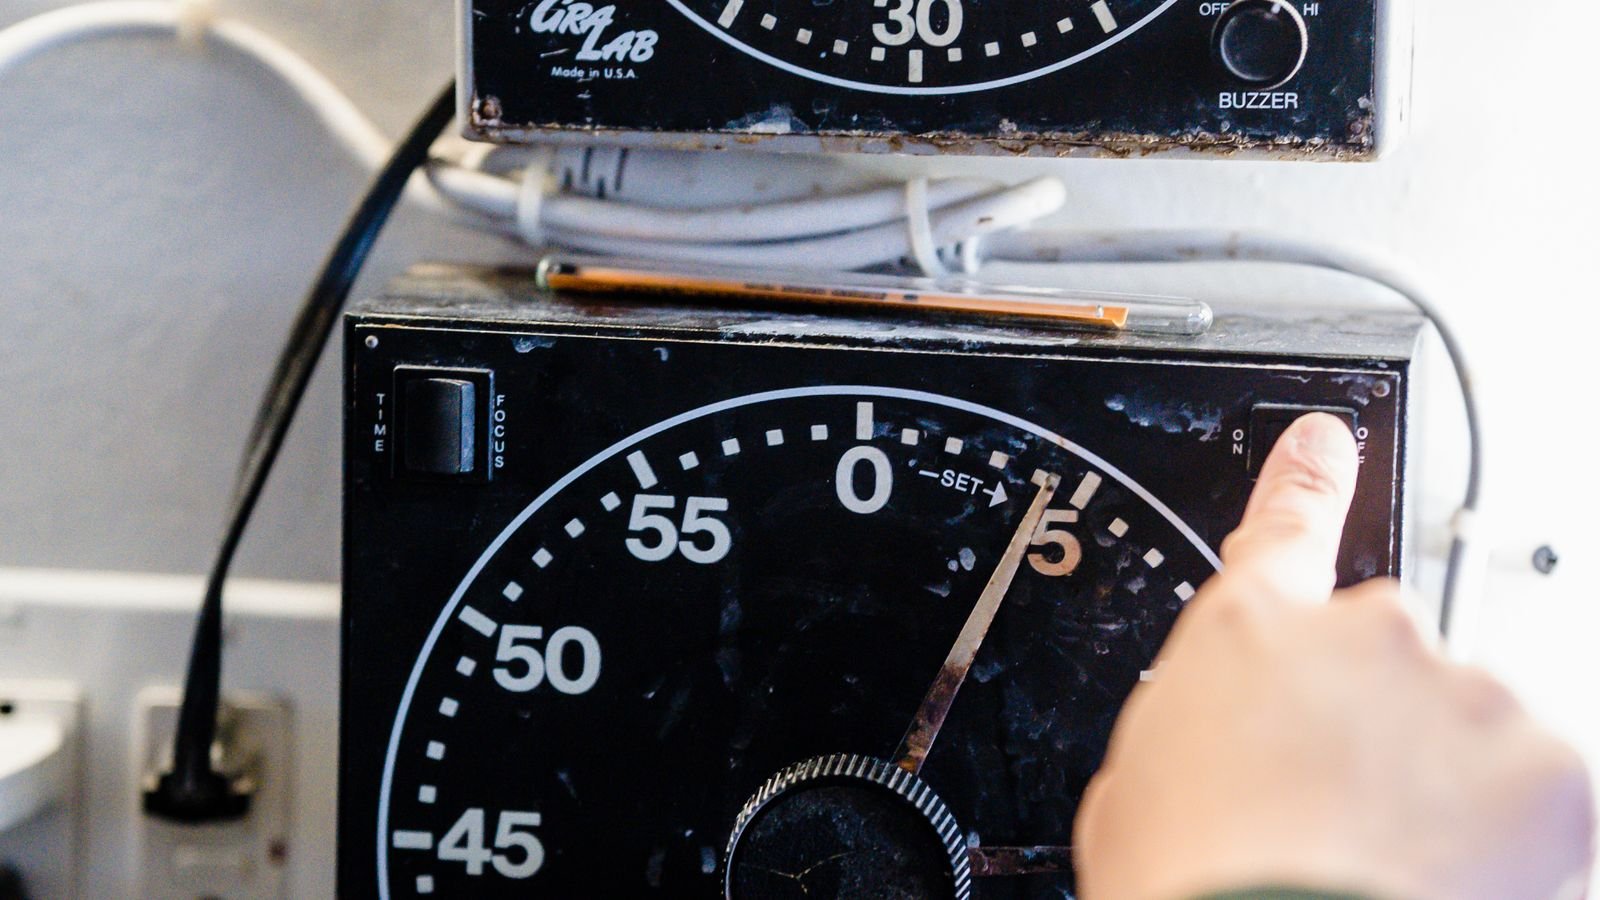
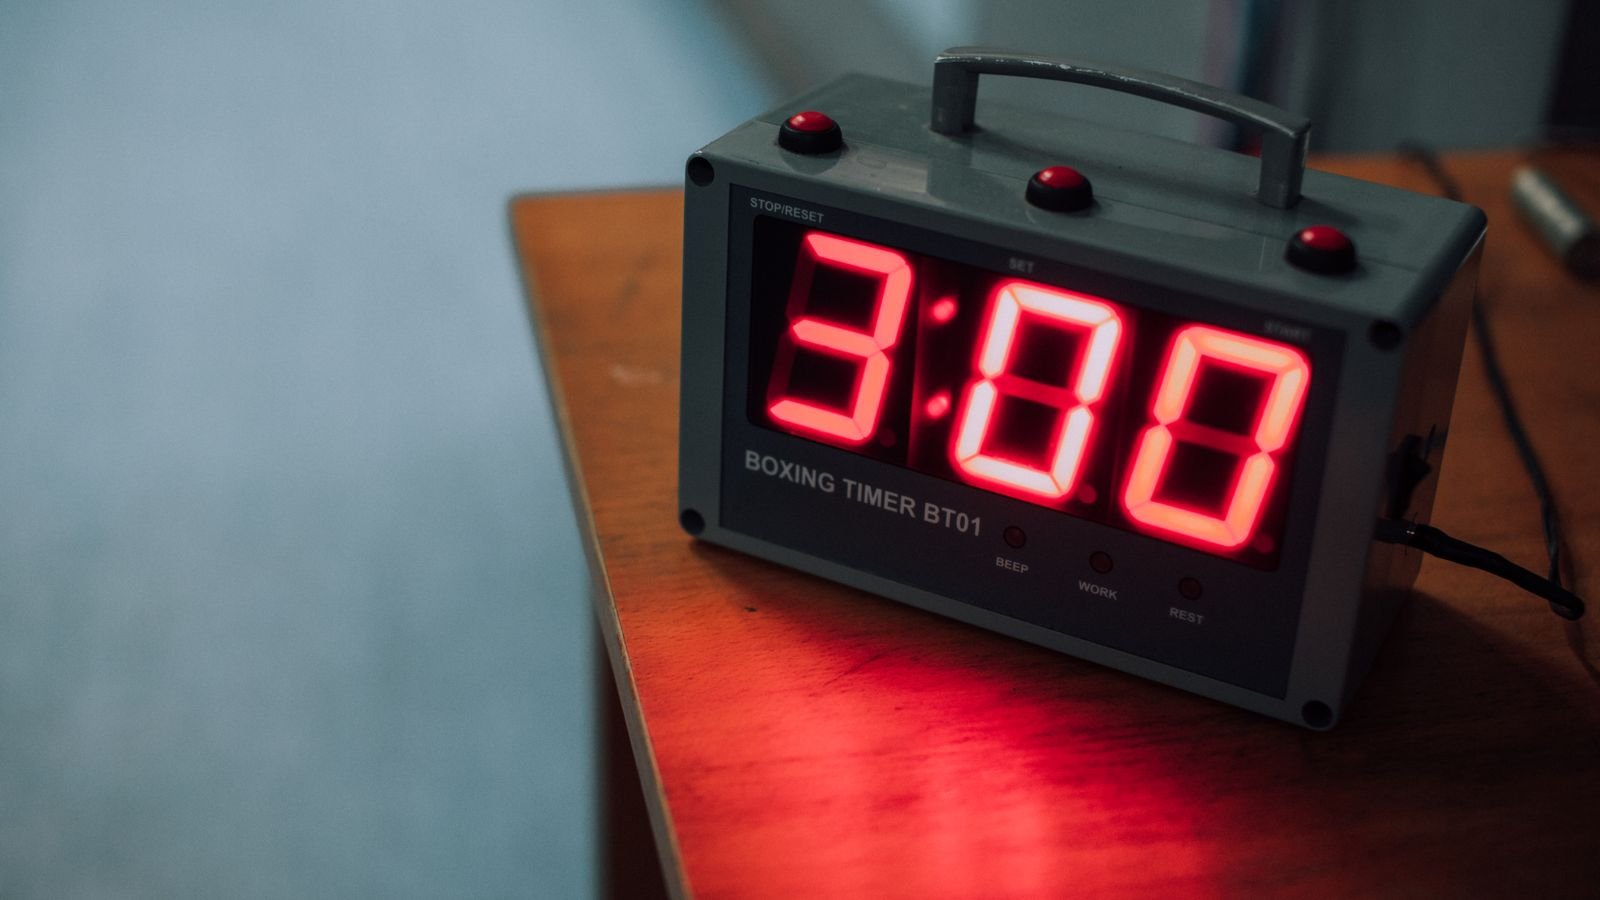
 Mechanical timers are wonderfully simple — a motor, a dial, and a ring of little pins that push a switch open and closed. They are also imprecise, noisy, limited to a single repeating pattern, and prone to losing their place after every power cut. Replacing one with a digital timer gets you multiple daily programs, minute-level accuracy, weekday and weekend schedules, randomised holiday modes, and in astronomic models a schedule that follows sunrise and sunset through the year without any intervention. The swap itself is usually a straightforward like-for-like exchange, with one significant catch: most digital timers need a neutral conductor that the mechanical unit may not have used. This guide covers checking compatibility, choosing the replacement, the removal and installation steps, programming, and the problems that catch people out.
Why the Upgrade Is Usually Worth It
- Accuracy. Mechanical dials drift and their pins set schedules in coarse increments. Digital timers switch to the minute and hold that timing indefinitely.
- Multiple programs. A mechanical timer repeats one pattern every day. A digital unit can run different schedules for weekdays, weekends, and individual days.
- Power-cut memory. A mechanical timer that loses power falls behind by exactly the length of the outage and stays wrong until someone resets it. Digital timers keep their clock on a backup cell.
- Astronomic scheduling. Models that track sunset for your location shift automatically as the seasons change — genuinely useful for outdoor lighting and the main reason many people upgrade.
- Randomisation. Holiday modes that vary switching times by a few minutes make an empty house look occupied.
- Silence. No ticking motor, which matters if the timer is anywhere near a living space.
The trade-off is that a digital timer is a small computer. It has settings to get wrong, a battery that eventually dies, and it is fussier about load type than a mechanical contact ever was.
Check Compatibility First
- Identify what the timer controls. Lighting, a pump, a heater, a fan, and a motor all present different loads. Note the appliance’s wattage or horsepower.
- Note the voltage. Most residential timers are 120 volts, but pool and irrigation timers are frequently 240 volts. The replacement must match.
- Check the amperage rating on the existing timer’s label and make sure the replacement meets or exceeds it. Pay attention to separate ratings for resistive, inductive, motor, and LED loads — they are often very different numbers on the same device.
- Look for a neutral. Turn off the breaker, open the enclosure, and see whether a white or grey conductor is present and connected. Most digital timers need one to power their electronics.
- Check the enclosure and mounting. An outdoor mechanical timer in a weatherproof box needs a replacement rated for that location, and the new unit must physically fit the existing back box.
- Consider whether the timer is part of a three-way arrangement. If the load can also be switched from a second location, you need a compatible model and matching wiring.
When choosing the replacement, weigh the programming capacity, the load ratings, and whether an astronomic feature would help. Comparing the schedule flexibility, neutral requirements, and load ratings across the best digital timers before buying avoids the frustrating discovery that a unit needs a conductor your box does not contain.
Tools and Materials
- Non-contact voltage tester and a multimeter
- Insulated screwdrivers and wire strippers
- Wire connectors sized for the conductors you find
- Electrical tape and a marker for labelling
- Torch and a phone camera for documenting the existing wiring
- Box extender or a deeper box if the new unit is bulkier
- The new timer’s manual, read before you start rather than during
Step-by-Step Replacement
- Switch off the breaker and verify. Test the tester on a live source, test the timer enclosure, then test the tester again. Never rely on the timer’s own switch position.
- Photograph the existing wiring in detail before touching anything, including a wide shot and close-ups of each terminal.
- Label every conductor with tape and a marker as you identify it: line in, load out, neutral, ground, and any traveller.
- Remove the old timer. Loosen the terminals, free the conductors, and unscrew the unit from the box. Keep the mounting screws — they are sometimes an unusual size.
- Inspect the box and conductors. Look for nicked insulation, scorching, corrosion, or conductors that have been repeatedly re-stripped and are now too short. Cut back and re-strip any damaged ends; extend short conductors with pigtails rather than stretching them.
- Confirm the neutral situation. If your new timer needs a neutral and none is present, stop. Options are a no-neutral model, running new cable, or an electrician. Do not improvise by using the ground as a neutral — that is dangerous and prohibited everywhere.
- Wire the new timer. Follow its diagram exactly: line to the line terminal, load to load, neutral to neutral, ground to the green screw. Line and load are not interchangeable on an electronic timer; reversing them can damage the unit or leave it dead.
- Check the box volume. Digital timers are usually deeper than the mechanical units they replace. Fold conductors accordion-style rather than forcing them, and fit a box extender if it does not seat freely.
- Mount and secure. Screw the timer in level, fit the faceplate or close the weatherproof enclosure, and check any gasket seats properly.
- Restore power and set the clock. Set the current time and date, confirm the twelve or twenty-four hour format, and set the daylight saving option correctly.
- Enter your schedules. Program each on and off event, assign the days it applies to, and if the unit is astronomic enter your location or postcode so it calculates sunset accurately.
- Test by fast-forwarding. Most digital timers have a manual override or a test mode. Use it to confirm the load switches on and off as intended before you walk away.
Programming Tips
- Write the schedule down first. Working out the pattern on paper before touching the buttons saves a lot of cycling through menus.
- Use the override deliberately. Most units have a temporary override that reverts at the next scheduled event and a permanent hold that does not. Know which is which.
- Set an offset on astronomic modes. Turning on fifteen minutes before sunset usually looks better than switching at exactly the calculated moment.
- Do not over-program. Half a dozen events a day is plenty. Complex schedules are hard to reason about when something looks wrong.
- Record the settings. Photograph the programmed schedule or write it inside the cover, so restoring it after a battery failure takes two minutes instead of an evening.
Troubleshooting
- Display blank after installation. Almost always a missing or incorrectly connected neutral, or line and load reversed.
- Load never switches on. Check the schedule is actually active, that no override is holding it off, and that the day-of-week assignment includes today.
- Timer works but the light flickers. The LED load is likely below the timer’s minimum, or the timer lacks a neutral and is trickling current through the load.
- Clock resets after every outage. The backup cell is exhausted. Many units take a standard replaceable battery.
- Astronomic times look wrong. The location or time zone is set incorrectly, or the daylight saving option does not match your region.
- Timer runs hot or buzzes. The load exceeds its rating for that load type, or the connections are loose. Switch it off and investigate.
Frequently Asked Questions
Do all digital timers need a neutral wire?
Most do, because their electronics draw power continuously. No-neutral models exist but can cause faint glow or flicker with low-wattage LED loads.
Can I use a digital timer on a motor load like a pump or fan?
Only if the timer is explicitly rated for motor loads, usually expressed in horsepower rather than watts. Motor inrush current is far higher than running current and will weld the contacts of an underrated timer.
Will a digital timer handle LED lighting?
Modern timers generally do, but check the separate LED rating on the label. It is often much lower than the incandescent rating on the same device.
How long does the backup battery last?
Typically several years. When the clock starts losing time after outages, replace it — many units use a common coin cell or a small rechargeable pack.
Can I replace an outdoor mechanical timer with a digital one?
Yes, provided the replacement is rated for wet locations or is installed inside a suitable weatherproof enclosure with the gasket properly seated.
Final Thoughts
Swapping a mechanical timer for a digital one is a straightforward job with one decisive question sitting in the middle of it: is there a neutral in the box? Answer that before you buy, along with the voltage and the correct load rating for what the timer actually switches. Photograph and label the existing wiring, respect the line and load terminals, allow for the extra depth, and program the schedule from something you wrote down rather than improvising at the wall. Test it with the override before you trust it, note the settings somewhere you will find them again, and replace the backup battery when the clock starts drifting. If you open the enclosure and find no neutral, damaged conductors, or a wiring arrangement you cannot make sense of, that is the point to call a licensed electrician.









