Owen Bradley
 Plenty of homes have a doorbell button by the door and nothing behind it — no transformer, no chime box, sometimes no wiring at all. Newer builds occasionally skip the doorbell entirely, and older houses often had a mechanical chime removed during a remodel and the wires abandoned in the wall. The good news is that installing a doorbell without an existing chime box is now easier than installing a wired one, because battery-powered and plug-in systems have matured enormously. You get a working doorbell, an indoor chime you can place anywhere, and often a camera and app notifications, all without opening a single wall. This guide walks through the options, the prep work, the physical install, pairing the chime, and the troubleshooting that comes up most often.

Your Options When There Is No Chime Box
- Fully wireless battery doorbell. A battery-powered button outside pairs by radio with one or more plug-in chime receivers inside. No wiring, no transformer, no wall work. This is the default answer for most homes.
- Battery video doorbell with a plug-in chime. Same principle, but the button includes a camera, motion detection, and two-way audio, plus a plug-in chime so you still hear it without your phone.
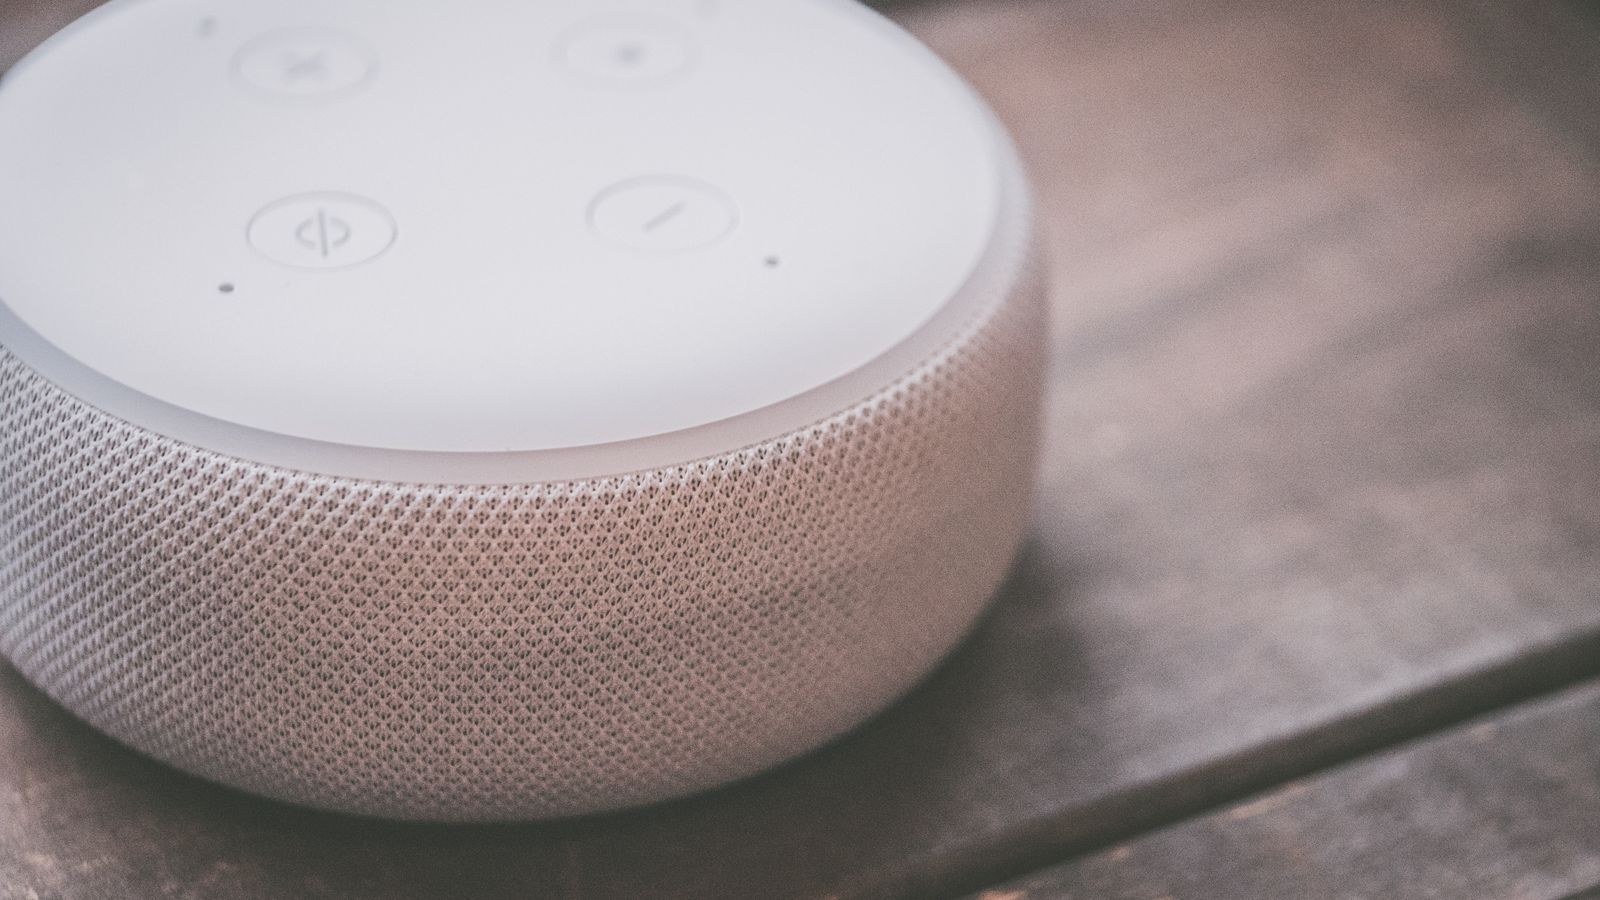
- Wi-Fi doorbell with a smart speaker as the chime. If you already have speakers in the house, many doorbells can ring through them and you skip a dedicated chime entirely.
- Plug-in transformer with a wired button. If you have doorbell wire at the door but no chime, a plug-in transformer in a nearby outlet plus a wireless chime can revive the existing button.
- Full wired install. Adding a transformer at the panel and running new wire to a chime location is the most work by far and rarely worth it now unless you are already opening walls.
For the vast majority of no-chime situations, a self-contained wireless unit is the right call. Comparing range, chime options, and battery life across the best battery operated doorbells is the fastest way to narrow the field before you buy.
Tools and Materials
- Drill with masonry and wood bits sized to the supplied anchors
- The mounting plate, screws, and anchors included with the doorbell
- Small Phillips and the security bit that ships with most video doorbells
- Level and pencil
- Exterior-grade silicone sealant
- Angled or wedge mounting bracket if your door frame is recessed or angled
- Painter’s tape for marking without pencil on painted trim
- A charged battery for the doorbell, plus your phone for setup
Step-by-Step: Installing the Doorbell
- Charge the battery fully first. Most battery doorbells ship partially charged. Bring it to 100 percent before mounting so your first day of use is not interrupted by a charging cycle, and so the initial firmware update completes without dropping out.
- Set up the device indoors before mounting it. Install the app, create the account, and complete Wi-Fi pairing while standing next to your router. Confirm the video and audio work. It is much easier to resolve a setup problem on a table than on a ladder.
- Test the Wi-Fi signal at the door. Stand at the intended mounting spot with your phone and check signal strength. If it is weak, resolve that now with a mesh node or extender rather than after the doorbell is screwed to brick.
- Choose the mounting height. Roughly 48 inches from the ground is the standard, and it is a good compromise: high enough to frame a face, low enough to still see a package on the step. If the doorbell has a narrow vertical field of view, err slightly higher and use a downward wedge.
- Check the viewing angle. Hold the doorbell in place and use the app’s live view to see exactly what it will capture. Adjust position before drilling. Watch for the frame filling half the shot, which is common on recessed doors and is solved with an angled wedge bracket.
- Mark and drill the mounting holes. Level the mounting plate, mark the holes with a pencil or through painter’s tape, and drill. Use masonry bits and plastic anchors in brick or stucco; wood screws go straight into a wooden frame. Drill slowly on tile or stucco to avoid cracking.
- Seal the holes. Put a small bead of exterior silicone in each hole before driving the anchors. This keeps water from tracking into the wall behind the mount.
- Fix the plate and attach the doorbell. Screw the plate down, then clip or slide the doorbell onto it and drive the security screw at the base. That screw is the only thing preventing someone from lifting the unit off the wall — do not skip it.
- Plug in and pair the indoor chime. Place the chime receiver in an outlet within range and follow the pairing sequence, usually a press-and-hold on the chime plus a press of the doorbell button. Pick a distinct tone and set the volume so it carries to the rooms you actually use.
- Add extra chimes if the house is large. Most systems support multiple receivers. One near the kitchen, one upstairs, and one in a basement or workshop covers a typical home. Each one pairs the same way.
- Configure notifications and motion zones. Turn on ring alerts for everyone in the household. Set motion zones so the sidewalk and street are excluded, or you will be inundated with alerts within a day.
- Test from outside. Close the door, walk away, come back, and press the button. Confirm the chime sounds indoors, the phone notification arrives promptly, and two-way audio is intelligible in both directions.
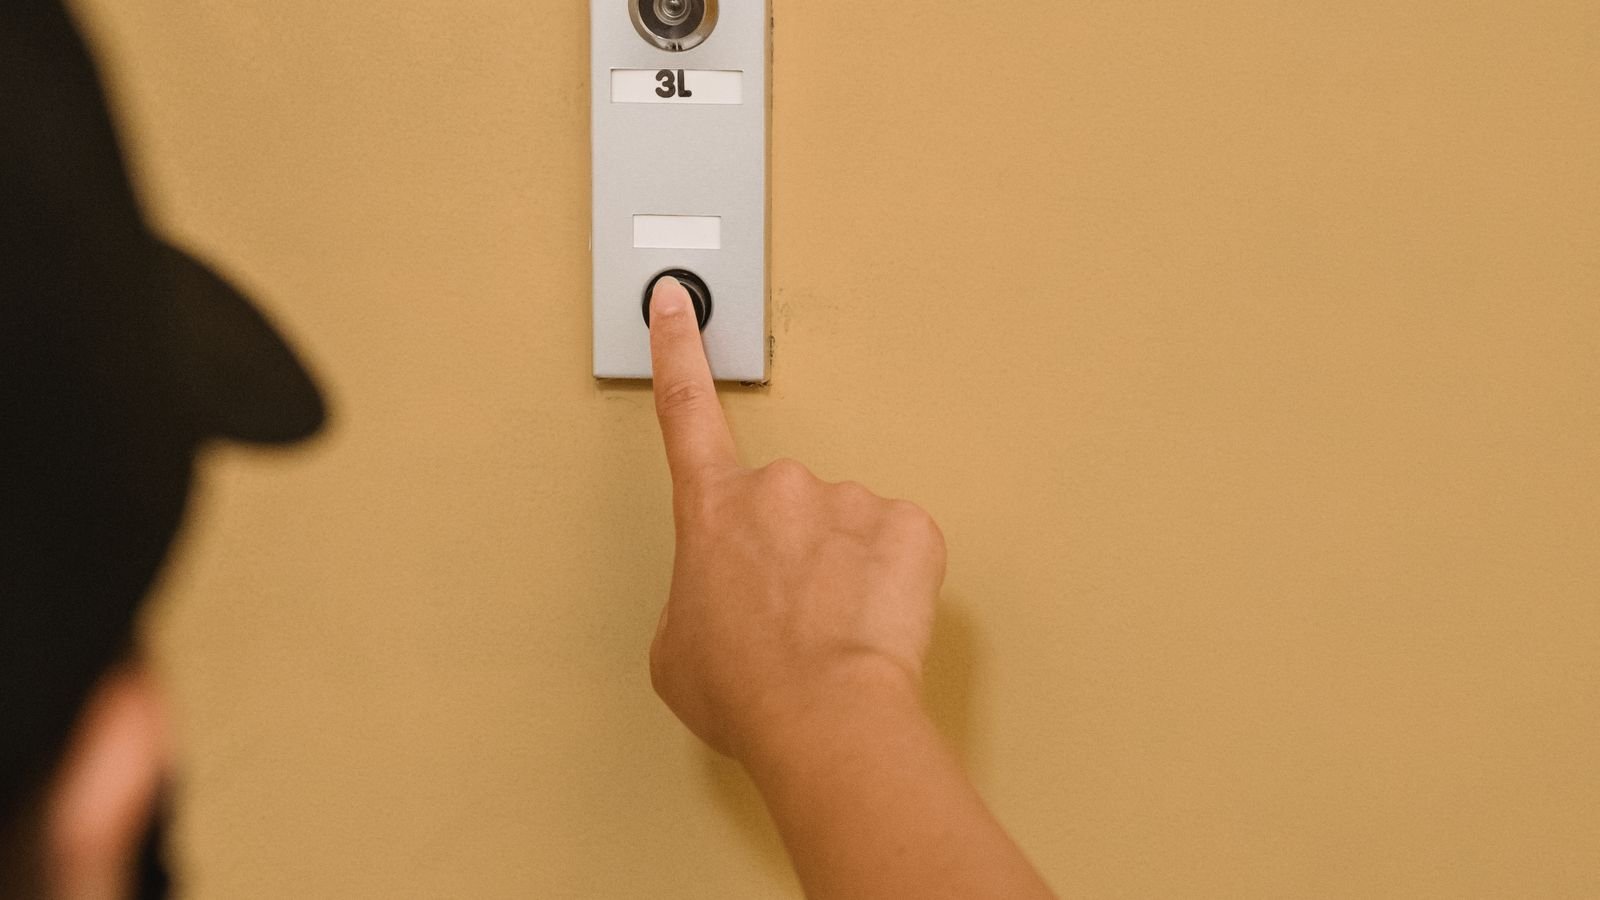
Placing the Indoor Chime Well
The chime’s position matters more than people expect. Plug it into an outlet in a hallway or open living area rather than a bedroom or behind furniture — sound needs a path. Avoid outlets controlled by a wall switch, which is a surprisingly common cause of a chime that mysteriously stops working. Avoid placing it directly behind a large appliance or a TV, both because of sound blocking and because motors and power supplies can degrade the radio link.
Range claims on the box assume open air. Through two or three interior walls, expect meaningfully less. If a distant chime is intermittent, moving it two rooms closer and adding a second unit is more reliable than hoping the link improves.
Common Problems and How to Fix Them
The chime does not ring but the phone does. The radio pairing between button and chime has dropped, or the chime is out of range. Re-pair, and move the chime closer as a test.
Notifications arrive late. Usually weak Wi-Fi at the door, or aggressive battery optimization on your phone suppressing the app in the background. Fix the signal first, then whitelist the app in your phone’s battery settings.
Battery drains in days rather than months. Motion sensitivity set too high, a motion zone that includes a busy street, or extreme cold. Tighten the zones, reduce sensitivity, and expect reduced life below freezing.
The camera shows mostly the door frame. Recessed entry. Fit an angled wedge bracket to swivel the view outward.
Night video washes out. A nearby porch light or reflective surface is bouncing infrared back into the lens. Reposition slightly, or angle the unit away from the reflector.
The unit fell off or was removed. The security screw was never installed. Fit it.
Maintenance and Battery Care
Wipe the lens and the microphone port every couple of months — spider webs across a lens are the single most common cause of poor night footage and constant false motion alerts. Check the battery level in the app monthly and charge it before it hits zero rather than after. If your model uses a removable battery pack, buying a second one means you can swap and charge without downtime.
Once a year, check that the mounting screws are still tight and that the silicone seal around the plate has not cracked. In cold climates, bringing the battery indoors to charge and warm before reinstalling noticeably improves winter runtime.
Frequently Asked Questions
Do I need any wiring at all for a battery doorbell?
No. The button runs on its internal battery and the chime plugs into a standard outlet. No transformer, no chime box, no low-voltage wire.
Can I use more than one indoor chime?
Yes. Most systems support several receivers paired to a single button, which is the easiest way to cover a multi-storey house.
Will it work if my internet goes down?
The button-to-chime radio link is independent of your internet, so the doorbell still rings indoors. Phone notifications and video will not work until the connection returns.
How long does the battery last?
Typically several months, but it varies enormously with motion event volume and temperature. Busy street frontages and freezing weather both shorten it substantially.
Can I install this on brick or stucco?
Yes. Use a masonry bit, plastic anchors, and drill slowly. Seal the holes with exterior silicone before driving the anchors.
Final Thoughts
Installing a doorbell without an existing chime box is no longer a compromise — for most homes it is the better path. Set the device up indoors and confirm it works before you drill, check the Wi-Fi signal at the door, mount at about 48 inches with an angled wedge if the entry is recessed, and place the plug-in chime somewhere sound can actually travel. Fit the security screw, tune the motion zones on day one, and wipe the lens occasionally. Half an hour of careful work gets you a doorbell that is more capable than the wired one you never had.