
 Owen Bradley
 A hallway is the ideal place for a motion sensor light switch. It is the space people walk through with full hands, in the dark, at three in the morning, and it is also the space where lights get left burning for hours because nobody remembers passing through. Swapping the standard switch for an occupancy sensor solves both problems in about half an hour. The job is well within the reach of a competent DIYer, provided you respect the electrical safety rules and check one crucial detail before you buy: whether there is a neutral conductor in your switch box. This guide covers the whole process from checking the box to fine-tuning the timeout.
Safety Rules That Are Not Optional
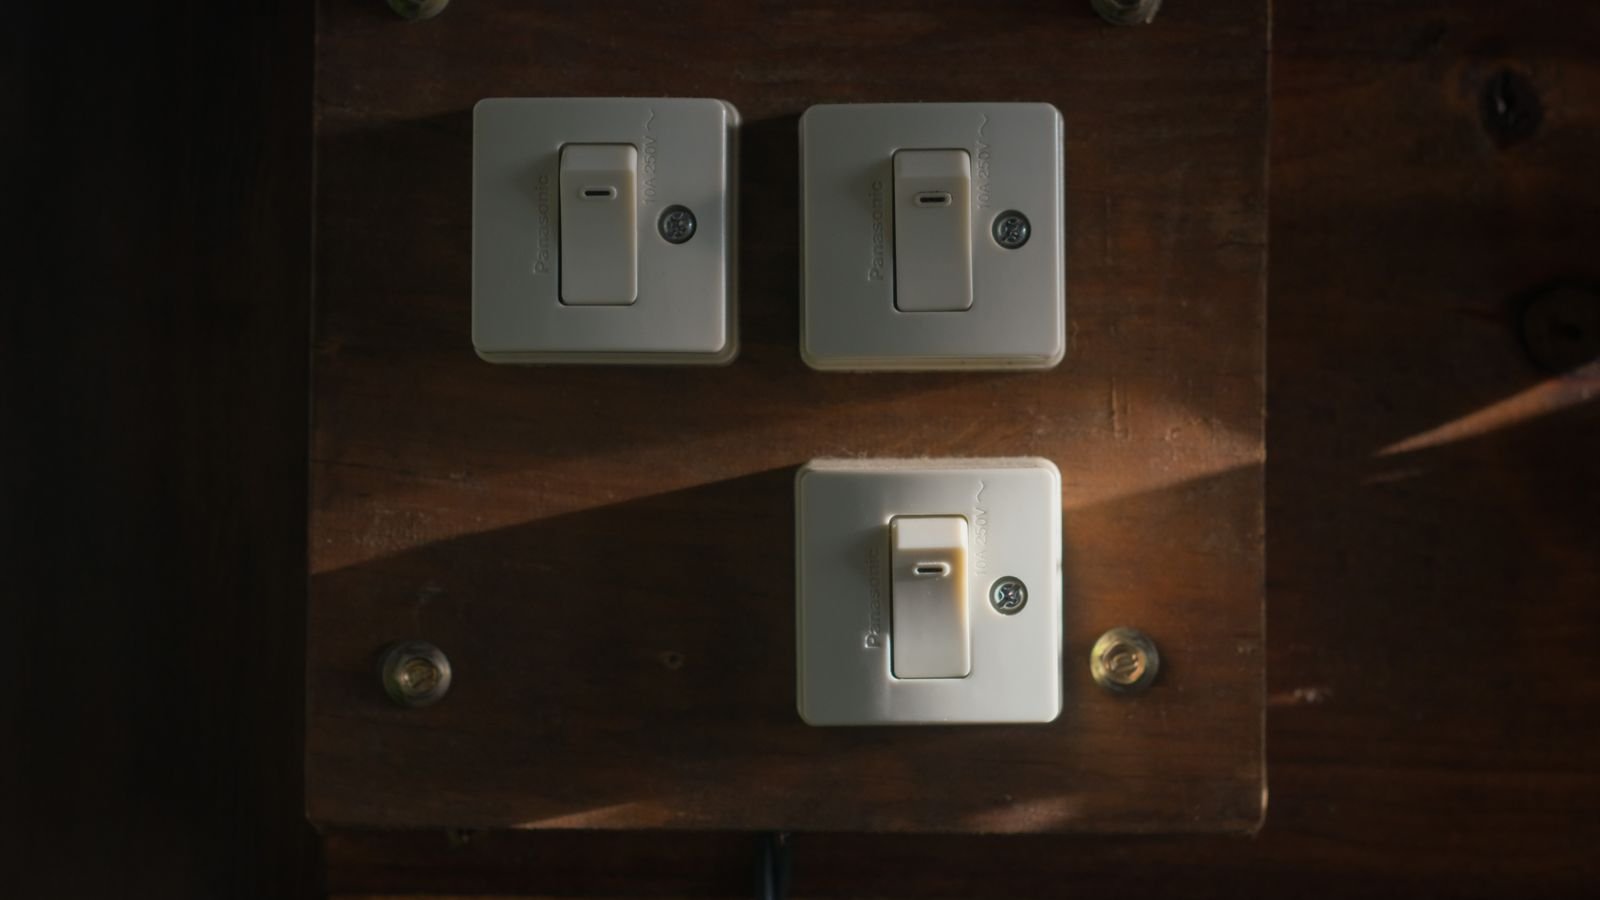
- Isolate the circuit at the consumer unit. Switching the light off at the wall is not isolation — the switch box may still contain live conductors.
- Lock off or label the breaker so nobody restores power while you are working.
- Prove dead at the switch with a tester, checking every conductor against every other and against earth. Test the tester on a known live source before and after.
- Check your local regulations. Some regions require certain electrical work to be carried out or certified by a qualified electrician. If you are unsure, or if the wiring you find is old and unfamiliar, stop and call one.
Check for a Neutral Before You Buy Anything
This is the step people skip and then regret. Most motion sensor switches need a permanent neutral conductor to power their electronics continuously, because unlike a mechanical switch they draw current even when the light is off. Isolate the circuit, remove the existing switch plate, and look inside the box. You are hoping to find a bundle of neutral conductors — often blue or white and connected together in a connector, doing nothing at the switch itself. If that bundle is present, you can fit any standard sensor switch. If the box contains only switched conductors and no neutral, you must buy a no-neutral model specifically designed to work without one, and check that it is compatible with your bulbs.
Tools and Materials
- A voltage tester and, ideally, a multimeter.
- Insulated flat and cross-head screwdrivers.
- Wire strippers and side cutters.
- The motion sensor switch, plus any connectors it requires.
- A torch, since the lighting circuit will be off while you work.
- Your phone, for photographing the existing wiring before you disturb it.
Step-by-Step: Fitting the Sensor Switch
- Switch off and prove dead. Turn off the lighting breaker, then confirm with a tester at the switch that no conductor is live.
- Remove the existing switch. Undo the faceplate screws and ease the switch out of the box, leaving the conductors attached for now so you can study them.
- Photograph and label everything. Take clear photos of which conductor lands on which terminal. Then wrap tape flags around each one and write its function on the tape. Do not rely on colour alone — switch wiring is frequently sleeved or repurposed in older installations.
- Identify the conductors. In a simple one-way arrangement you will have a permanent live feeding the switch, a switched live going up to the light, an earth, and hopefully a neutral bundle parked in the back of the box. If you find more conductors than expected, the switch may be part of a two-way arrangement, which needs a compatible sensor model and a different connection method.
- Disconnect the old switch. Loosen the terminals and free each conductor. Inspect the ends — if the copper is nicked, discoloured, or the insulation is brittle, trim back and strip fresh.
- Connect the new sensor switch. Follow the manufacturer’s diagram exactly. Typically the permanent live goes to the line terminal, the conductor running to the light goes to the load terminal, the neutral goes to the neutral terminal, and the earth to the earth terminal. Strip only as much insulation as the terminal needs so no bare copper is left exposed.
- Tighten and tug-test. Every terminal screw must be fully tightened, and every conductor should resist a firm pull. Loose terminals overheat.
- Fold the wiring back neatly. Sensor switches have deeper bodies than mechanical ones. Ease the conductors into the box in gentle concertina folds rather than forcing them, and make sure nothing is trapped against a terminal as you push the switch home.
- Secure the switch and fit the plate. Screw the switch to the box, checking it sits square before final tightening. A skewed sensor points its detection cone at the ceiling or the floor.
- Restore power and test. Turn the breaker back on and walk into the hallway. The light should come on promptly. Stand still for the timeout period and confirm it switches off, then move and confirm it re-triggers.
Tuning the Sensor for a Hallway
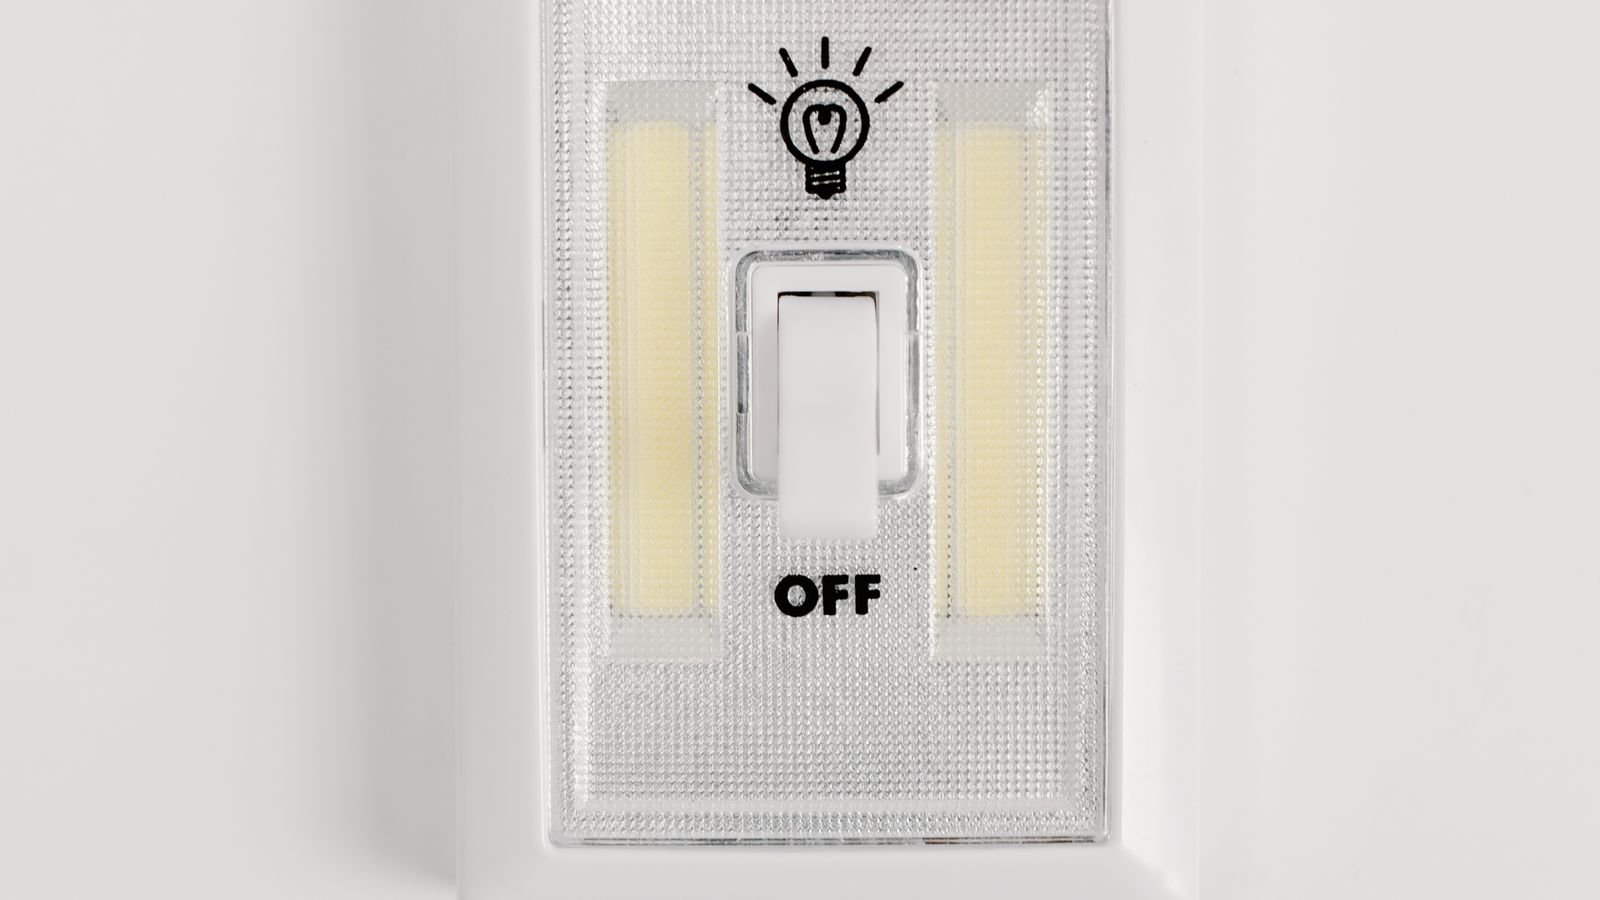
Out of the box, most sensors are set for a large open room and will not suit a corridor. Work through the adjustments once the switch is live.
- Timeout. A short timeout in a hallway leaves you in the dark halfway along. Set it long enough to cover the slowest reasonable transit plus a pause at a door, and lengthen it further if the hallway serves a bathroom.
- Sensitivity. Hallways are narrow, so high sensitivity can pick up movement through an open doorway in an adjoining room. Reduce it until the switch responds only to the corridor itself.
- Ambient light threshold. Most sensors can be told not to switch on when there is already enough daylight. In a hallway with a window or glazed front door, this setting alone saves a great deal of wasted energy.
- Manual override. Learn how your model lets you force the light on or off. This matters when you are cleaning, decorating, or want the hallway dark while someone sleeps.
Bulb Compatibility Matters
Sensor switches state a maximum load, and the figure for LED lamps is often much lower than for older filament types because of the way LED drivers behave at switch-on. Add up the wattage of every lamp on the circuit and stay comfortably inside the stated limit. If you are running LEDs and the switch is a no-neutral model, expect the possibility of faint glowing or flickering when the light is supposedly off, caused by the small current the switch draws through the lamp. A compatible load-correction device usually fixes it, but choosing a switch explicitly rated for LED loads avoids the problem in the first place. If you are comparing hardware before buying, the current best motion sensor light switches are a useful reference for which models handle low LED loads reliably.
Common Mistakes to Avoid
- Buying before checking for a neutral. Half of all returned sensor switches come back for exactly this reason.
- Mounting at the wrong height. Standard switch height is right. Higher and the detection cone points at the floor in front of you rather than down the hallway.
- Forcing the wiring into a shallow box. If the switch will not seat, fit a deeper back box rather than crushing conductors.
- Setting the timeout too short. Nothing sours the upgrade faster than being plunged into darkness mid-corridor.
- Ignoring a two-way circuit. If the hallway light is controlled from both ends, you need a sensor designed for that arrangement, not a standard one-way model.
Frequently Asked Questions
What if my switch box has no neutral conductor?
Buy a no-neutral sensor switch designed to work without one. Check its stated minimum load, because some struggle with a single low-wattage LED lamp and may need a load-correction device fitted at the fitting.
Why does the light switch off while I am standing still?
Passive infrared sensors detect movement, not presence. If you stand motionless the sensor sees nothing. Increase the timeout, raise the sensitivity, or choose a model that uses microwave or dual-technology sensing.
Can I fit one on a two-way hallway circuit?
Only with a switch specifically rated for two-way use. Fitting a one-way sensor into a two-way arrangement will not work correctly and may leave conductors connected in an unsafe manner.
Will it work with dimmable LED bulbs?
It will switch them, but a motion sensor is not a dimmer. If you want both functions, look for a combined sensor and dimmer module and confirm your specific lamps are on its compatibility list.
Why does my LED glow faintly when the light is off?
A small standing current through the lamp, typical of no-neutral switches. A load-correction capacitor at the fitting cures it, as does switching to a model with a proper neutral connection.
Final Thoughts
Fitting a motion sensor switch in a hallway is one of the highest-value small electrical upgrades in a house, and the installation itself is genuinely simple. The two things that determine success are checking for a neutral before you buy and taking the time to tune the timeout, sensitivity, and daylight threshold afterwards rather than living with the factory defaults. Isolate properly, photograph before you disconnect, and stay inside the switch’s load rating. Do that in 2026 and you will never think about the hallway light again.









