
 Owen Bradley
 Installing an outdoor security camera yourself is a realistic weekend project, and the difference between a camera that earns its place and one that fills your phone with useless alerts comes down to decisions made before you drill. Mounting height, viewing angle, weather exposure, power routing, and network signal all get settled in the planning stage. This guide walks through how to install an outdoor security camera yourself, covering placement strategy, wired and battery options, the actual mounting process, weatherproofing details that installers know and manuals skip, and configuration that keeps notifications meaningful.
Decide What You Actually Want to See
Cameras serve two distinct purposes and they need different setups. Deterrence and awareness cameras cover wide areas: the driveway, the back garden, the side path. Identification cameras capture faces and plate details at close range, and they need tighter framing and lower mounting.
Most homes want a mix. A wide camera watching the driveway plus a tighter one covering the front door gives you both context and detail. A single wide camera mounted high under the eaves gives you footage of an unidentifiable figure in a hoodie, which is what most people end up with and then complain about.
Before buying, list your coverage priorities in order: entry points first, then areas holding valuables, then general perimeter. Reviewing the field of best house security cameras and the more specific best outside cameras will clarify which models suit wide coverage versus close identification, since sensor and lens choices differ meaningfully between them.
Choose Your Power and Connection Method
- Battery cameras mount anywhere with no wiring at all, which makes them ideal for renters, sheds, and awkward walls. Expect to recharge every few months, more often in cold weather or high-traffic locations.
- Plug-in cameras need an outdoor outlet within cable reach. Simple and reliable, but the cable is visible and cuttable unless routed carefully.
- Power over Ethernet delivers power and data on one cable, giving the most reliable connection and no Wi-Fi dependency. It requires running cable to a switch or injector, which is the most work but the best long-term result.
- Solar-assisted battery combines battery flexibility with a small panel that offsets drain, practical on south-facing walls in most climates.
If you have any route into an attic or basement, seriously consider a wired option. Wi-Fi at an exterior wall corner is often weaker than people expect, and a camera dropping offline intermittently is worse than no camera at all, because you trust it and it fails.
Tools and Materials
- Cordless drill with masonry bits for brick or stucco, wood bits for siding and soffit
- The mounting plate, anchors, and screws supplied with the camera
- Ladder rated for your working height, plus a helper to foot it
- Pencil and tape measure
- Exterior-grade silicone sealant
- Cable clips and, for wired runs, a long drill bit for wall penetration
- Phone for live-view framing during positioning
- Weatherproof junction box if you will have exposed connections
Step-by-Step Installation
- Charge or bench-test the camera indoors. Set up the app, join the network, and confirm a live feed before the camera goes anywhere near a wall. Diagnosing a setup problem from a ladder is miserable.
- Check Wi-Fi signal at the exact mounting spot. Stand there, hold your phone against the wall, and run a speed test. Marginal signal now means dropped recordings later. Add a mesh node if needed before proceeding.
- Choose the height deliberately. Eight to ten feet is the usual sweet spot: high enough to be out of easy reach, low enough that faces remain identifiable. Above twelve feet you are recording the tops of heads.
- Aim away from direct sun. A camera pointing east or west gets washed out at sunrise or sunset and loses the footage you most want. North-facing aim is ideal where the layout allows.
- Test the framing live before drilling. Hold the camera in position while a helper watches the app, or prop your phone where you can see it. Walk the approach path and confirm the frame captures faces at the point people arrive.
- Plan the cable route. For wired cameras, decide where the cable penetrates the wall and confirm nothing is behind that spot. Drill from outside at a slight upward angle into the building so water runs away from the hole, not into it.
- Mark and drill the mounting holes. On brick, drill into mortar joints where possible for easier future repair. On siding, find a solid backing or use a mounting block rather than relying on the siding itself.
- Fit anchors and fasten the mounting plate. Snug, not overtightened. Check level before the final turn.
- Seal every penetration. Run a bead of exterior silicone around the cable entry and behind the mounting plate. This step separates an installation that lasts a decade from one that causes water damage in two winters.
- Attach the camera and set the final angle. Loosen the ball joint or arm, watch the live feed, adjust, then lock it down firmly.
- Secure the cable. Clip it tight to the wall with a drip loop before it enters the building, so water running down the cable drops off rather than tracking into the hole.
- Verify the full picture in daylight and at night. Infrared performance is the thing manuals overstate. Check for IR reflection off nearby walls, gutters, or foliage, which washes out night footage entirely.
Weatherproofing Details That Matter
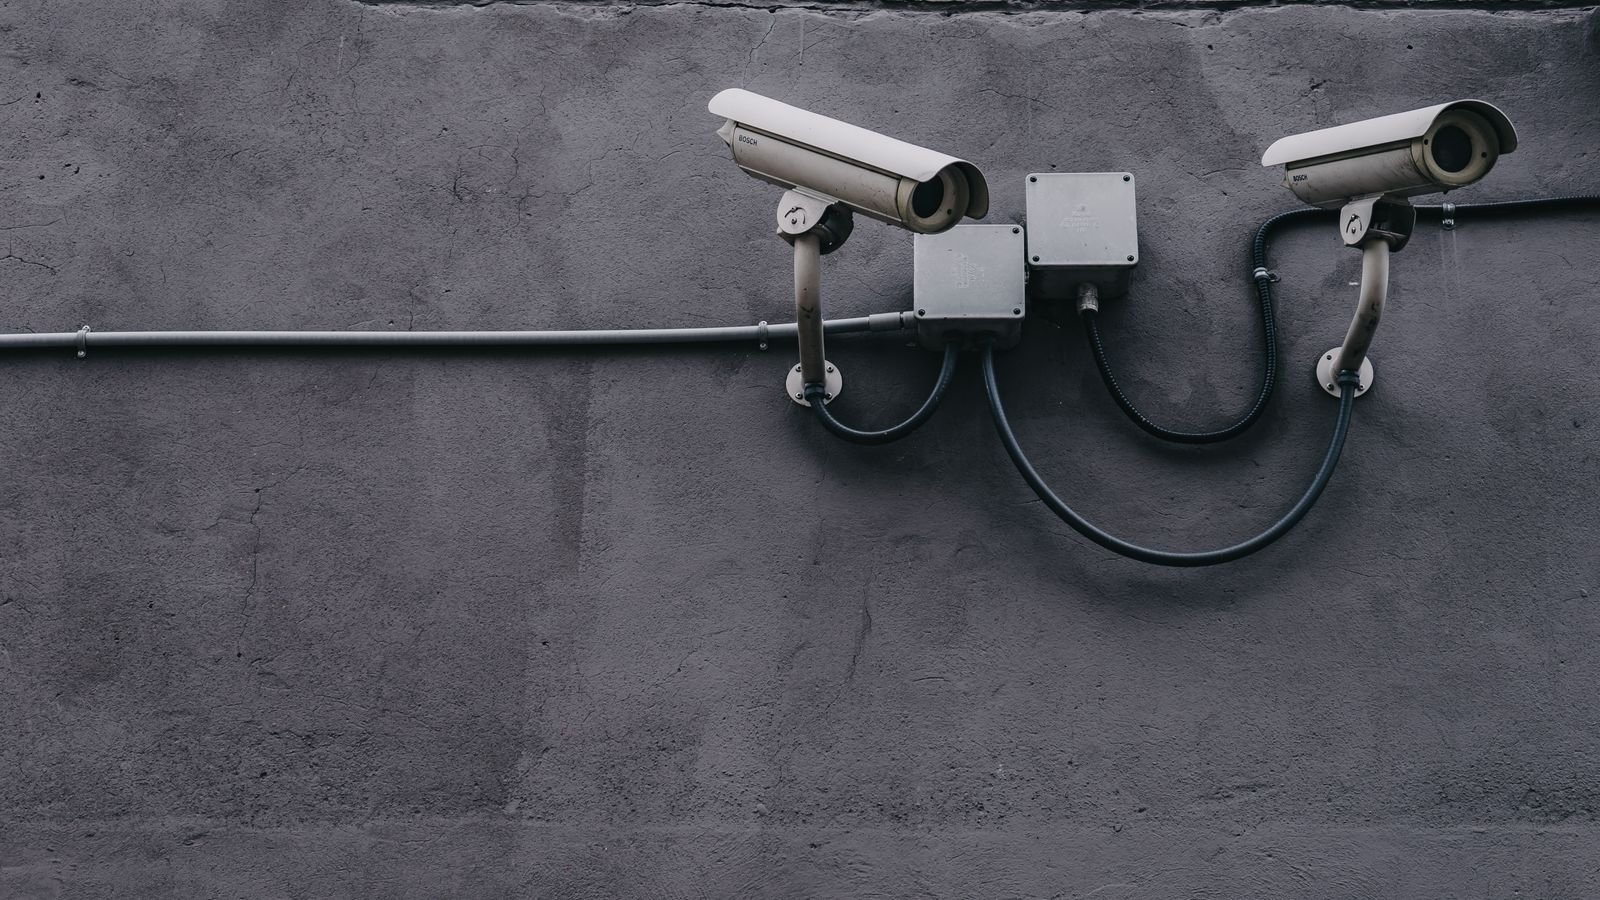
An IP65 or IP66 rating means the camera body resists rain. It says nothing about the connections, and connections are where outdoor installations fail.
- Never leave a plug connection exposed. Use a weatherproof junction box or an in-line waterproof connector cover.
- Always form a drip loop. A downward loop in the cable before it enters the wall prevents water tracking along the sheath.
- Angle wall penetrations upward from outside. Gravity then works for you rather than against you.
- Mount under an eave where possible. Shelter dramatically extends camera life and keeps the lens clear of rain spots.
- Check the operating temperature range if you live somewhere with hard winters. Battery models in particular lose substantial capacity below freezing.
- Seal behind the mounting plate, not just around it. Water wicks behind plates and into screw holes.
Configuration That Keeps Alerts Useful
A camera in default configuration will notify you about headlights, shadows, rain, spiders on the lens, and every cat in the neighbourhood. Within a week you will mute it, which defeats the purpose.
Draw activity zones that exclude the street, the pavement, and any tree that moves in the wind. Include the driveway, the path, and the doorstep. Enable person and vehicle detection if the camera offers it, since object filtering removes the bulk of nuisance triggers on its own. Lower sensitivity one step at a time over several days rather than all at once, checking that genuine events still register.
Set recording to event-based with a short pre-roll if available, so you see what happened immediately before the trigger. Then decide your storage approach: local microSD or NVR keeps footage under your control and works during outages, while cloud storage survives the camera being stolen. Many people sensibly run both.
Legal and Neighbour Considerations
Rules vary by country and locality, but the general principles hold widely. Recording your own property is fine. Recording areas where others have a reasonable expectation of privacy, such as a neighbour’s garden, windows, or a shared bathroom, can create real legal exposure. Audio recording is often regulated more strictly than video, and some jurisdictions require consent from all parties.
Practically: aim cameras so that neighbouring private space falls outside the frame, use privacy masking if the camera supports it to black out portions of the view, and consider a visible notice if your camera covers a shared entrance. A brief conversation with a neighbour before mounting a camera that faces their direction prevents a great deal of friction later.
Frequently Asked Questions
How high should an outdoor security camera be mounted?
Eight to ten feet suits most situations. That is beyond casual tampering reach while still capturing recognisable faces. Mounting much higher trades identification quality for a wider but less useful view.
Do I need an electrician?
Not for battery or plug-in cameras. If you want a new outdoor outlet or a hardwired connection into the mains, that is electrical work and should go to a qualified professional in most jurisdictions.
Will the camera work when the internet goes down?
Cameras with local storage keep recording to a microSD card or NVR. Cloud-only cameras stop. If reliability during outages matters to you, choose a model with local storage as well.
Why is my night footage washed out?
Infrared light reflecting off a nearby surface, usually a wall, gutter, or overhanging leaves within a few feet of the lens. Reposition the camera away from the reflecting surface, or use a model with a separate IR illuminator.
Can I mount a camera on vinyl siding without drilling through it?
Yes, using a siding mounting block or a no-hole hanger that hooks into the siding seam. Both avoid puncturing the weather barrier, which is the main risk with direct fastening.
Final Thoughts
The physical installation is the easy part. What determines whether you are still glad you fitted the camera a year from now is the planning: a genuine Wi-Fi check at the mounting spot, a live framing test before drilling, mounting height chosen for identification rather than coverage bragging rights, and meticulous sealing of every penetration. Add well-drawn activity zones and object filtering, and you end up with a camera that alerts you when something matters and otherwise stays quiet.









