 Owen Bradley
Kitchen counters are the hardest-working surfaces in a house, and they are also the most reliably badly lit. Overhead ceiling fixtures sit behind you when you stand at the counter, so your own body casts a shadow exactly where you are chopping. Under-cabinet lighting fixes that by putting the light source between the upper cabinets and the work surface, where it belongs. The trouble is that “under-cabinet lighting” covers at least four distinct product types with very different looks, wiring requirements, and price tags. This guide walks through puck lights, linear bars, LED strips and tape, and light panels, compares them on the factors that actually determine how your kitchen looks at night, and helps you pick the type that fits your cabinets, your budget, and your tolerance for wiring.

Puck Lights: Pools of Light
Puck lights are small round fixtures, typically 2.5 to 3.5 inches across, mounted individually at intervals under a cabinet. They are the oldest and most recognizable style, and they remain popular because they are easy to install and cheap to try.
Each puck throws a cone of light downward, creating a bright pool directly beneath it with dimmer areas in between. Spaced 12 to 18 inches apart, that produces a scalloped pattern on the backsplash and counter. Some people love the look, finding it warmer and more layered than a flat wash. Others find the alternating bright and dark zones distracting, especially on a glossy stone counter where each puck reflects as a visible hot spot.
Puck lights come in three power configurations. Battery-powered pucks stick on with adhesive and need no wiring at all, making them the fastest option for renters or a quick test. Plug-in pucks connect to a small transformer and an outlet, hiding the wire along the cabinet underside. Hardwired pucks tie into the house circuit through a driver, giving the cleanest result with no visible cords.
When Pucks Make Sense
- Accent lighting inside glass-front cabinets or over a display shelf.
- Short cabinet runs where one or two fixtures cover everything.
- Renters and quick upgrades where no drilling is allowed.
- Situations where you want deliberate pools rather than an even wash.
If you like the simplicity of a no-wiring install, the picks in our roundup of the best battery-powered LED strip lights cover both puck-style and linear cordless options with usable runtimes.
Linear Light Bars: The Balanced Choice
Light bars are rigid fixtures, usually 8 to 40 inches long, that mount flush under a cabinet and produce an even line of light. Inside is a row of LEDs behind a frosted diffuser, and the housing doubles as a heat sink, which helps longevity.
Bars are the middle ground between pucks and strips. They give a far more even wash than pucks because the emitter runs the length of the fixture rather than sitting at a single point. They are also more substantial and better built than a bare strip, with real housings, integrated switches on some models, and linkable connectors that let you chain several bars from one power source.
Installation is straightforward: screw the bar to the cabinet bottom, run the link cable to the next bar, and connect the last one to a plug-in transformer or a hardwired driver. Most bars are dimmable, and many now offer selectable color temperature via a small switch on the housing, letting you choose warm 2700K for evening ambience or 4000K for crisp task light.
The main drawback is fit. Bars come in fixed lengths, so a 30-inch cabinet run might leave gaps at the ends or force you to combine odd sizes. They are also thicker than tape, typically half an inch or more, which means the fixture is visible if you stoop or sit at a nearby island.
LED Strips and Tape: The Cleanest Look
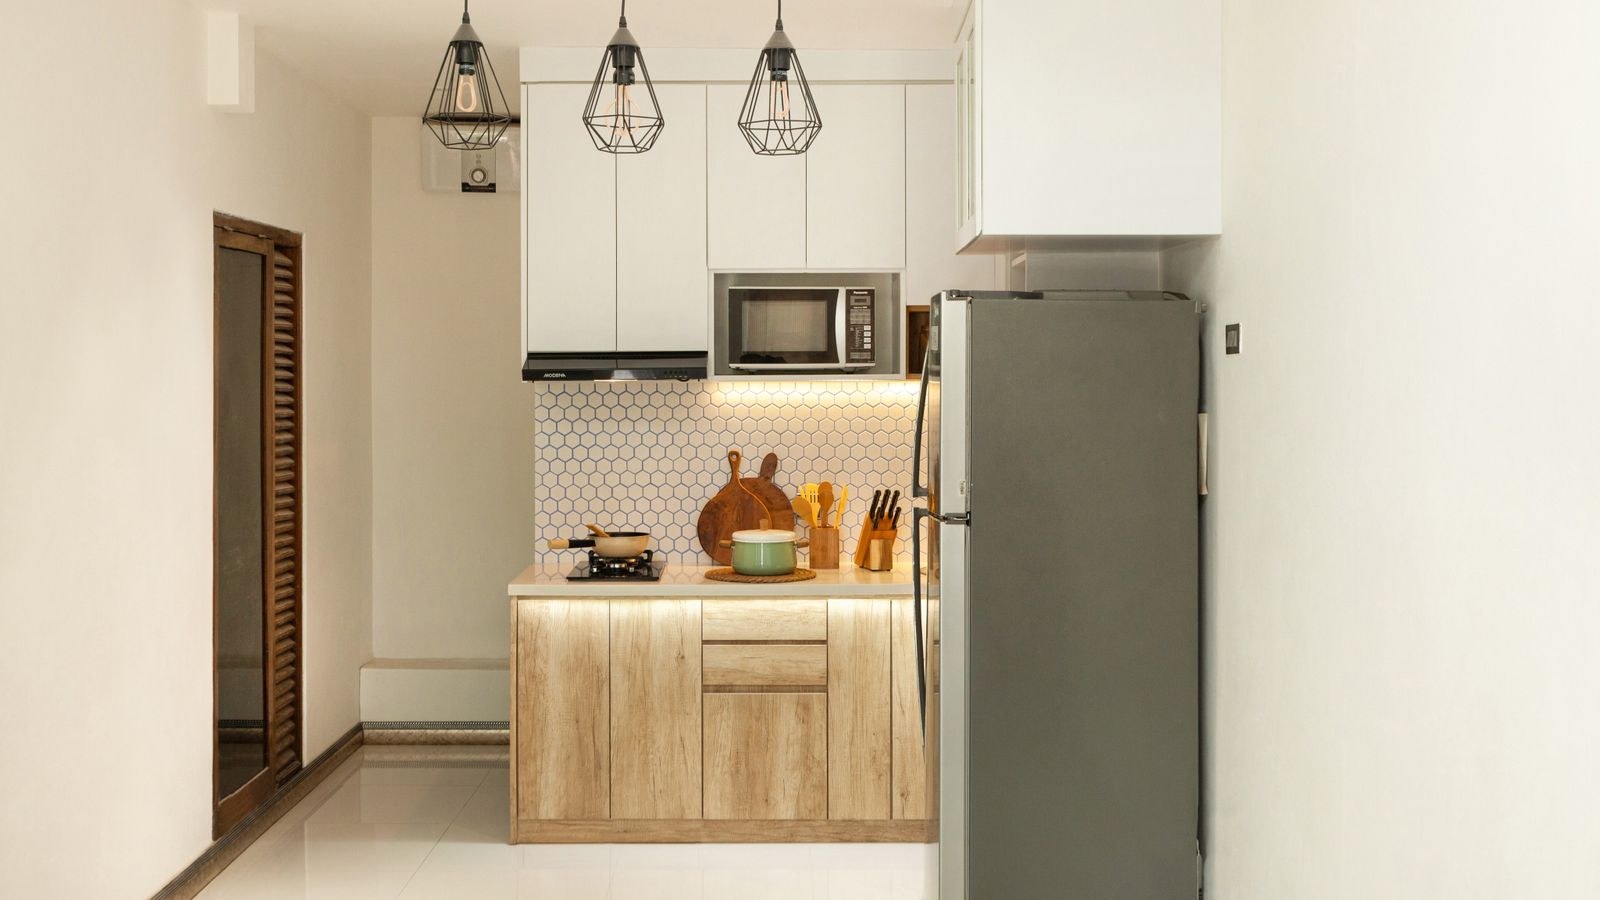
Flexible LED strips and tape lights deliver the most seamless result when installed well. A continuous run of tape in an aluminum channel mounted at the front edge of the cabinet underside produces an unbroken line of light across the entire counter with no gaps, no hot spots, and no visible fixture from normal standing height.
Two technologies dominate. Standard SMD strips place individual diodes at intervals, usually 60 to 120 per meter. COB strips bond hundreds of tiny chips under a continuous phosphor layer, producing a dot-free glowing line. For kitchens with polished granite or quartz, COB is worth the premium, because SMD dots reflect off a glossy counter as a visible row of points unless you add a good frosted diffuser.
Strips need a power supply sized to the total run, plus a decision between plugging into an outlet or hardwiring. They also benefit enormously from an aluminum channel, which hides the strip, diffuses the light, and dissipates heat. Skipping the channel is the most common reason DIY strip installs look cheap. Our guide to the best LED strip lights for kitchen cabinets focuses on the CRI, color temperature, and channel compatibility that kitchen work demands.
Hardwired Versus Plug-In
Plug-in strips are the practical choice for most retrofits. You run the low-voltage wire along the cabinet backs to a nearby outlet, and everything is reversible. Hardwiring gives a cleaner result with no cords and lets you control the lights from a wall switch or dimmer, which is far more convenient day to day. If you have an electrician involved or the walls are already open, hardwiring is the better long-term answer. Compare options in our roundup of the best hardwired LED strip lights before you commit to a driver location.
Light Panels and Slim Bars
A fourth category sits between bars and tape: ultra-thin light panels, sometimes only a quarter inch deep, that cover a large portion of the cabinet underside. Instead of a line of light, they emit from a broad diffused surface, which produces exceptionally soft, shadow-free illumination with almost no glare.
Panels excel where the counter is used for detailed work and where glare off a shiny backsplash would be annoying. They cost more per inch of coverage and come in fewer sizes, but for a small kitchen with two or three cabinet runs they can be the most elegant solution. They almost always require hardwiring or a hidden transformer.
The Specs That Actually Matter
Brightness
Aim for roughly 200 to 300 lumens per linear foot of counter for comfortable task lighting. Less than that and the counter looks accent-lit rather than usable. Much more and a light-colored counter can become uncomfortably glaring at night. Dimmable fixtures let you cover both needs.
Color Temperature
Kitchens do best between 2700K and 4000K. Warm 2700K to 3000K flatters wood cabinets and blends with the rest of the home’s lighting. Neutral 3500K to 4000K makes white counters look crisp and food colors accurate. Avoid anything above 5000K, which reads clinical and turns warm wood tones grey. Match the under-cabinet temperature to your ceiling fixtures so the room does not look mismatched; our guide to the best LED light bulbs for kitchen spaces covers picking a consistent temperature across fixture types.
Color Rendering
This is the specification most shoppers ignore and most regret ignoring. CRI 90 or higher makes raw meat, produce, and spices look true. Budget fixtures at CRI 80 or lower wash out reds and make everything on the counter look slightly grey. In a room where you judge whether food is cooked by looking at it, color accuracy is not a luxury.
Dimming
Confirm both the fixture and the driver are dimmable, and that they match your dimmer type. A dimmable strip on a non-dimmable driver will flicker or simply refuse to dim. If you want the lights to double as a soft nightlight, dimming down to 10 percent or lower is the feature to look for.
Placement Rules That Fix Glare
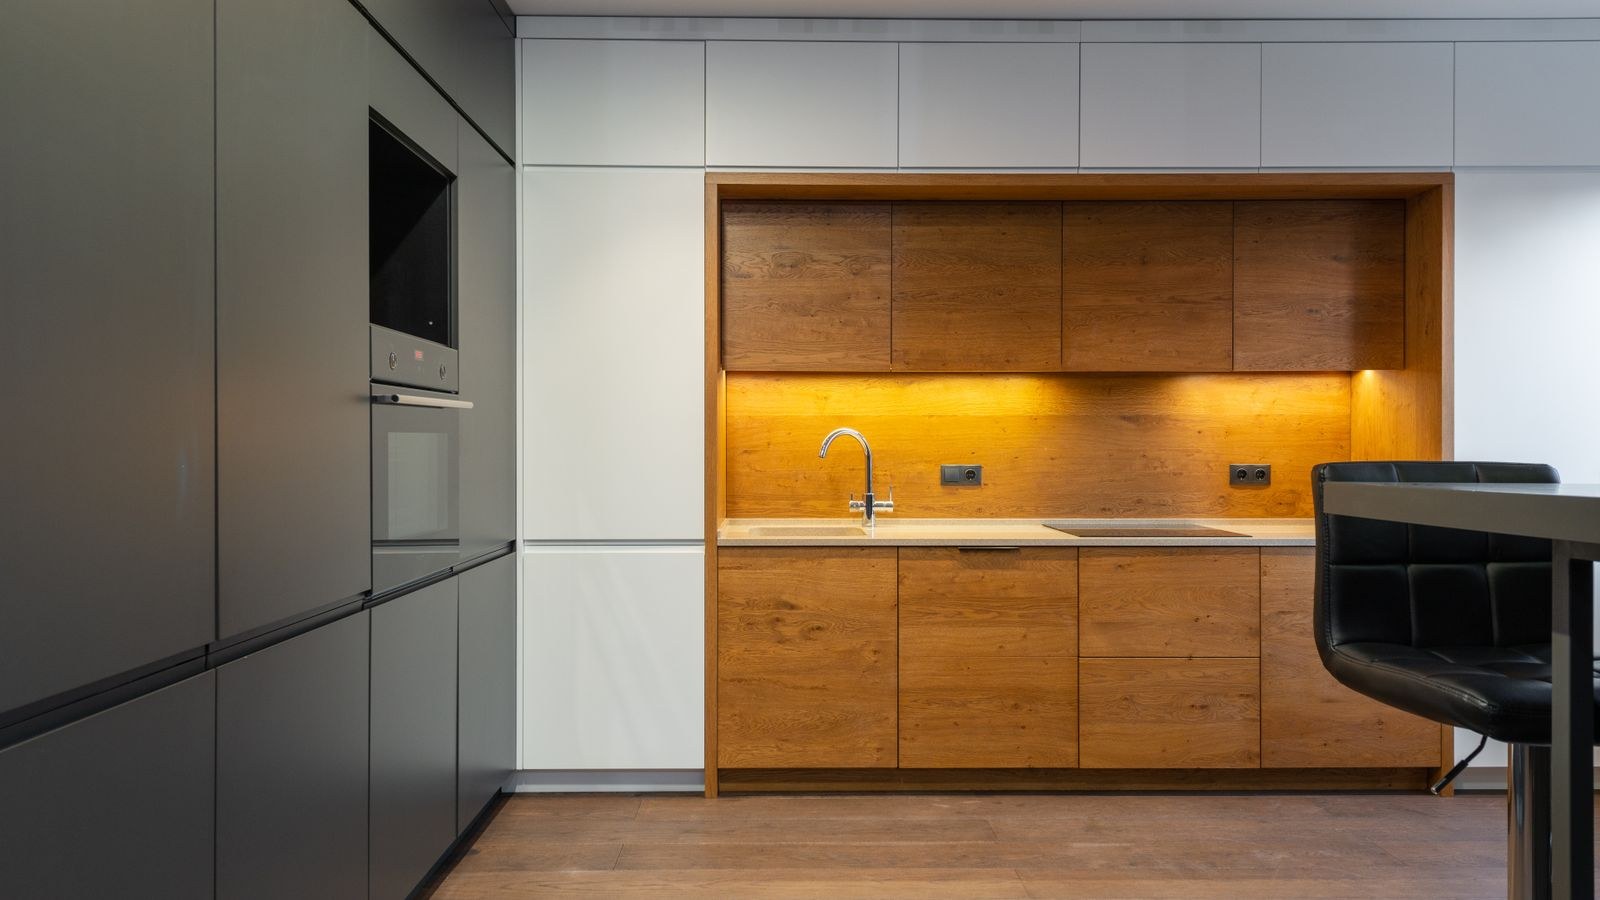
Where you mount the fixture matters as much as which one you buy. Mount the light toward the front edge of the cabinet underside, roughly one third back from the front, not against the wall. Front mounting pushes light onto the working area of the counter and reduces the amount that bounces off a glossy backsplash straight into your eyes.
Add a valance or trim strip along the front cabinet edge if your cabinets do not already have a lip. That small piece of wood hides the fixture completely from anyone standing across the room and eliminates direct view of the light source, which is the single biggest cause of under-cabinet glare complaints.
For runs longer than about eight feet, plan a power injection point in the middle or step up to a 24V system. Long 12V runs visibly dim toward the far end, and nothing looks worse than one bright end of a kitchen and one dull end.
Budget Tiers
- Under $50: battery pucks or a basic plug-in strip kit. Fine for a rental or a test run, but expect modest CRI and short battery life.
- $50 to $150: linkable plug-in light bars or a quality COB tape kit with a channel. This is where most kitchens land and where value peaks.
- $150 to $400: hardwired tape or panels with a proper driver, wall dimmer, and high CRI. Requires wiring work but delivers a built-in look.
- $400 and up: tunable-white or smart-controlled systems integrated with the rest of the home’s lighting scenes.
Common Mistakes
Buying too little light is the most frequent error. People install a single 12-inch bar under a 36-inch cabinet and wonder why the counter still looks dim. Cover at least two thirds of each cabinet run’s length with emitting fixture.
The second mistake is mixing color temperatures. Adding 5000K under-cabinet lights beneath 2700K ceiling cans makes both look wrong. Pick one temperature family for the room.
Third, many installs skip the diffuser or channel and end up with visible dots reflecting in the backsplash. Fourth, people underestimate the power supply and run it at its limit, which shortens its life. Add at least 20 percent headroom to the calculated wattage.
Frequently Asked Questions
Which type is brightest?
High-density LED strips and linear bars both reach the highest output. Pucks concentrate more light in a small pool but cover less total counter area, so they look bright directly beneath and dim between fixtures.
Can I install under-cabinet lighting myself?
Battery and plug-in options are genuine DIY projects requiring only a screwdriver and adhesive. Hardwired installs involve connecting to a household circuit and often a wall switch, which many people should leave to an electrician.
Do I need an aluminum channel for strip lights?
Strongly recommended. The channel hides the strip, diffuses individual diodes into a smooth line, protects the tape from grease and cleaning, and helps dissipate heat so the LEDs last longer.
How long do these fixtures last?
Quality LED under-cabinet lighting is typically rated between 30,000 and 50,000 hours. Real lifespan depends far more on heat management and driver quality than on the LEDs themselves, so avoid enclosing fixtures without ventilation.
Should the lights be on a switch or motion sensor?
A wall switch or dimmer is the most convenient for daily cooking. Motion sensors work well in pantries and closets but tend to be annoying in a kitchen where you stand still while chopping and the light times out.
Final Thoughts
Under-cabinet lighting delivers more visible improvement per dollar than almost any other kitchen upgrade, but only if you match the fixture type to your situation. Choose pucks for accent work, short runs, and no-wiring installs. Choose linear bars when you want an even wash with a simple, robust install. Choose strips or tape in a channel when you want a seamless professional line and are willing to plan the wiring. Whichever you pick, prioritize CRI 90 or better, keep the color temperature consistent with the rest of the room, mount the fixture toward the front edge, and make sure it dims. Get those four things right and your counters will look better than the fixture price suggests, this year and for many years after 2026.